Striker - Hood (Remove and Replace)
Correction code 1135290211352902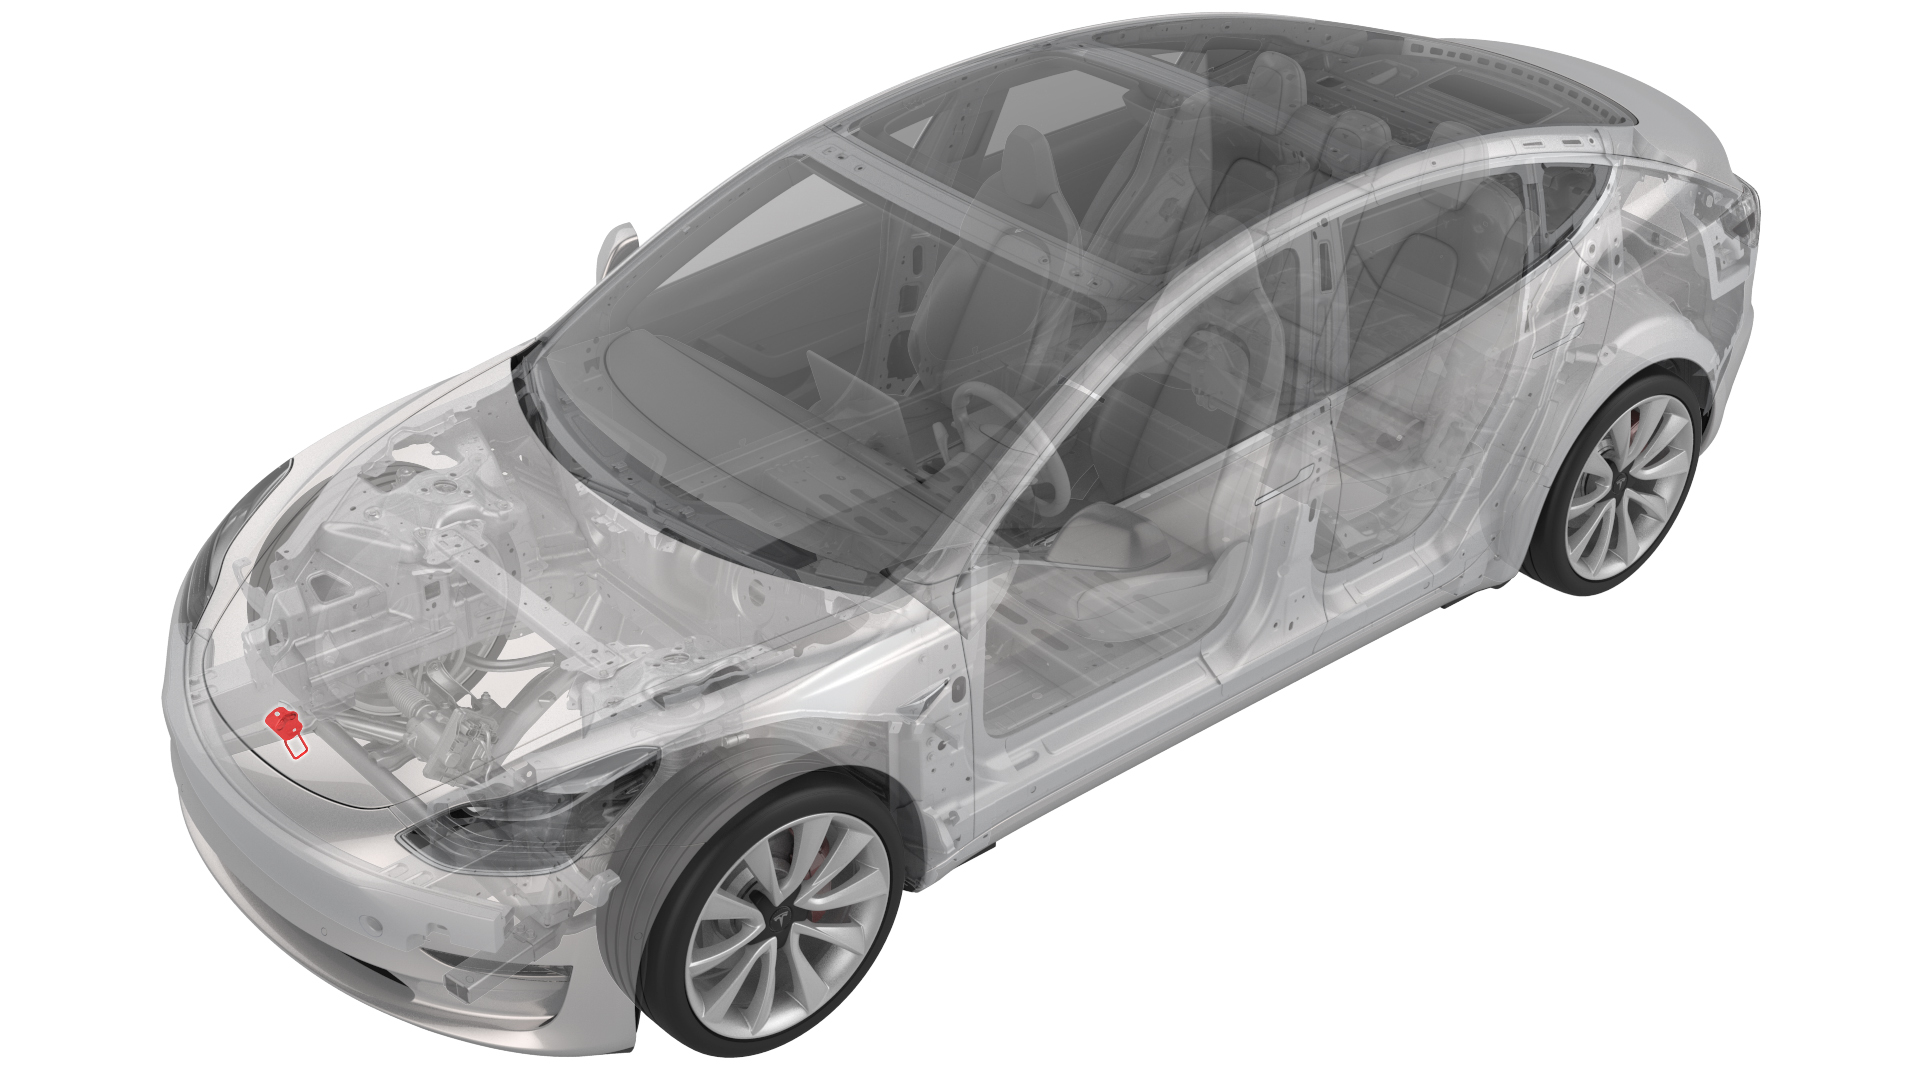
DRAFT
from-cad Warning:
This procedure was derived from pre-production computer models, and might not reflect the real-world situation. Warnings and cautions might be missing. Follow safety requirements and use extreme caution when working on or near high voltage systems and components.
Do not redistribute this content. Provide corrections and feedback to servicemanualfeedback@tesla.com.
Remove
-
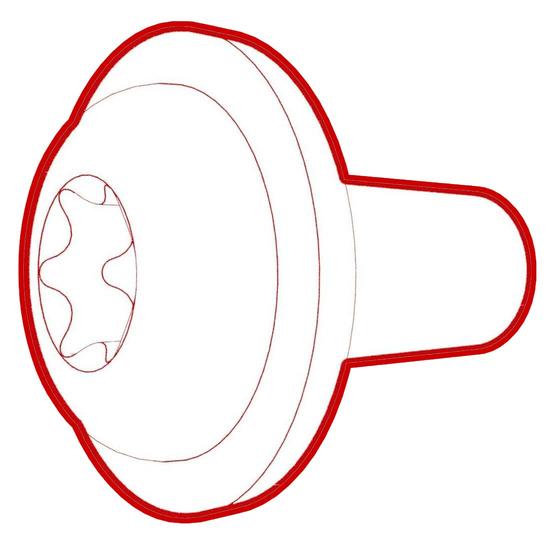
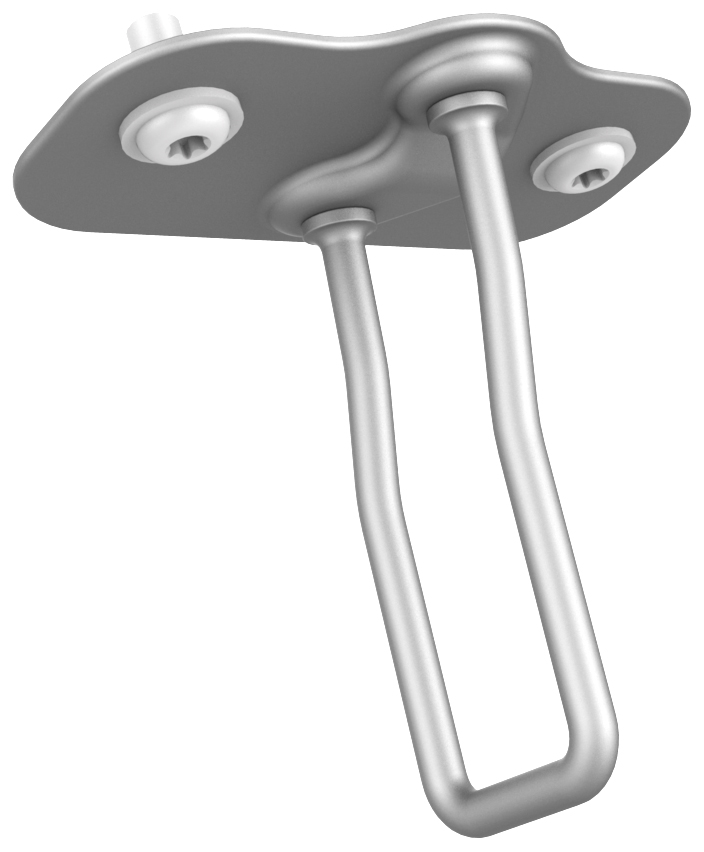
Remove the bolts that secure the striker to the hood, and then remove the striker from the hood.
 Torque 18 Nm
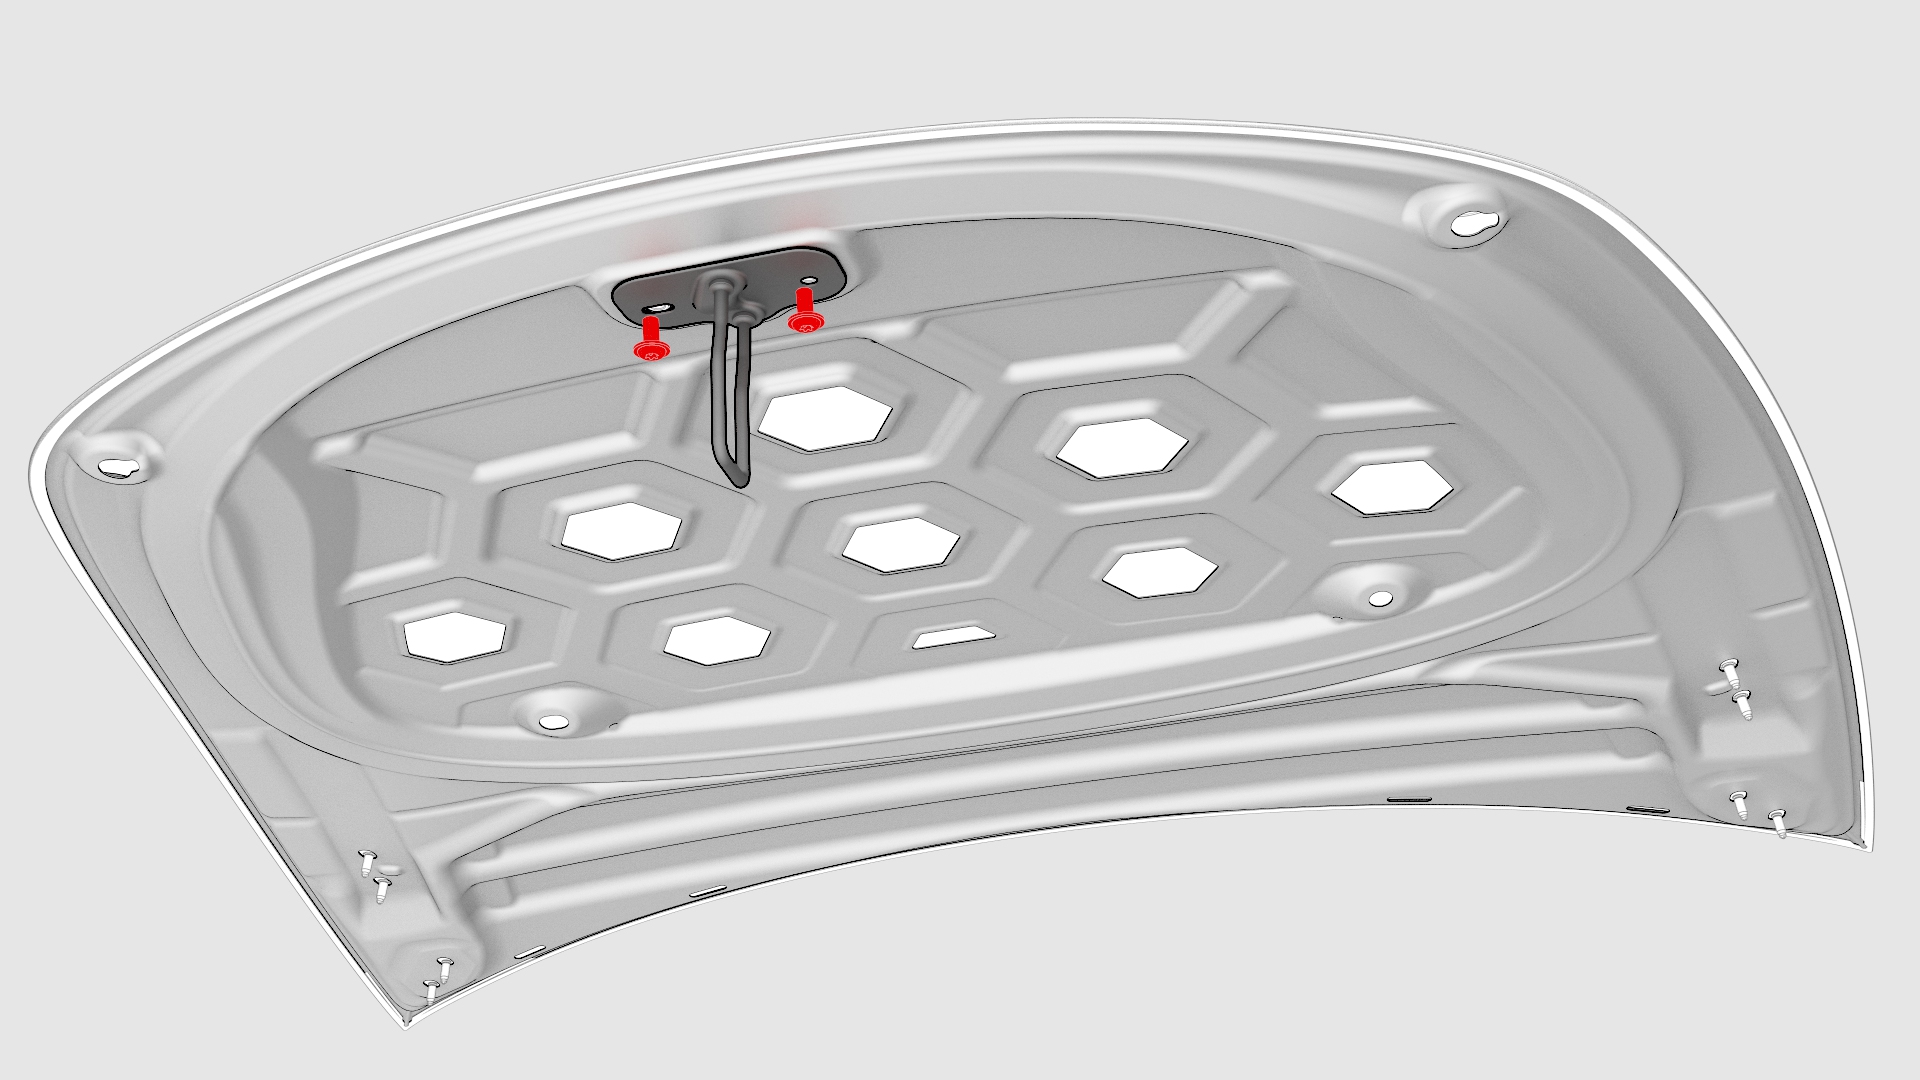
| 1 | Open the hood. | ||
| 2 | Use masking tape to mark the location of the hood striker on the hood assembly. | ||
| 3 | Remove the bolts that secure the striker to the hood, and then remove the striker from the hood. Torque 18 Nm |
Install
| 1 | Install the striker on to the hood, but do not fully torque the bolts. Note: Use the masking tape as a guide.
|
| 2 | Close the hood and verify alignment. |
| 3 | Open the hood and adjust the striker position as necessary. |
| 4 | Repeat step 2 and step 3 until alignment is satisfactory. |
| 5 | Fully tighten the bolts. |
| 6 | Remove the masking tape, and then close the hood. |