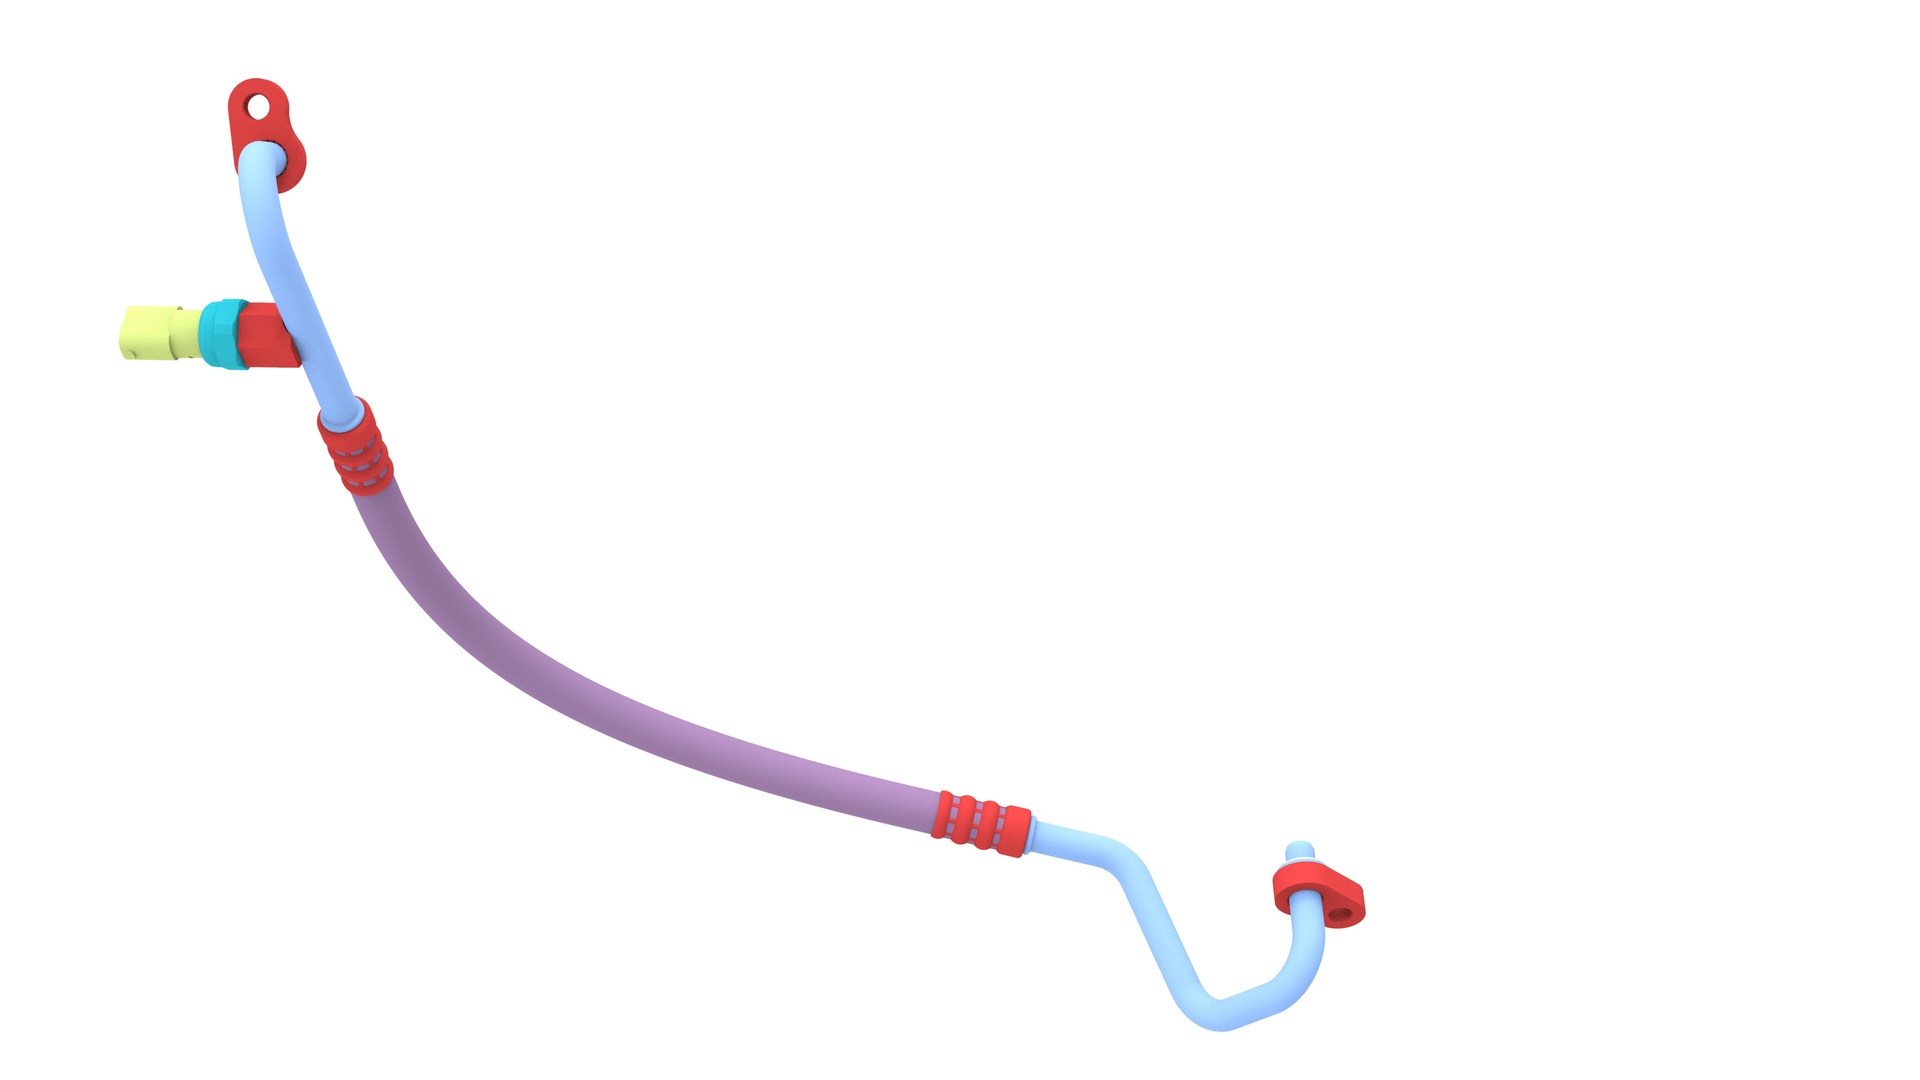
Pipe - High Pressure - Compressor to Condenser (Remove and Replace)
Correction code 1820420218204202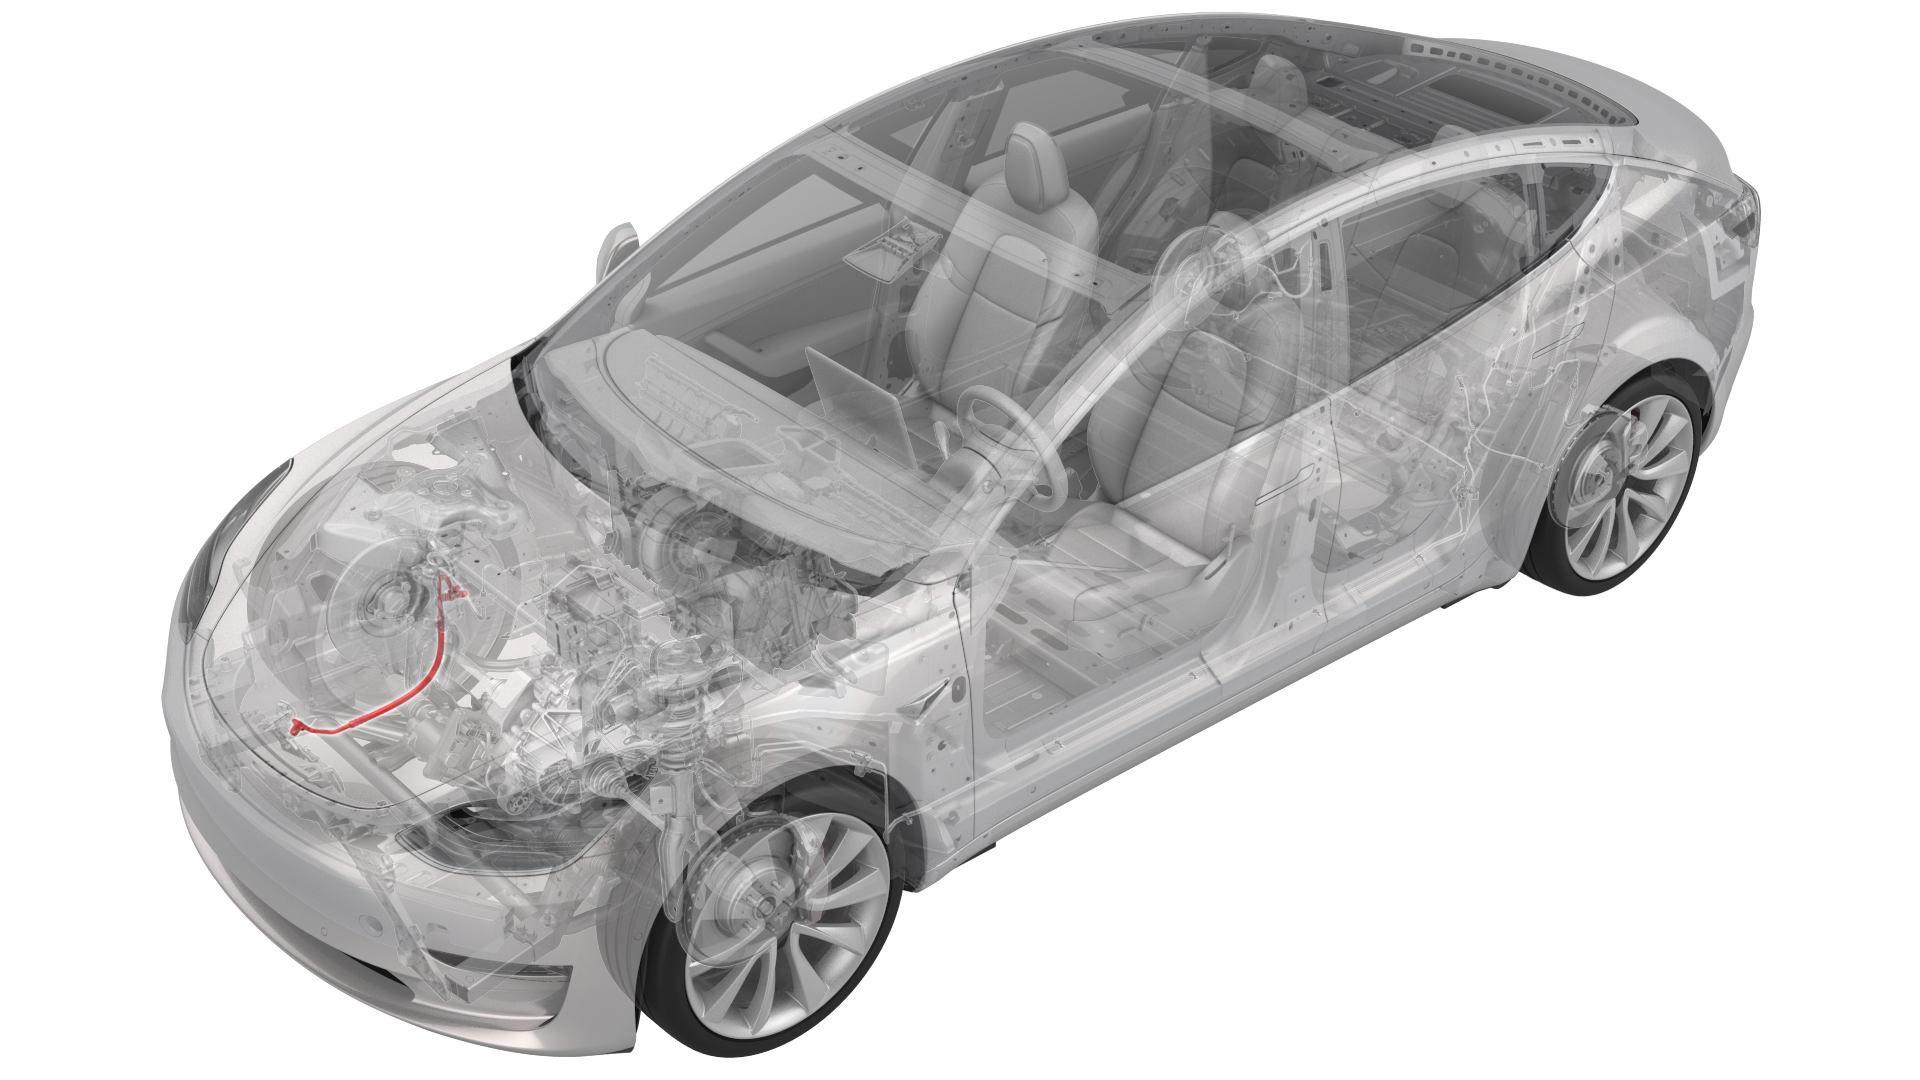
Remove
-
Remove the nut that attaches the compressor-to-condenser high pressure pipe to the cooling fan module, and then release the pipe.
 Torque 22 Nm
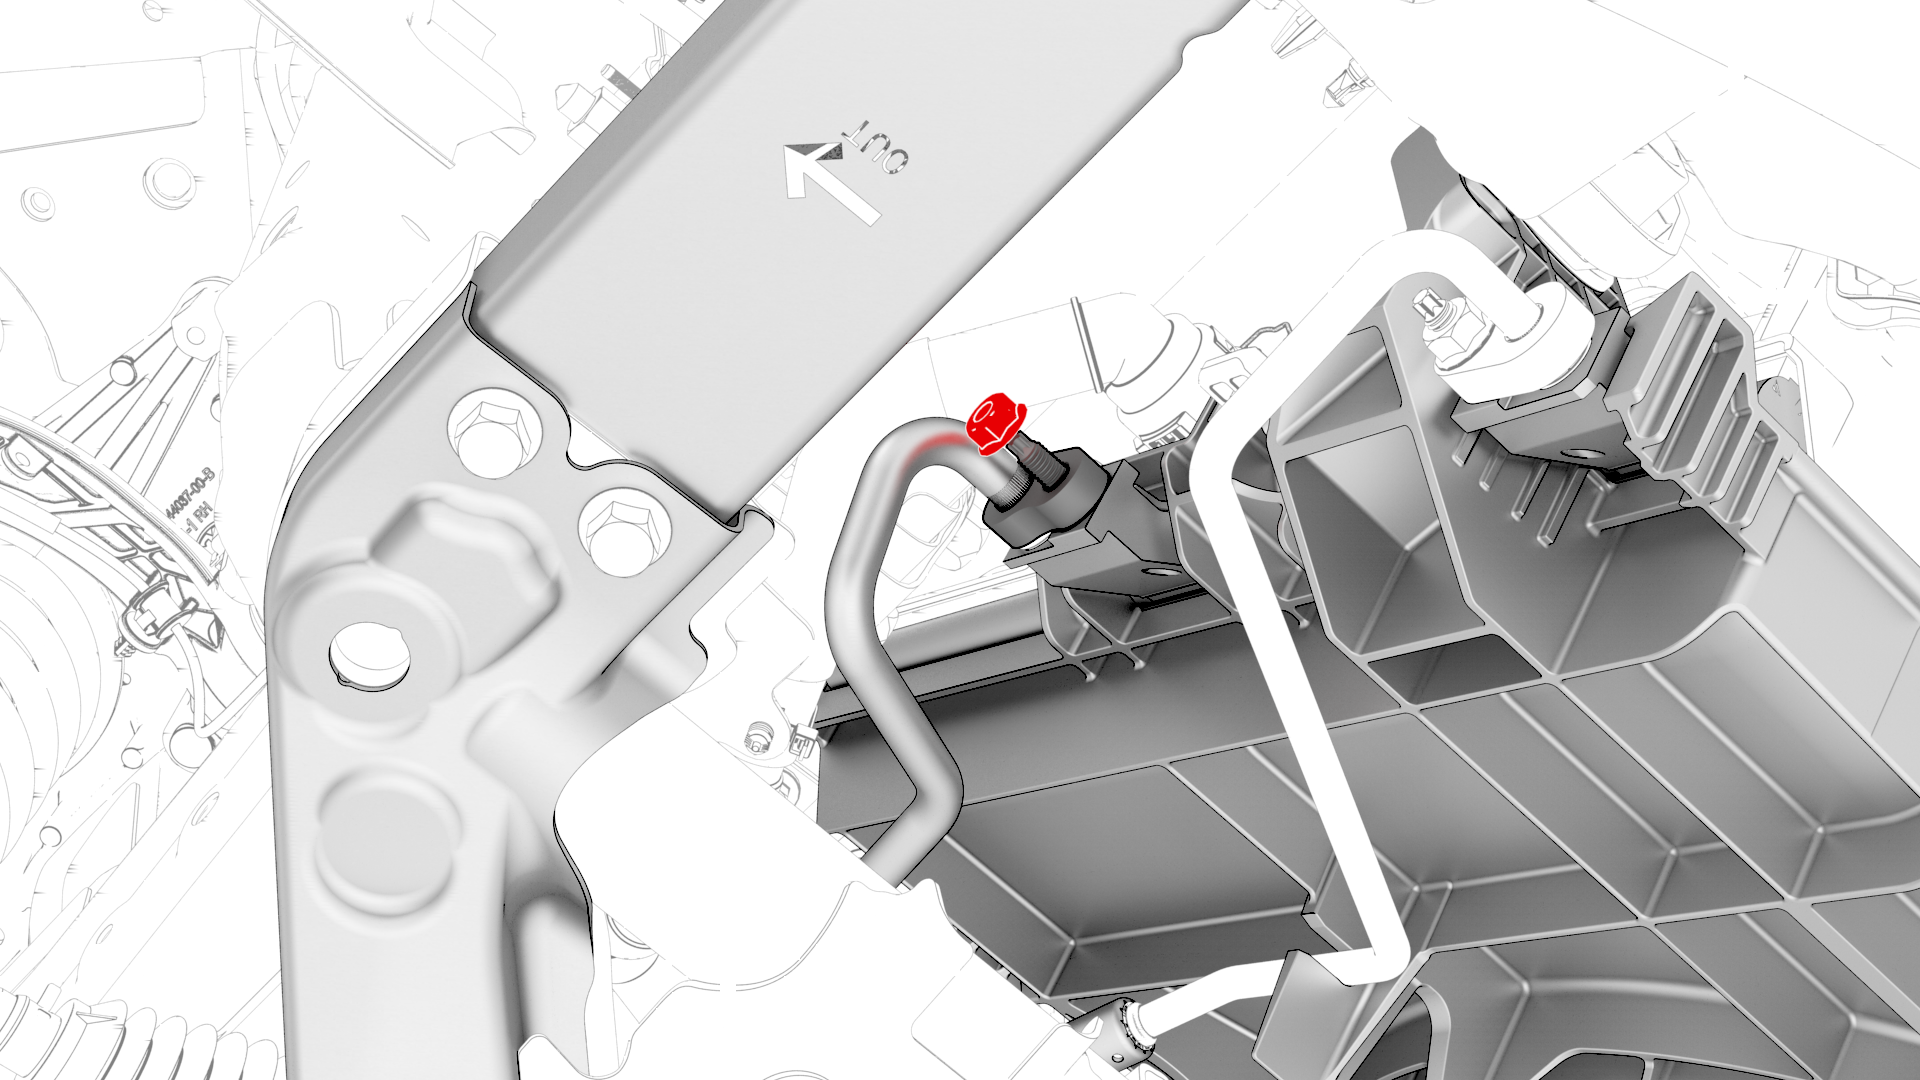
-
Remove the bolt that attaches the suction/liquid lines bracket to the shock tower brace, and then release the bracket from the shock tower brace.
 Torque 5.5 Nm
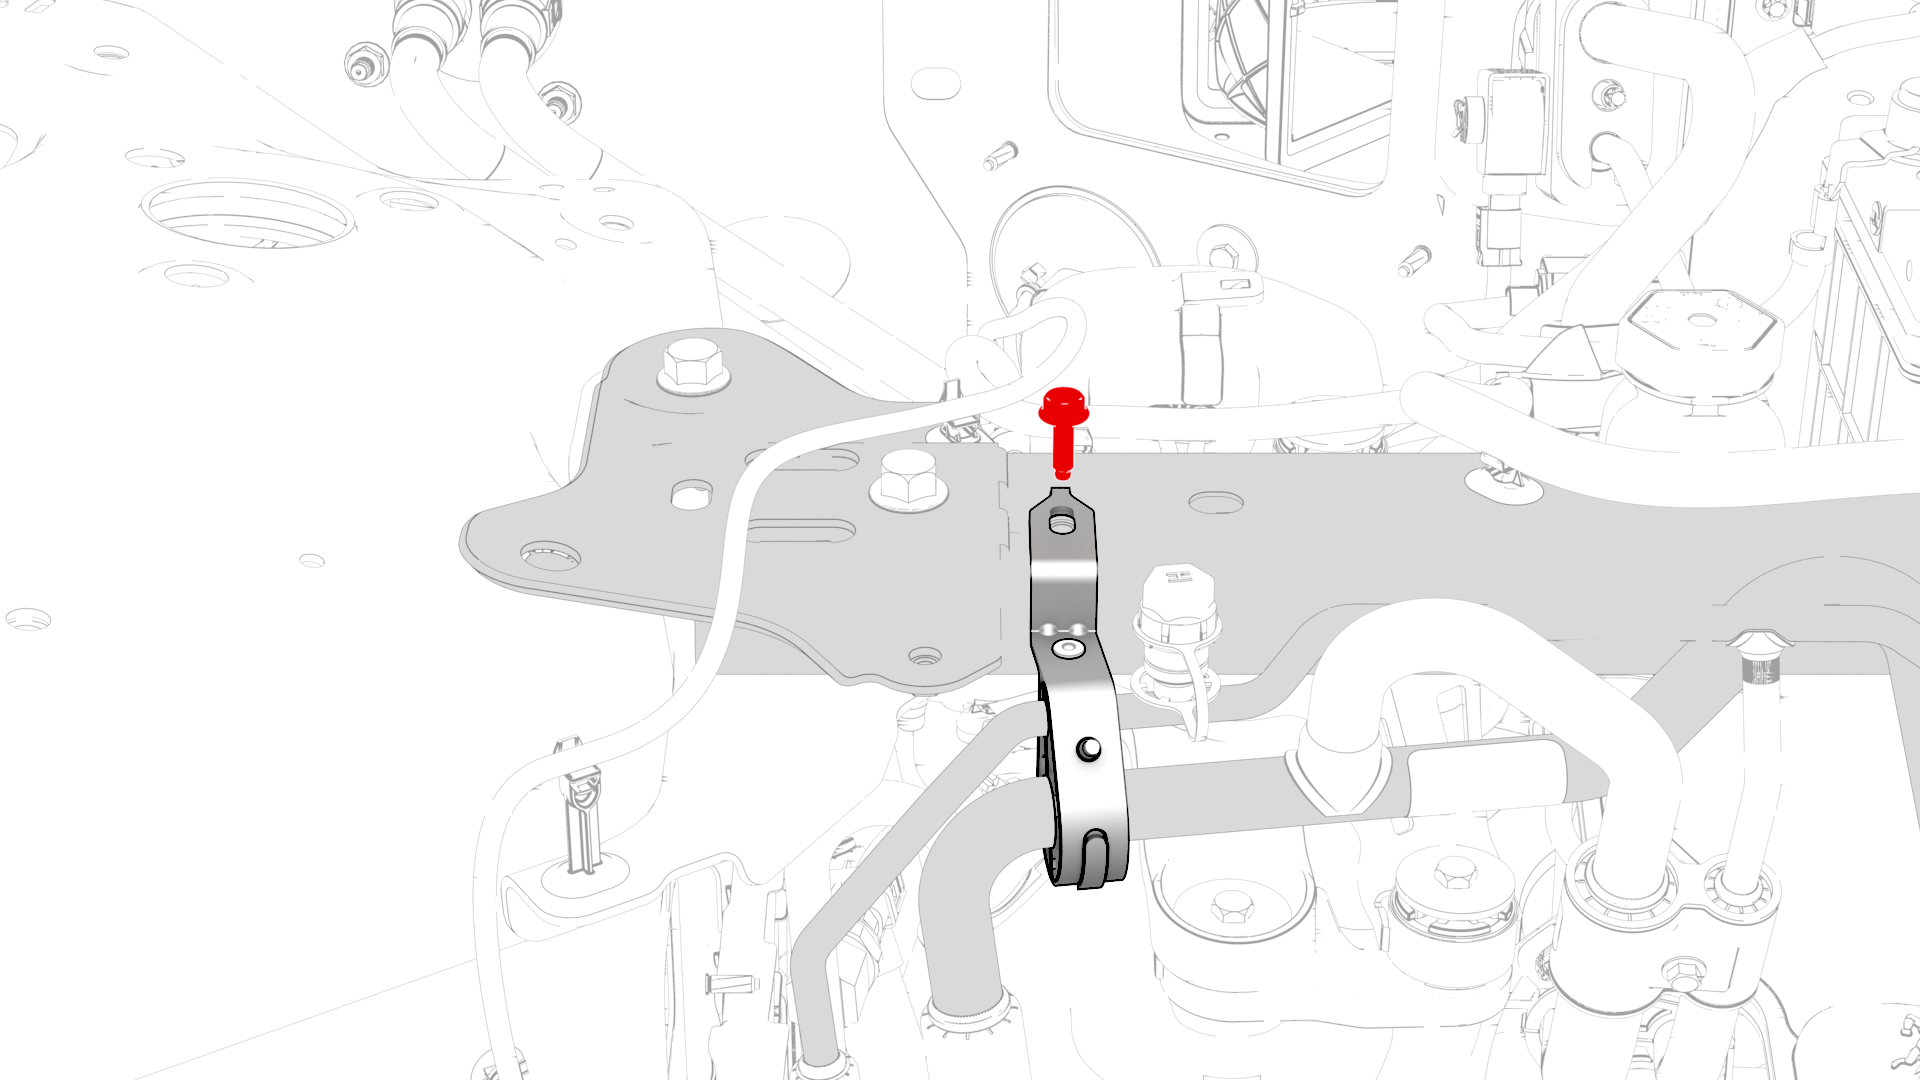
-
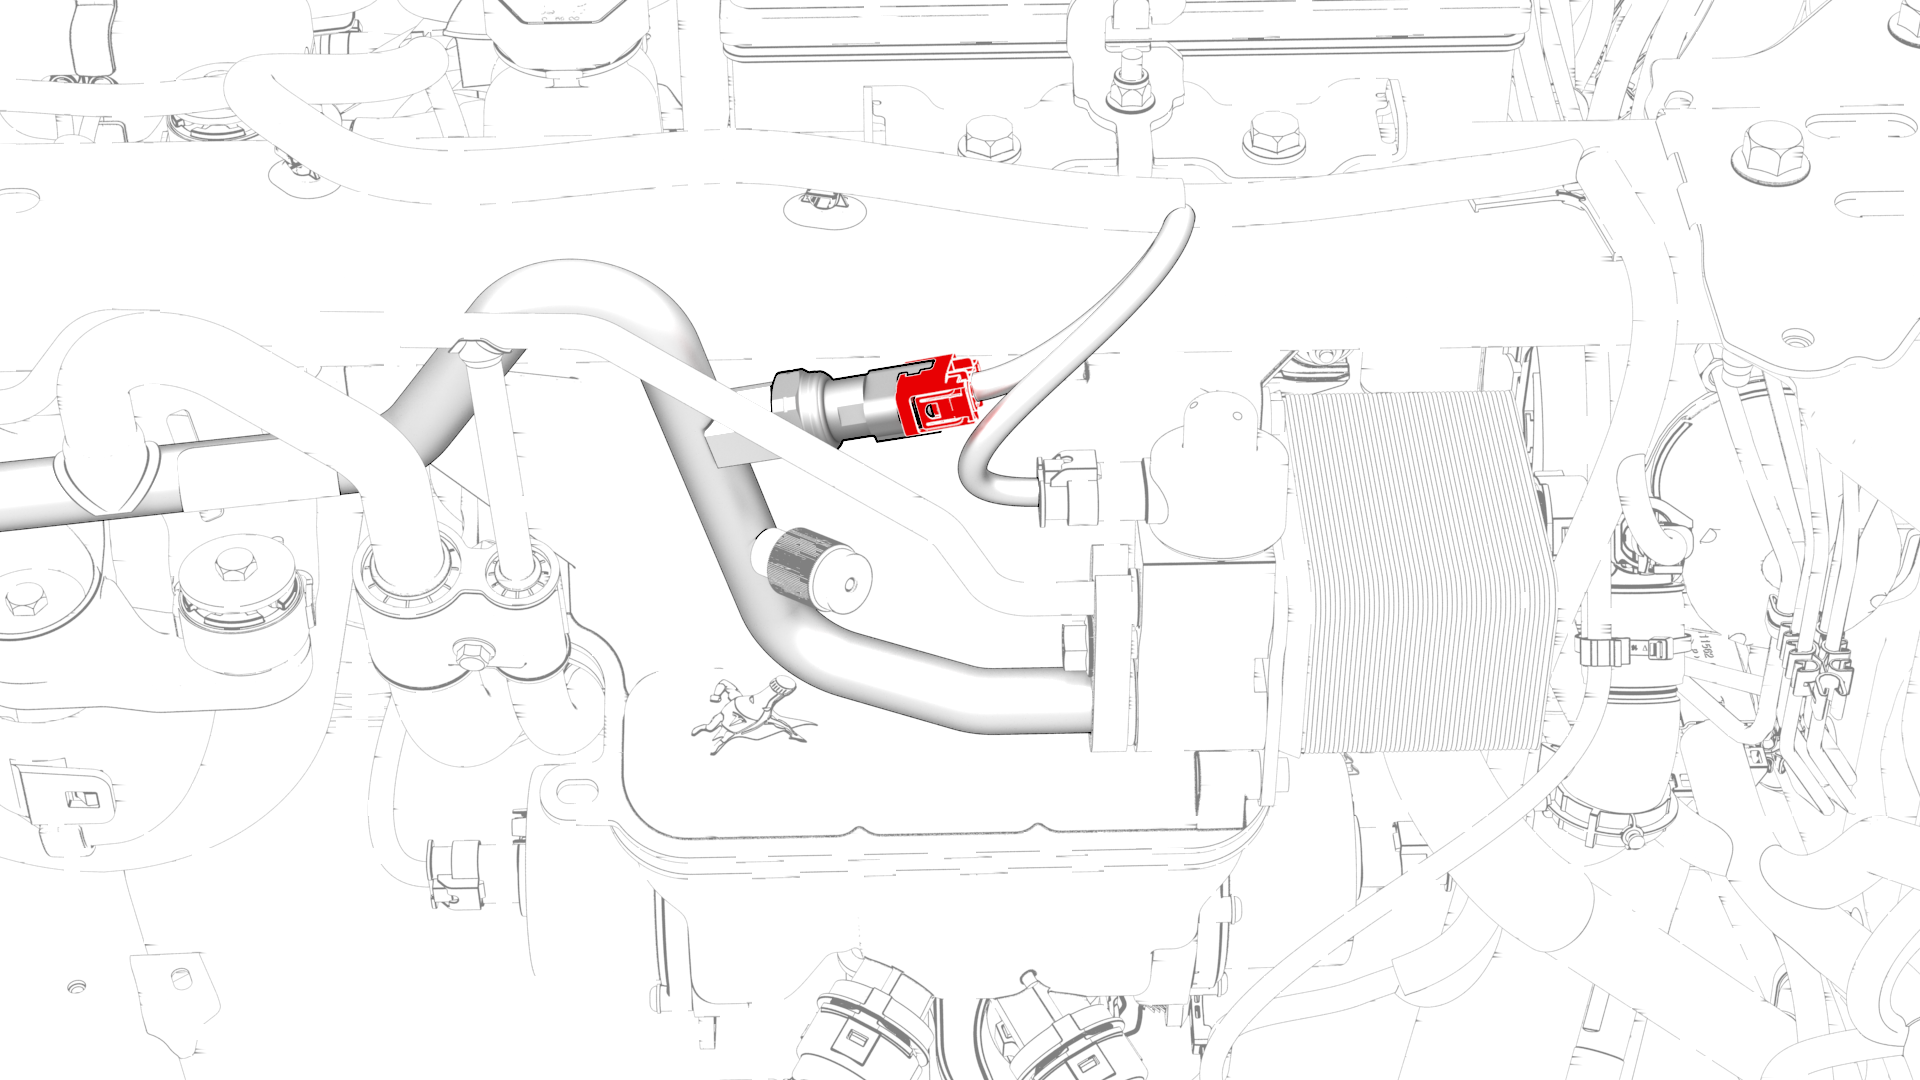
Disconnect the electrical connector from the low pressure transducer.
-
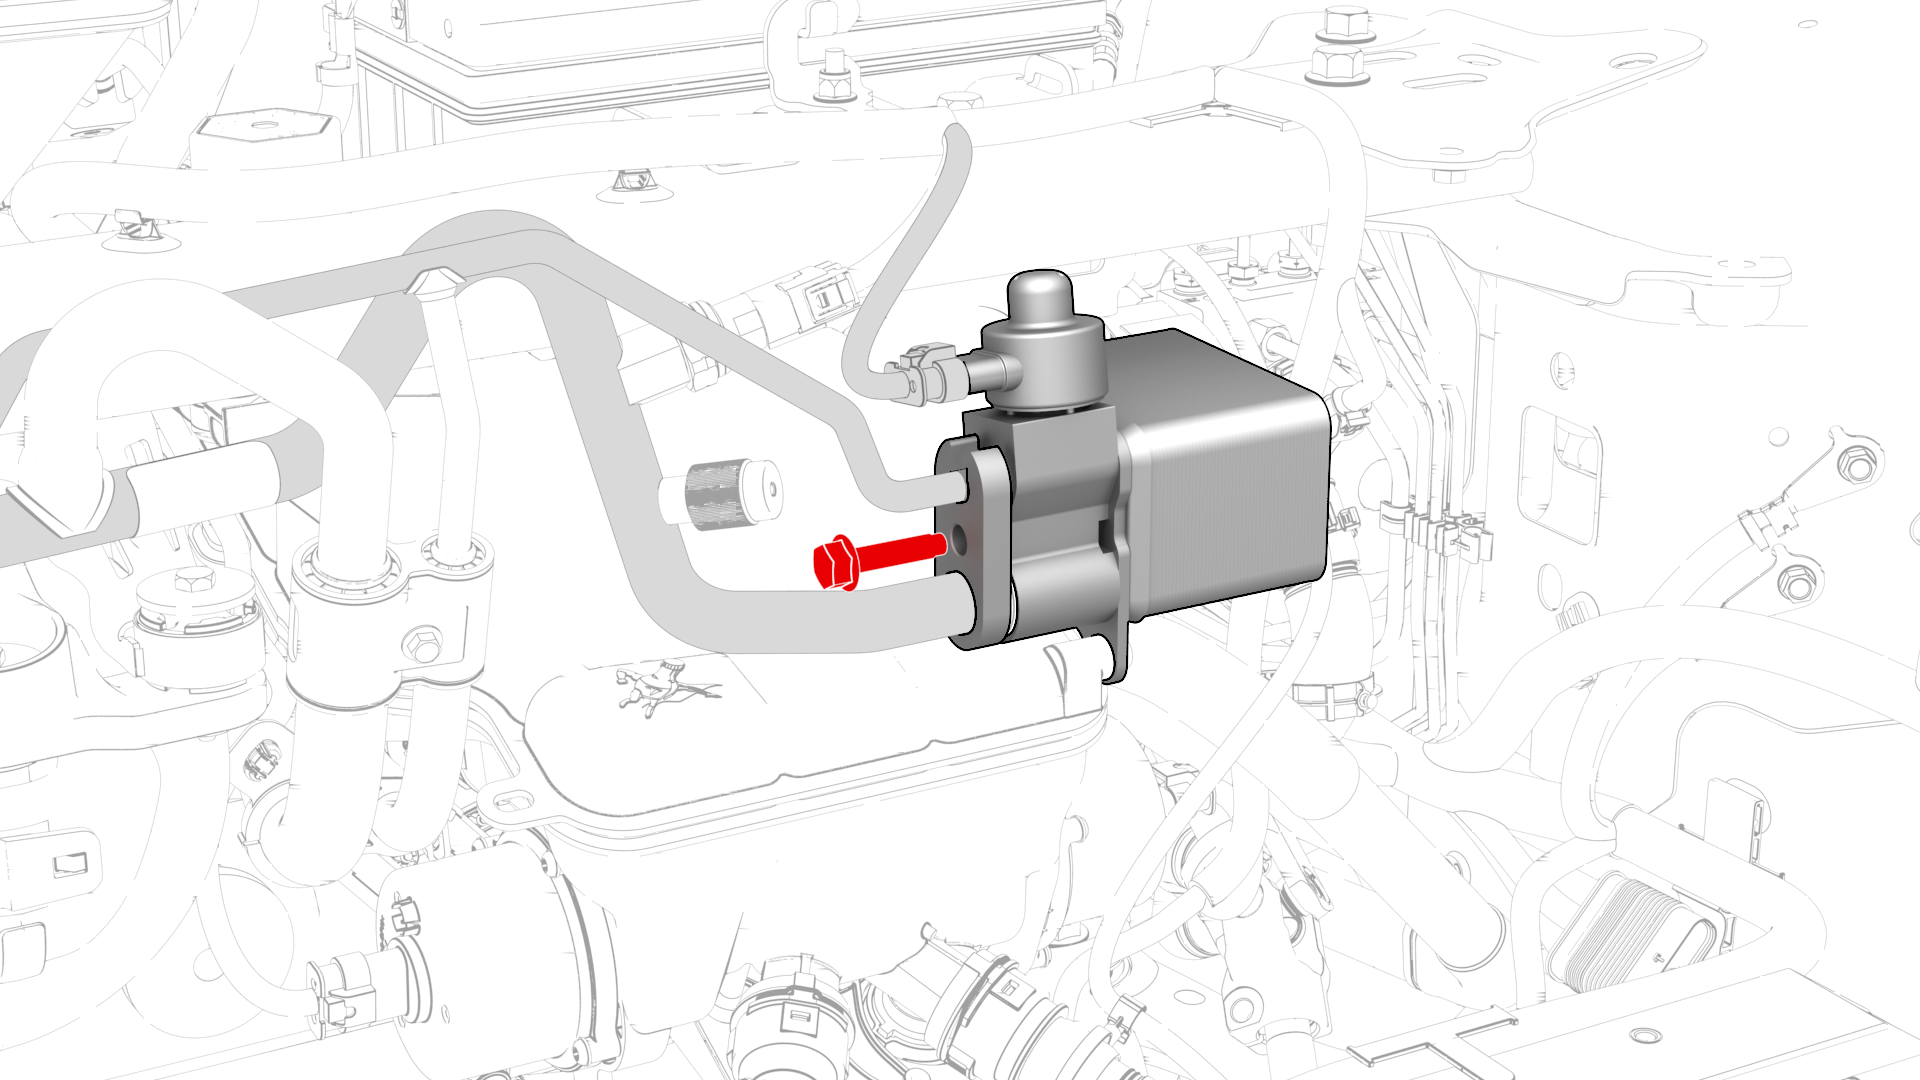
Remove the bolt that attaches the liquid line to the chiller and EXV assembly.
-
Remove the nut that attaches the pipe to the A/C compressor, and then release the pipe.

-
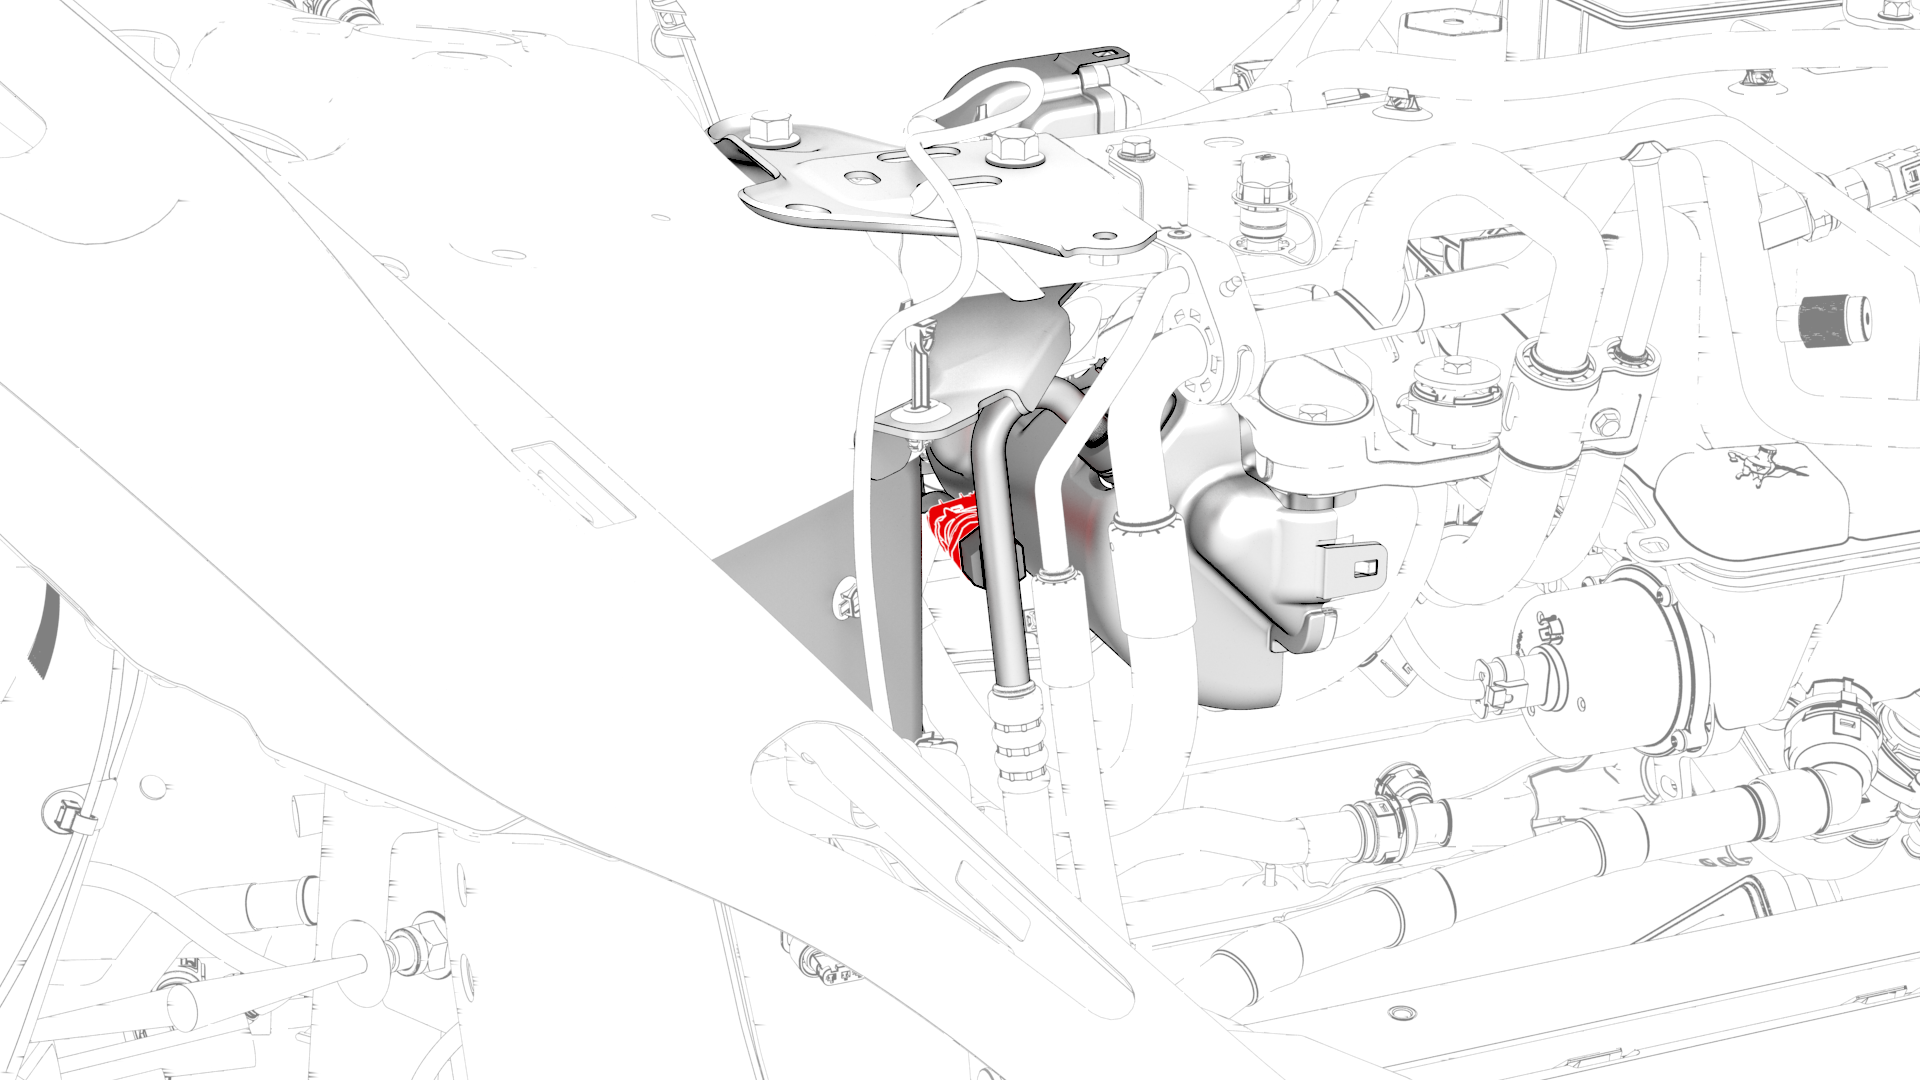
Disconnect the electrical connector from the high pressure transducer.
-
Remove the compressor-to-condenser high pressure pipe from the vehicle.
| 1 | Raise and support the vehicle. See Raise Vehicle - 2 Post Lift. | ||
| 2 | Remove the 2nd row lower seat cushion. See Seat Cushion - Lower - 2nd Row (Remove and Replace). | ||
| 3 | Remove the rear underhood apron. See Underhood Apron - Rear (Remove and Replace). | ||
| 4 | Remove the cabin intake duct. See Duct - Cabin Intake (Remove and Replace). | ||
| 5 | Remove the hood latch cover. See Cover - Hood Latch (Remove and Replace). | ||
| 6 | Remove the underhood storage unit. See Underhood Storage Unit (Remove and Replace). | ||
| 7 | Perform the A/C refrigerant recovery. See A/C Refrigerant (Recovery and Recharge). | ||
| 8 | Disconnect 12V power. See 12V Power (Disconnect and Connect). | ||
| 9 | Remove the front aero shield panel. See Panel - Aero Shield - Front (Remove and Replace). | ||
| 10 | Remove the front fascia valance. See Valance - Front Fascia (Remove and Replace). | ||
| 11 | Remove the nut that attaches the compressor-to-condenser high pressure pipe to the cooling fan module, and then release the pipe. Torque 22 Nm | |
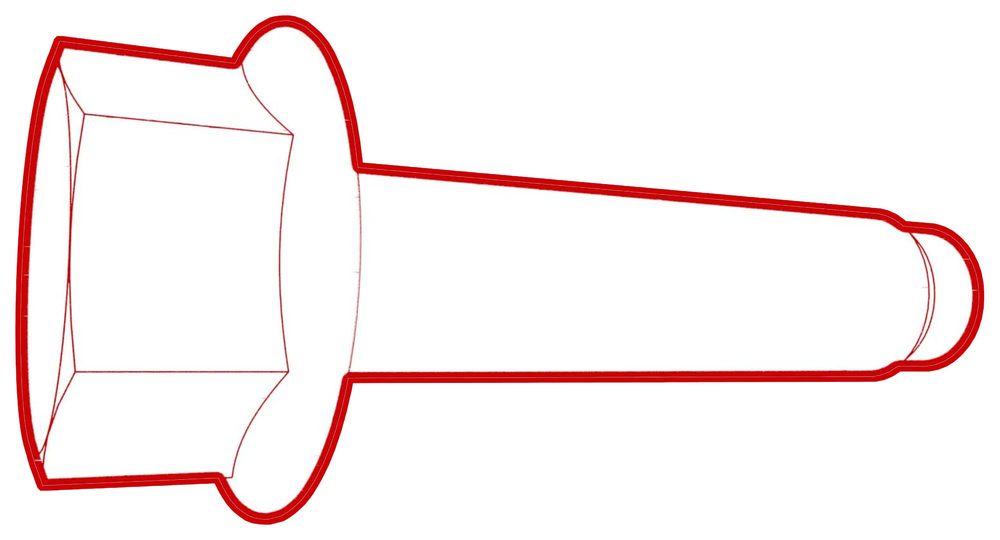
| 12 | Remove the O-ring from the cooling fan module pipe. | ||
| 13 | Lower the vehicle to access the hood area. | ||
| 14 | Remove the bolt that attaches the suction/liquid lines bracket to the shock tower brace, and then release the bracket from the shock tower brace. Torque 5.5 Nm | |
| 15 | Disconnect the electrical connector from the low pressure transducer. | |
| 16 | Remove the bolt that attaches the liquid line to the chiller and EXV assembly. | |
| 17 | Remove the nut that attaches the pipe to the A/C compressor, and then release the pipe. | |
| 18 | Disconnect the electrical connector from the high pressure transducer. | |
| 19 | Remove the compressor-to-condenser high pressure pipe from the vehicle. |
Install
-
Connect the high pressure transducer electrical connector.
-
Position the compressor-to-condenser high pressure pipe into the A/C compressor, and then install the nut that attaches the compressor-to-condenser high pressure pipe to the A/C compressor.Torque 22 Nm
-
Position the compressor-to-condenser high pressure pipe into the EXV assembly, and then install the bolt that attaches the liquid line to the chiller and EXV assembly.
 Torque 22 Nm
 -
Connect the electrical connector to the low pressure transducer.
-
Position the suction/liquid lines bracket into the shock tower, and then install the bolt that attaches the suction/liquid lines bracket to the shock tower brace.Torque 5.5 Nm
-
Install the nut that attaches the compressor-to-condenser high pressure pipe to the cooling fan module.Torque 22 Nm
| 1 | Install the compressor-to-condenser high pressure pipe into the vehicle. | ||
| 2 | Connect the high pressure transducer electrical connector. | |
| 3 | Install a new O-ring to the compressor-to-condenser high pressure pipe. | ||
| 4 | Position the compressor-to-condenser high pressure pipe into the A/C compressor, and then install the nut that attaches the compressor-to-condenser high pressure pipe to the A/C compressor. Torque 22 Nm | |
| 5 | Position the compressor-to-condenser high pressure pipe into the EXV assembly, and then install the bolt that attaches the liquid line to the chiller and EXV assembly. Torque 22 Nm | |
| 6 | Connect the electrical connector to the low pressure transducer. | |
| 7 | Position the suction/liquid lines bracket into the shock tower, and then install the bolt that attaches the suction/liquid lines bracket to the shock tower brace. Torque 5.5 Nm | |
| 8 | Fully raise the vehicle. | ||
| 9 | Install the nut that attaches the compressor-to-condenser high pressure pipe to the cooling fan module. Torque 22 Nm | |
| 10 | Install the front fascia valance. See Valance - Front Fascia (Remove and Replace). | ||
| 11 | Install the front aero shield panel. See Panel - Aero Shield - Front (Remove and Replace). | ||
| 12 | Connect 12V power. See 12V Power (Disconnect and Connect). | ||
| 13 | Perform the A/C refrigerant. See A/C Refrigerant (Recovery and Recharge). | ||
| 14 | Install the underhood storage unit. See Underhood Storage Unit (Remove and Replace). | ||
| 15 | Install the hood latch cover. See Cover - Hood Latch (Remove and Replace). | ||
| 16 | Install the cabin intake duct. See Duct - Cabin Intake (Remove and Replace). | ||
| 17 | Install the rear underhood apron. See Underhood Apron - Rear (Remove and Replace). |