Adjustable Top Loop (Remove and Replace)
Correction code 2005100120051001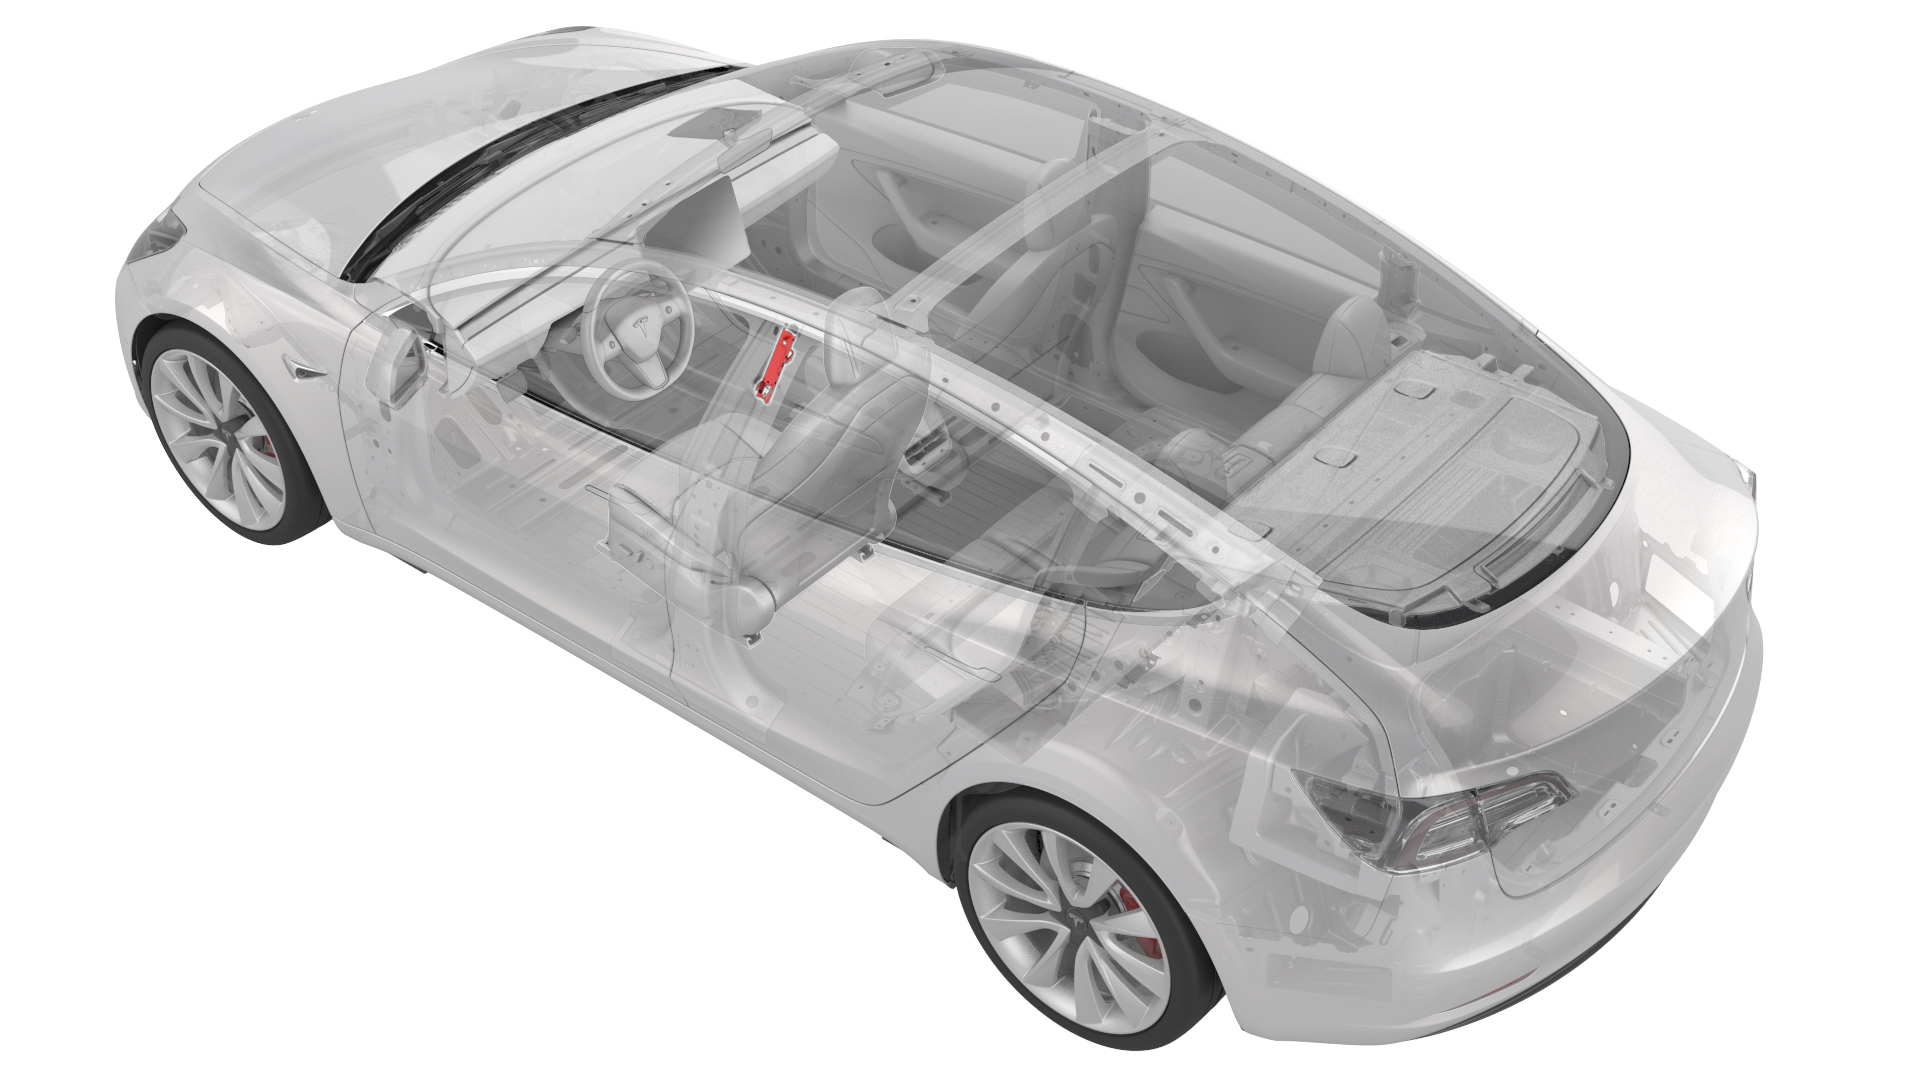
Remove
-
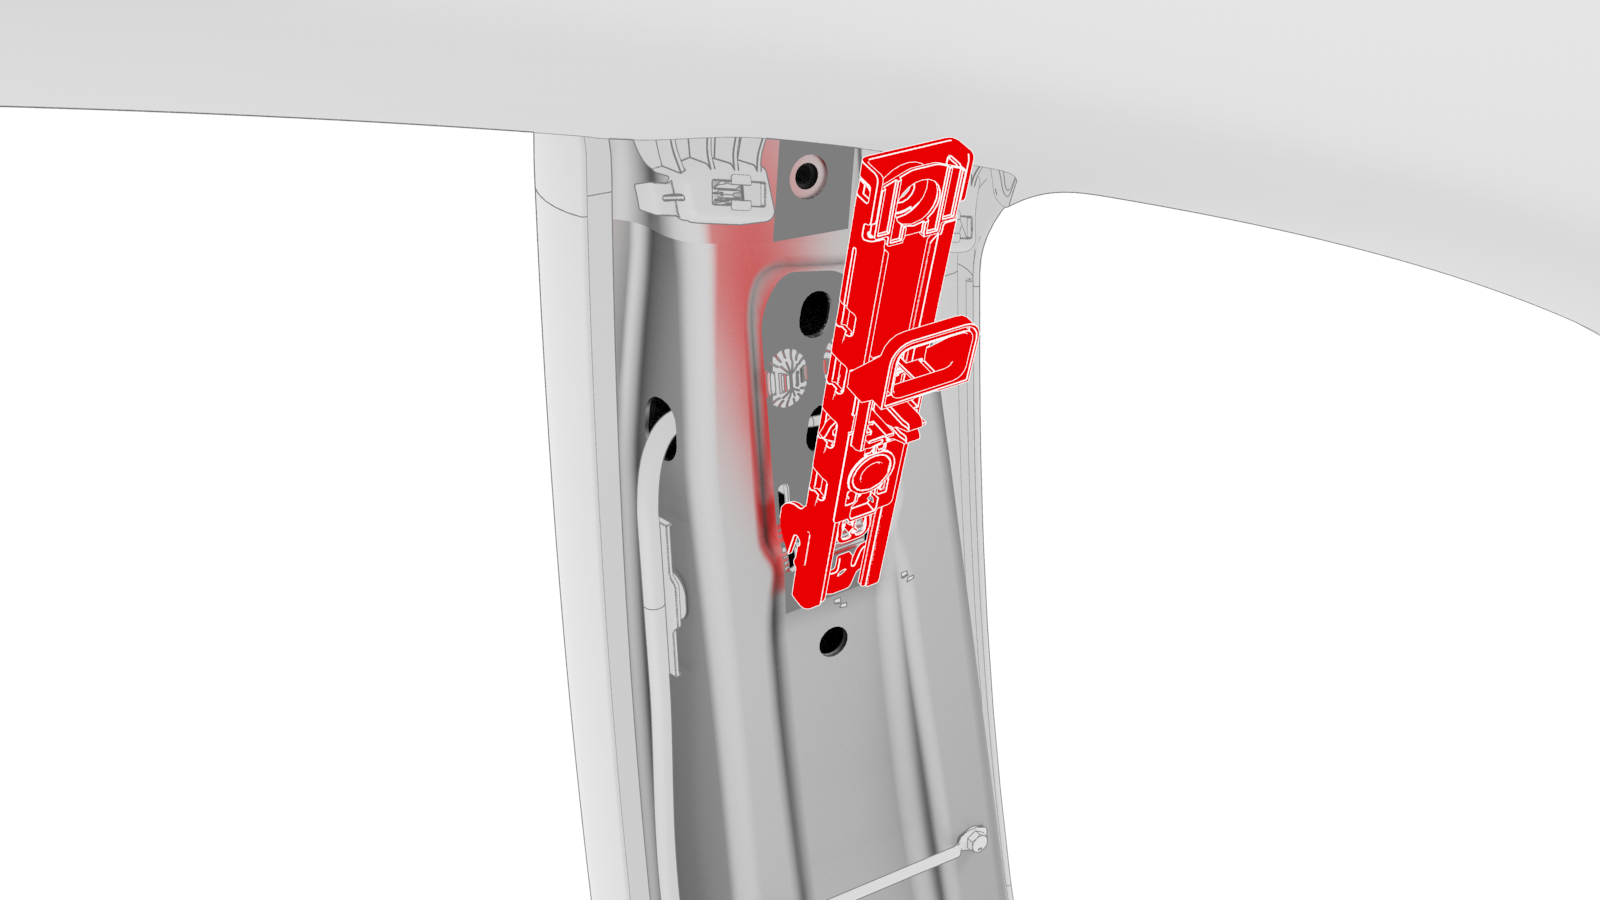
Release the clips that attach the LH upper B-pillar trim to the vehicle.
 Tip: Release the clips at the bottom of the LH upper B-pillar trim first, and then release the clips at the top of the trim.
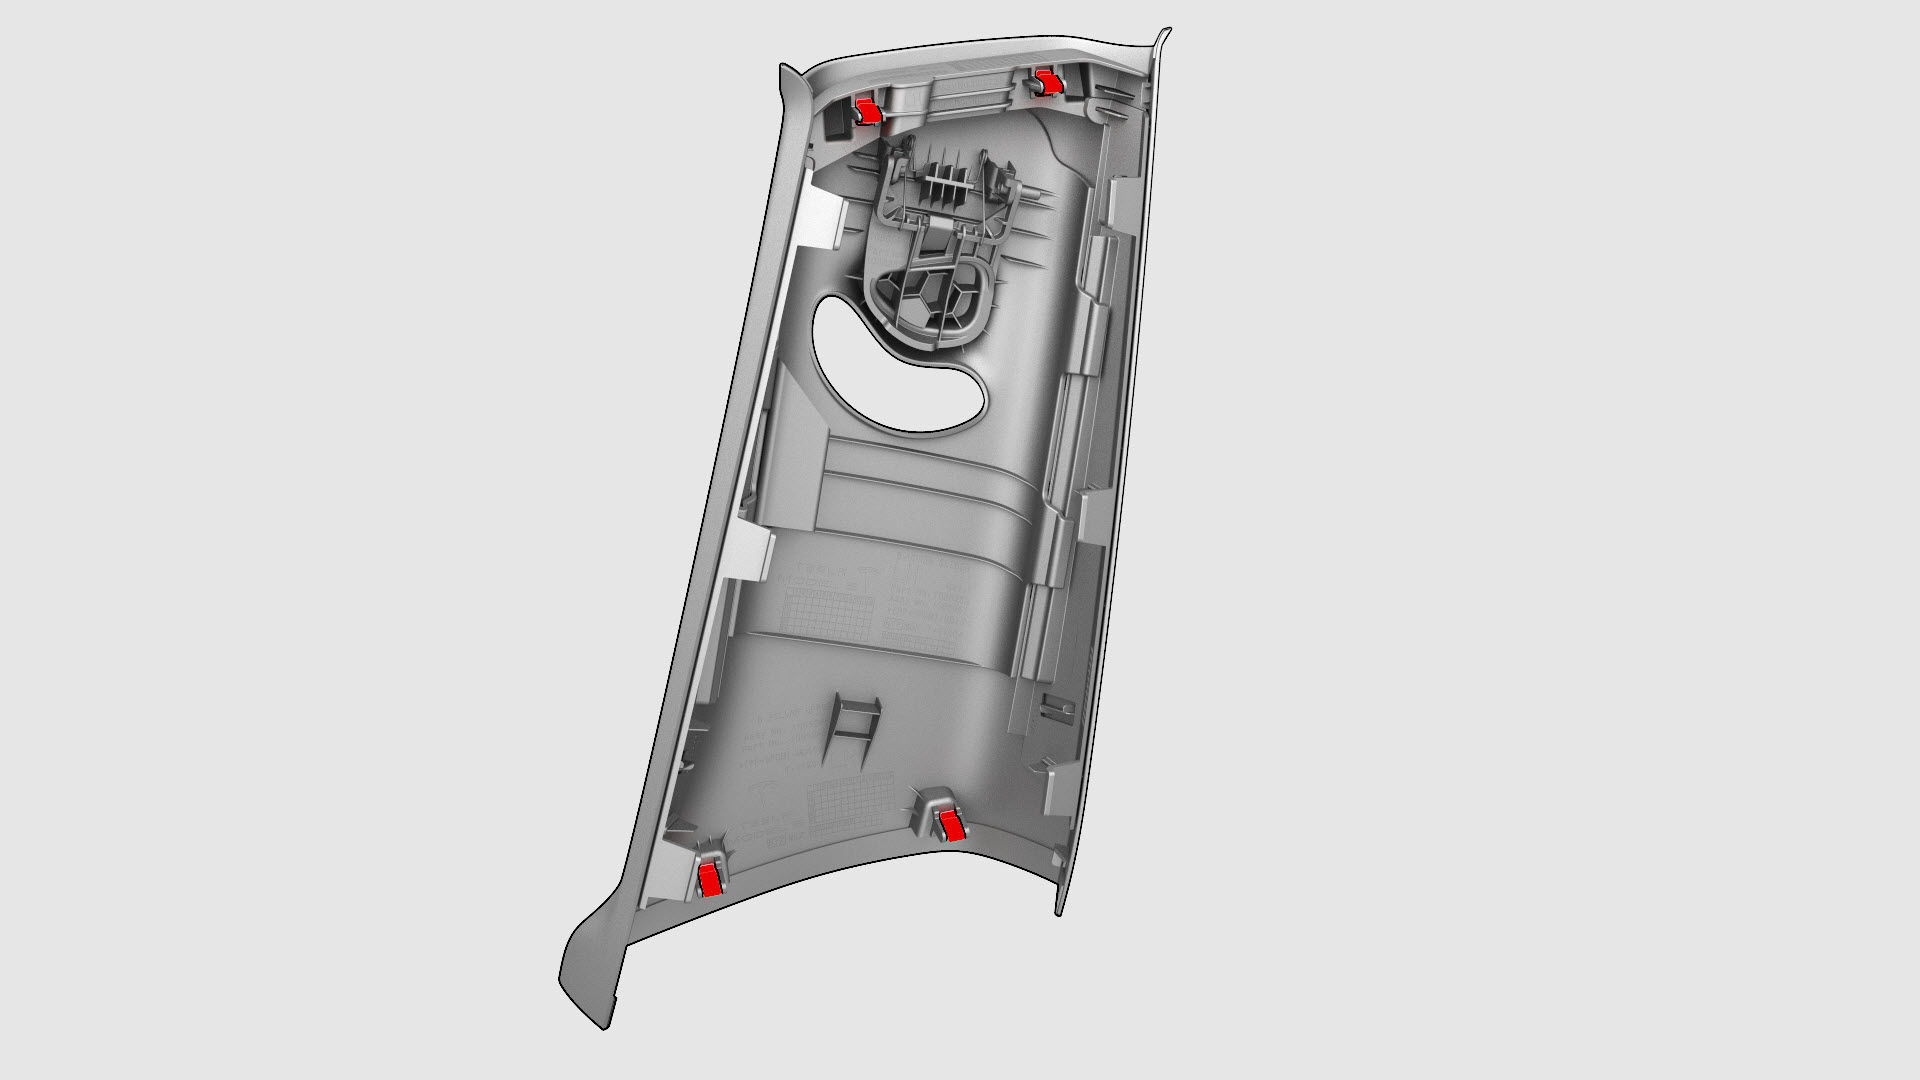
-
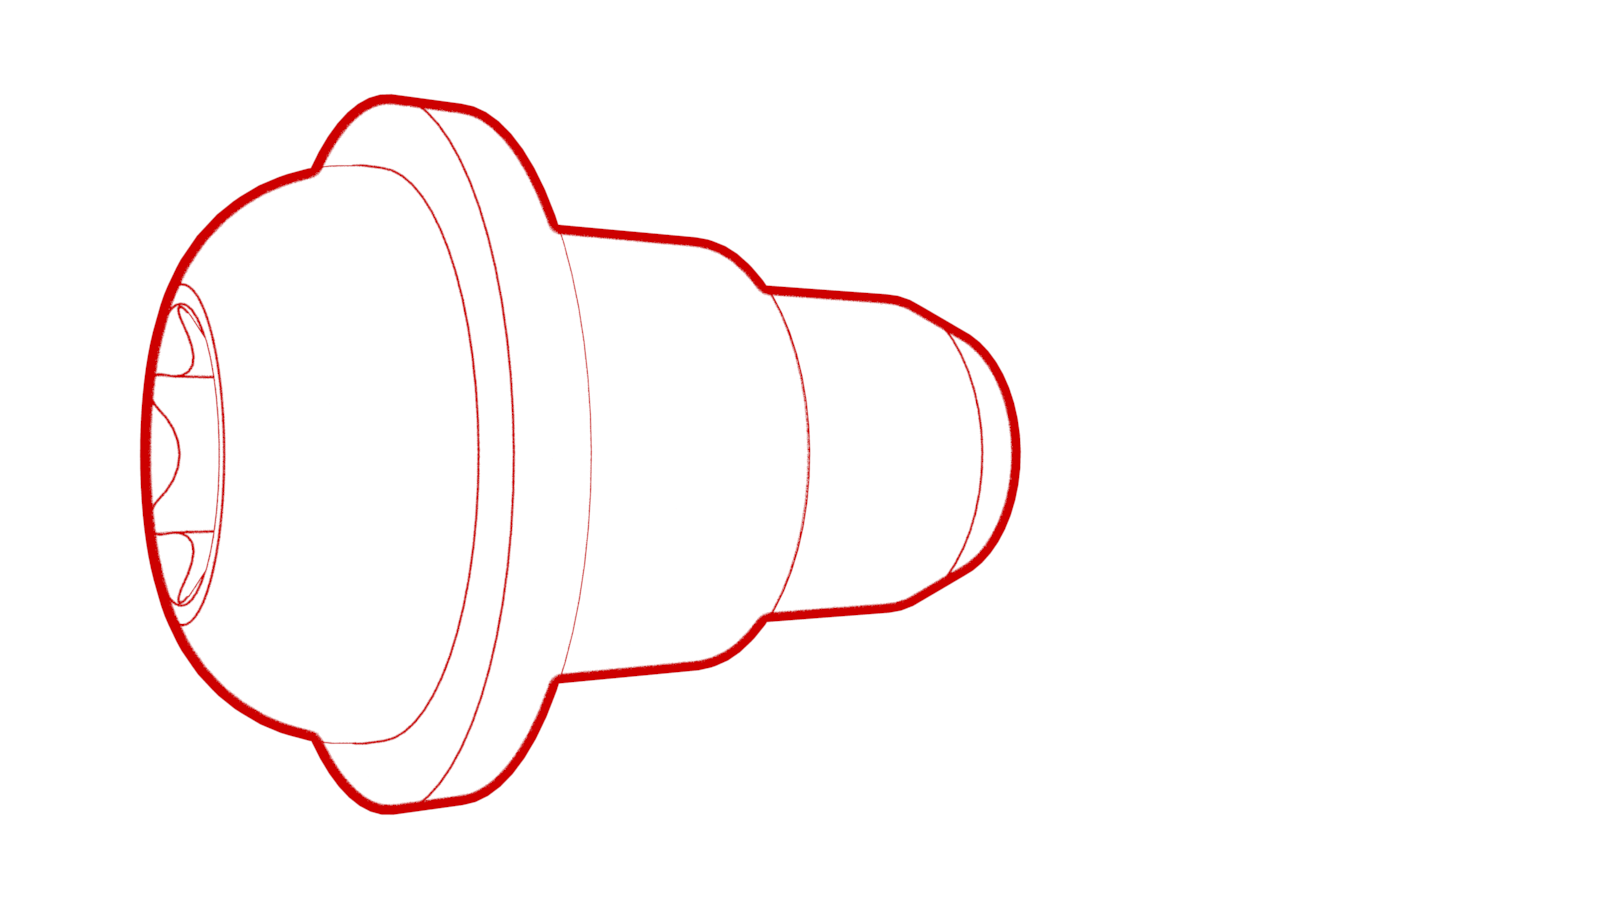
Remove and discard the patchbolt that attaches the upper D-ring to the B-pillar.
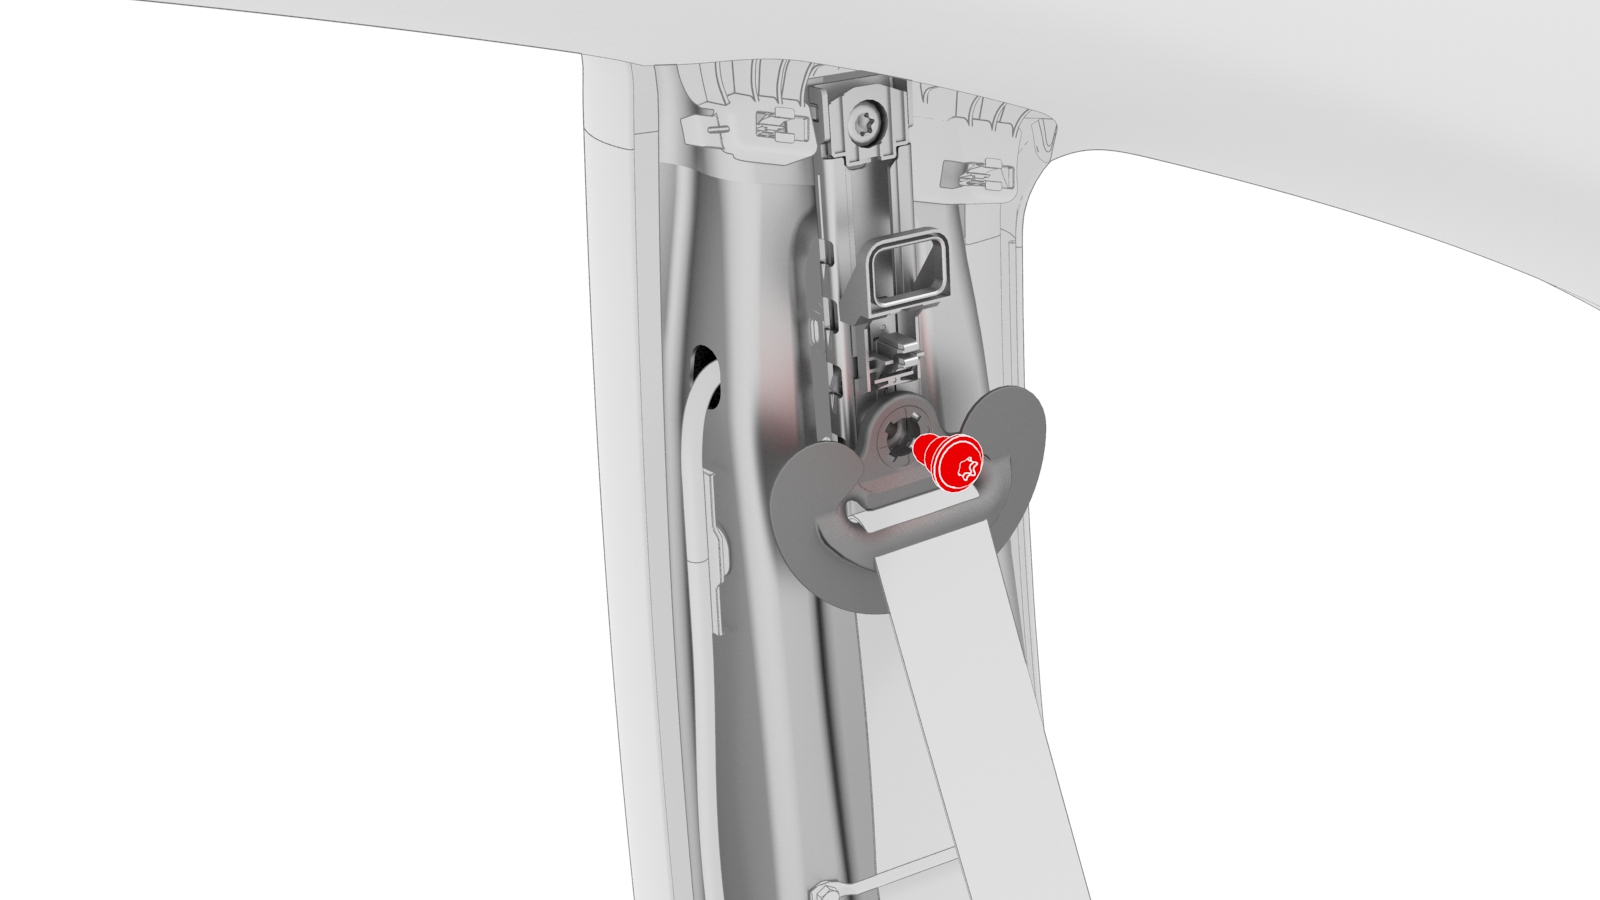
-
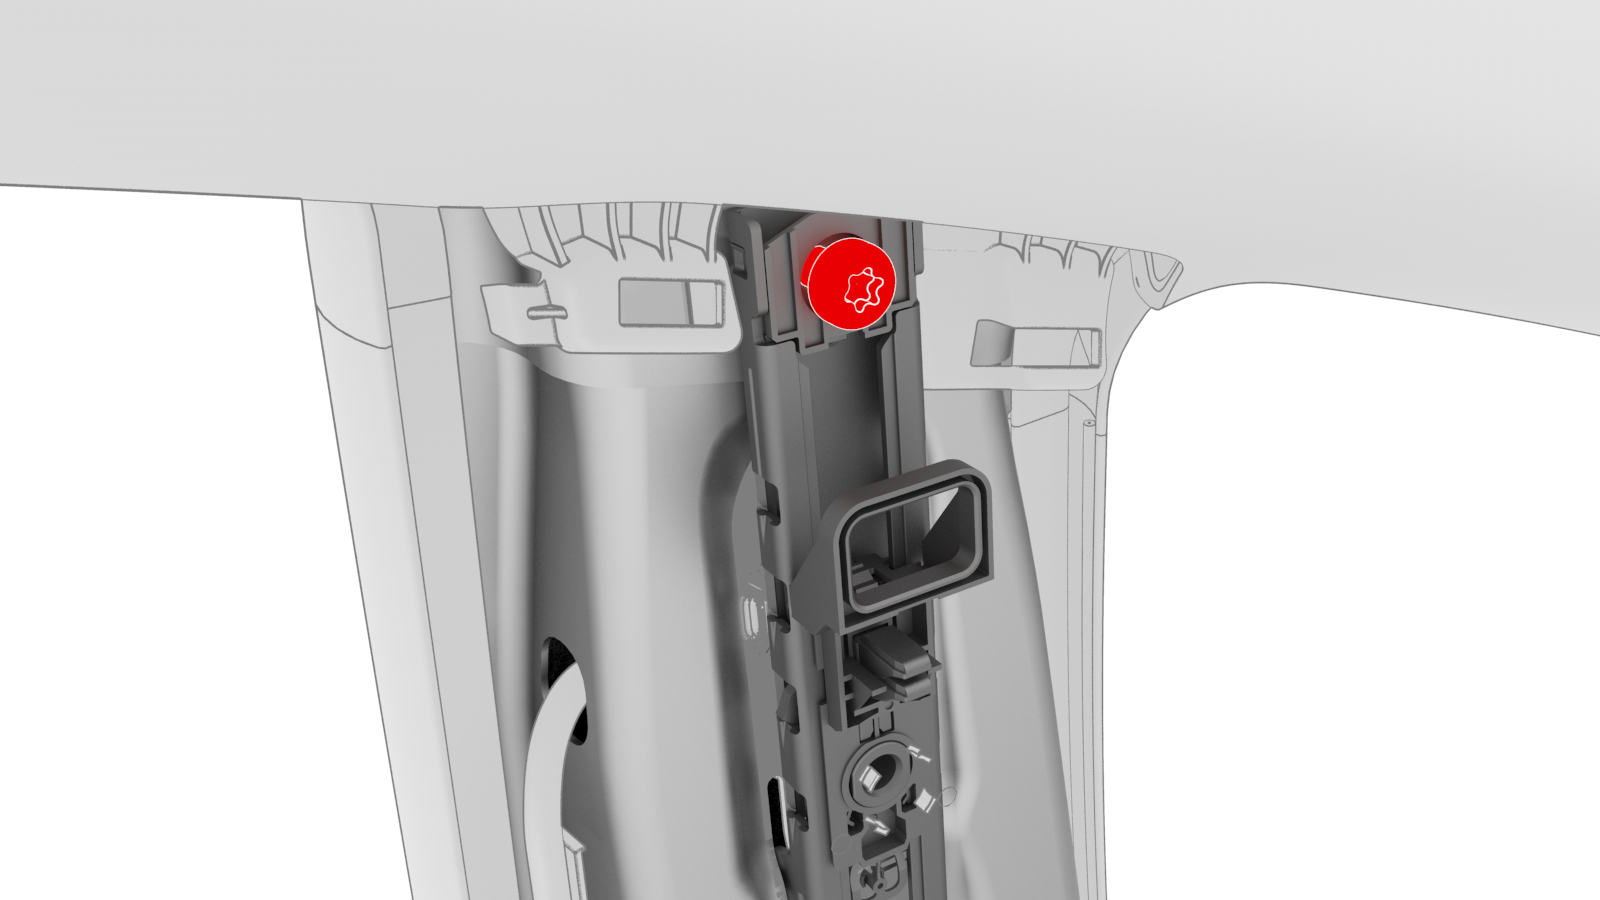
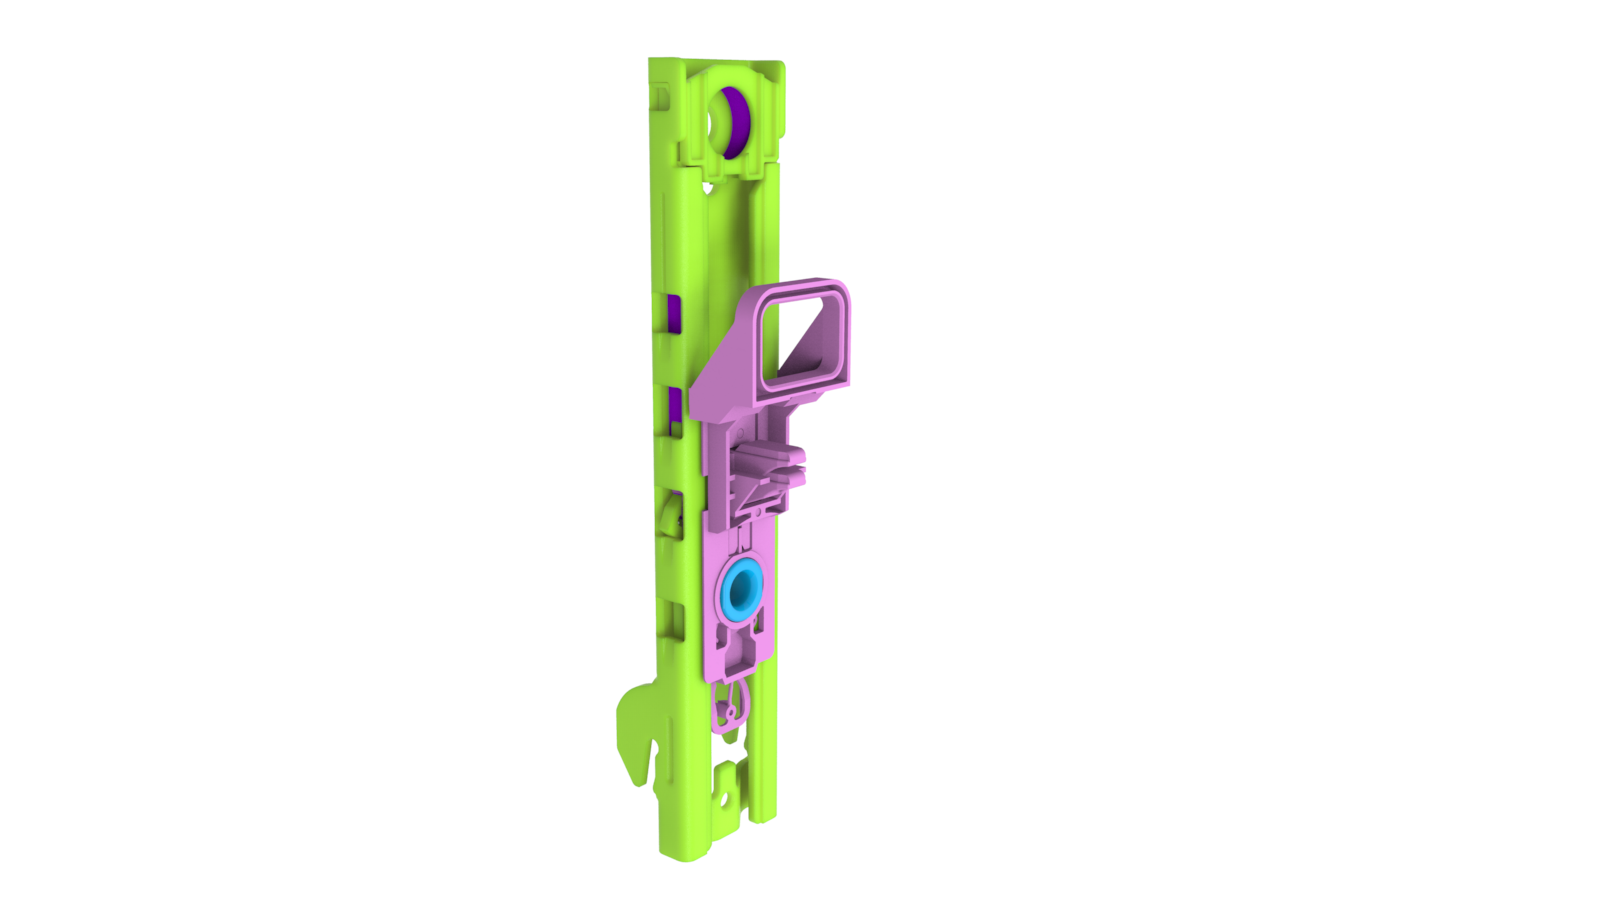
Remove the bolt that attaches the adjustable top loop to the B-pillar.
Note: The patchbolt is permanently attached to the adjustable top loop.
-
Pull the top of the adjustable top loop away from the B-pillar, and then slide upwards to remove the adjustable top loop from the vehicle.
| 1 | Open both LH doors and lower both LH windows. | ||
| 2 | Move the LH front seat fully forward. | ||
| 3 | Release the clips that attach the LH upper B-pillar trim to the vehicle.Tip: Release the clips at the bottom of the LH upper B-pillar trim first, and then release the clips at the top of the trim. | |
| 4 | Set the LH upper B-pillar trim aside. | ||
| 5 | Remove and discard the patchbolt that attaches the upper D-ring to the B-pillar. | |
| 6 | Remove the bolt that attaches the adjustable top loop to the B-pillar. Note: The patchbolt is permanently attached to the adjustable top loop.
| |
| 7 | Pull the top of the adjustable top loop away from the B-pillar, and then slide upwards to remove the adjustable top loop from the vehicle. |
Install
-
Position the adjustable top loop on the B-pillar, and then install the new patchbolt that attaches the adjustable top loop to the B-pillar.
 Torque 20 Nm
 -
Install the new patchbolt that attaches the upper D-ring to the B-pillar.
 Torque 20 Nm
 -
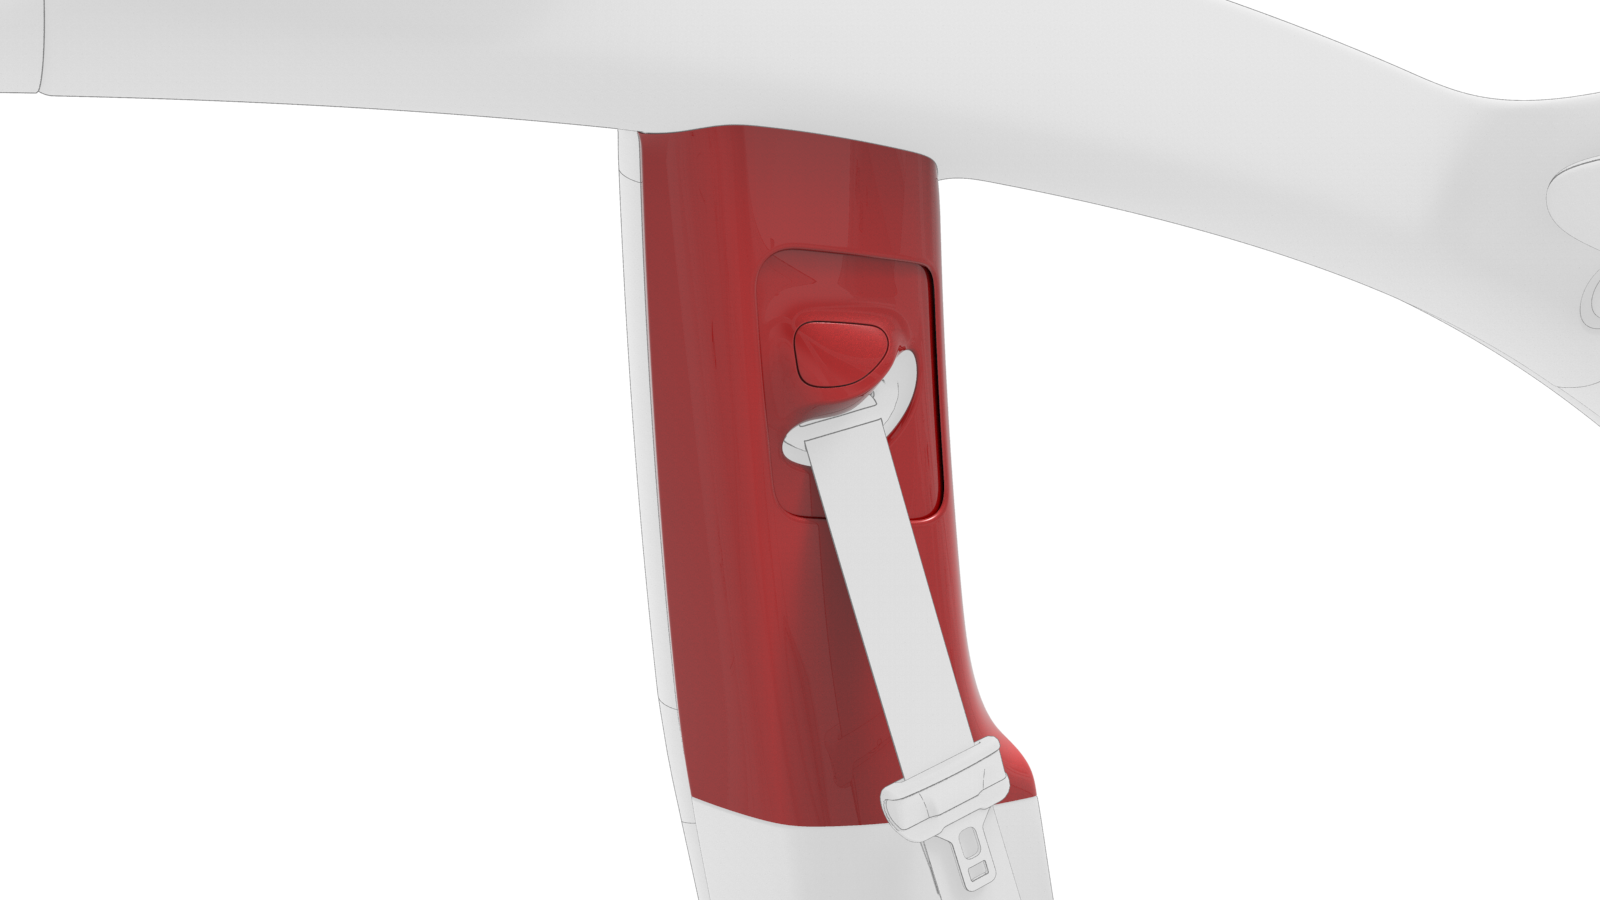
Lower the adjustable top loop to align it with the LH upper B-pillar trim.

-
Insert the top portion of the LH upper B-pillar trim under the headliner to align the clips, and then press the bottom of the trim to fully engage all of the clips.
Note: Make sure the rubber door seals completely overlap the trim.
| 1 | Position the adjustable top loop on the B-pillar, and then install the new patchbolt that attaches the adjustable top loop to the B-pillar. Torque 20 Nm | |
| 2 | Install the new patchbolt that attaches the upper D-ring to the B-pillar. Torque 20 Nm | |
| 3 | Lower the adjustable top loop to align it with the LH upper B-pillar trim. | |
| 4 | Insert the top portion of the LH upper B-pillar trim under the headliner to align the clips, and then press the bottom of the trim to fully engage all of the clips. Note: Make sure the rubber door seals completely overlap the trim.
|