Heat Exchanger - Rear Drive Unit (Remove and Replace)
Correction code 4030520240305202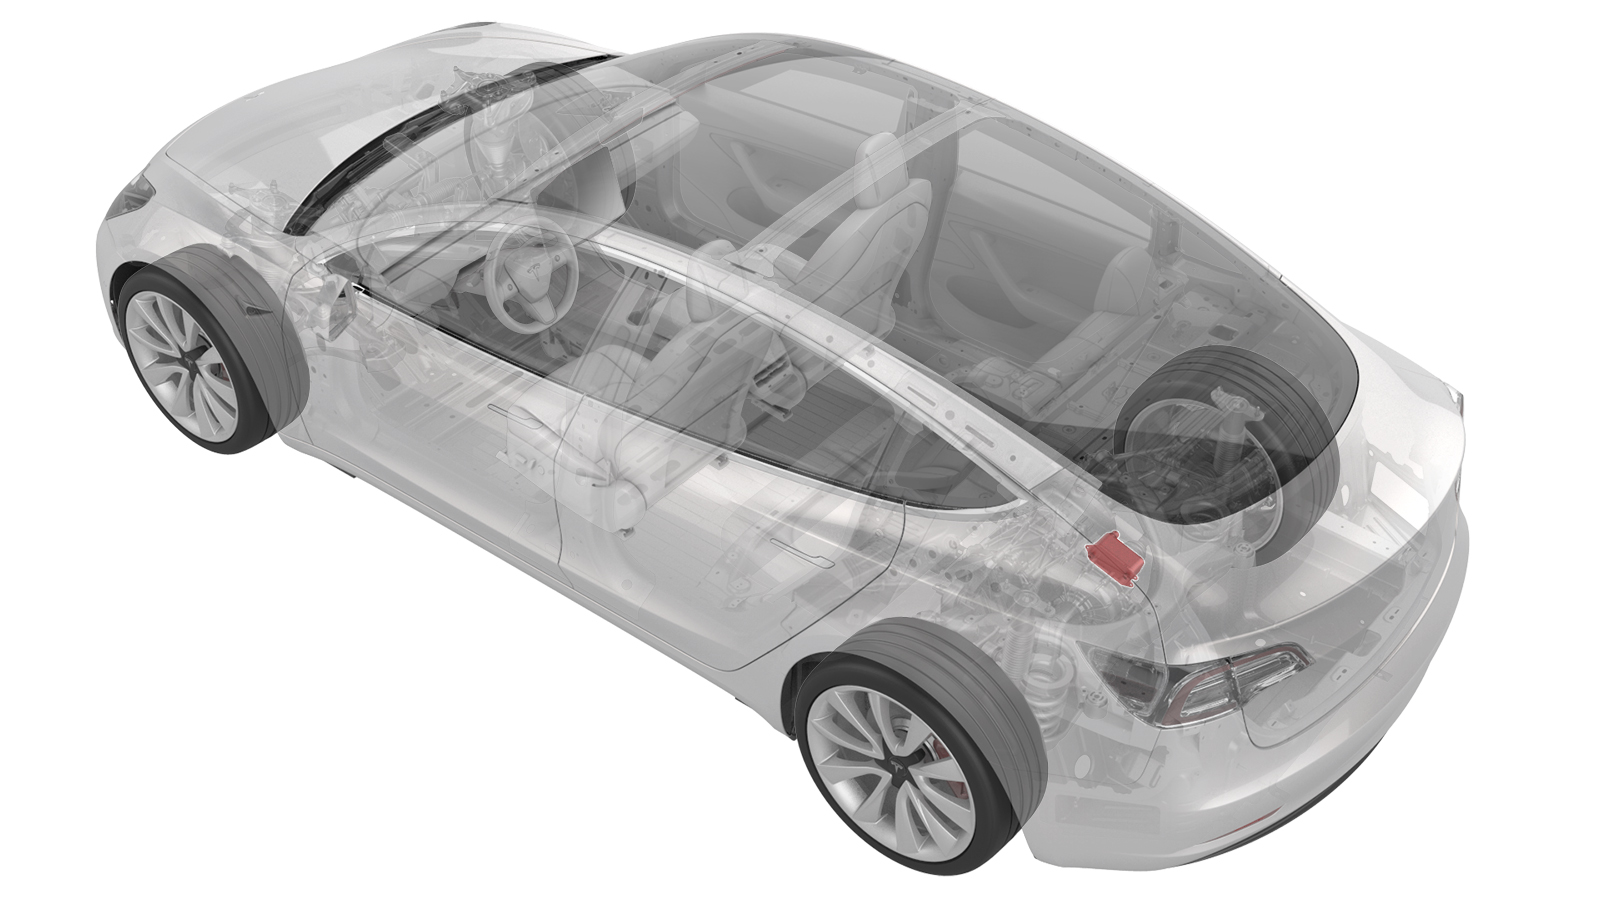
Remove
Note: Rear subframe assembly components have been removed from illustrations for clarity. It is not necessary to remove the rear drive unit from the rear subframe assembly to perform this procedure.
-
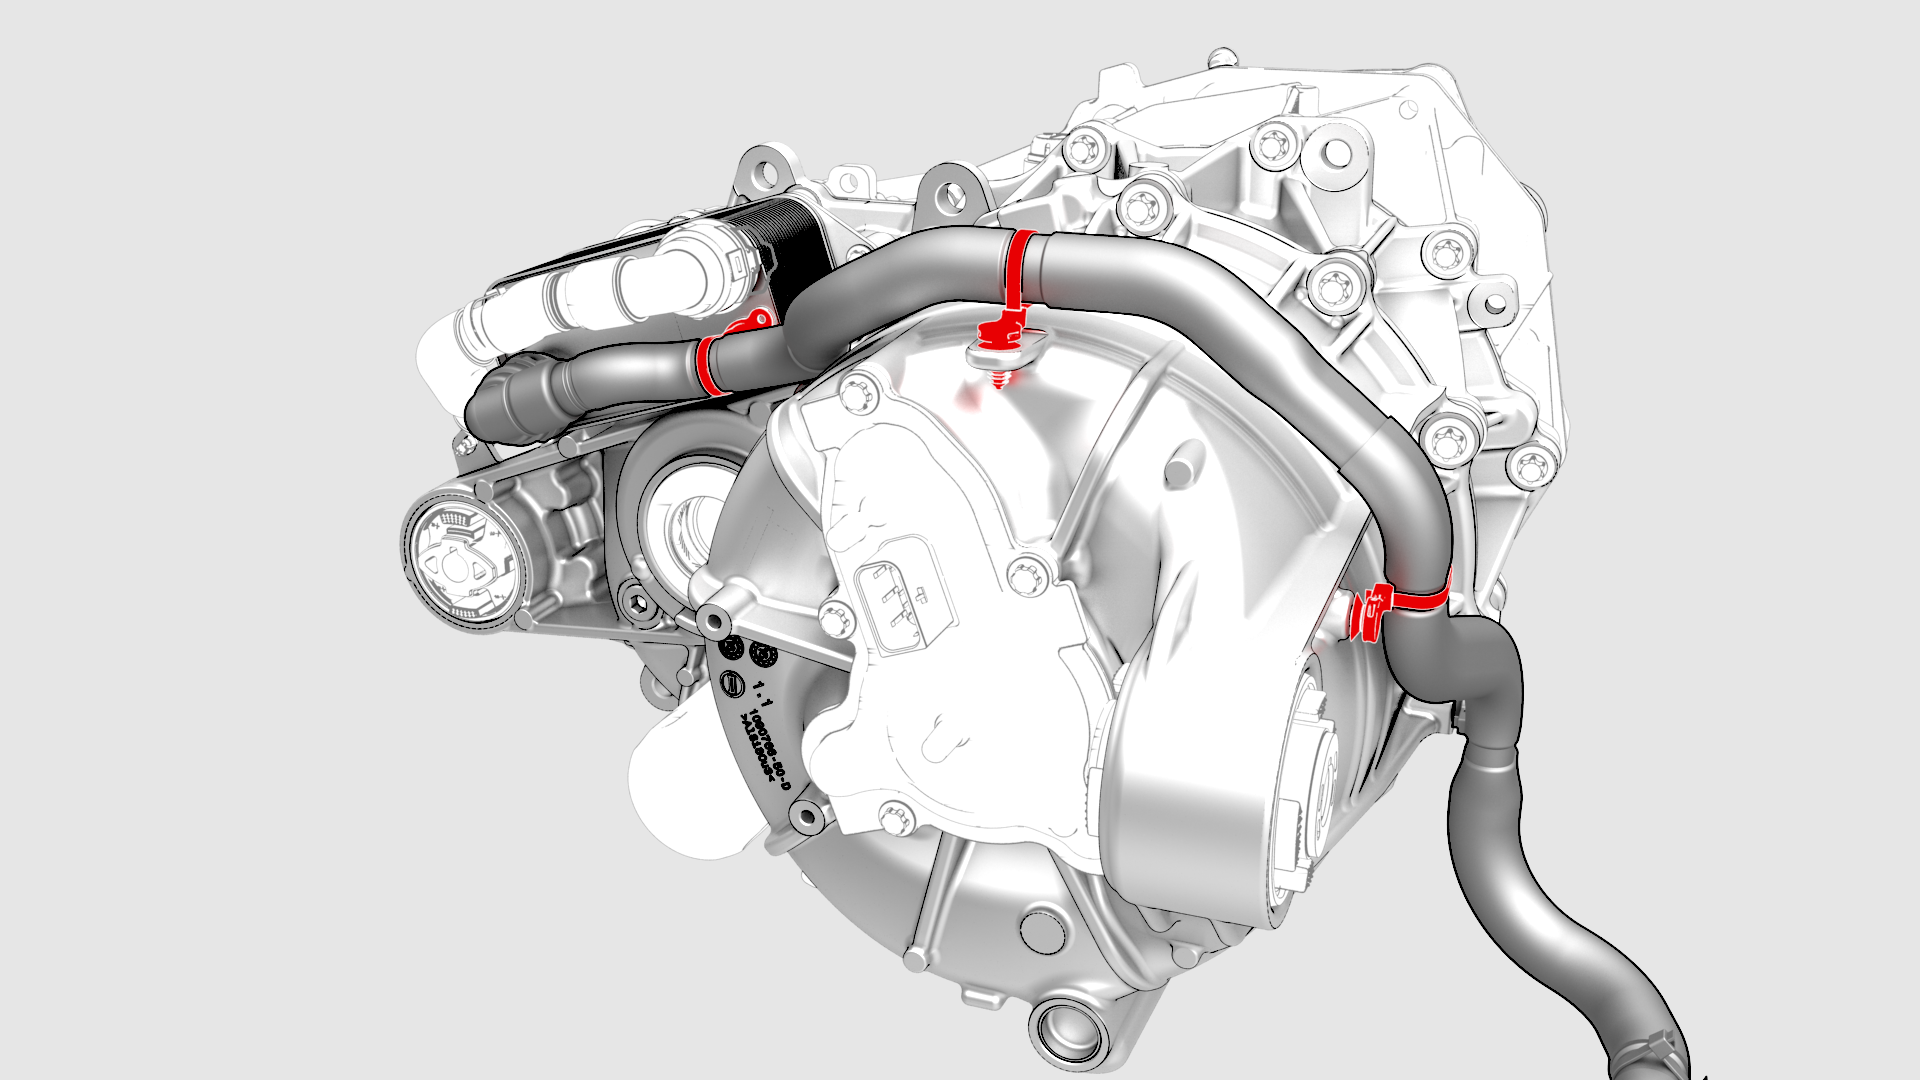
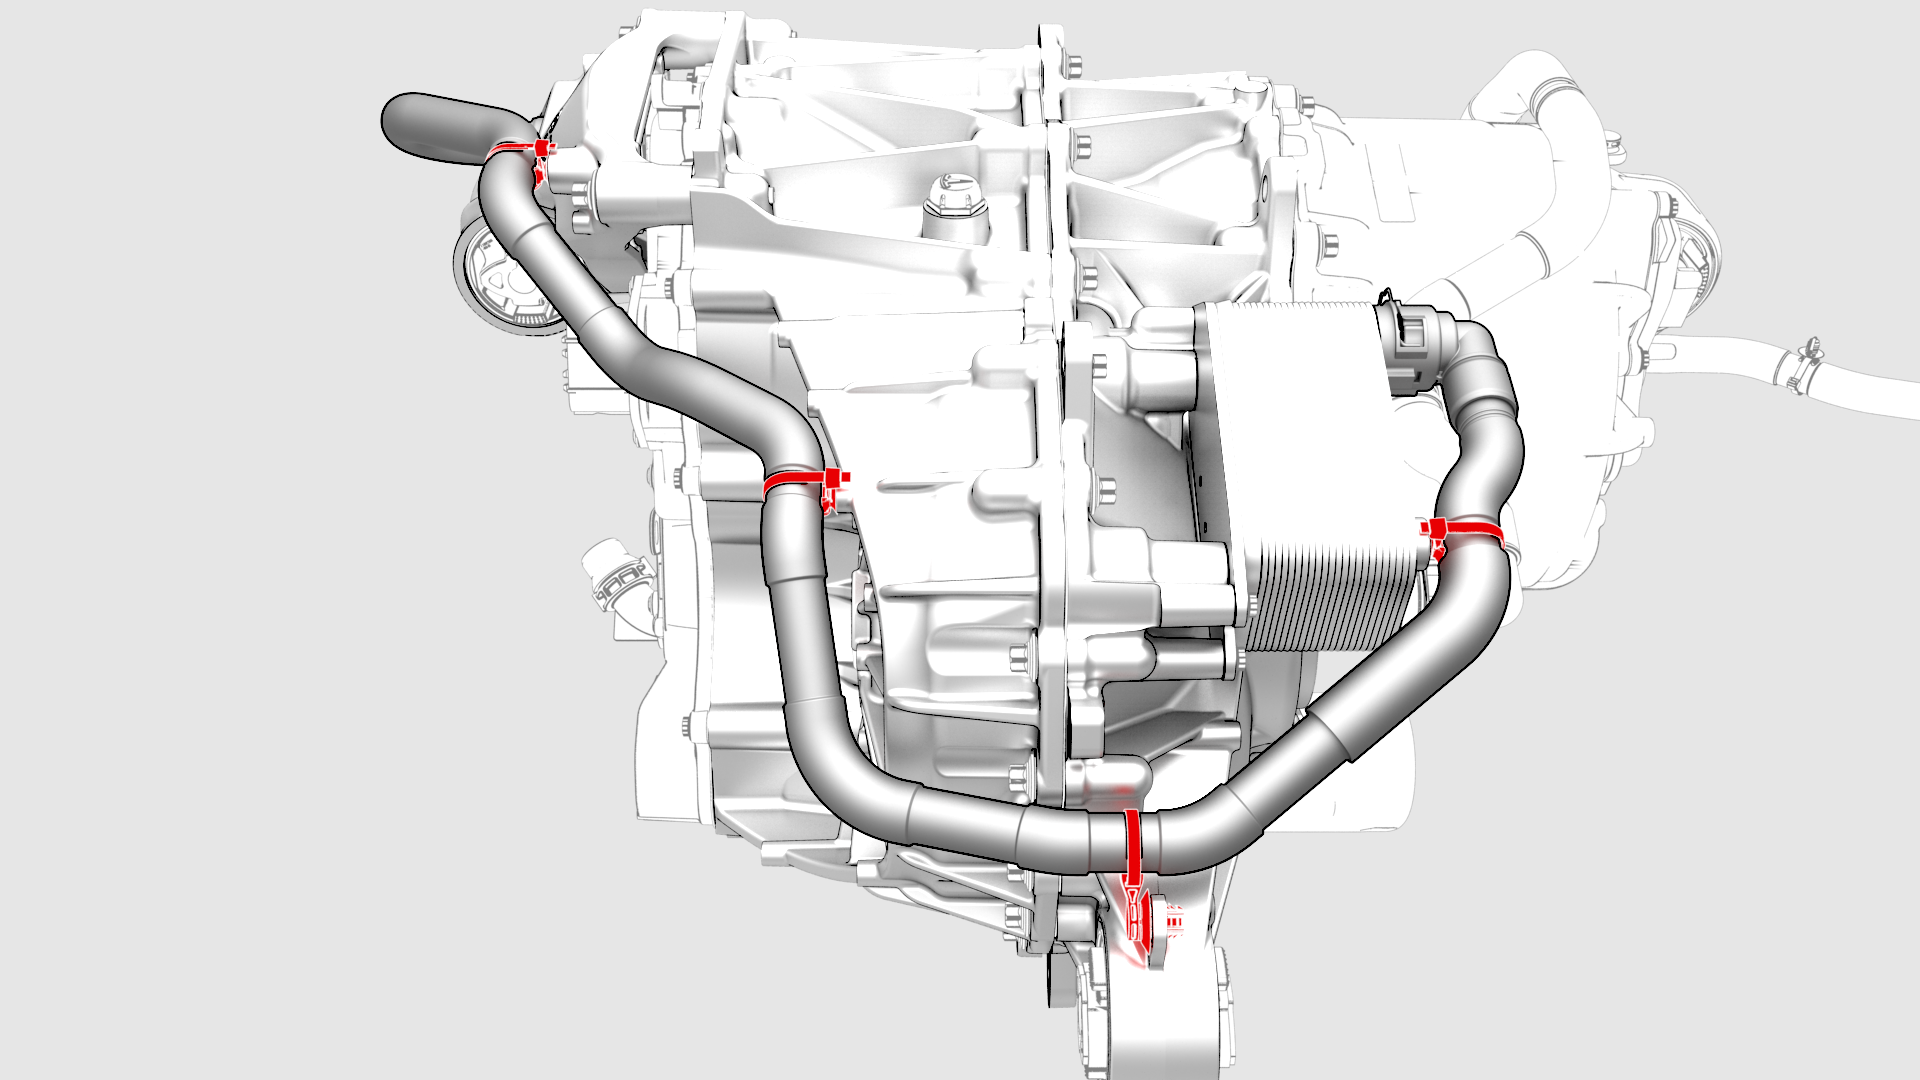
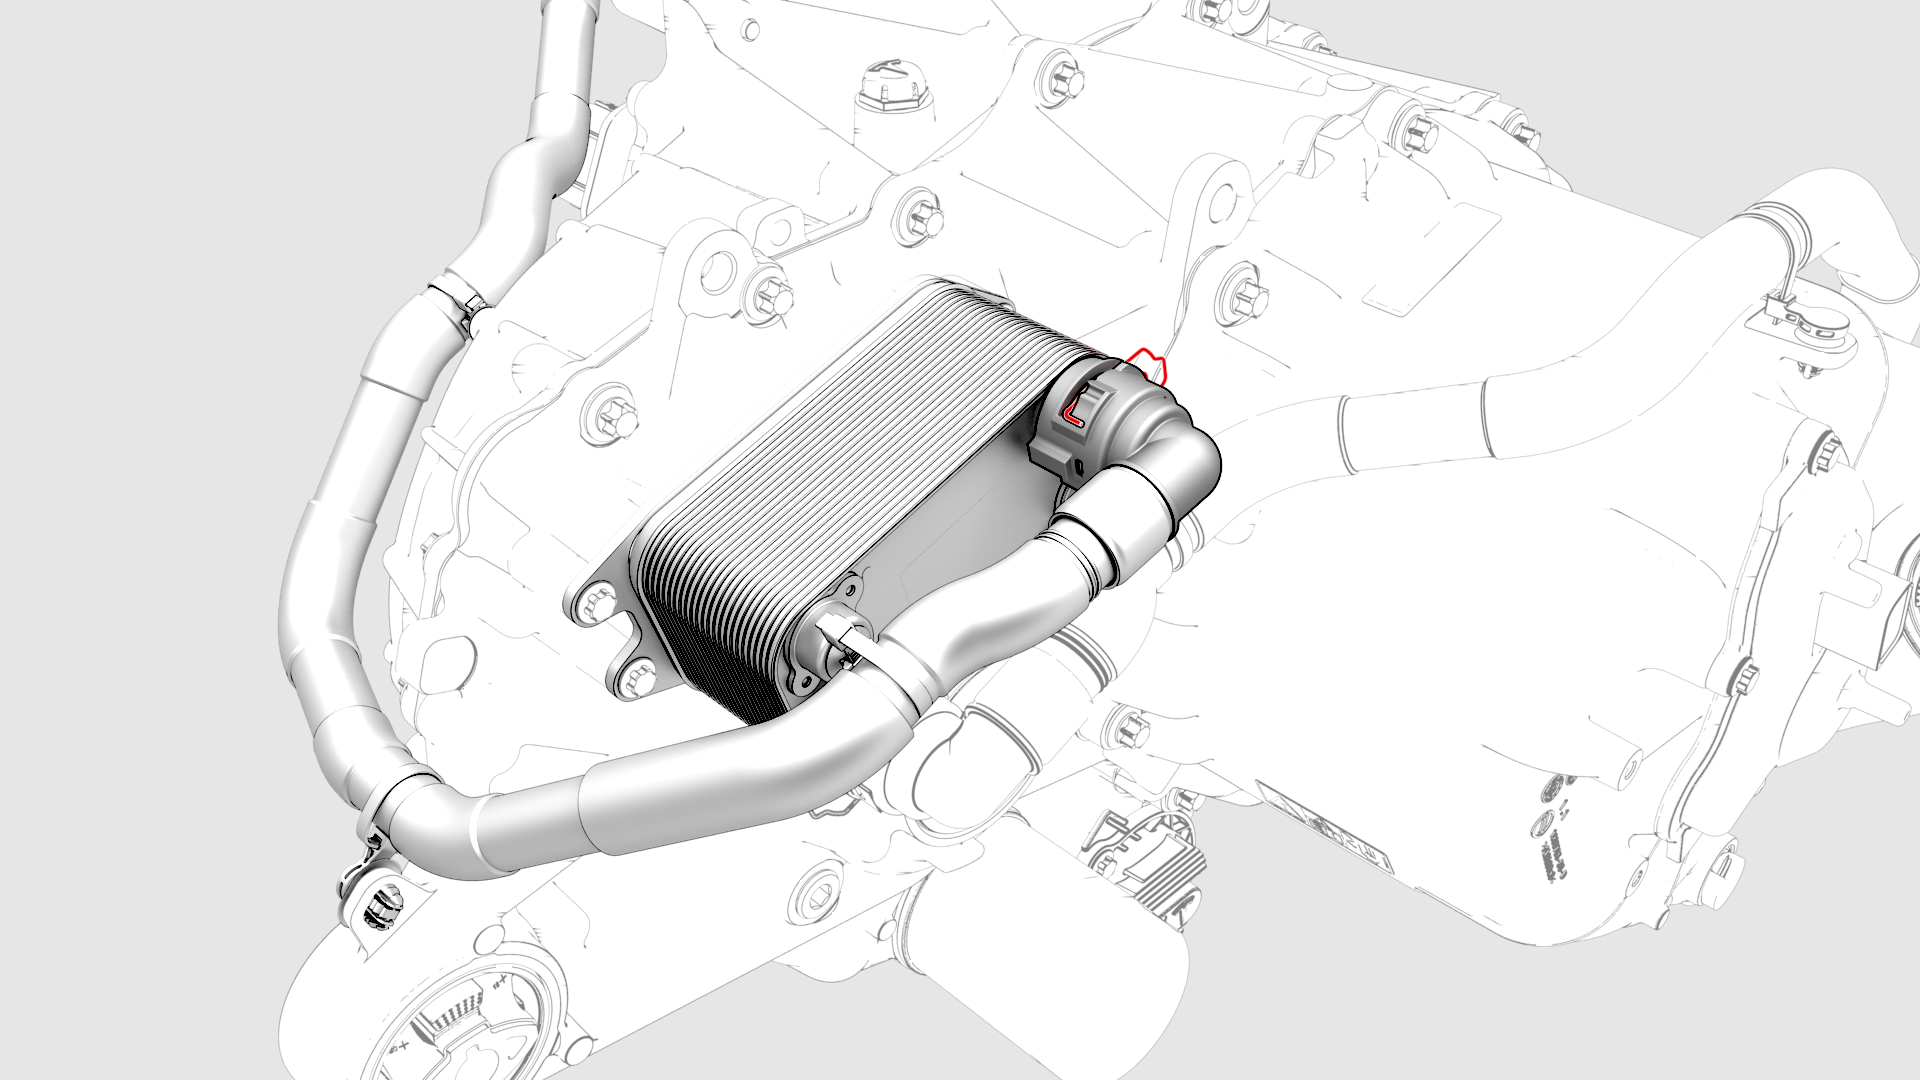
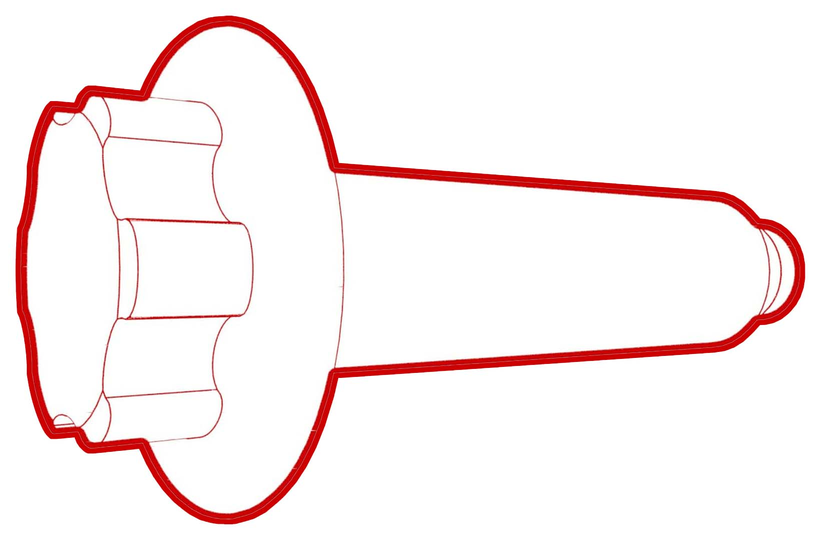
Release the clips (x3) that attach the coolant outlet hose to the motor and heat exchanger body.
-
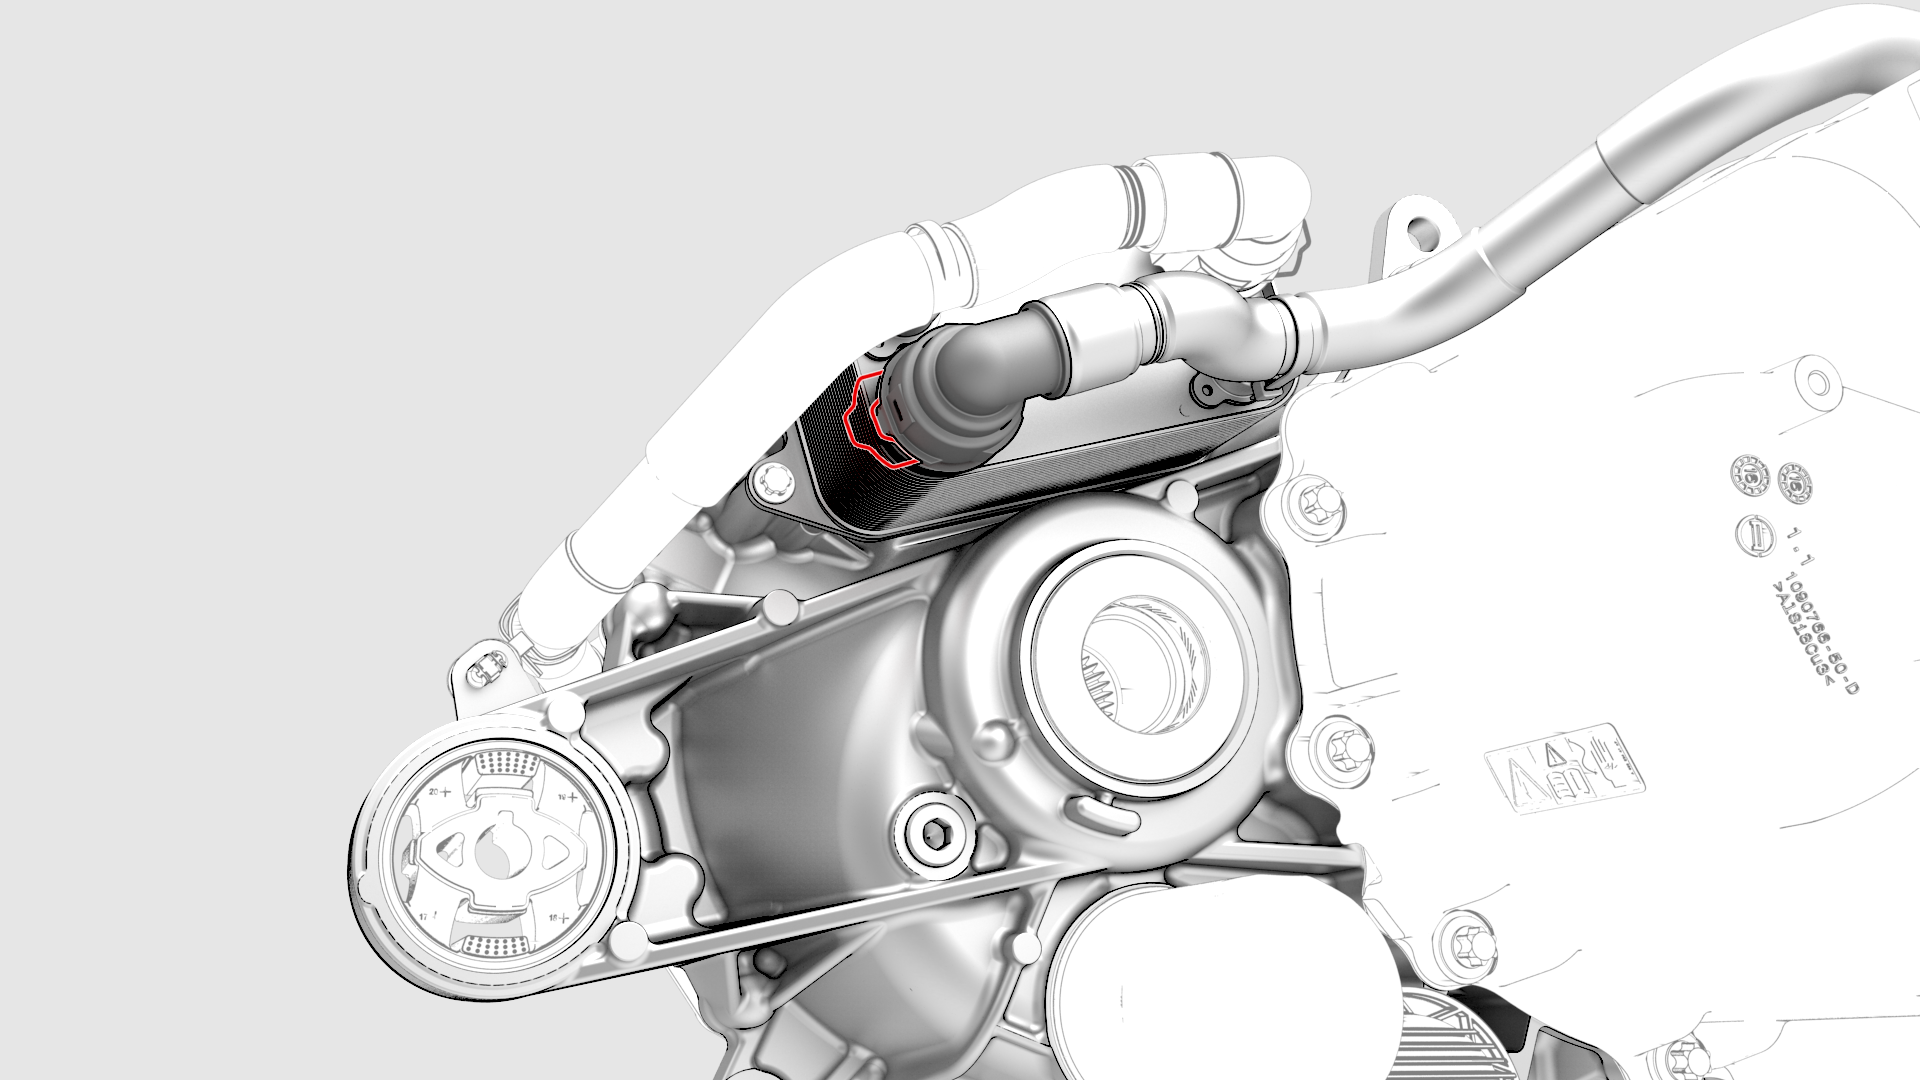
Disconnect the coolant outlet hose from the heat exchanger.
-
Release the clips (x4) that attach the coolant inlet hose to the LH mount, gearbox, and heat exchanger body.
-
Disconnect the coolant inlet hose from the heat exchanger.
-
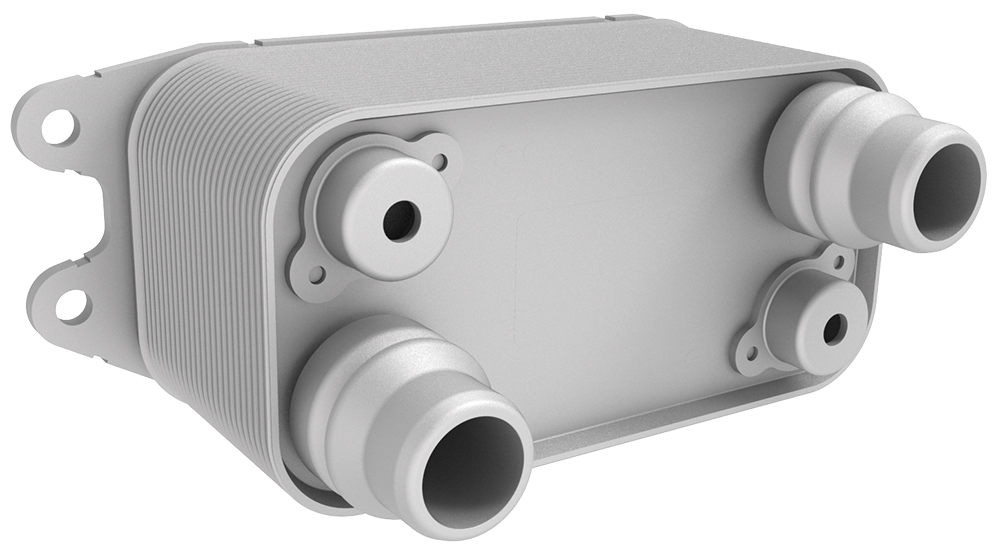
Remove the bolts (x3) that attach the heat exchanger to the rear drive unit, and then remove the heat exchanger from the rear drive unit.
 Torque 5 Nm +30 deg
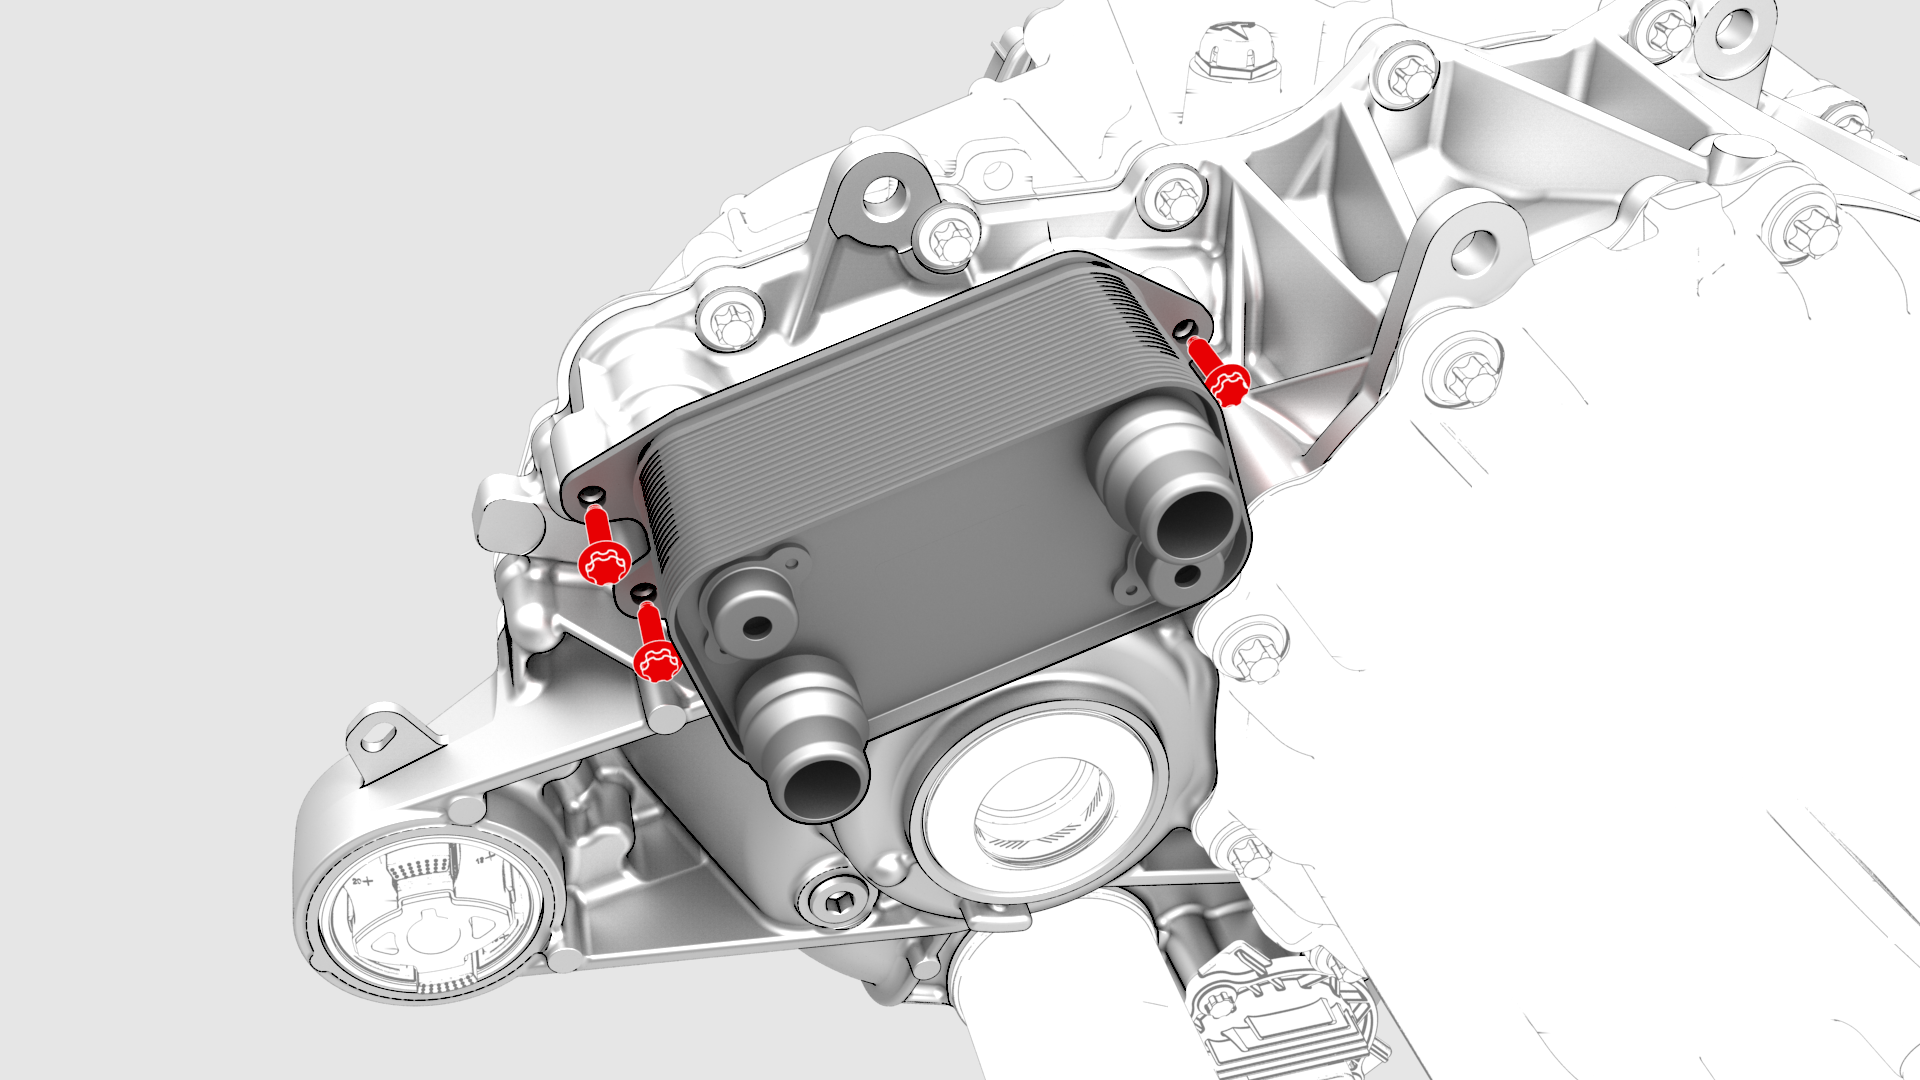
| 1 | Remove the rear subframe assembly. See Subframe Assembly - Rear (Remove and Install). | ||
| 2 | Release the clips (x3) that attach the coolant outlet hose to the motor and heat exchanger body. | |
| 3 | Disconnect the coolant outlet hose from the heat exchanger. | |
| 4 | Release the clips (x4) that attach the coolant inlet hose to the LH mount, gearbox, and heat exchanger body. | |
| 5 | Disconnect the coolant inlet hose from the heat exchanger. | |
| 6 | Remove the bolts (x3) that attach the heat exchanger to the rear drive unit, and then remove the heat exchanger from the rear drive unit. Torque 5 Nm +30 deg |
Install
Installation procedure is the reverse of removal.

Caution:
Perform a push-pull test to verify that the hose is fully seated.