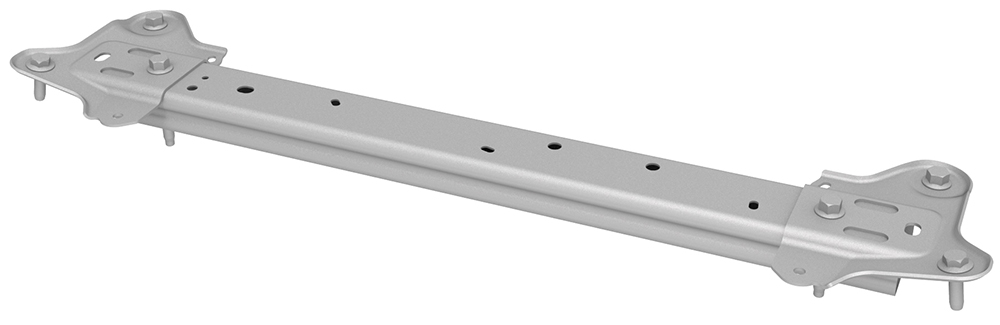
Brace - Shock Tower (Remove and Replace)
Correction code 1010220210102202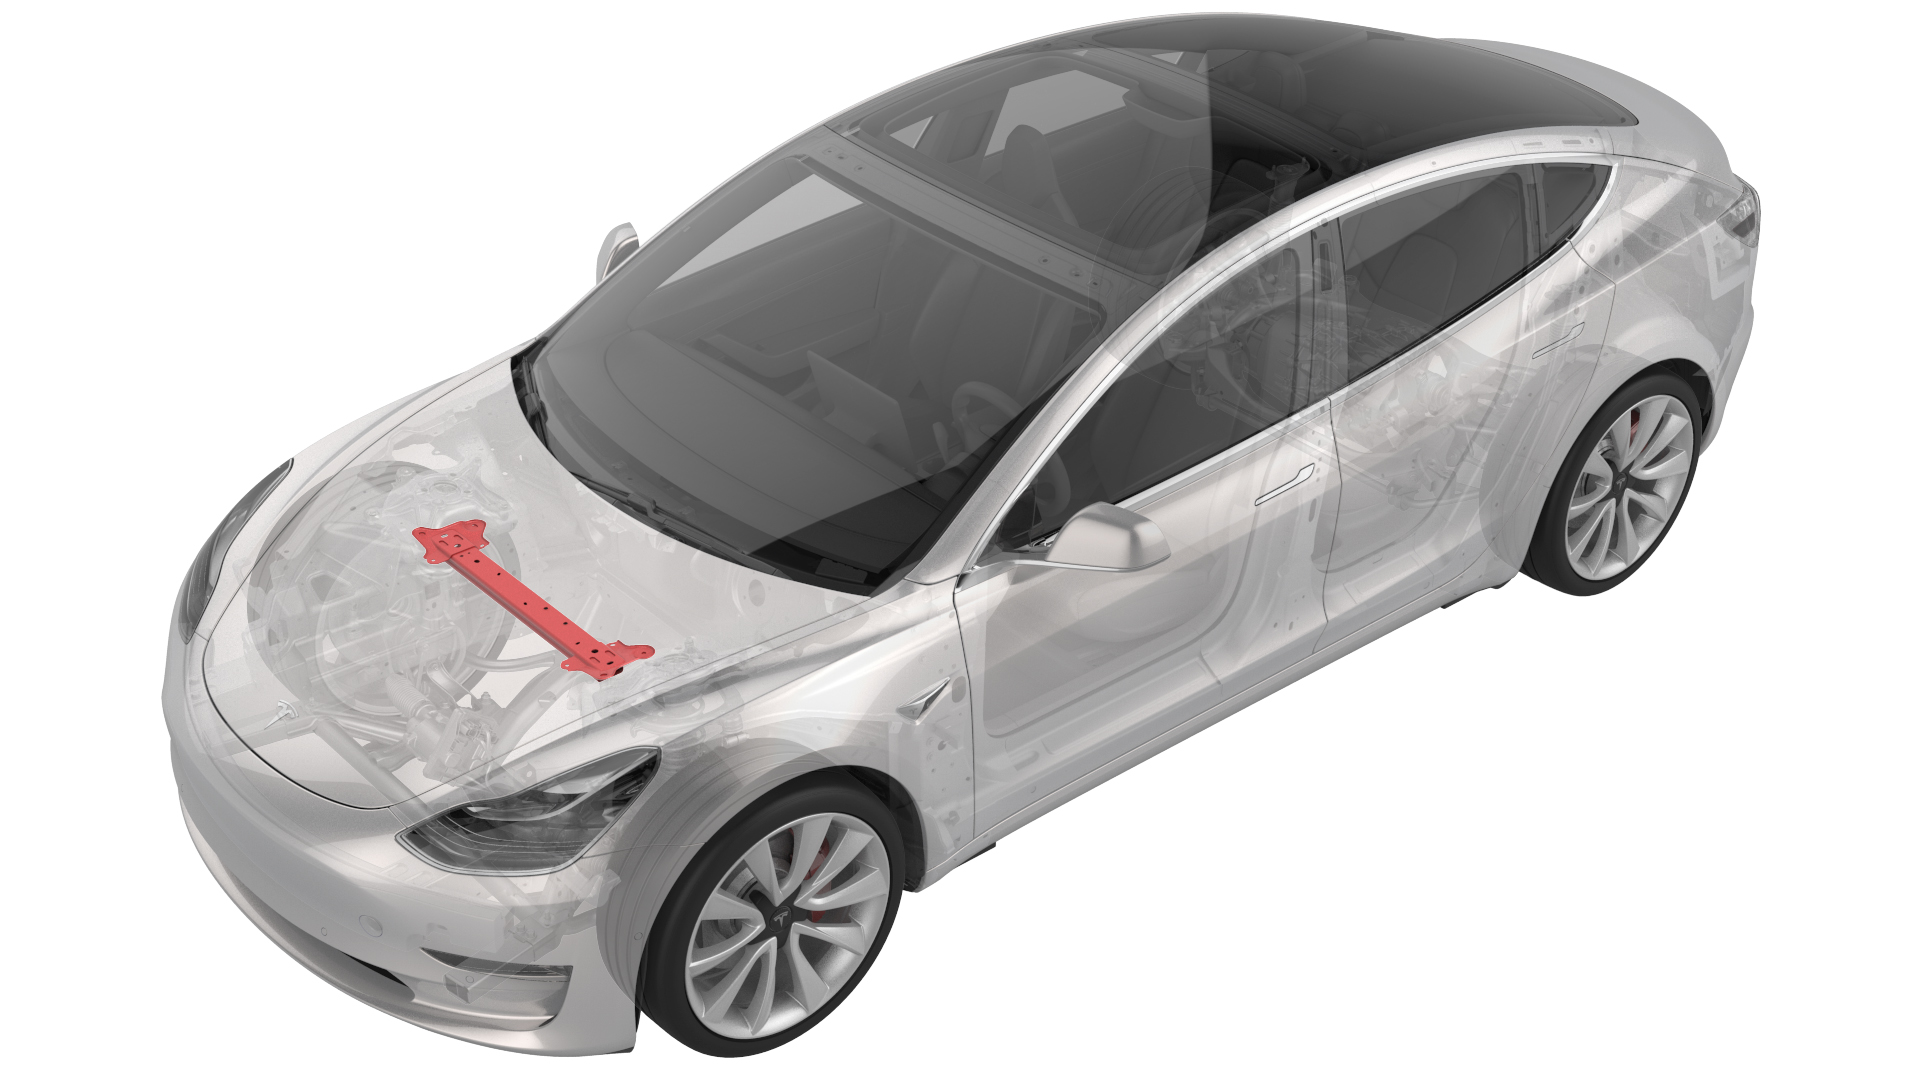
Remove
-
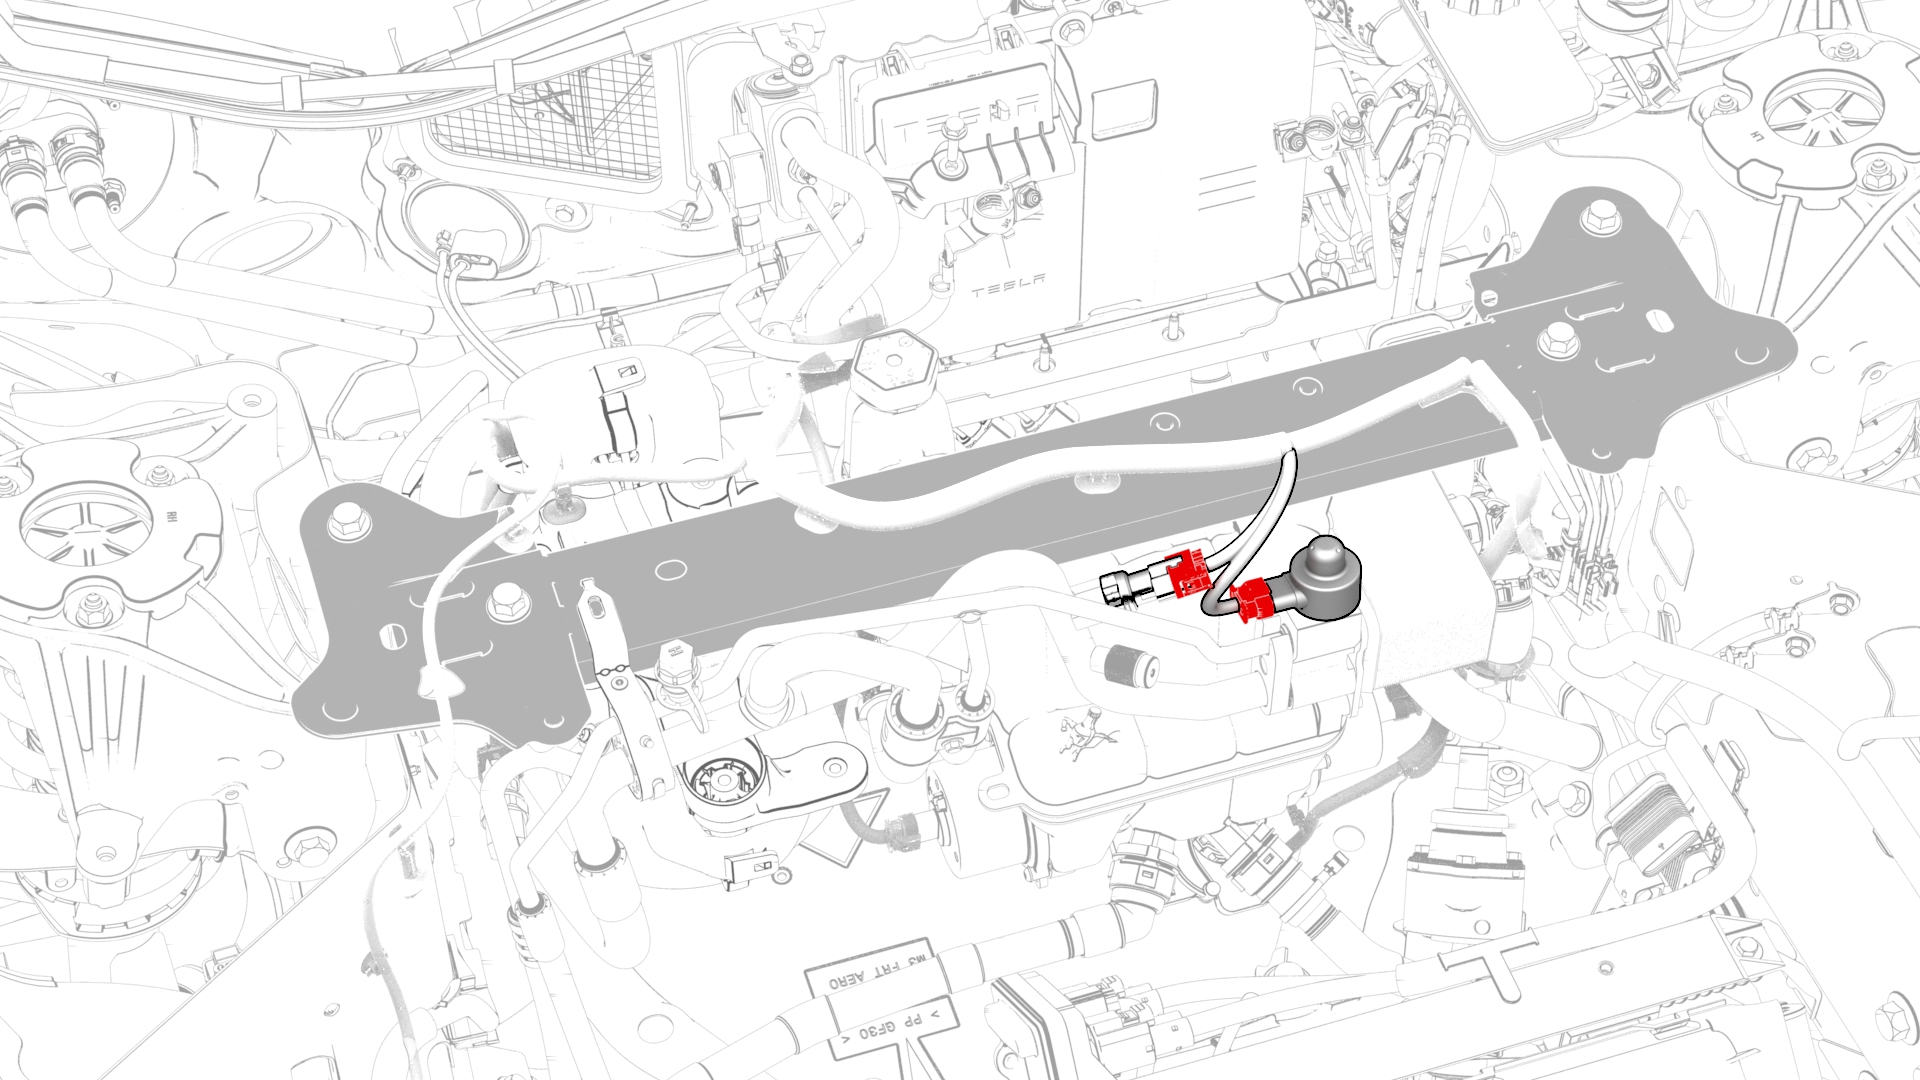
Disconnect the electrical connectors from the low pressure transducer and the EXV.
-
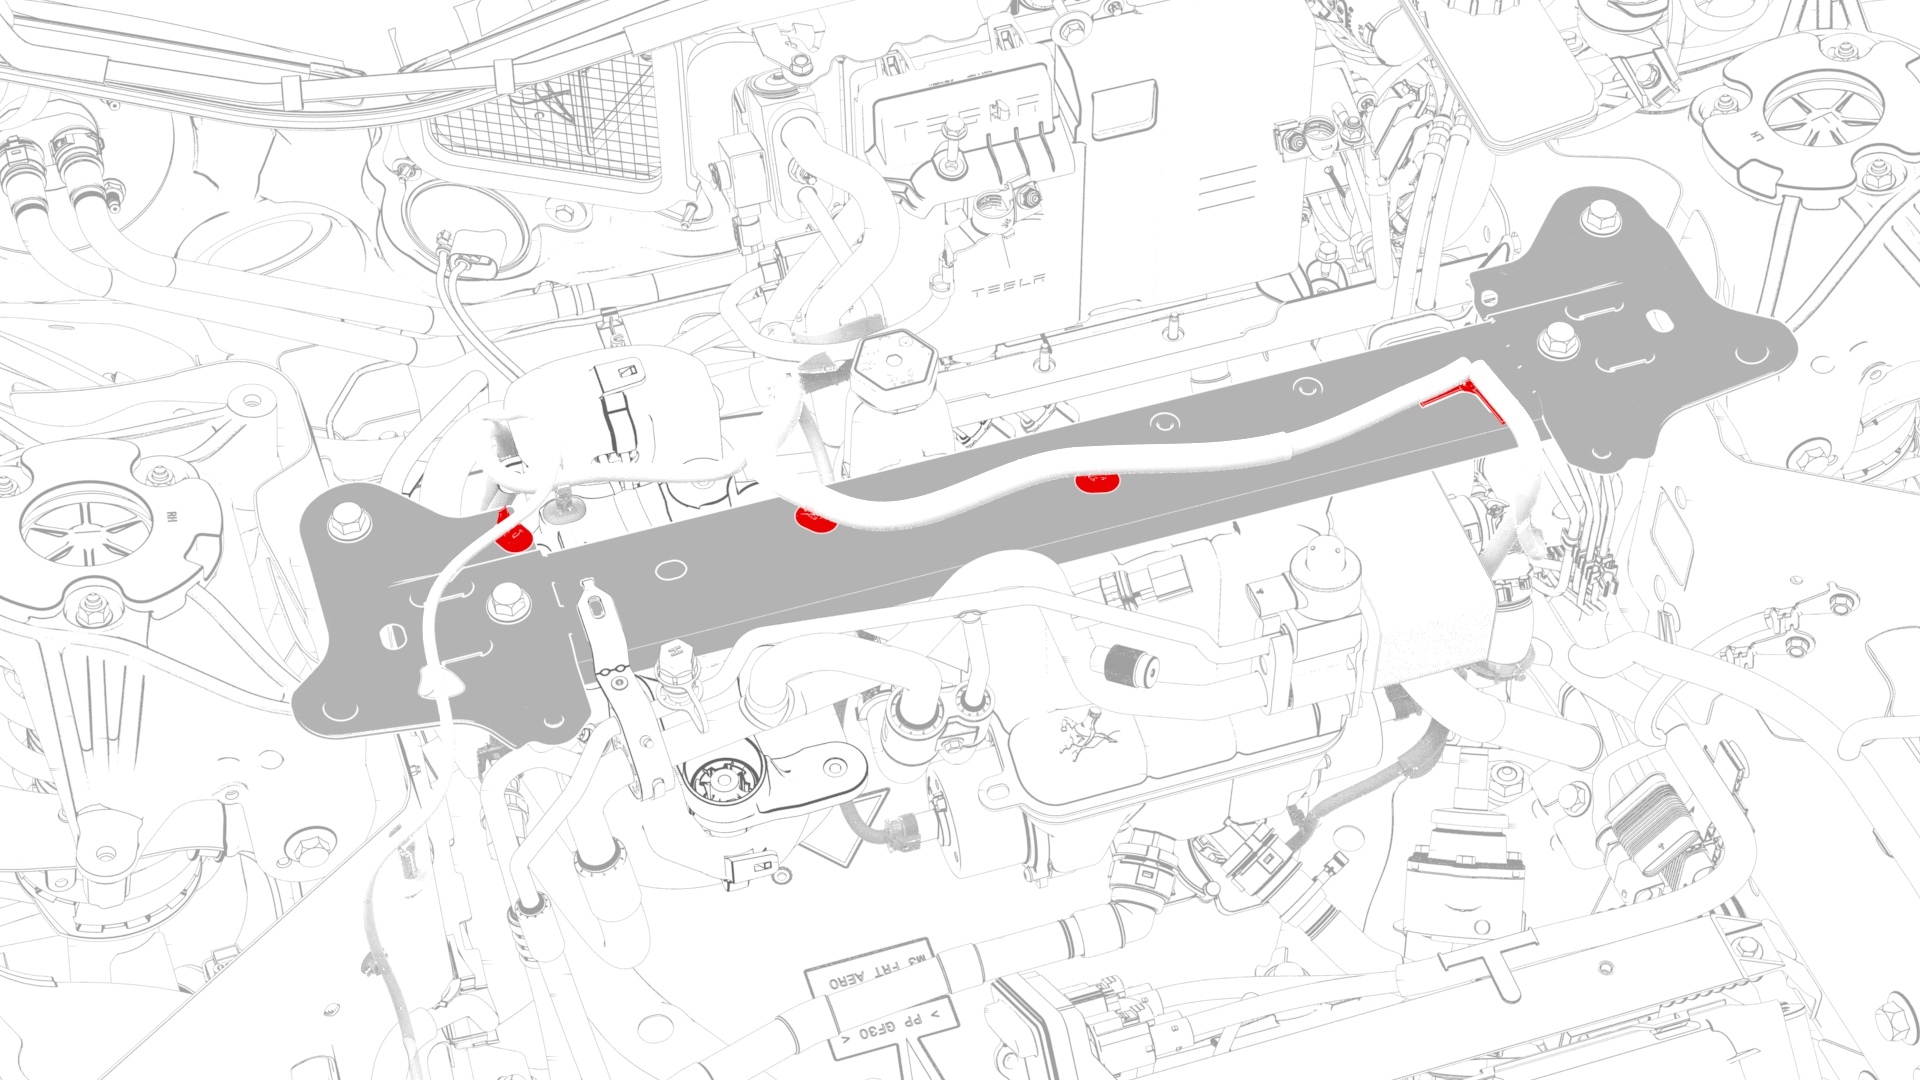
Release the clips that attach the electrical harness to the shock tower brace.
-
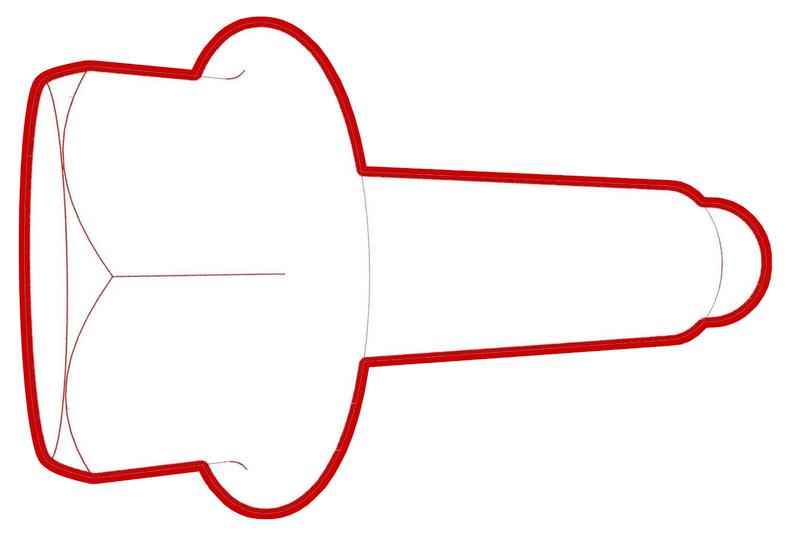
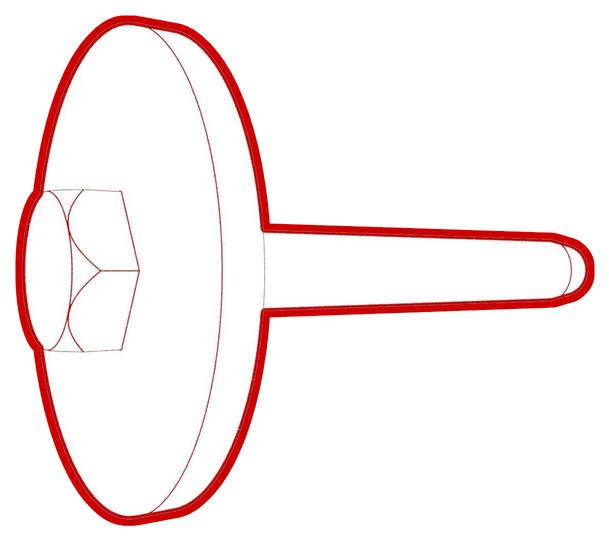
Remove the bolt that attaches the liquid line bracket to the shock tower brace.
 Torque 5.5 Nmi
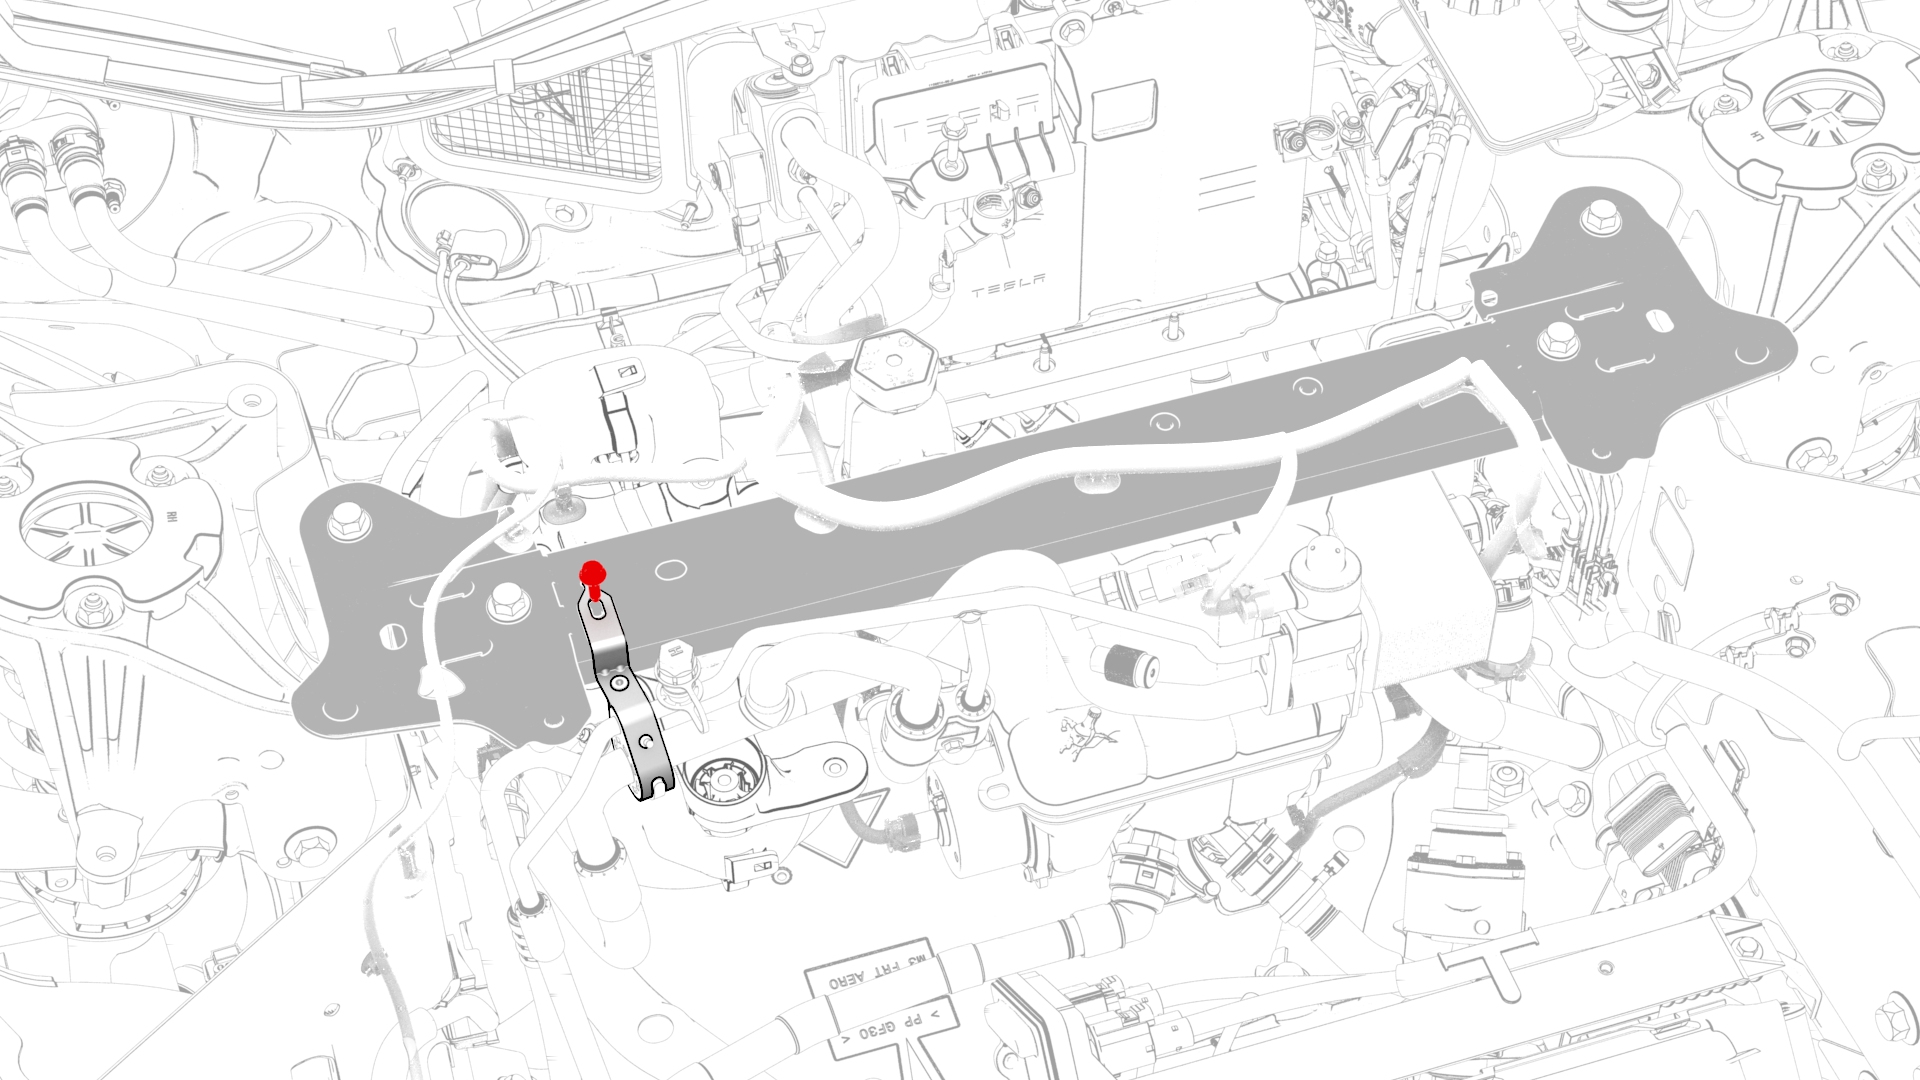
-
Remove the bolts that attach the A/C compressor to the compressor bracket.
 Torque 10 Nm
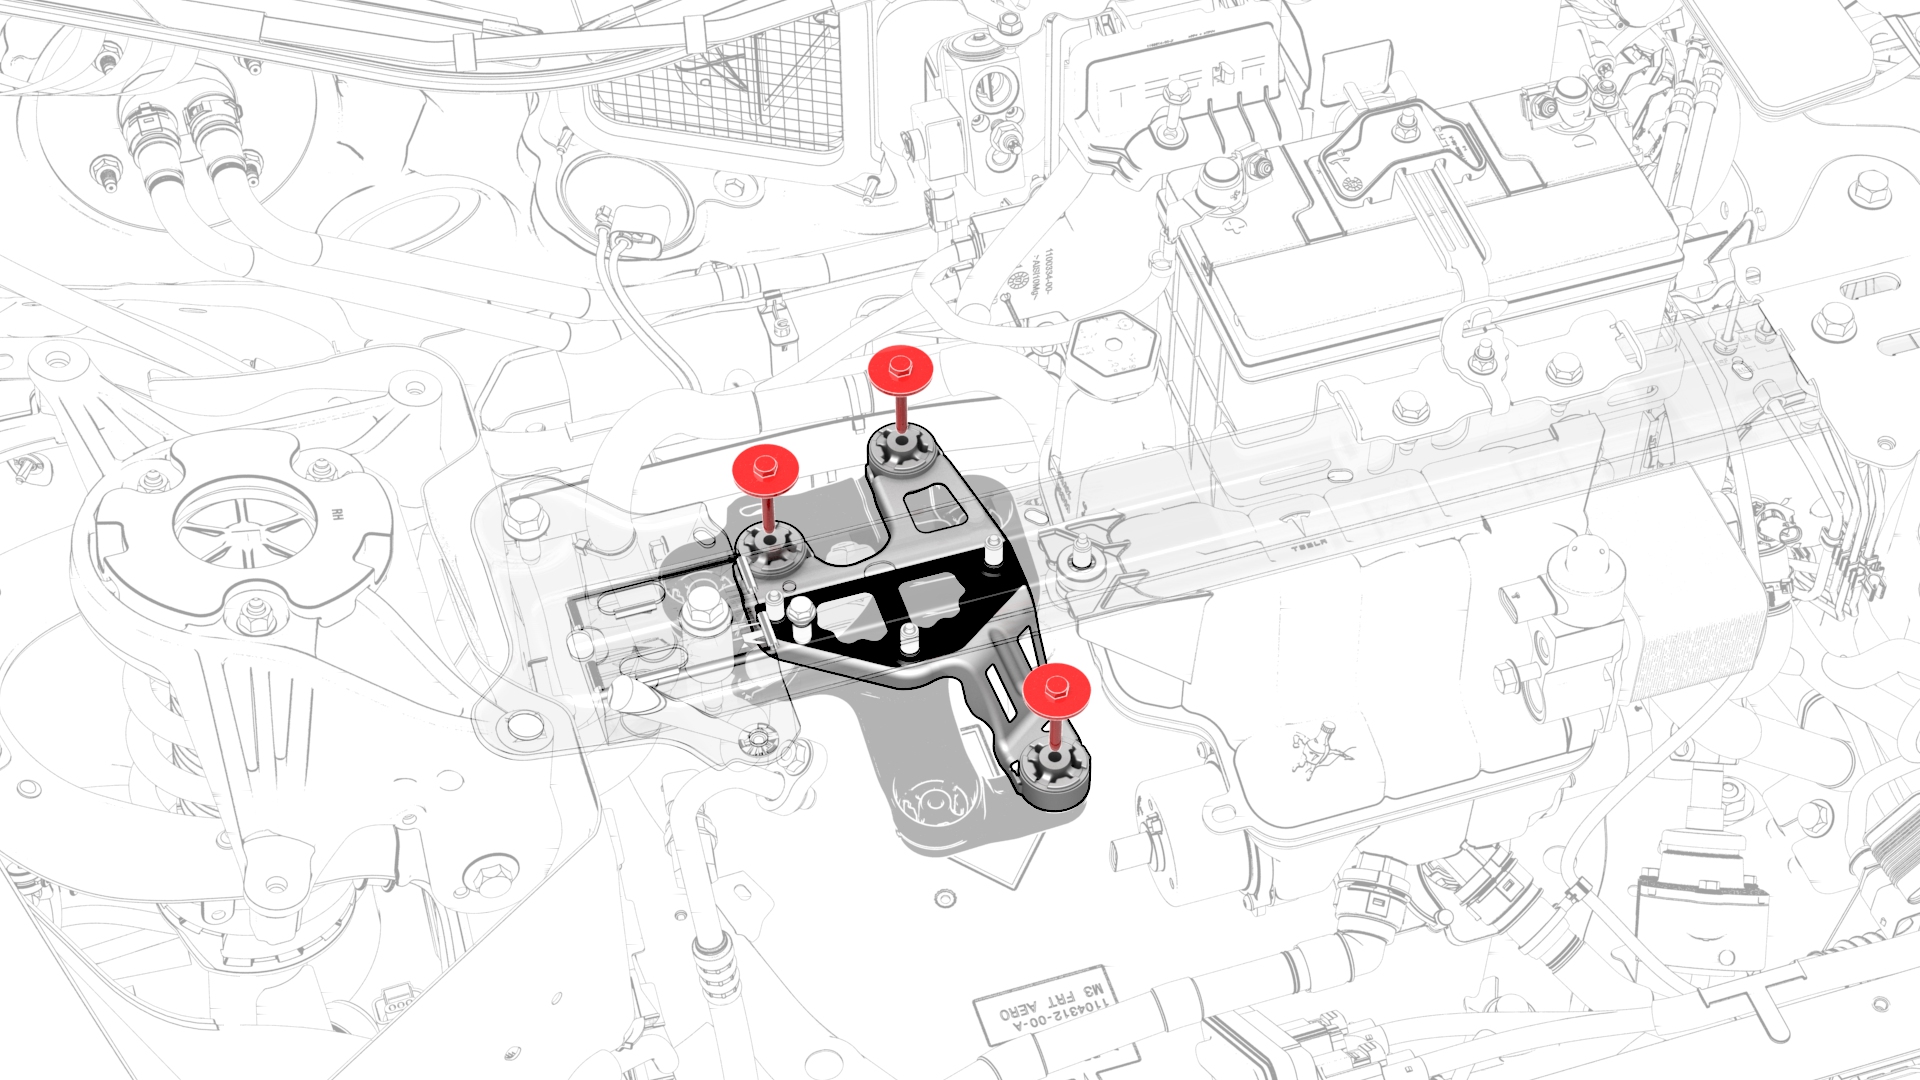
-
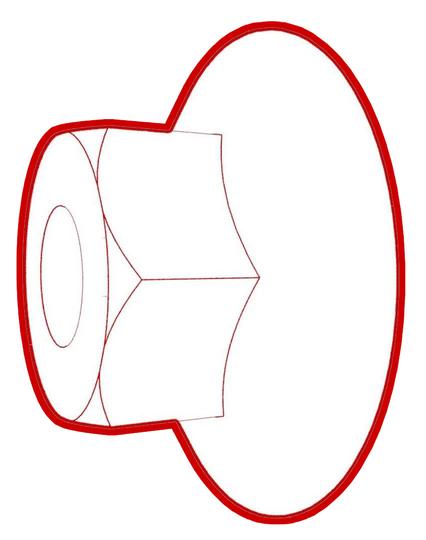
Remove the bolt that attaches the superbottle to the brace.
 Torque 8 Nm
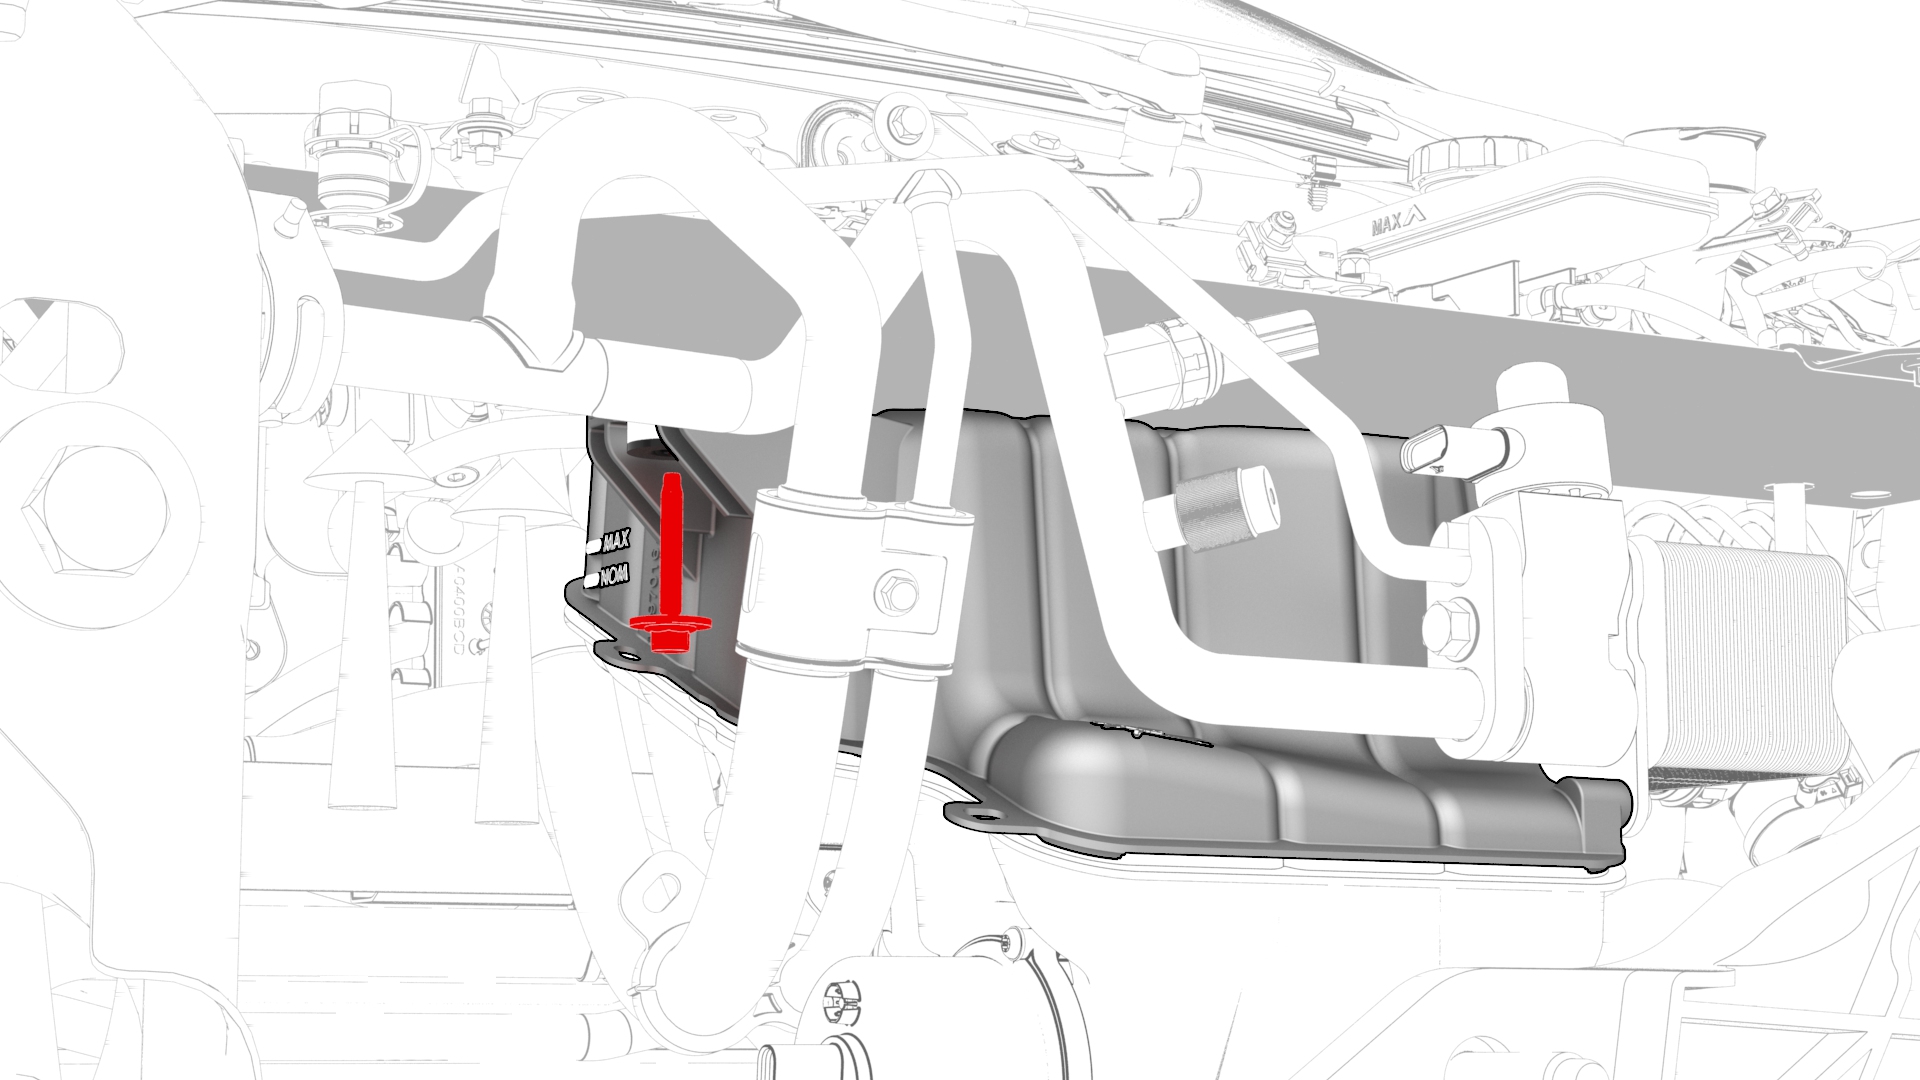
-
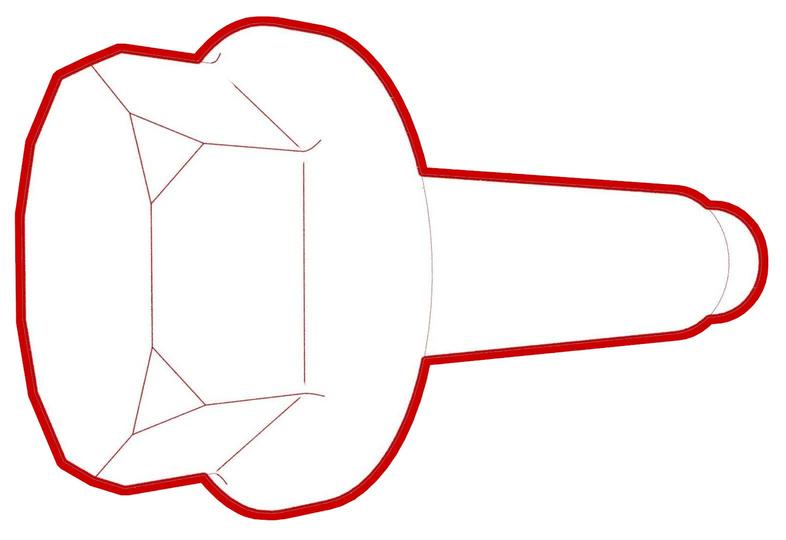
Remove the nuts that attach the superbottle to the brace.
 Torque 8 Nm
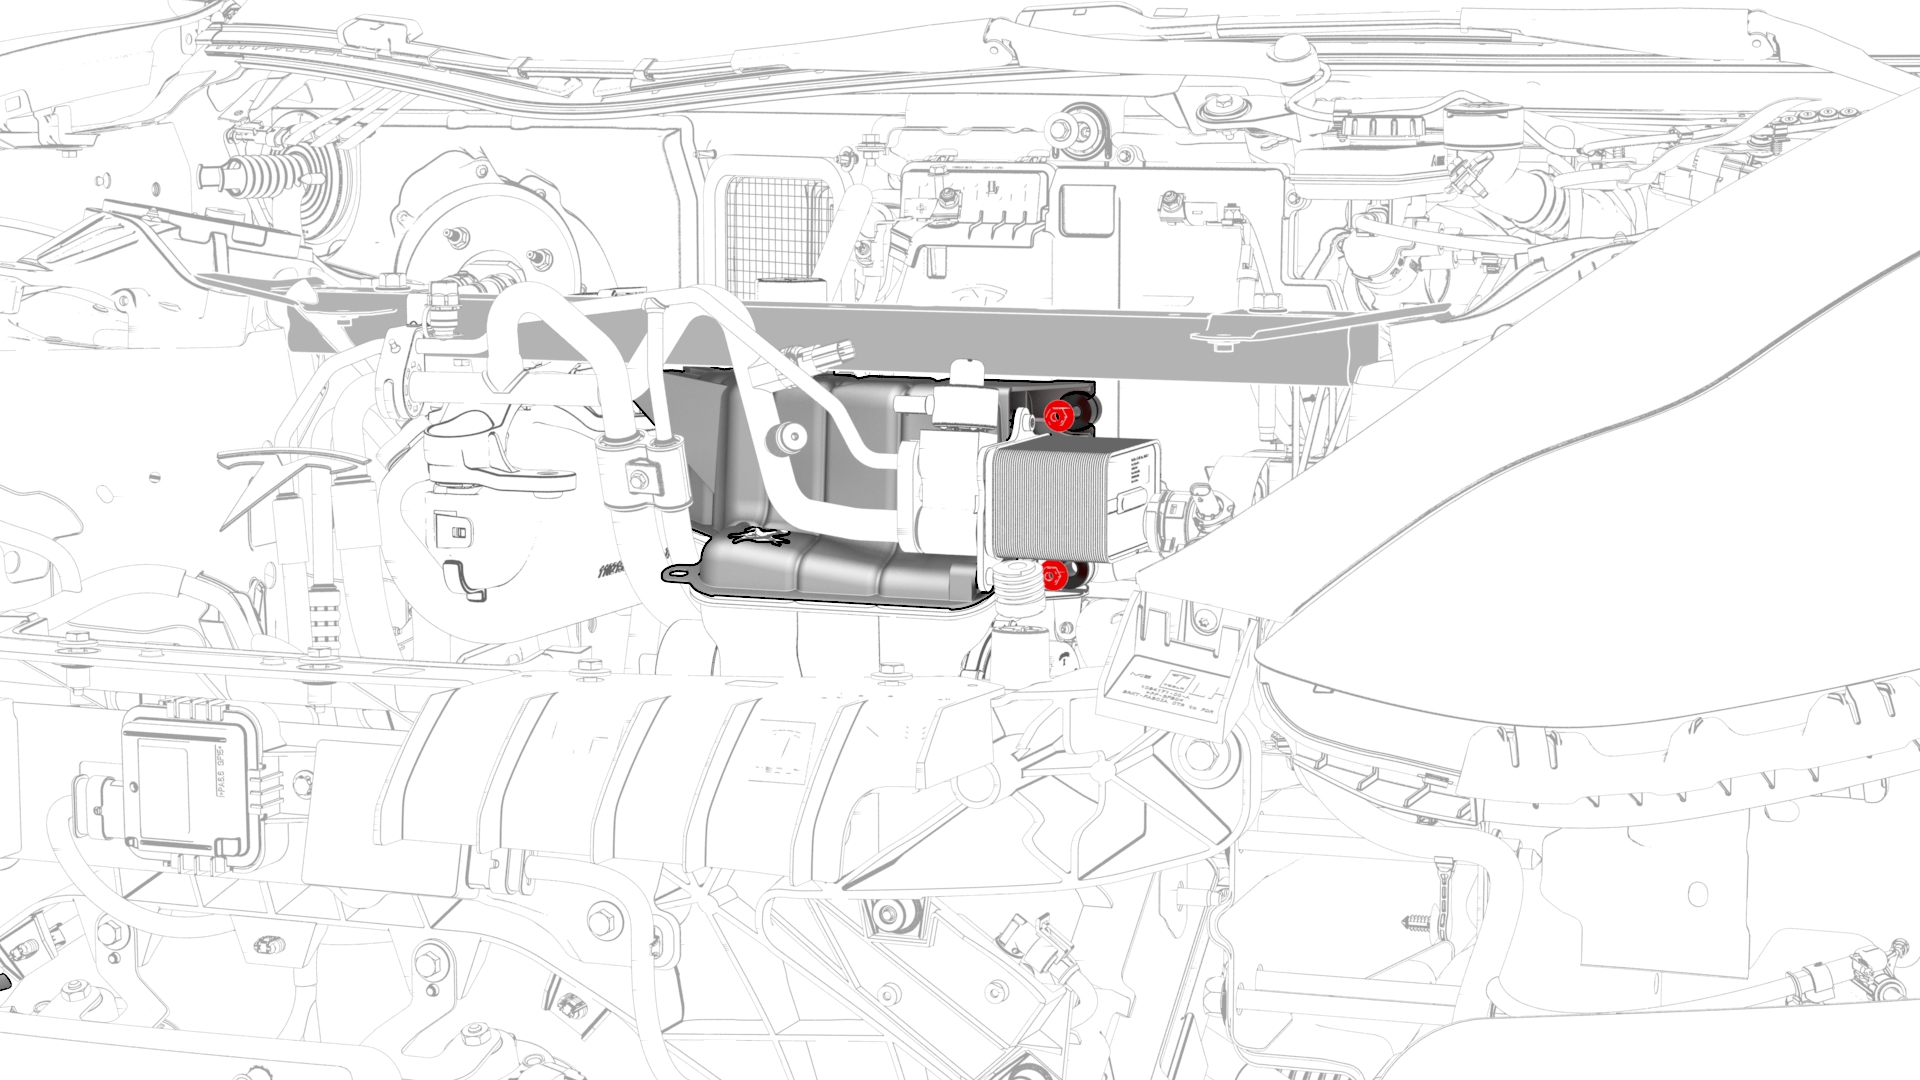
-
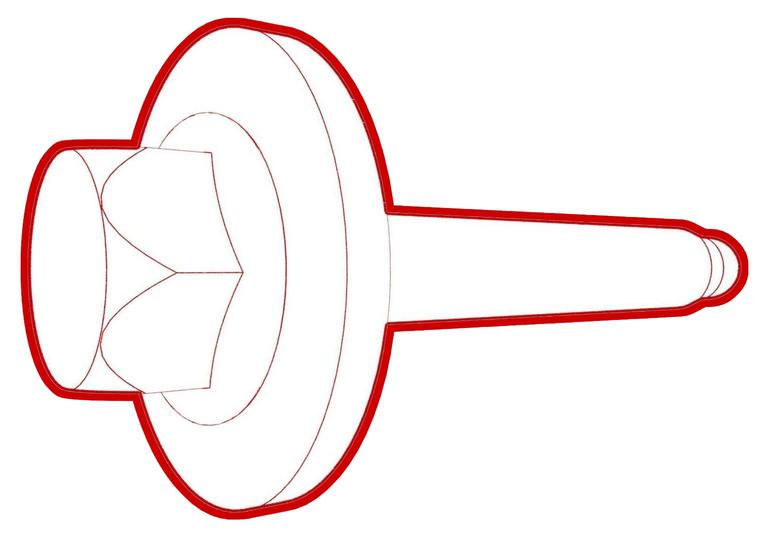
Remove the bolts that attach the battery bracket to the shock tower brace.
 Torque 15 Nm
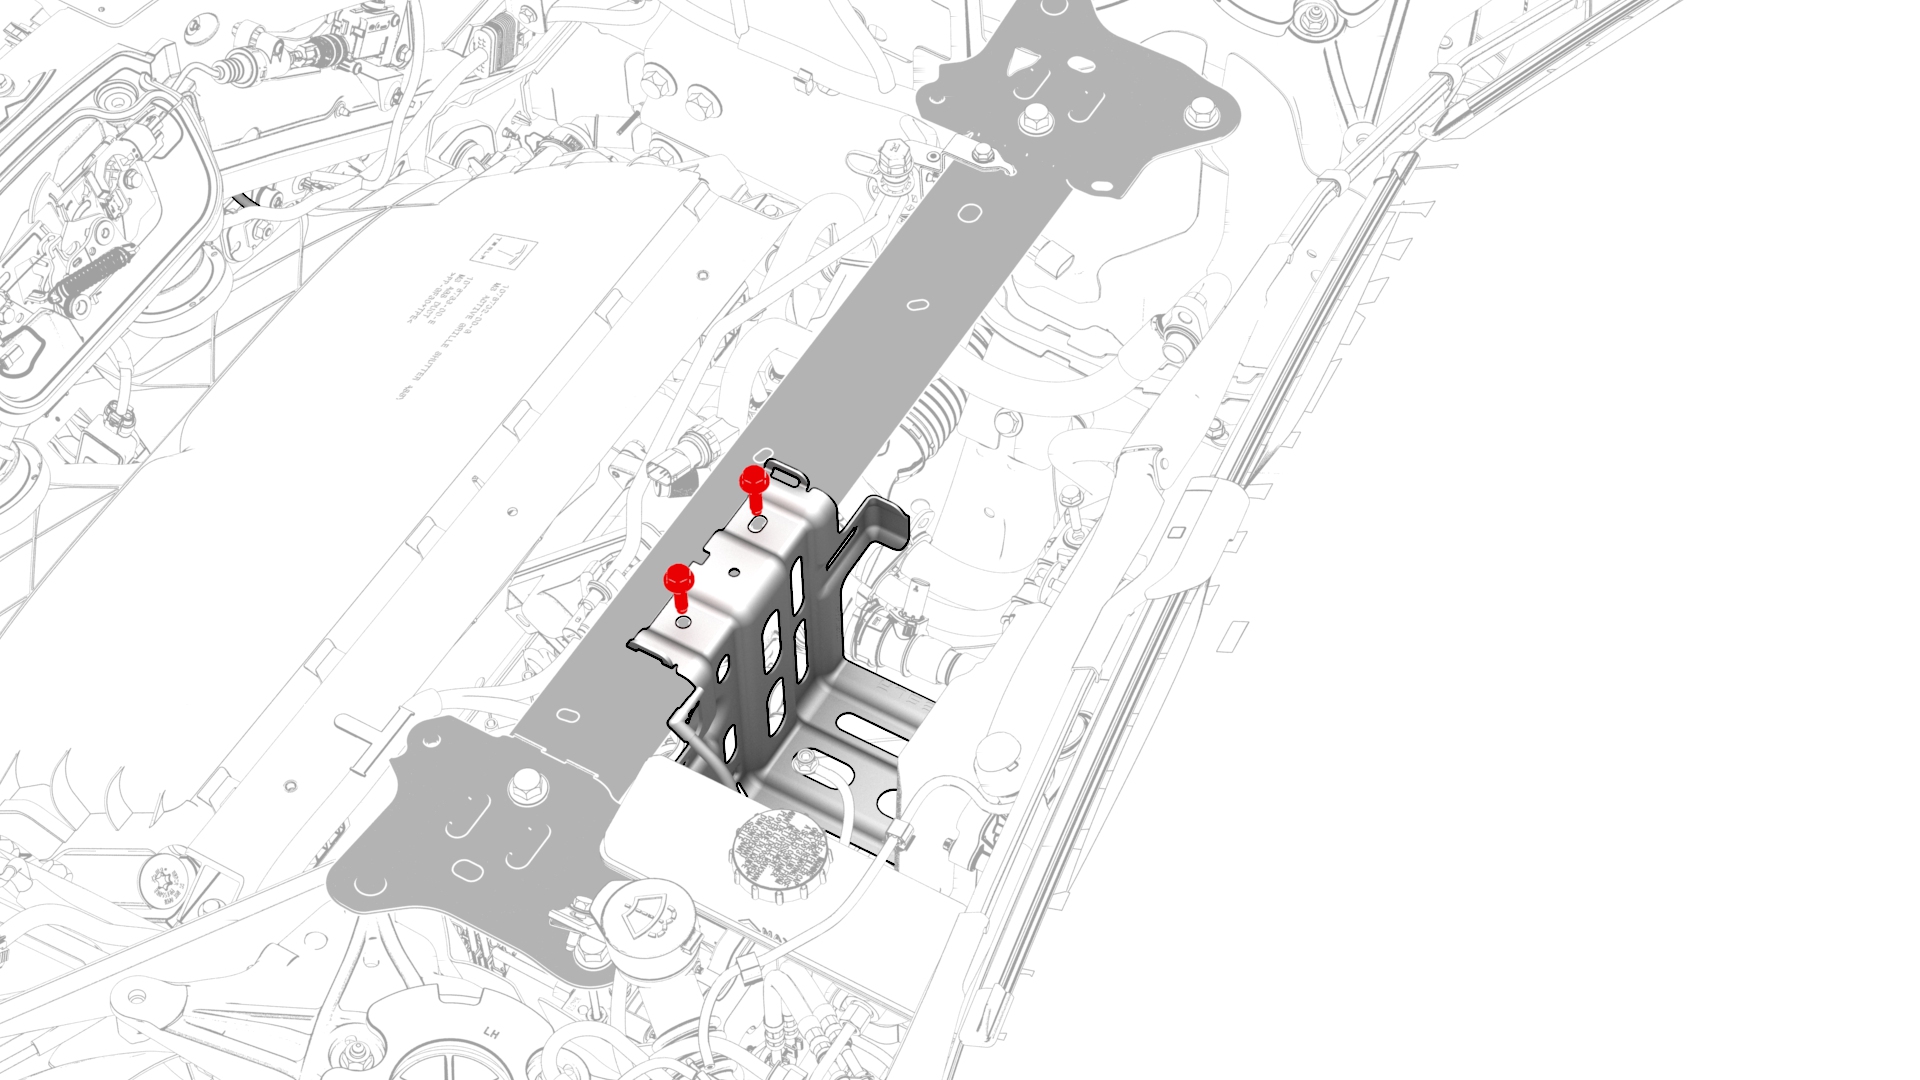
-
Remove the LH and RH bolts that attach the shock tower brace to the body.
 Torque 67 Nm
 Torque 67 Nm
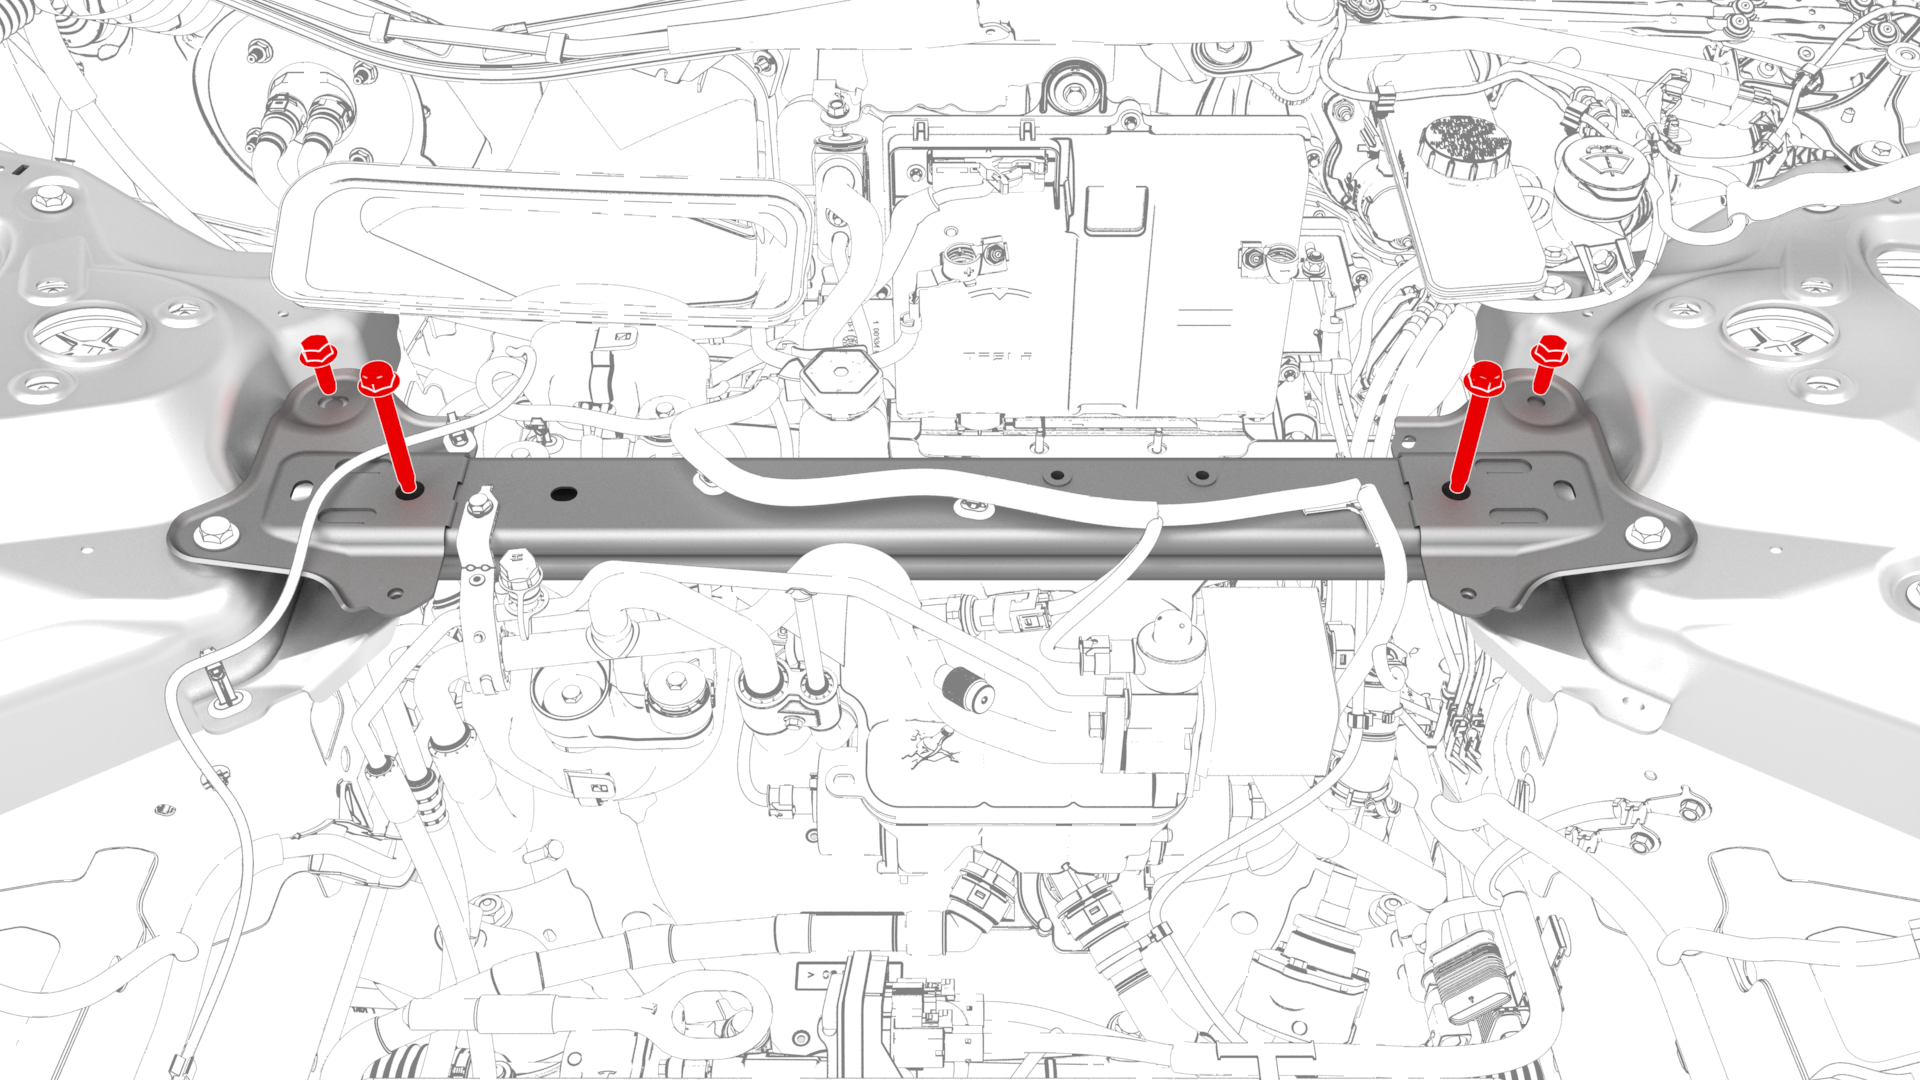
-
Remove the LH and RH outer bolts that attach the shock tower brace to the body, and then remove the shock tower brace from the vehicle.
 Torque 62 Nm
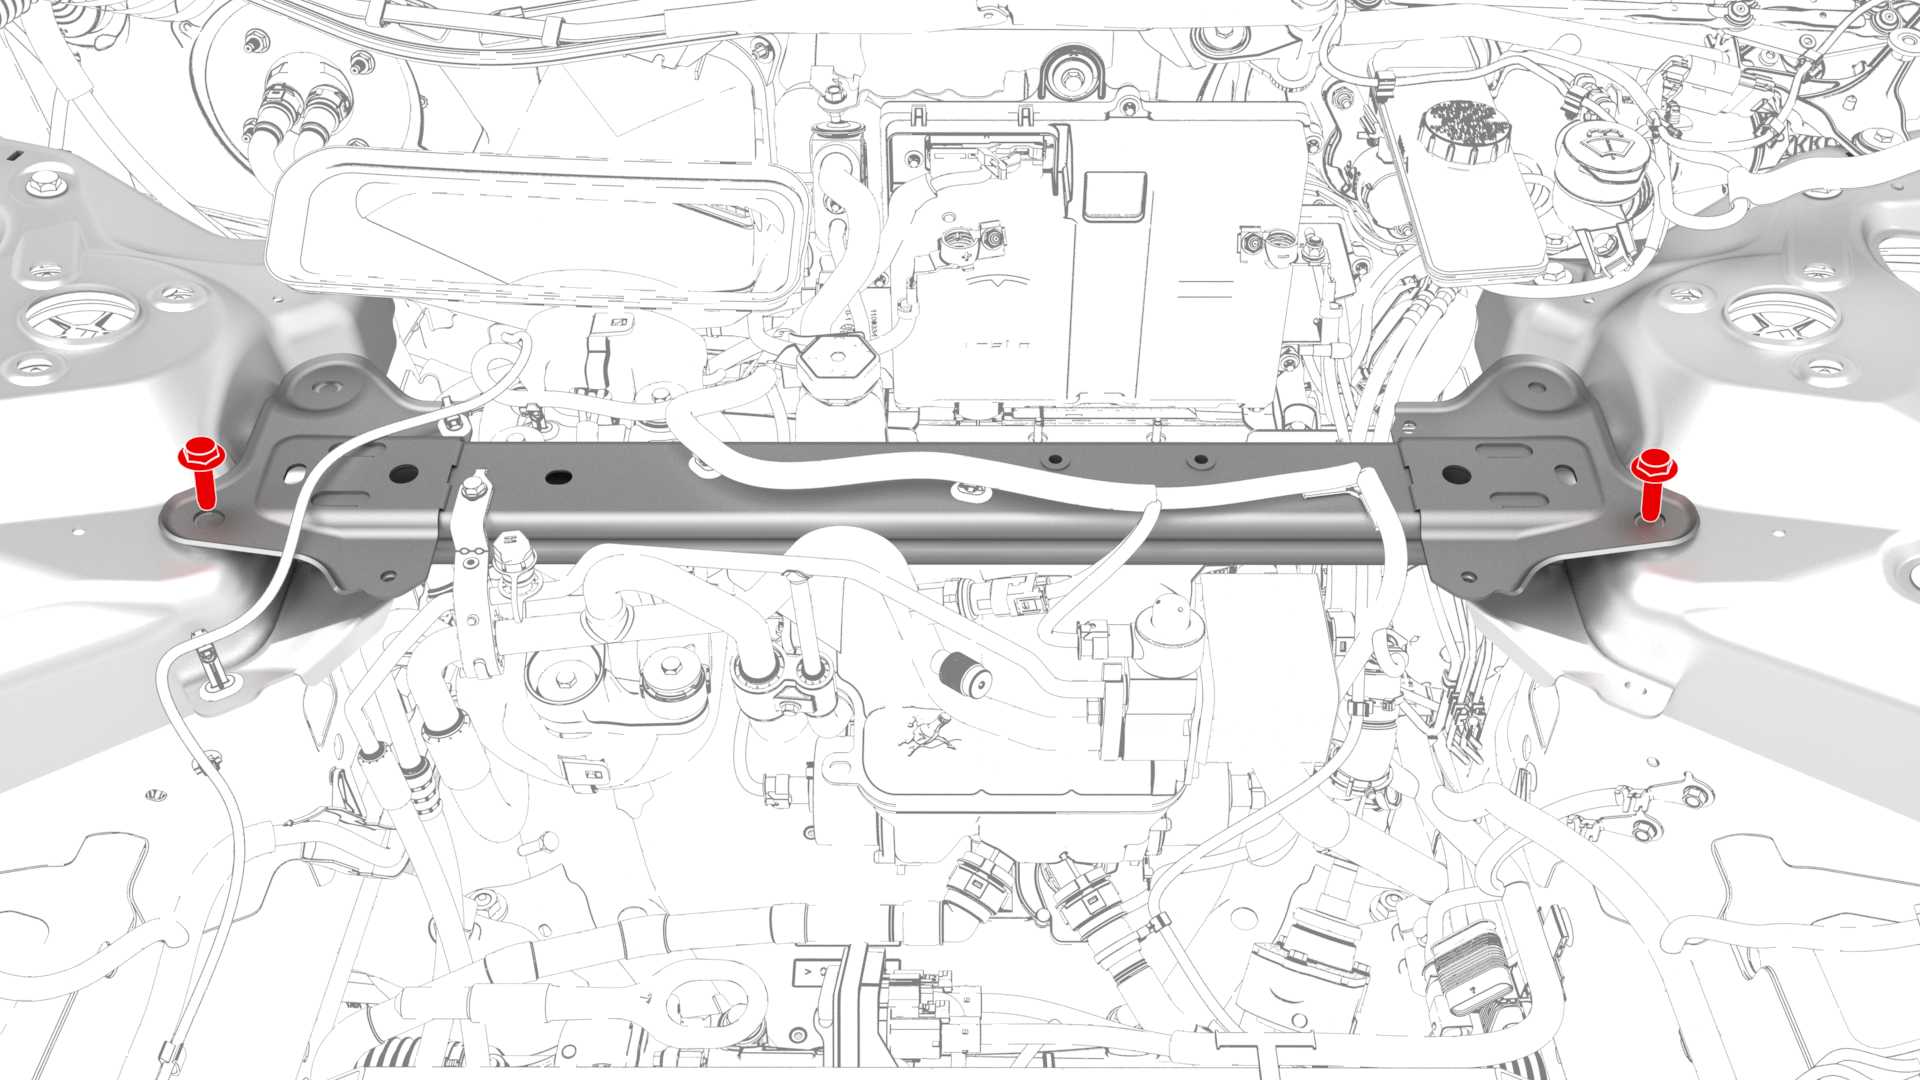
-
Remove the bolts that attach the compressor bracket to the shock tower brace, and then remove the bracket from the brace.
 Torque 10 nm
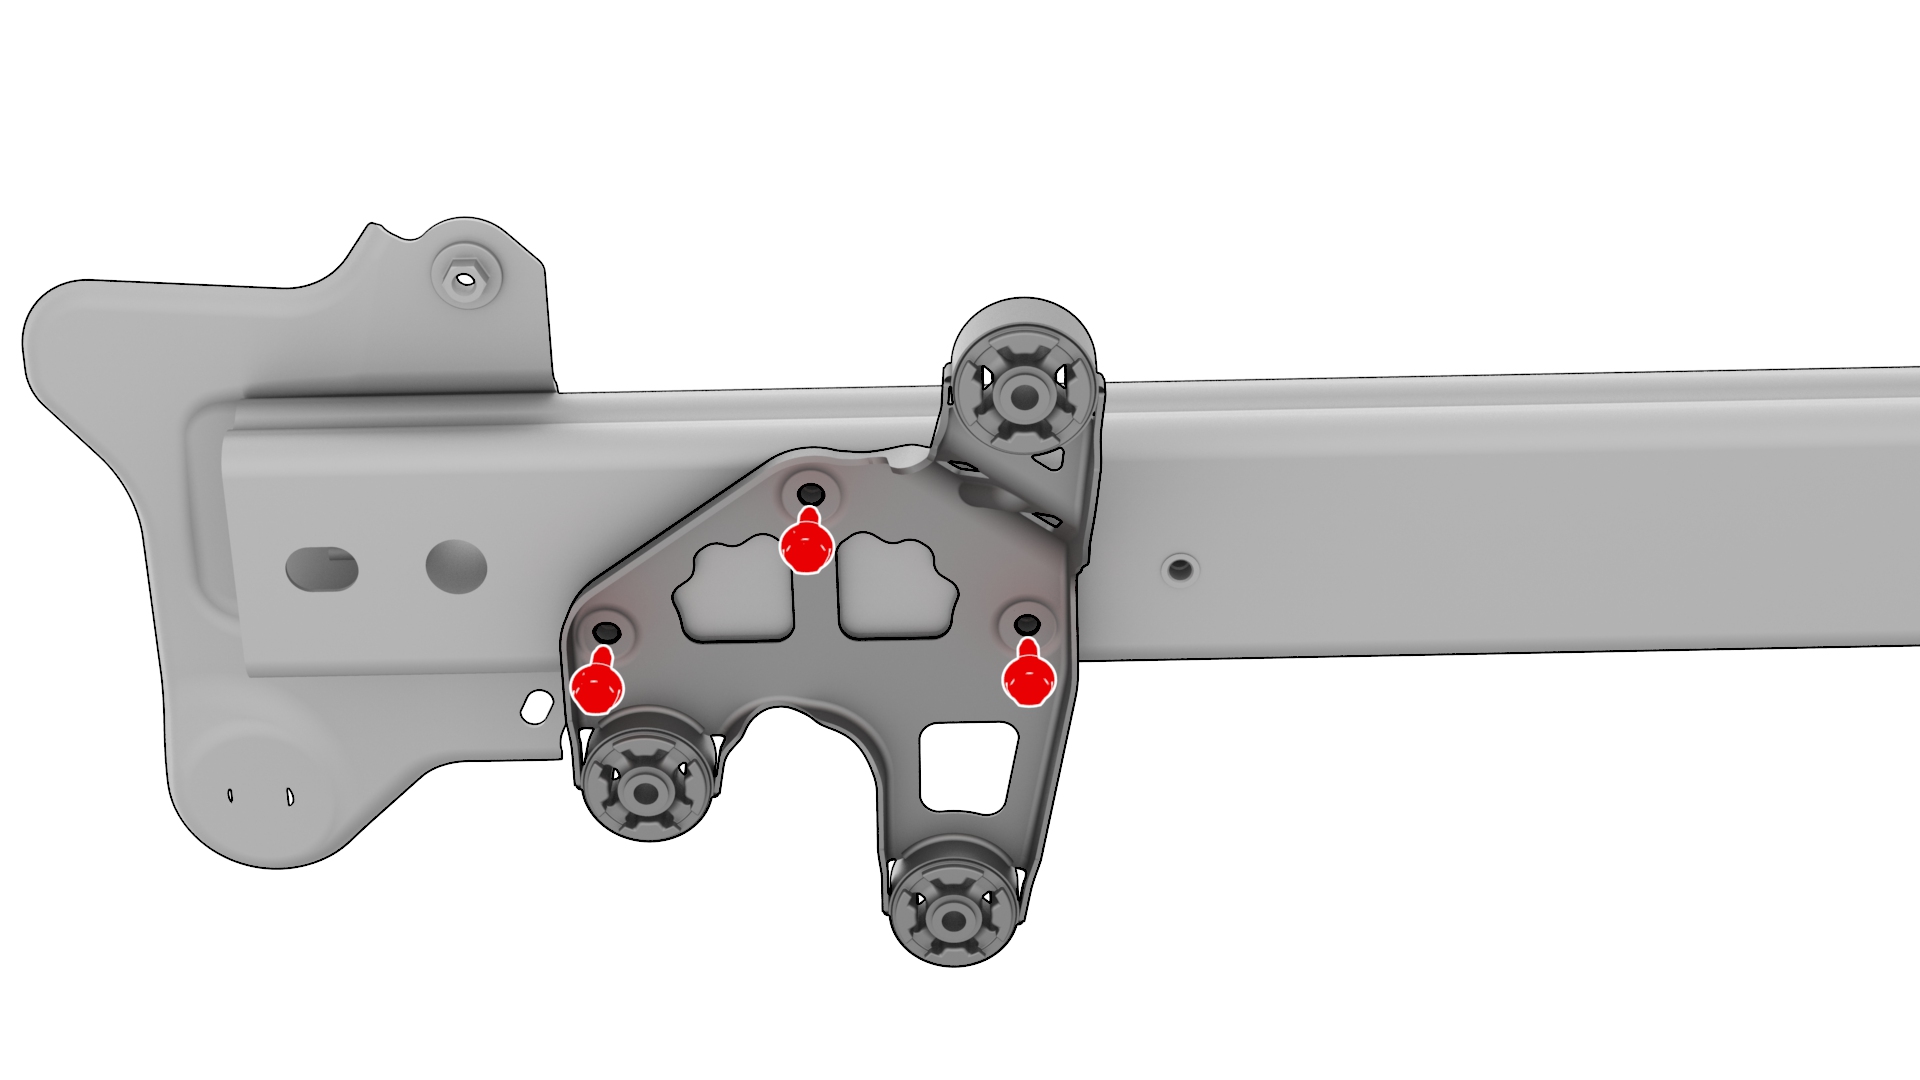
| 1 | Open all the doors. | ||
| 2 | Lower all the windows. | ||
| 3 | Remove the 2nd row lower seat cushion. See Seat Cushion - Lower - 2nd Row (Remove and Replace). | ||
| 4 | Remove the rear underhood apron. See Underhood Apron - Rear (Remove and Replace). | ||
| 5 | Remove the cabin intake duct. See Duct - Cabin Intake (Remove and Replace). | ||
| 6 | Remove the underhood storage unit. See Underhood Storage Unit (Remove and Replace). | ||
| 7 | Disconnect the 12V power. See 12V Power (Disconnect and Connect). | ||
| 8 | Remove the 12V auxiliary battery. See Battery - 12V (Remove and Replace). | ||
| 9 | Support the A/C compressor from below. | ||
| 10 | Disconnect the electrical connectors from the low pressure transducer and the EXV. | |
| 11 | Release the clips that attach the electrical harness to the shock tower brace. | |
i | 12 | Remove the bolt that attaches the liquid line bracket to the shock tower brace. Torque 5.5 Nm | |
| 13 | Remove the bolts that attach the A/C compressor to the compressor bracket. Torque 10 Nm | |
| 14 | Remove the bolt that attaches the superbottle to the brace. Torque 8 Nm | |
| 15 | Remove the nuts that attach the superbottle to the brace. Torque 8 Nm | |
| 16 | Remove the bolts that attach the battery bracket to the shock tower brace. Torque 15 Nm | |
| 17 | Remove the LH and RH bolts that attach the shock tower brace to the body. Torque 67 Nm Torque 67 Nm | |
| 18 | Remove the LH and RH outer bolts that attach the shock tower brace to the body, and then remove the shock tower brace from the vehicle. Torque 62 Nm | |
| 19 | Remove the bolts that attach the compressor bracket to the shock tower brace, and then remove the bracket from the brace. Torque 10 nm |
Install
Installation procedure is the reverse of removal.