Actuator - 5-Way Valve (RWD) (Remove and Replace)
Correction code 1830630218306302
- 1447556-00-AWrench, Diverter Valve, Model 3
SPECIAL TOOLS
Wrench, Diverter Valve, Model 3 (1447556-00-A) |
Remove
-
From under the vehicle, disconnect the electrical harness from the 5-way valve actuator connector.

-
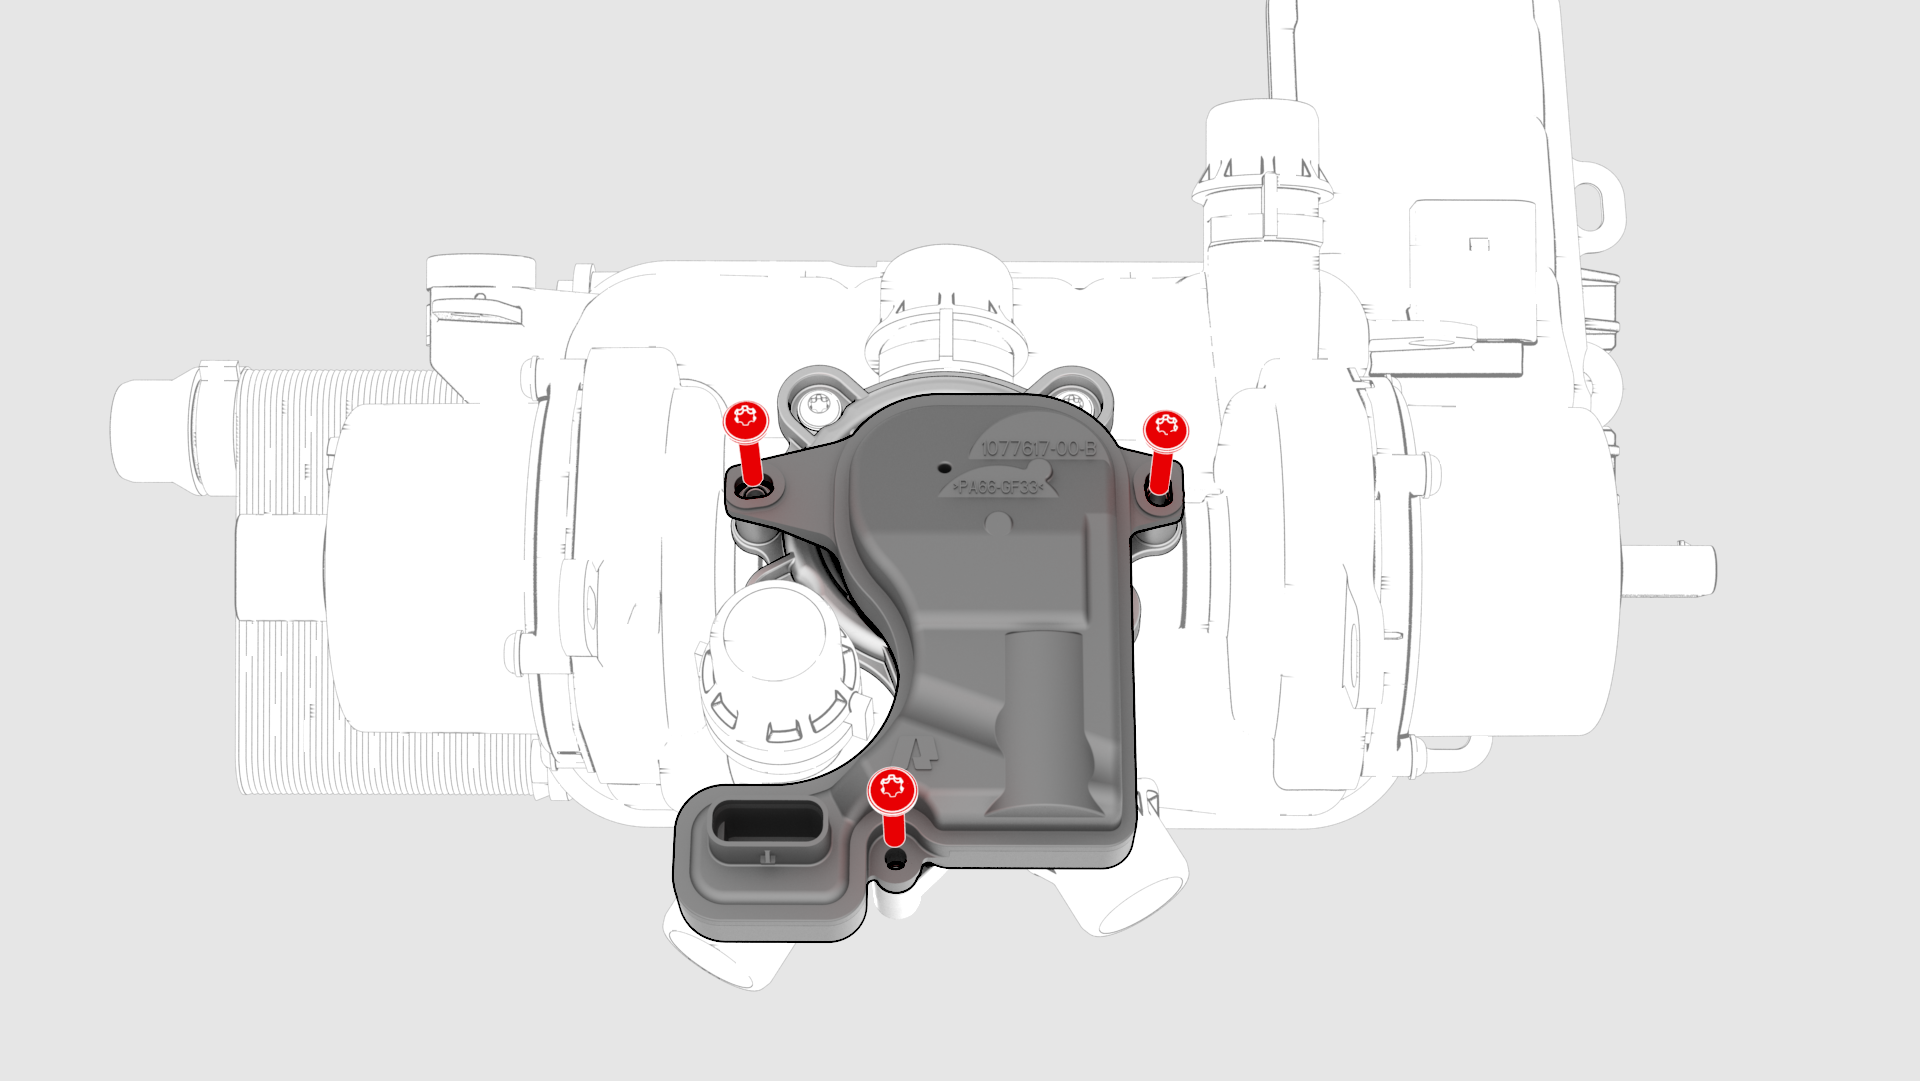
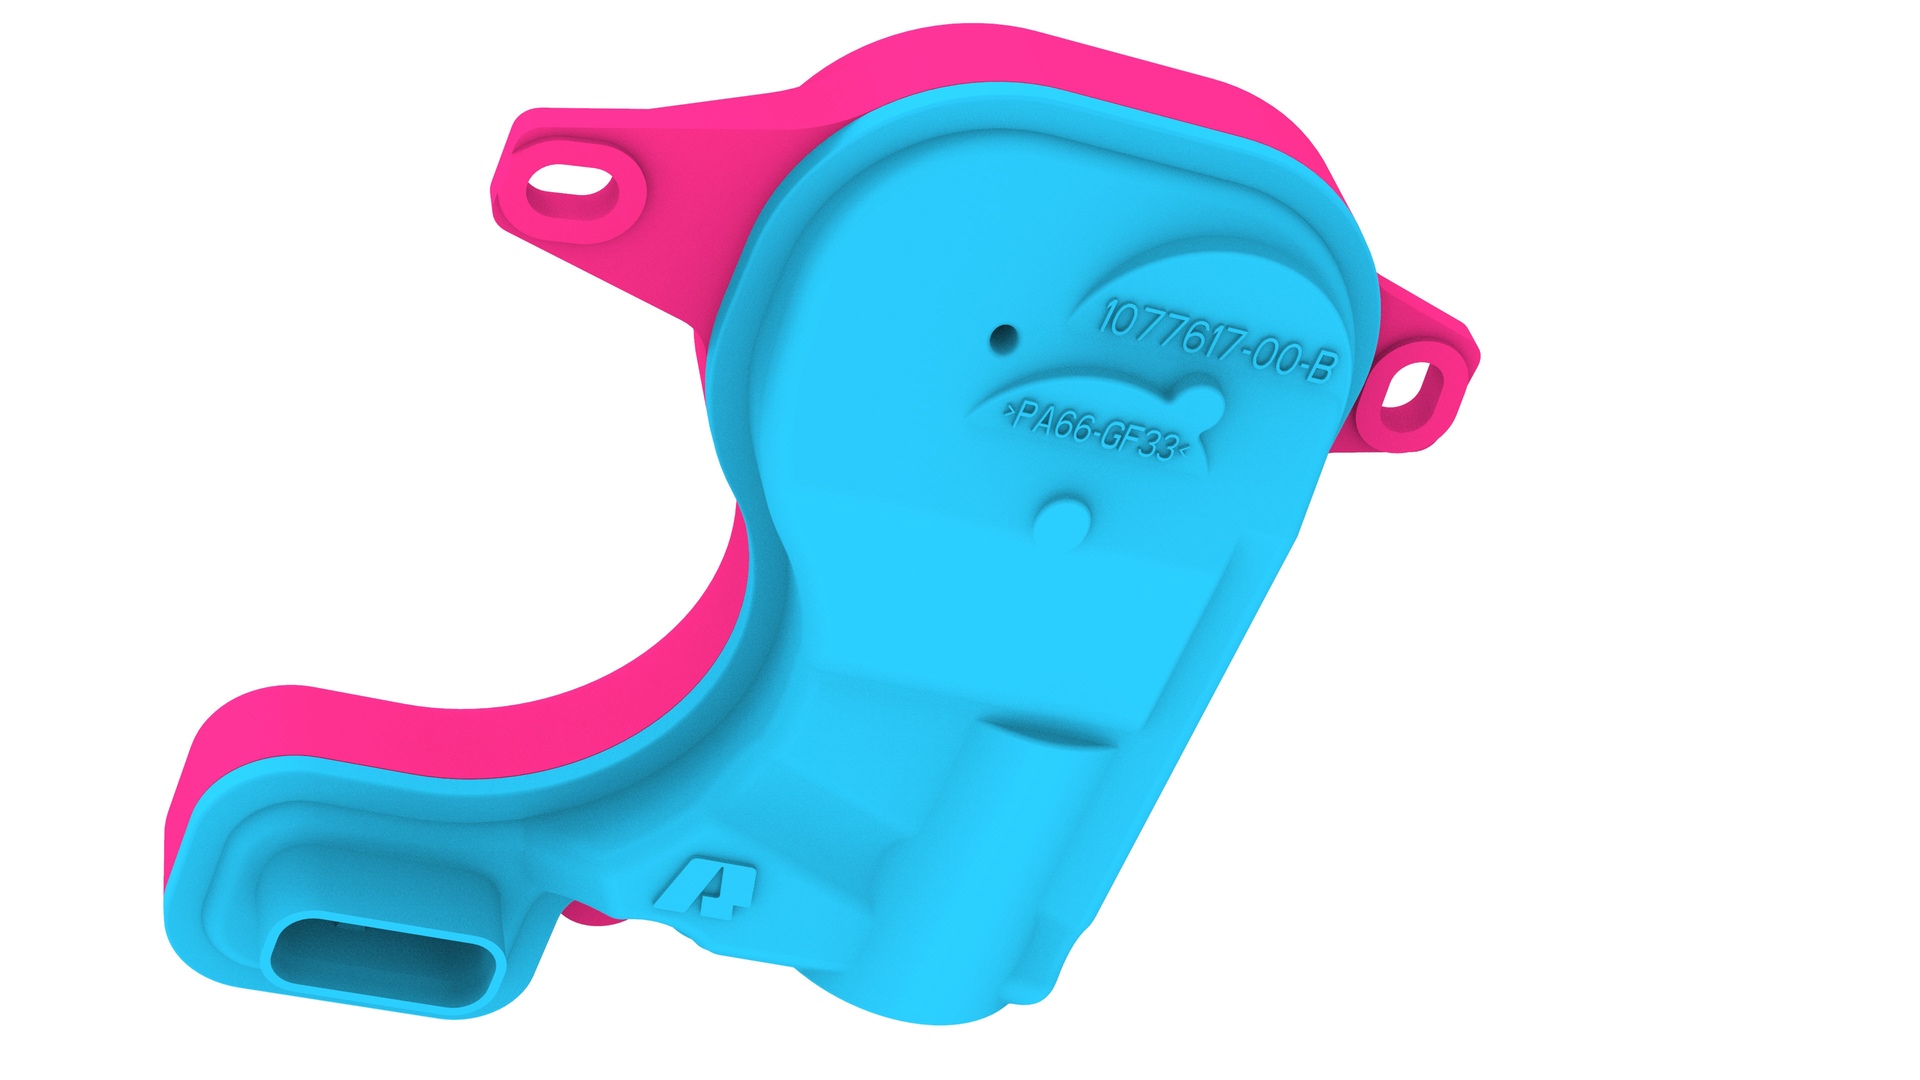
Remove the screws that attach the 5-way valve actuator to the 5-way valve cover, and then remove the actuator from the valve cover.
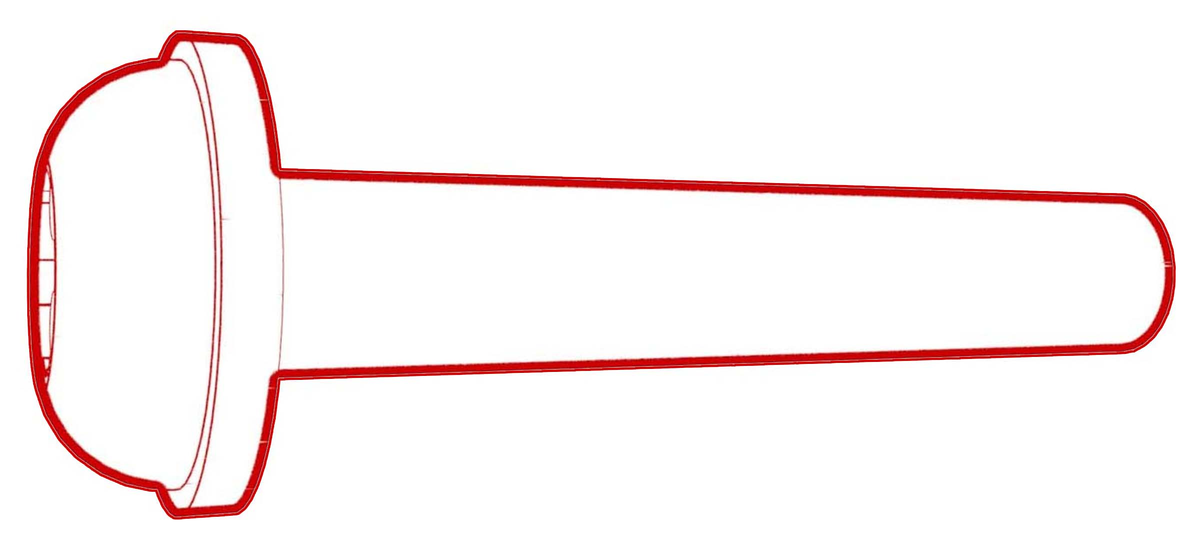
Note: The end of the stem shell shaft is exposed.
| 1 | Disconnect 12V power. See 12V Power (Disconnect and Connect). | ||
| 2 | Remove the front aero shield. See Panel - Aero Shield - Front (Remove and Replace). | ||
| 3 | From under the vehicle, disconnect the electrical harness from the 5-way valve actuator connector. | |
| 4 | Remove the screws that attach the 5-way valve actuator to the 5-way valve cover, and then remove the actuator from the valve cover. Note: The end of the stem shell shaft is exposed.
|
Install
-
Install the 5-way valve actuator on the 5-way valve cover, and then install the screws that attach the actuator on the cover.
 Torque 2 Nm
| 1 | Examine the end the of the 5-way valve stem shell shaft. One shaft spline is slightly wider than the others. |
| 2 | Mark the wider spline. |
| 3 | Use the diverter valve wrench to align the 5-way valve stem shell shaft with the 5-way valve actuator for assembly. Note: When properly aligned, the actuator easily slides over the stem shell shaft.
|
| 4 | Install the 5-way valve actuator on the 5-way valve cover, and then install the screws that attach the actuator on the cover. Torque 2 Nm |
| 5 | Connect the electrical harness to the 5-way valve actuator connector. |
| 6 | Install the front aero shield. See Panel - Aero Shield - Front (Remove and Replace). |
| 7 | Connect 12V power. See 12V Power (Disconnect and Connect). |
| 8 | Connect a laptop with Toolbox to the vehicle. |
| 9 | Using Toolbox, run the 5-way valve actuator self-test, "TEST-SELF_VCFRONT_X_FIVE-WAY-VALVE." Note: This Toolbox routine tests and calibrates the 5-way valve actuator.
|
| 10 | Disconnect the laptop from the vehicle. |