Center Console (Remove and Replace)
Correction code 1519010215190102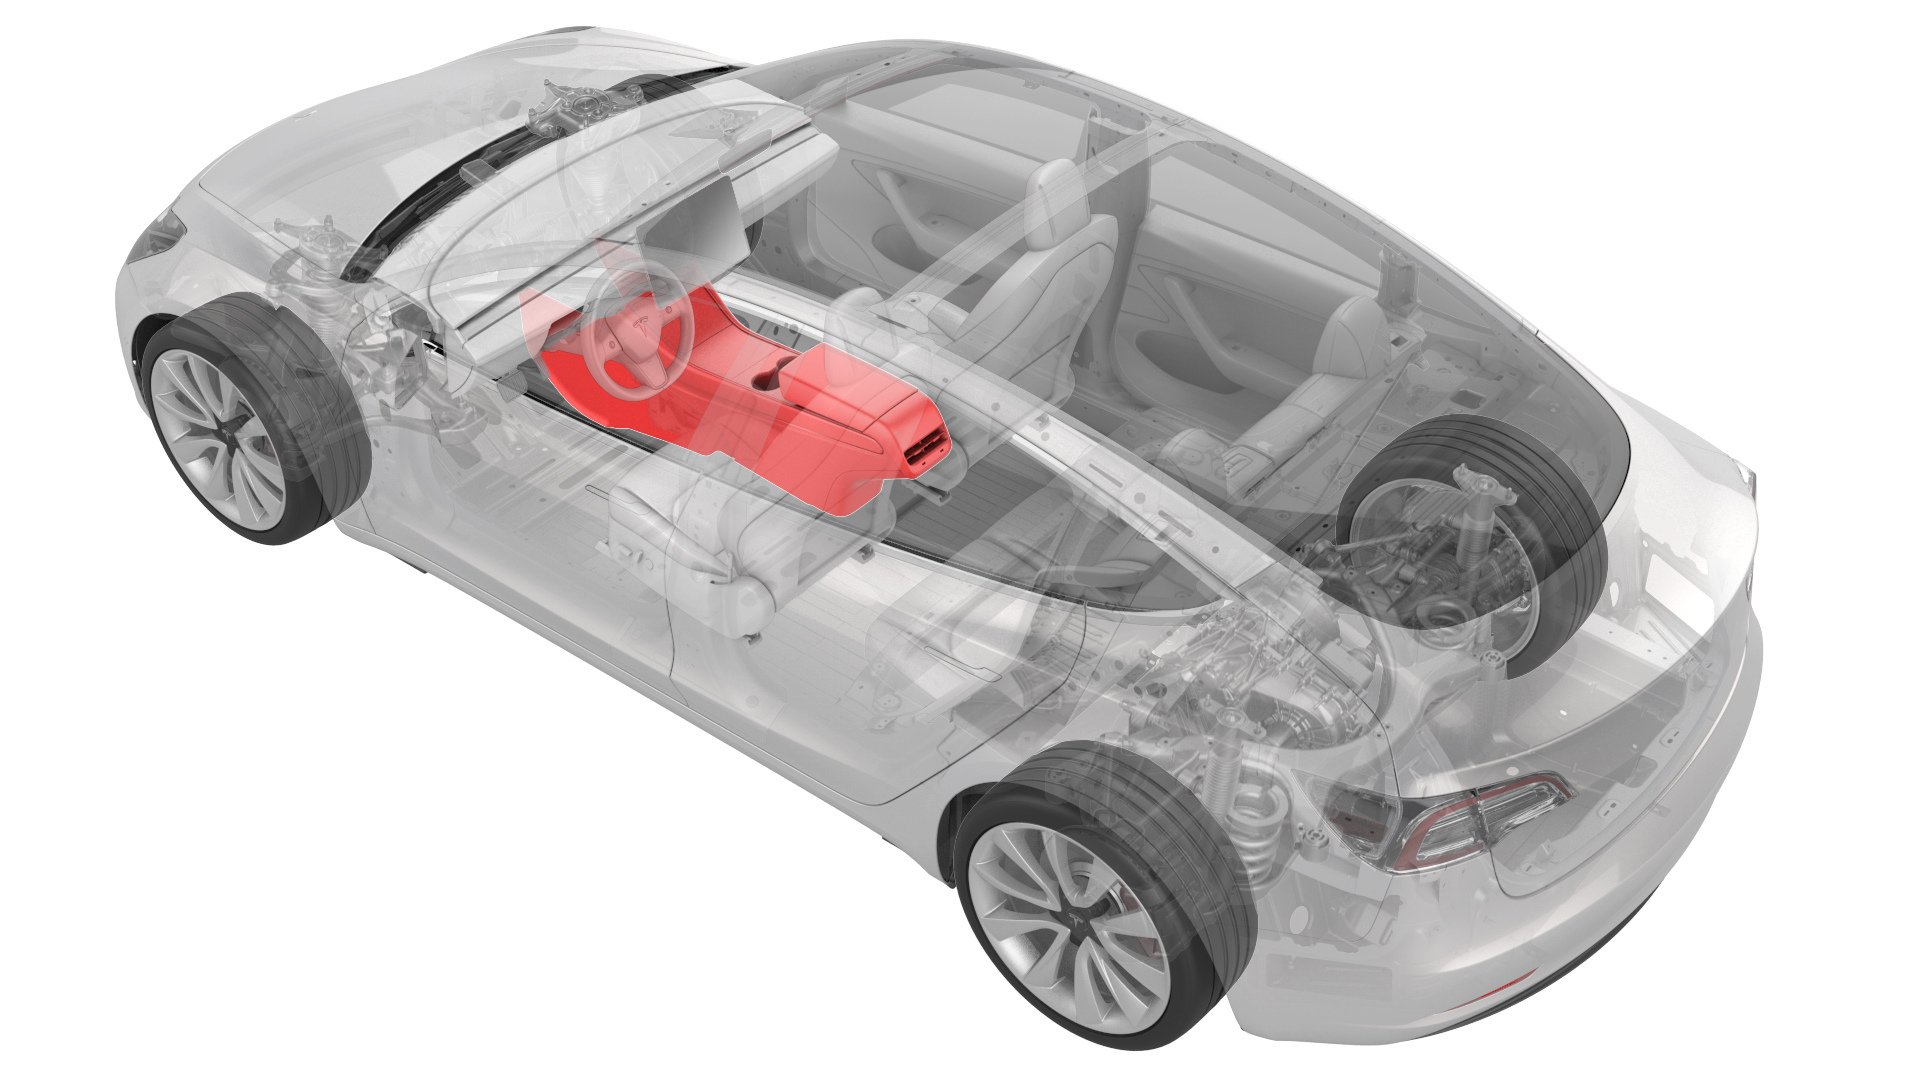
Remove
Remove the center console assembly. See Center Console (Remove and Install).
Install
-
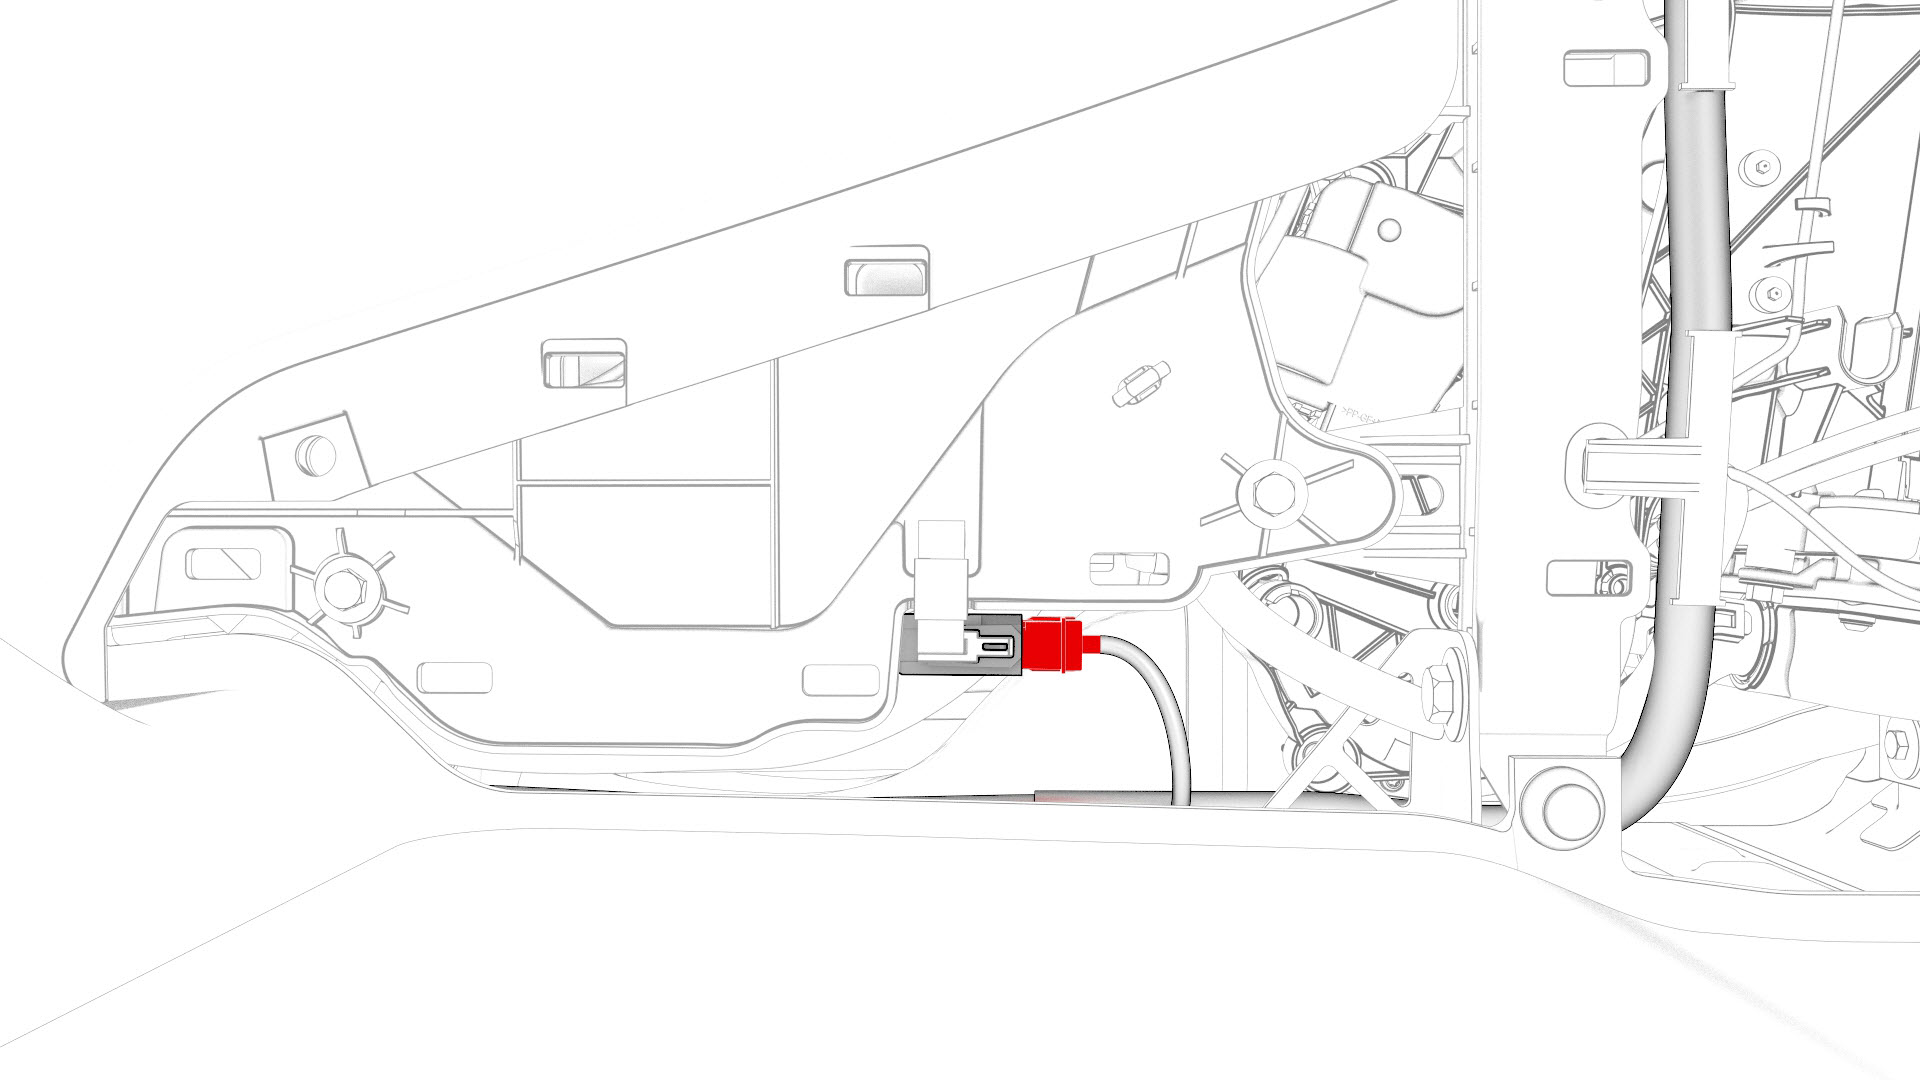
Connect the electrical connector in the rear of the center console.
 Caution:Ensure the connector is properly installed. Perform a push-pull test before continuing this procedure.
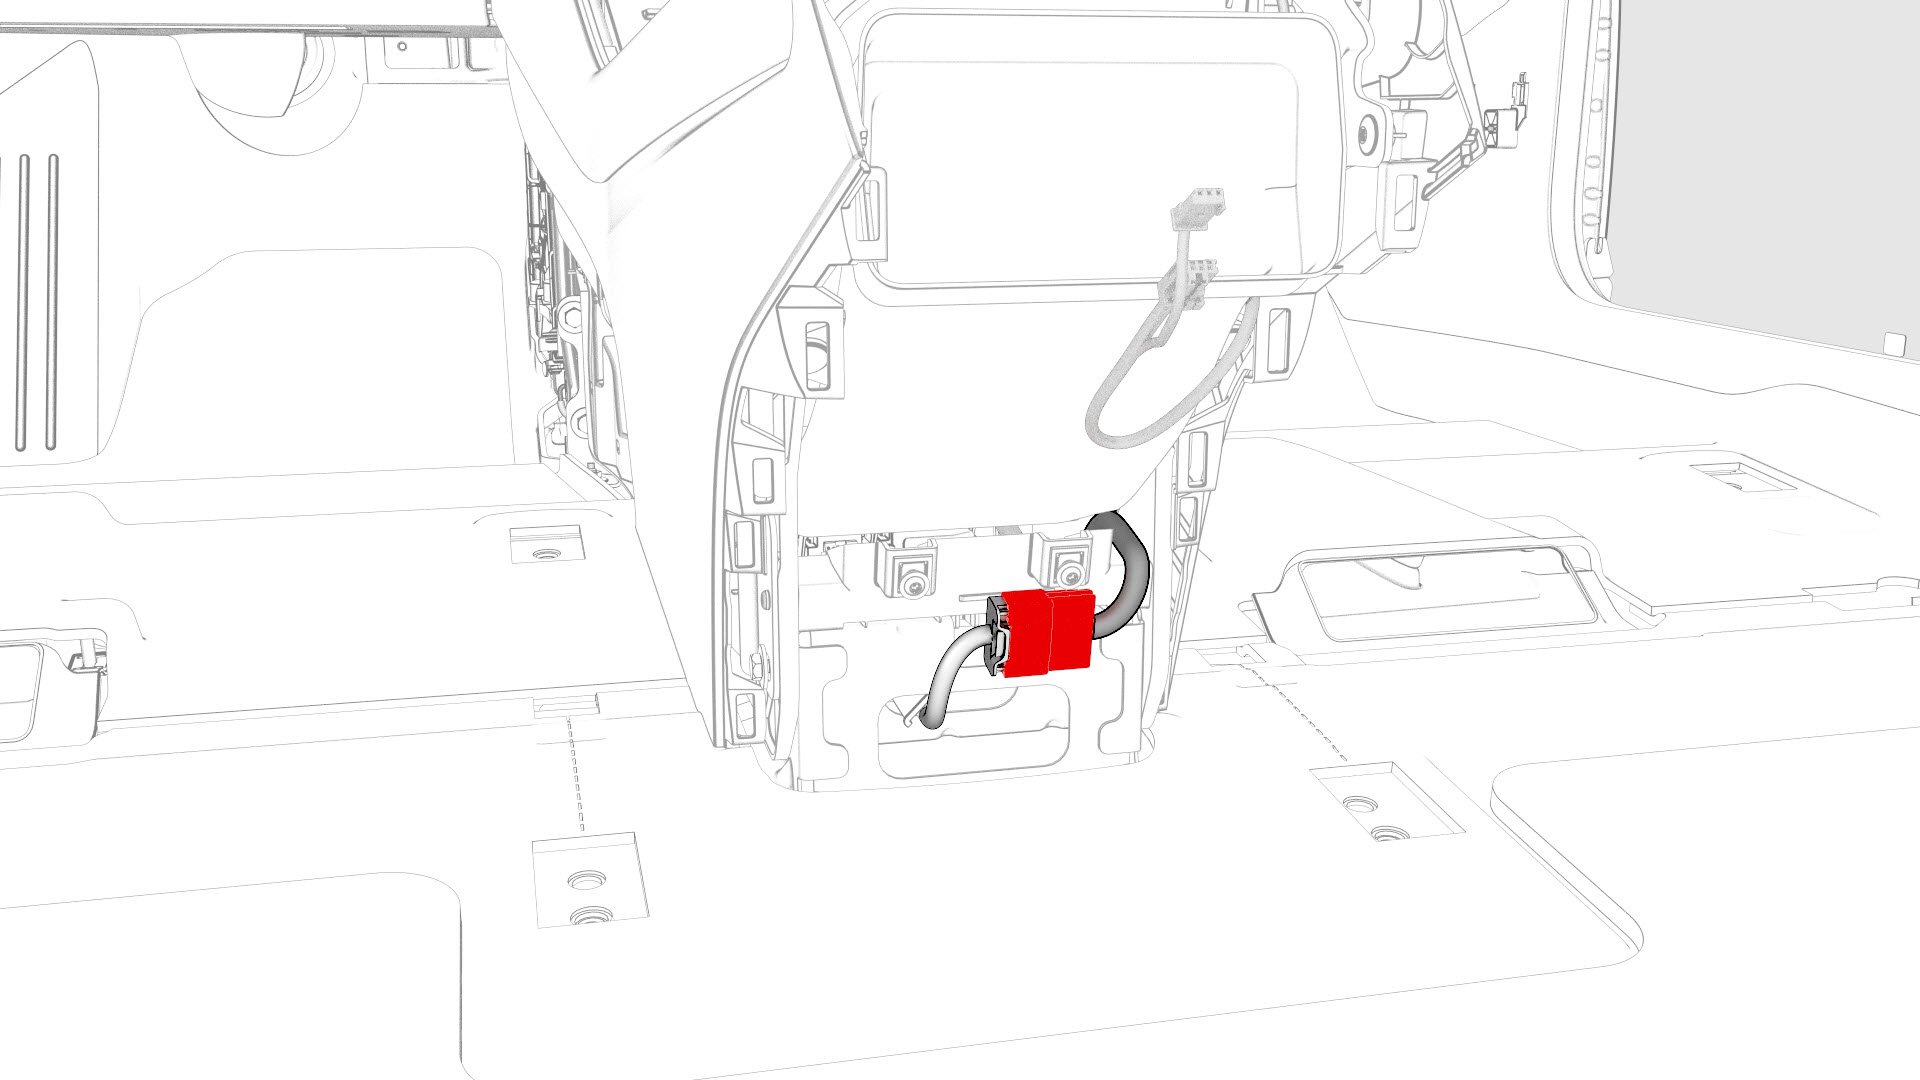
-
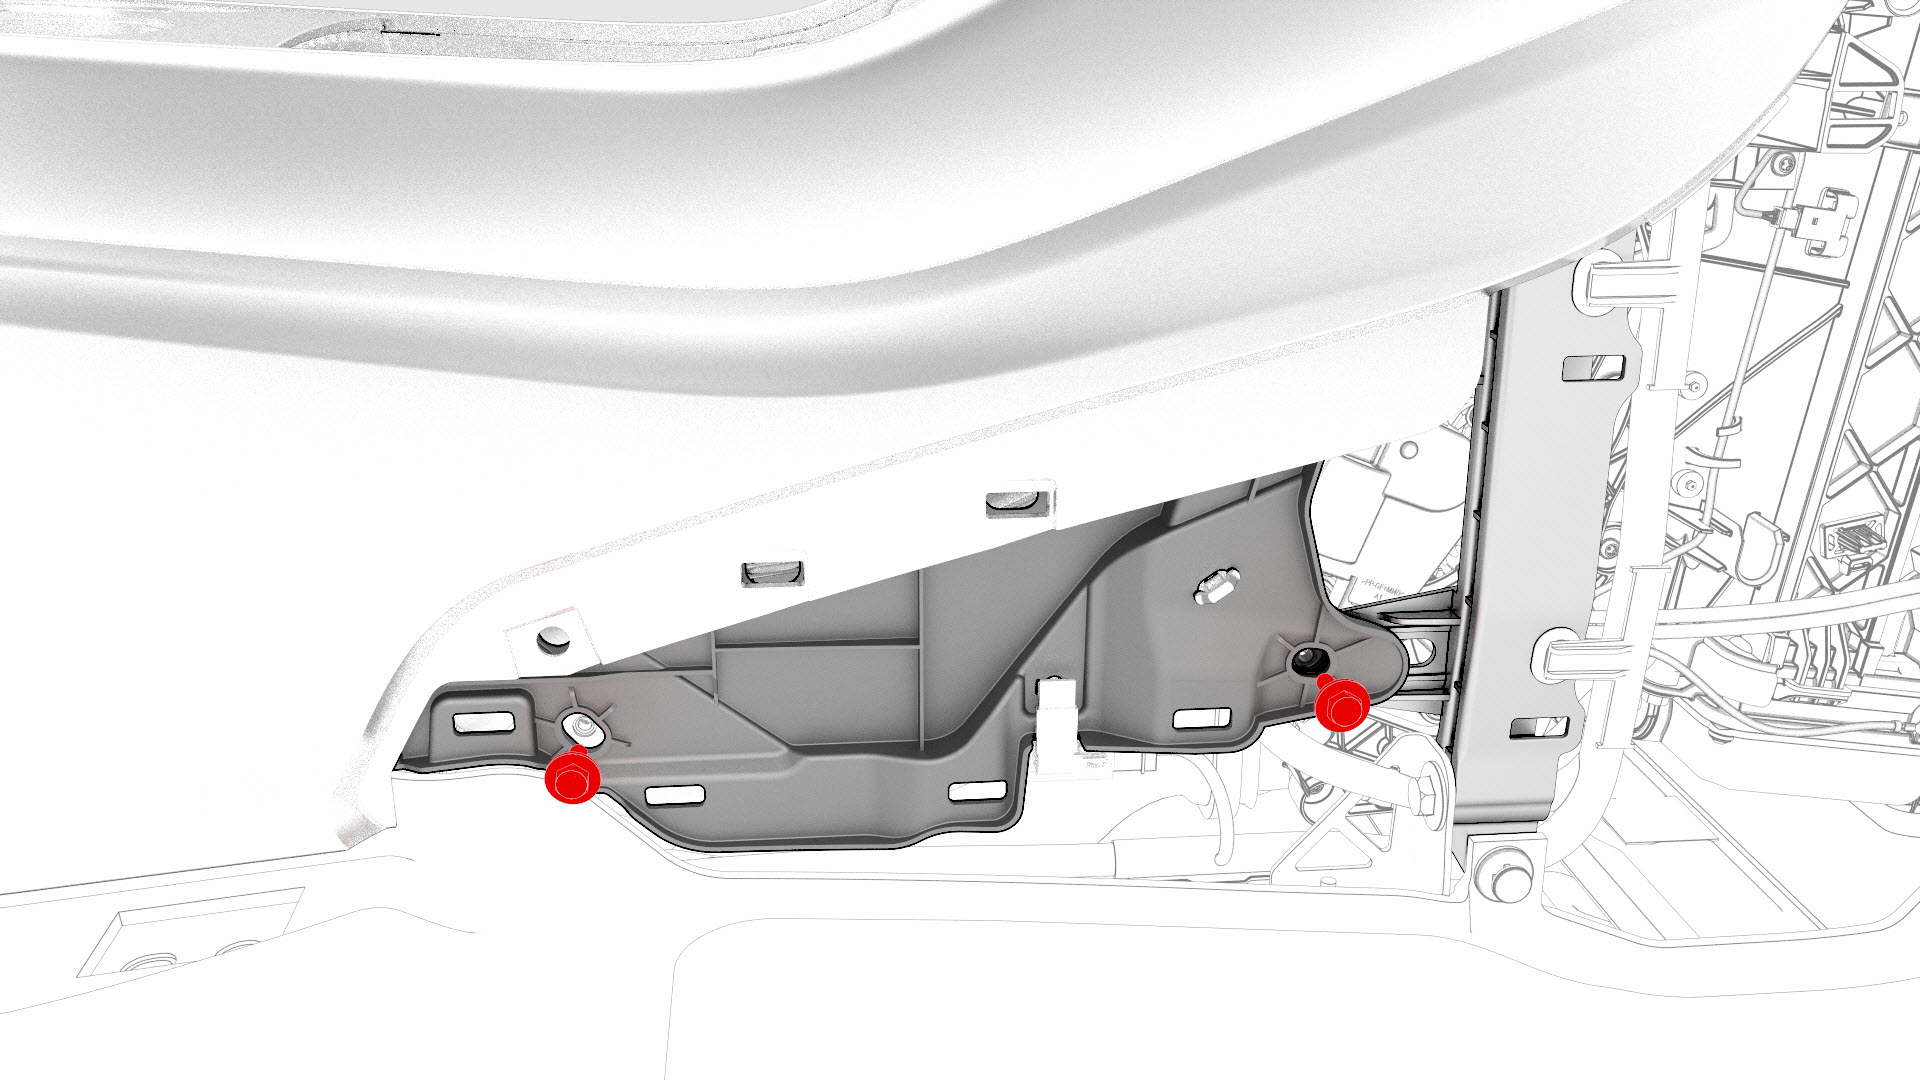
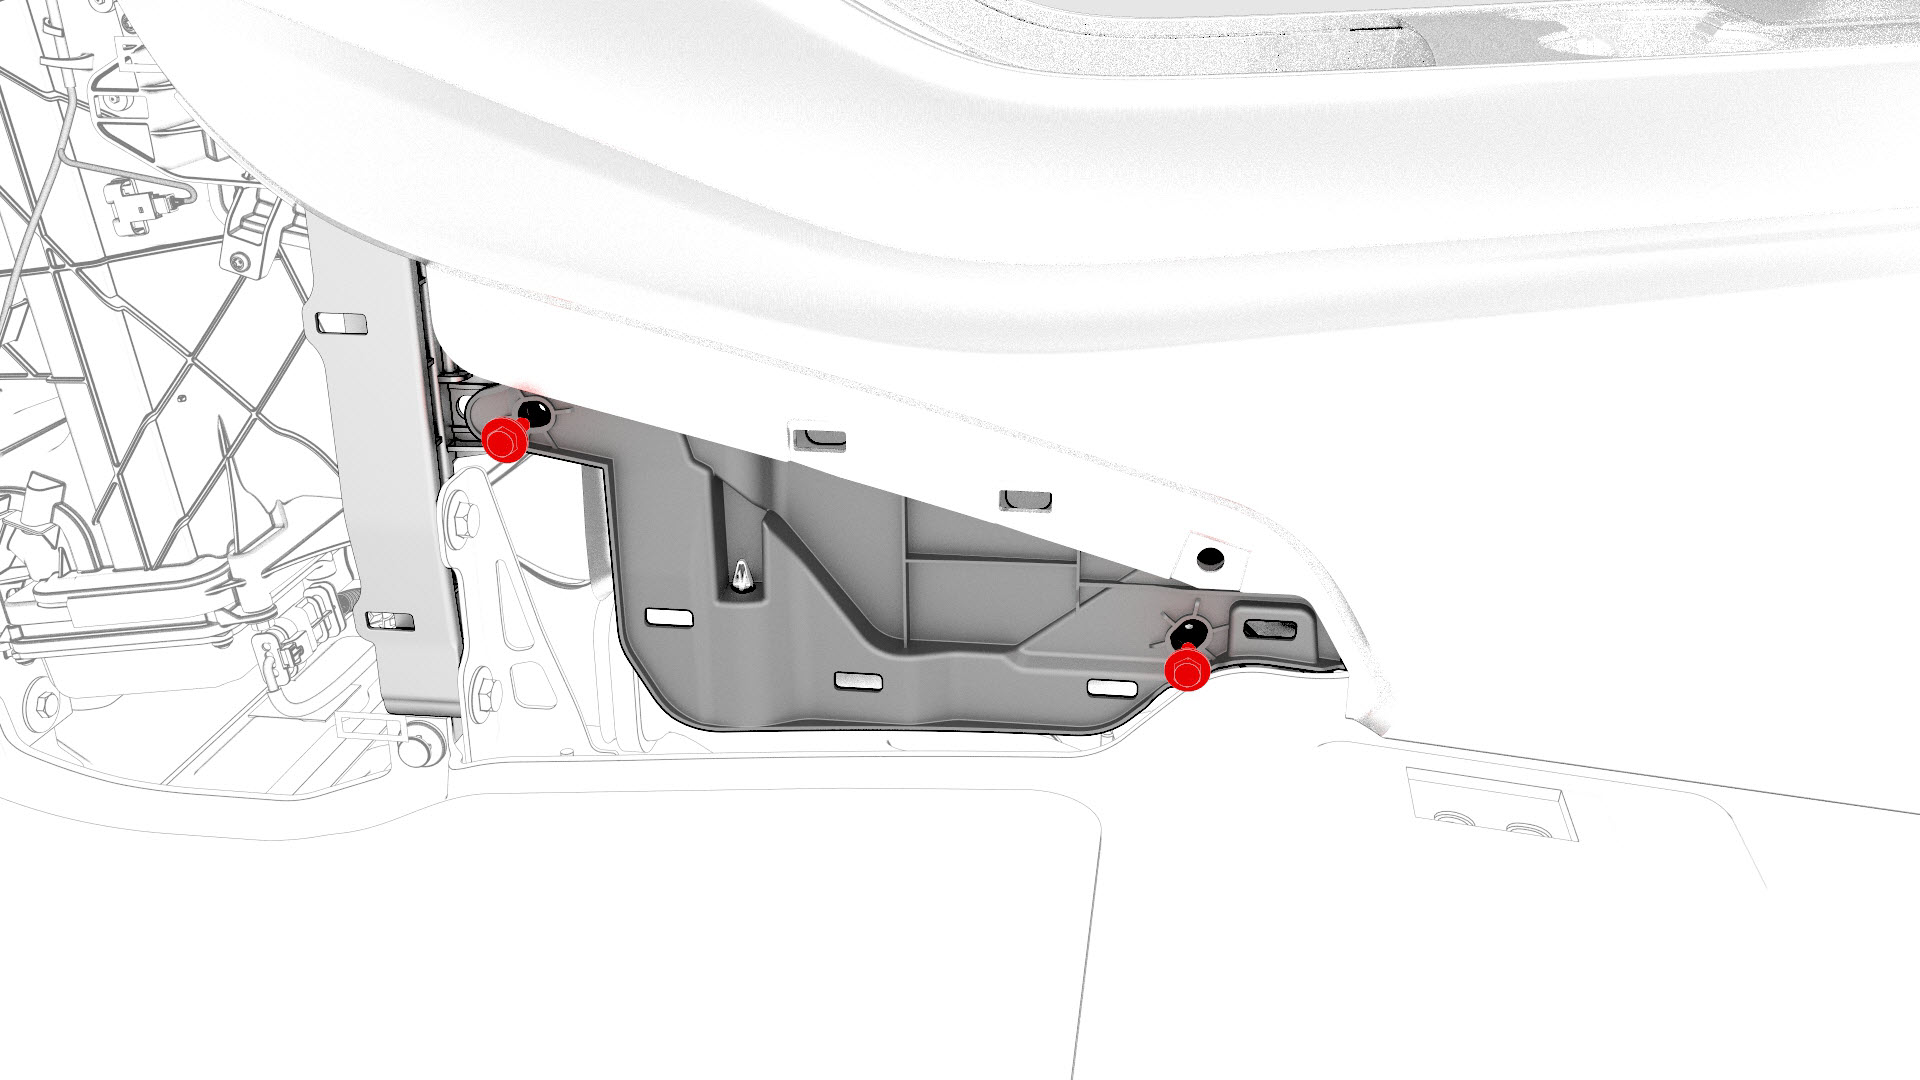
Install the bolt that attaches the RH rear of the center console to the body.
 Torque 7 Nm
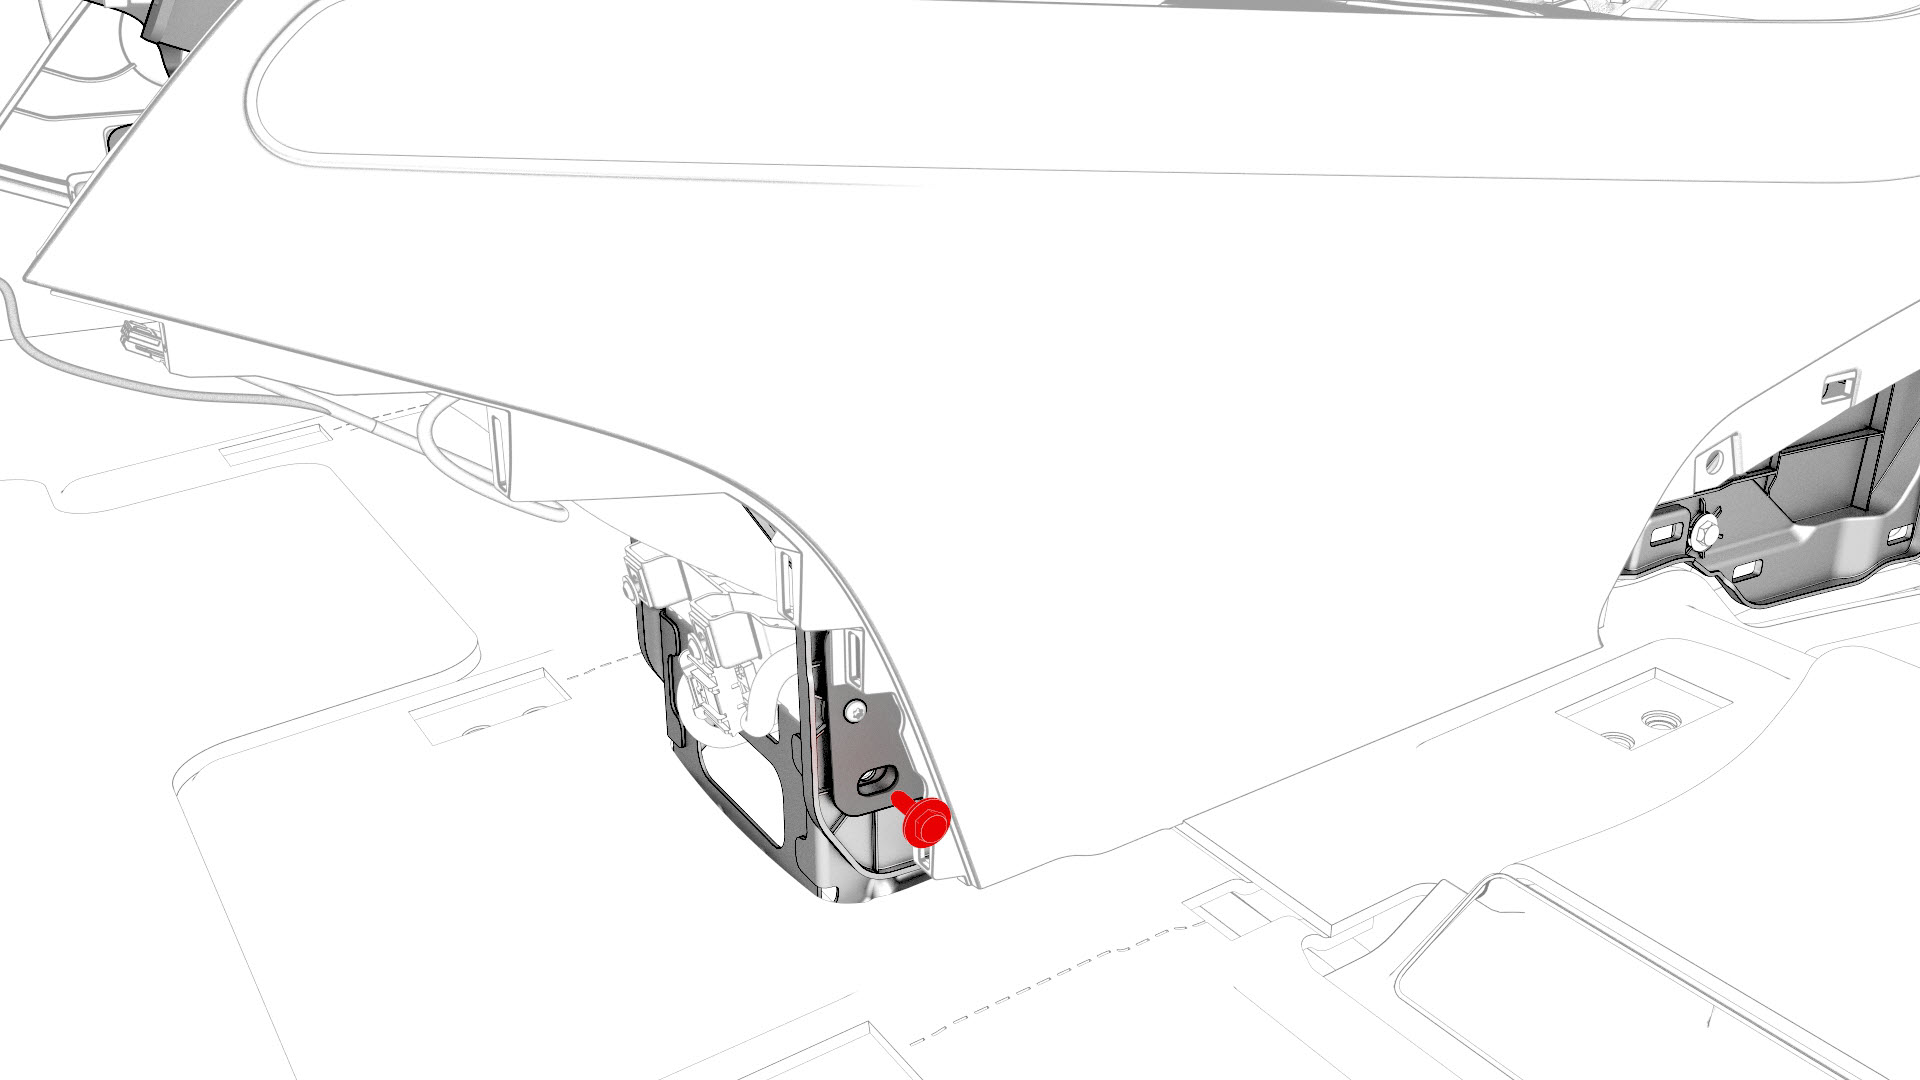
-
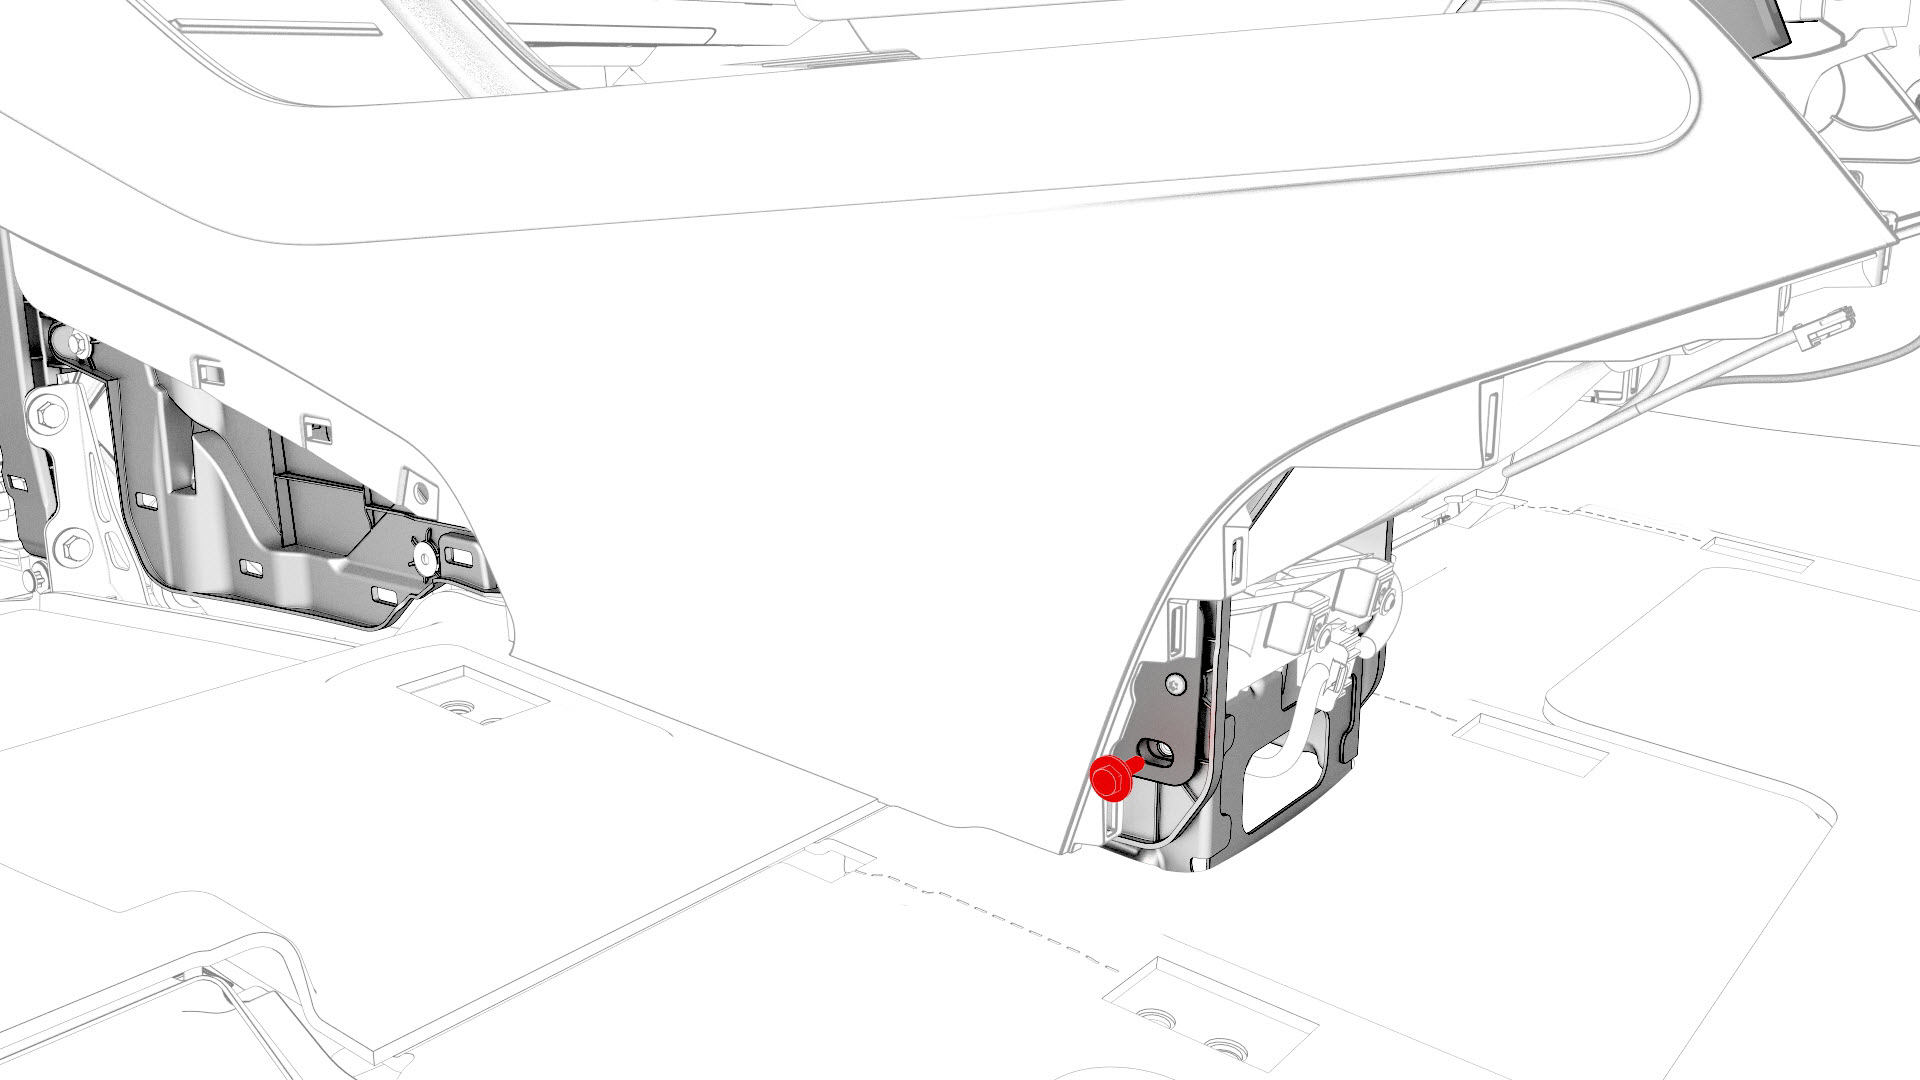
Install the bolt that attaches the LH rear of the center console to the body.Torque 7 Nm
-
Install the bolts that attach the front of the center console to the body.
 Torque 1.7 Nm
-
Connect the electrical connector that is located at the RH front of the center console.
Caution:Ensure the connector is properly installed. Perform a push-pull test before continuing this procedure.
-
Install the bolts that attach the RH front of the center console to the body.Torque 7 Nm
-
Install the bolts that attach the LH front of the center console to the body.Torque 7 Nm
| 1 | With an assistant, install the center console into the vehicle as follows:
| ||
| 2 | Open the center console rotating lid. | ||
| 3 | Connect the electrical connector in the rear of the center console. Caution: Ensure the connector is properly installed. Perform a push-pull test before continuing this procedure.
| |
| 4 | Reconnect 12V power. See 12V Power (Disconnect and Connect). | ||
| 5 | Connect a laptop with Toolbox to the vehicle. | ||
| 6 | Using Toolbox, type "VCSEC" in the search tab. Note: Make sure "Actions" is selected, if not already.
| ||
| 7 | Using Toolbox, click the play button next to "PING-TP_VCSEC," and then select Run. | ||
| 8 | Update the vehicle firmware. | ||
| 9 | Using Toolbox, click the play button next to "PROC_VCSEC_X_PROVISIONING," and then select Run. | ||
| 10 | Using Toolbox, click the play button next to "TEST-SELF_VCSEC_X_ENDPOINT-COMM" and select Run. | ||
| 11 | Using Toolbox, type "PAIR" in the search field to bring up the NFC key pairing routine "REPAIR_NETWORK.ODIN_VCSEC_PAIRNFCCARD." Note: Make sure "Autodiag" is selected, if not already.
| ||
| 12 | Place the NFC cards on the center console behind the cup holders. Note: 2 NFC cards are required when pairing: 2 unprogrammed NFC cards, or 1 unprogrammed NFC card and one previously programmed NFC card.
| ||
| 13 | Using Toolbox, type the number of NFC cards to be paired to the vehicle, and then select Run Network. | ||
| 14 | Using Toolbox, select the vehicle garage type on the prompt screen. Allow the routine to run. Note: Try this step again if the routine fails.
| ||
| 15 | Check the function of the programmed NFC cards. | ||
| 16 | Using Toolbox, type "IMMOBILIZER" in the search tab. | ||
| 17 | Using Toolbox, click the play button next to "PROC_DI_X-IMMOBILIZER," and then select Run. | ||
| 18 | Using Toolbox, type "ODOMETER" in the search tab. | ||
| 19 | Using Toolbox, click the play button next to "PROC-DID_DI_VEHICLE-ODOMETER," and select Run. | ||
| 20 | Using Toolbox, type "RESET_DI" in the search tab. | ||
| 21 | Using Toolbox, click the play button next to "TEST-RESET_DI," and then select Run. | ||
| 22 | Disconnect the laptop from the vehicle. | ||
| 23 | Install the bolt that attaches the RH rear of the center console to the body. Torque 7 Nm | |
| 24 | Install the bolt that attaches the LH rear of the center console to the body. Torque 7 Nm | |
| 25 | Install the center console lower rear panel. See Panel - Lower Rear - Center Console (Remove and Replace). | ||
| 26 | Install the bolts that attach the front of the center console to the body. Torque 1.7 Nm | |
| 27 | Install the phone tray. See Phone Tray - Center Console (Remove and Replace). | ||
| 28 | Connect the electrical connector that is located at the RH front of the center console. Caution: Ensure the connector is properly installed. Perform a push-pull test before continuing this procedure.
| |
| 29 | Install the bolts that attach the RH front of the center console to the body. Torque 7 Nm | |
| 30 | Install the RH center console side panel carpet. See Carpet - Side Panel - Center Console - LH (Remove and Replace). | ||
| 31 | Install the front passenger floormat. | ||
| 32 | Install the bolts that attach the LH front of the center console to the body. Torque 7 Nm | |
| 33 | Install the LH center console side panel carpet. See Carpet - Side Panel - Center Console - LH (Remove and Replace). | ||
| 34 | Install the driver floormat. | ||
| 35 | Install the rear underhood apron. See Underhood Apron - Rear (Remove and Replace). | ||
| 36 | Install the 2nd row lower seat cushion. See Seat Cushion - Lower - 2nd Row (Remove and Replace). | ||
| 37 | Restore the customer's belongings into the center console, if needed. |