Suspension - Front (Check Torque)
Correction code 3101900031019000
Procedure
-
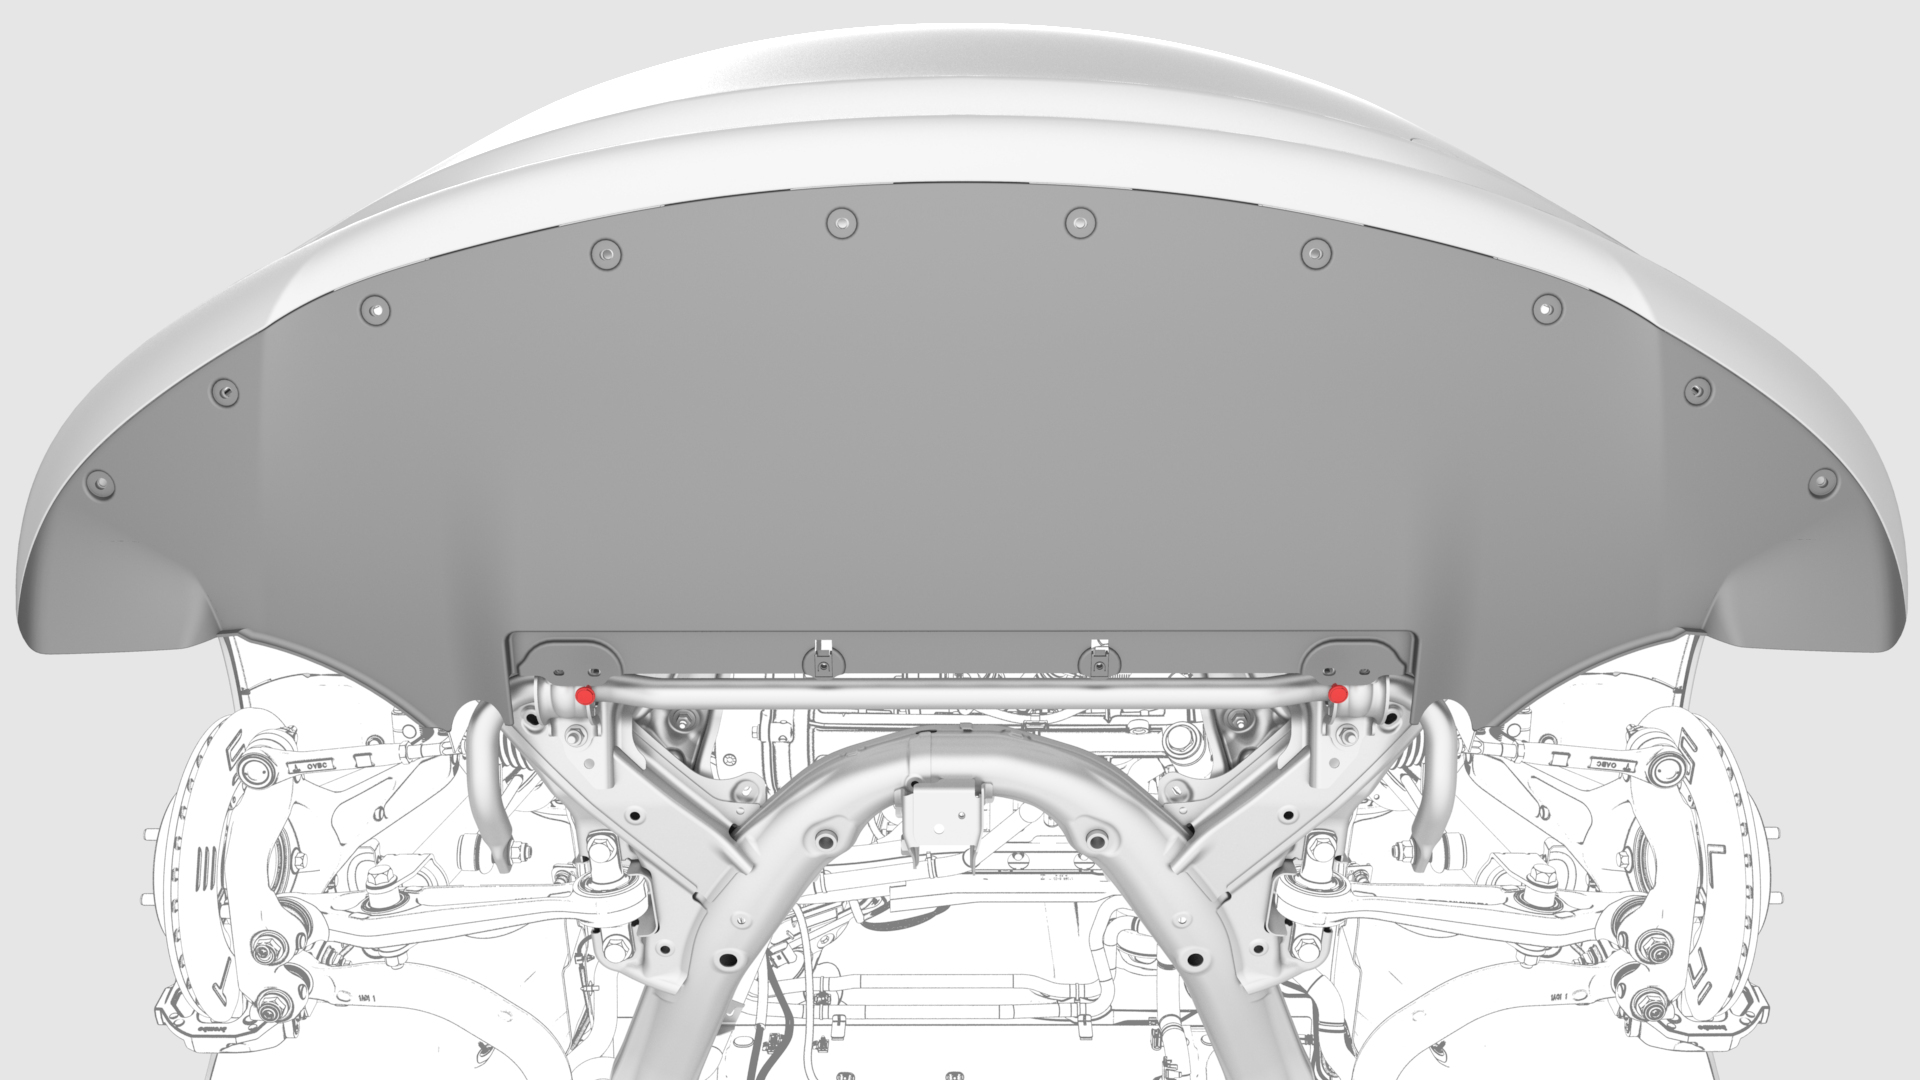
Remove the clips (x2) that attach the valance to the front stabilizer bar brackets.
-
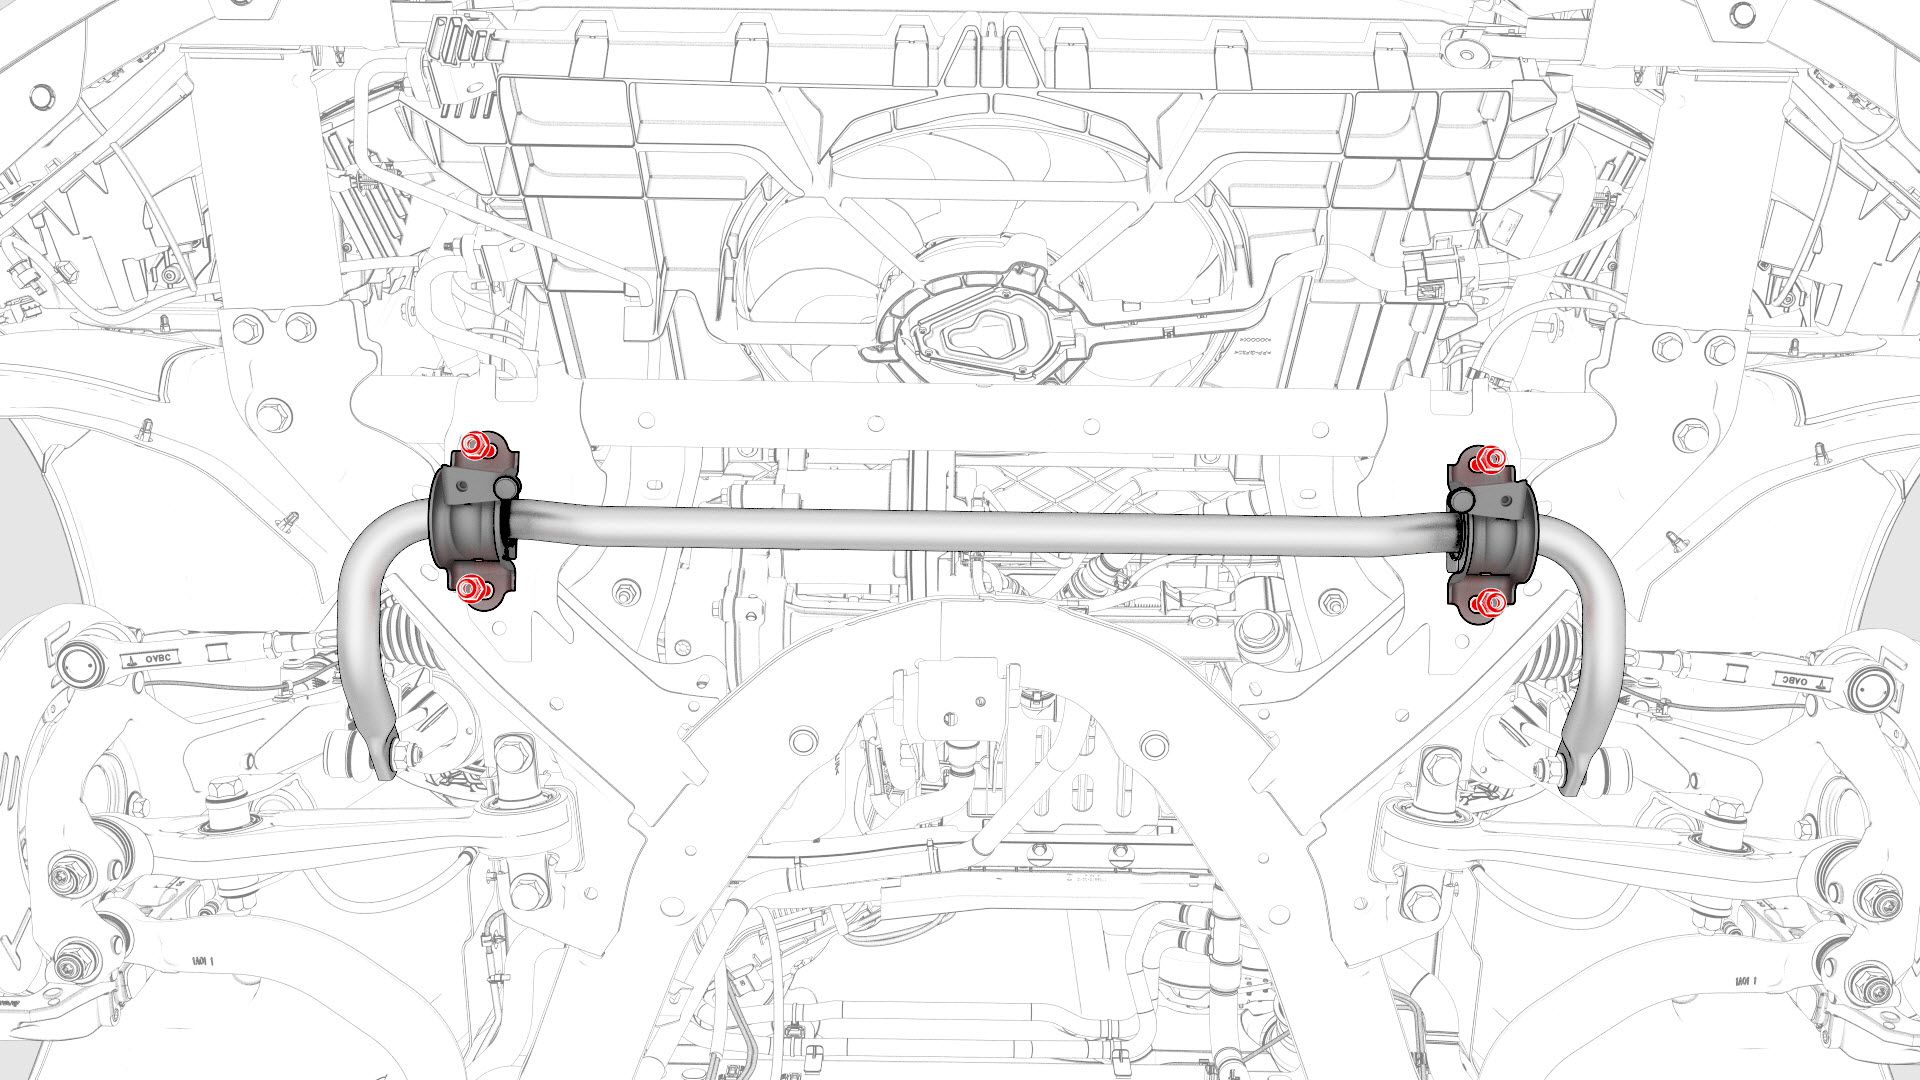
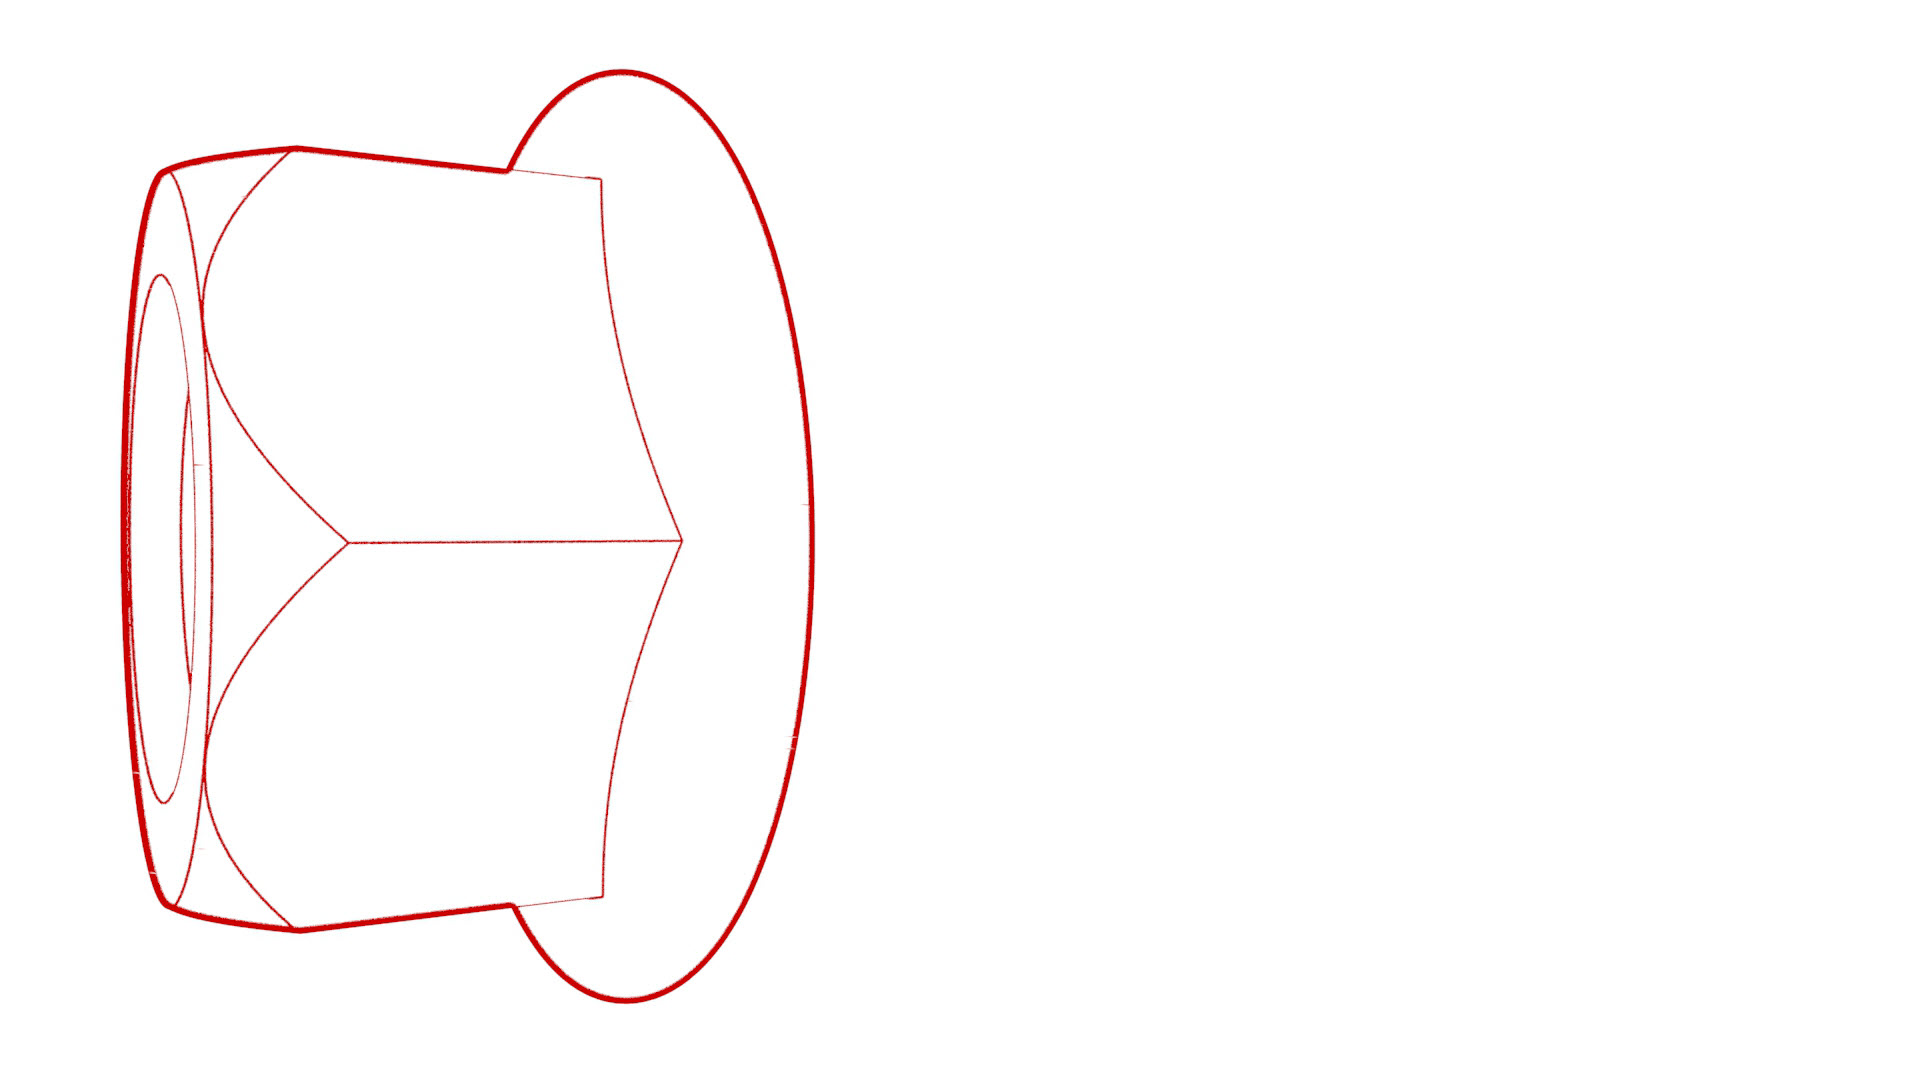
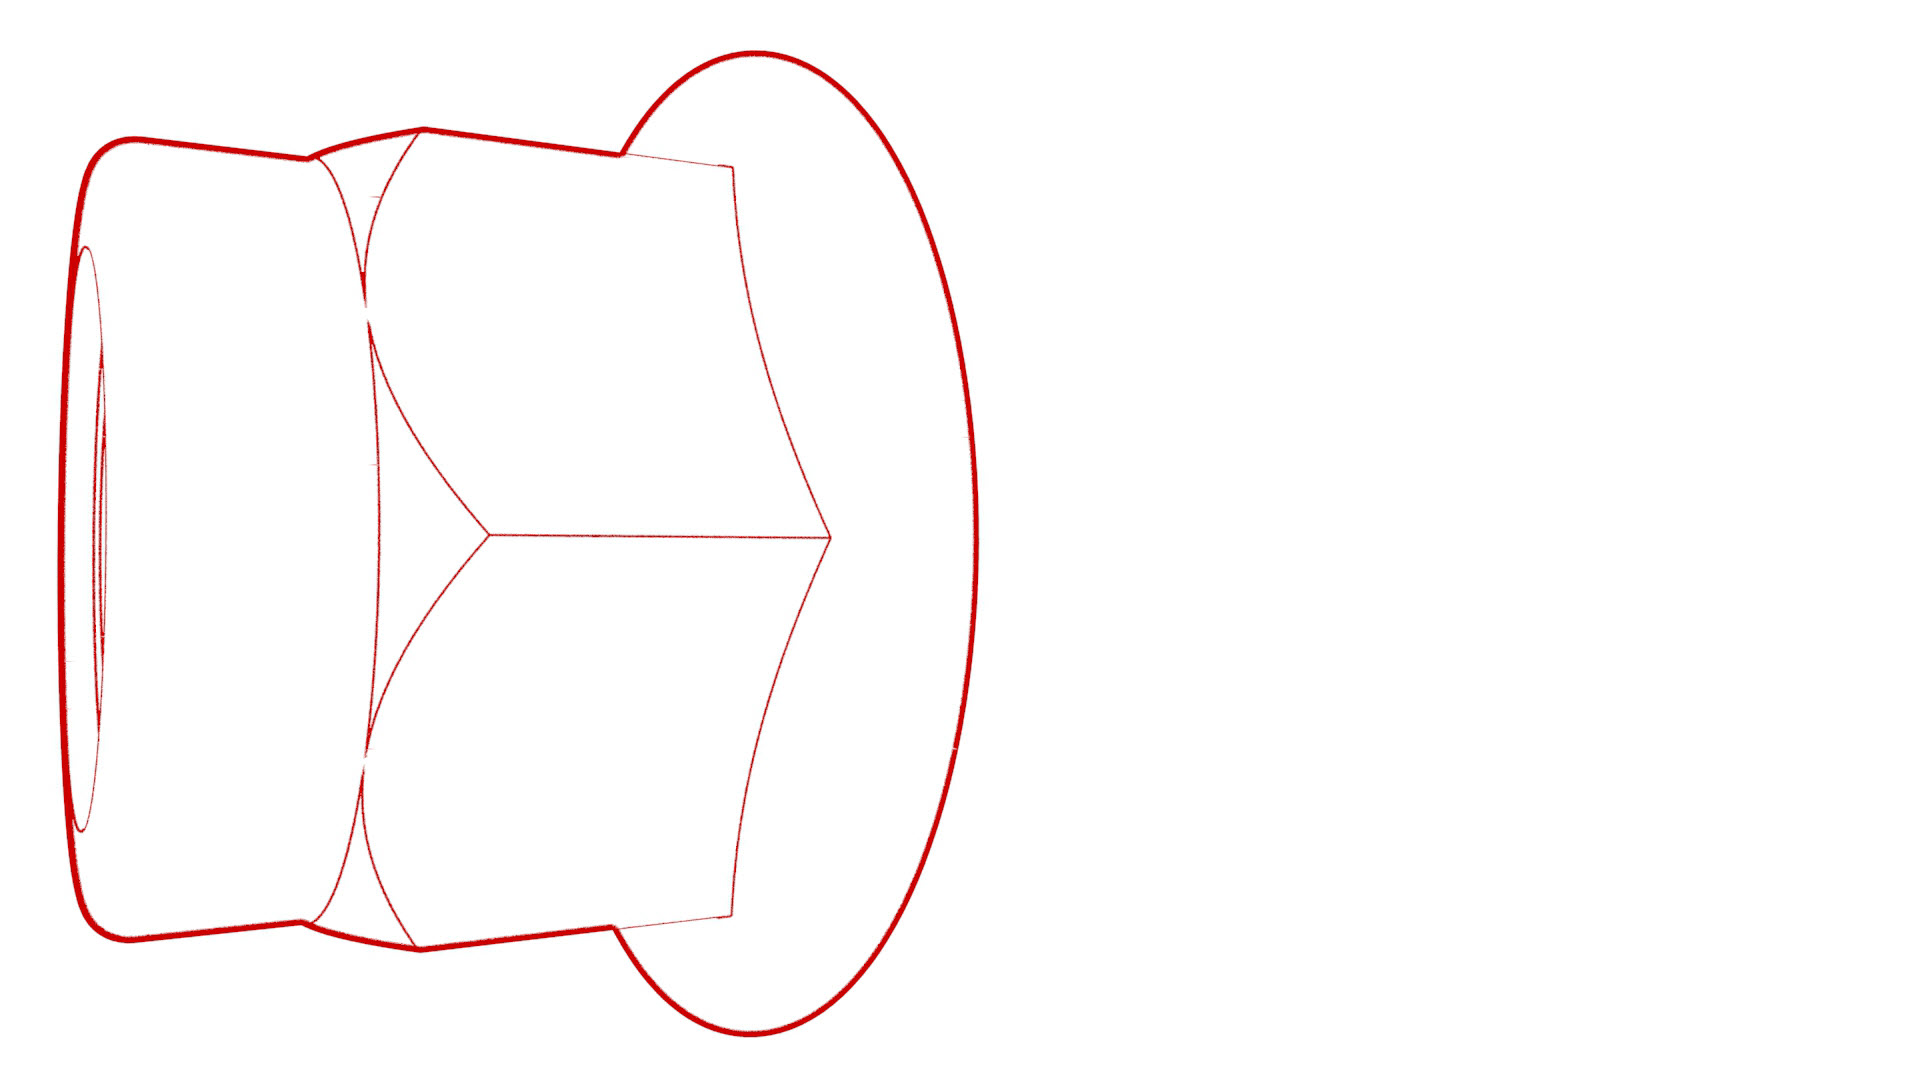
Check the torque for the nuts that attach the front stabilizer bar to the front subframe, and then mark the nuts with a paint pen.
 Torque 35 Nm
-
Check the torque for the nut that attaches the LH front stabilizer bar link to the LH front spring and damper assembly, and then mark the nut with a paint pen.
 Torque 98 Nm
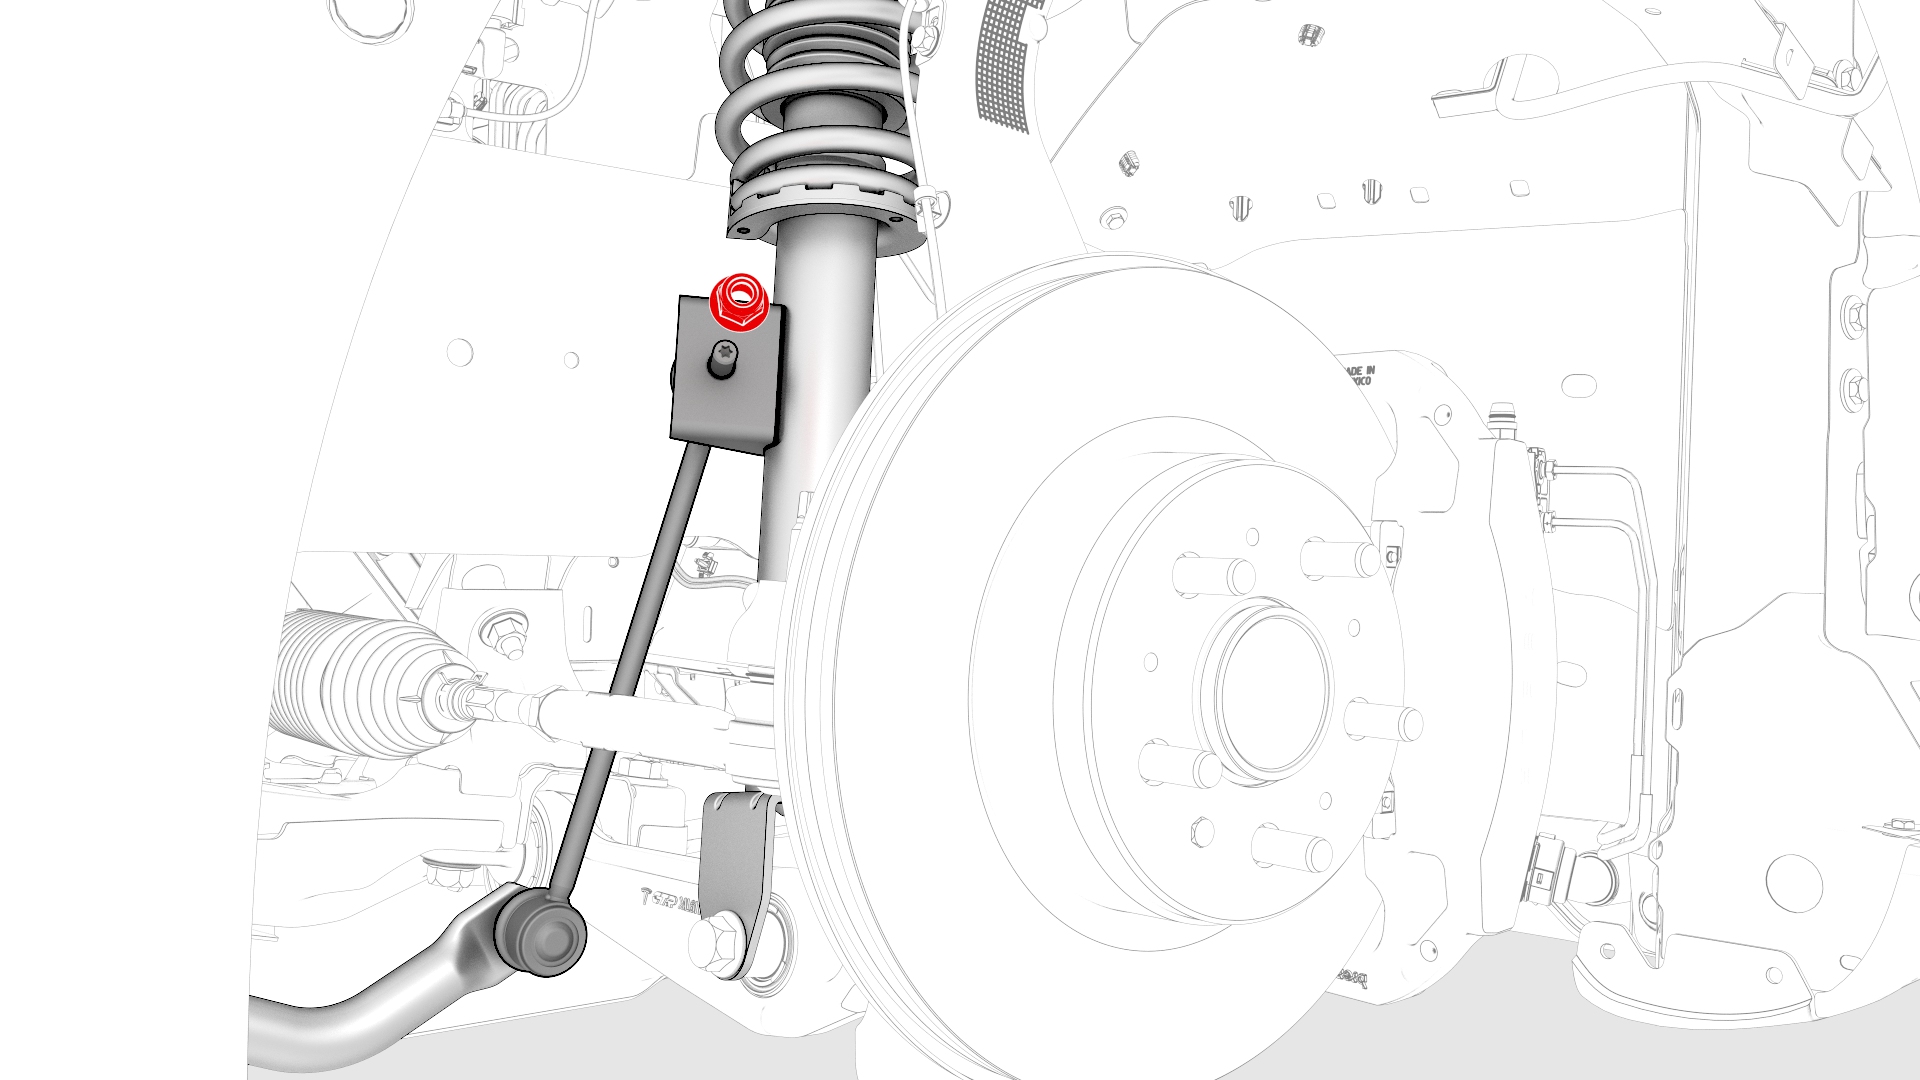
-
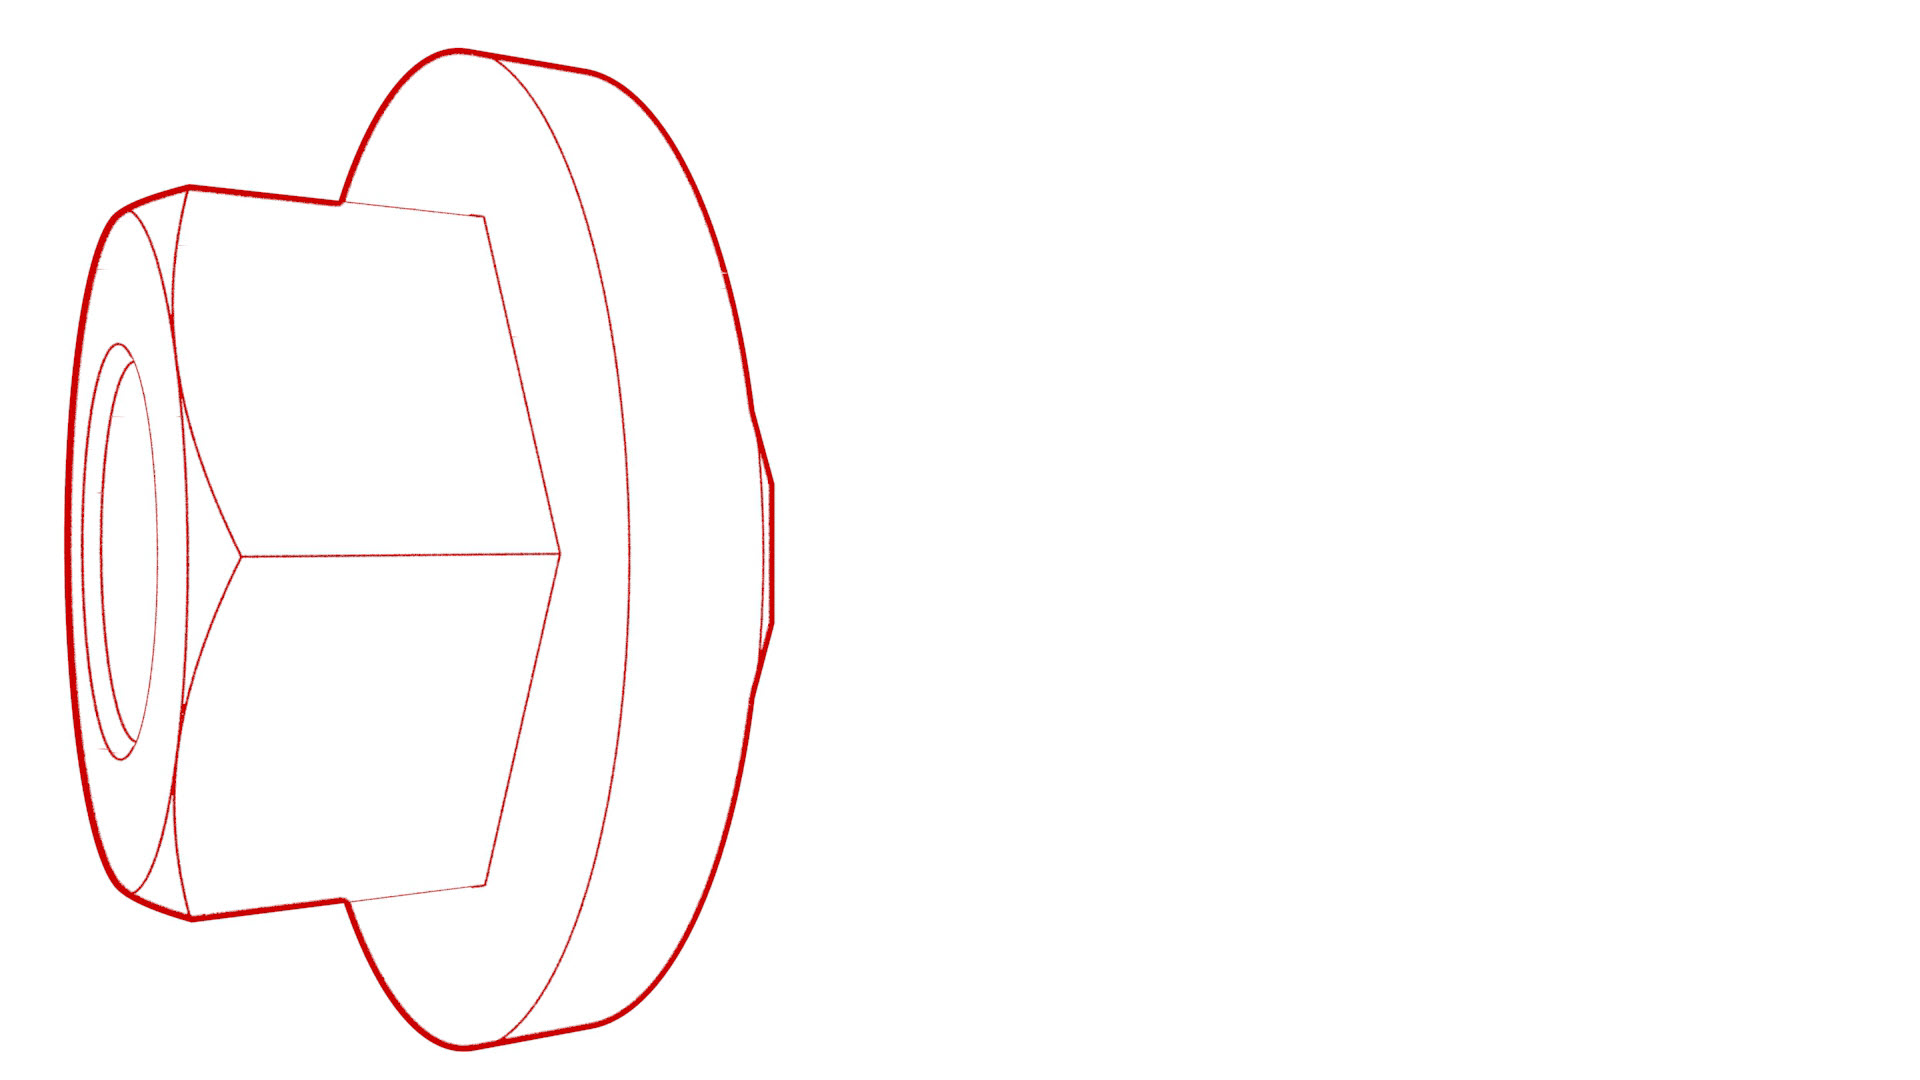
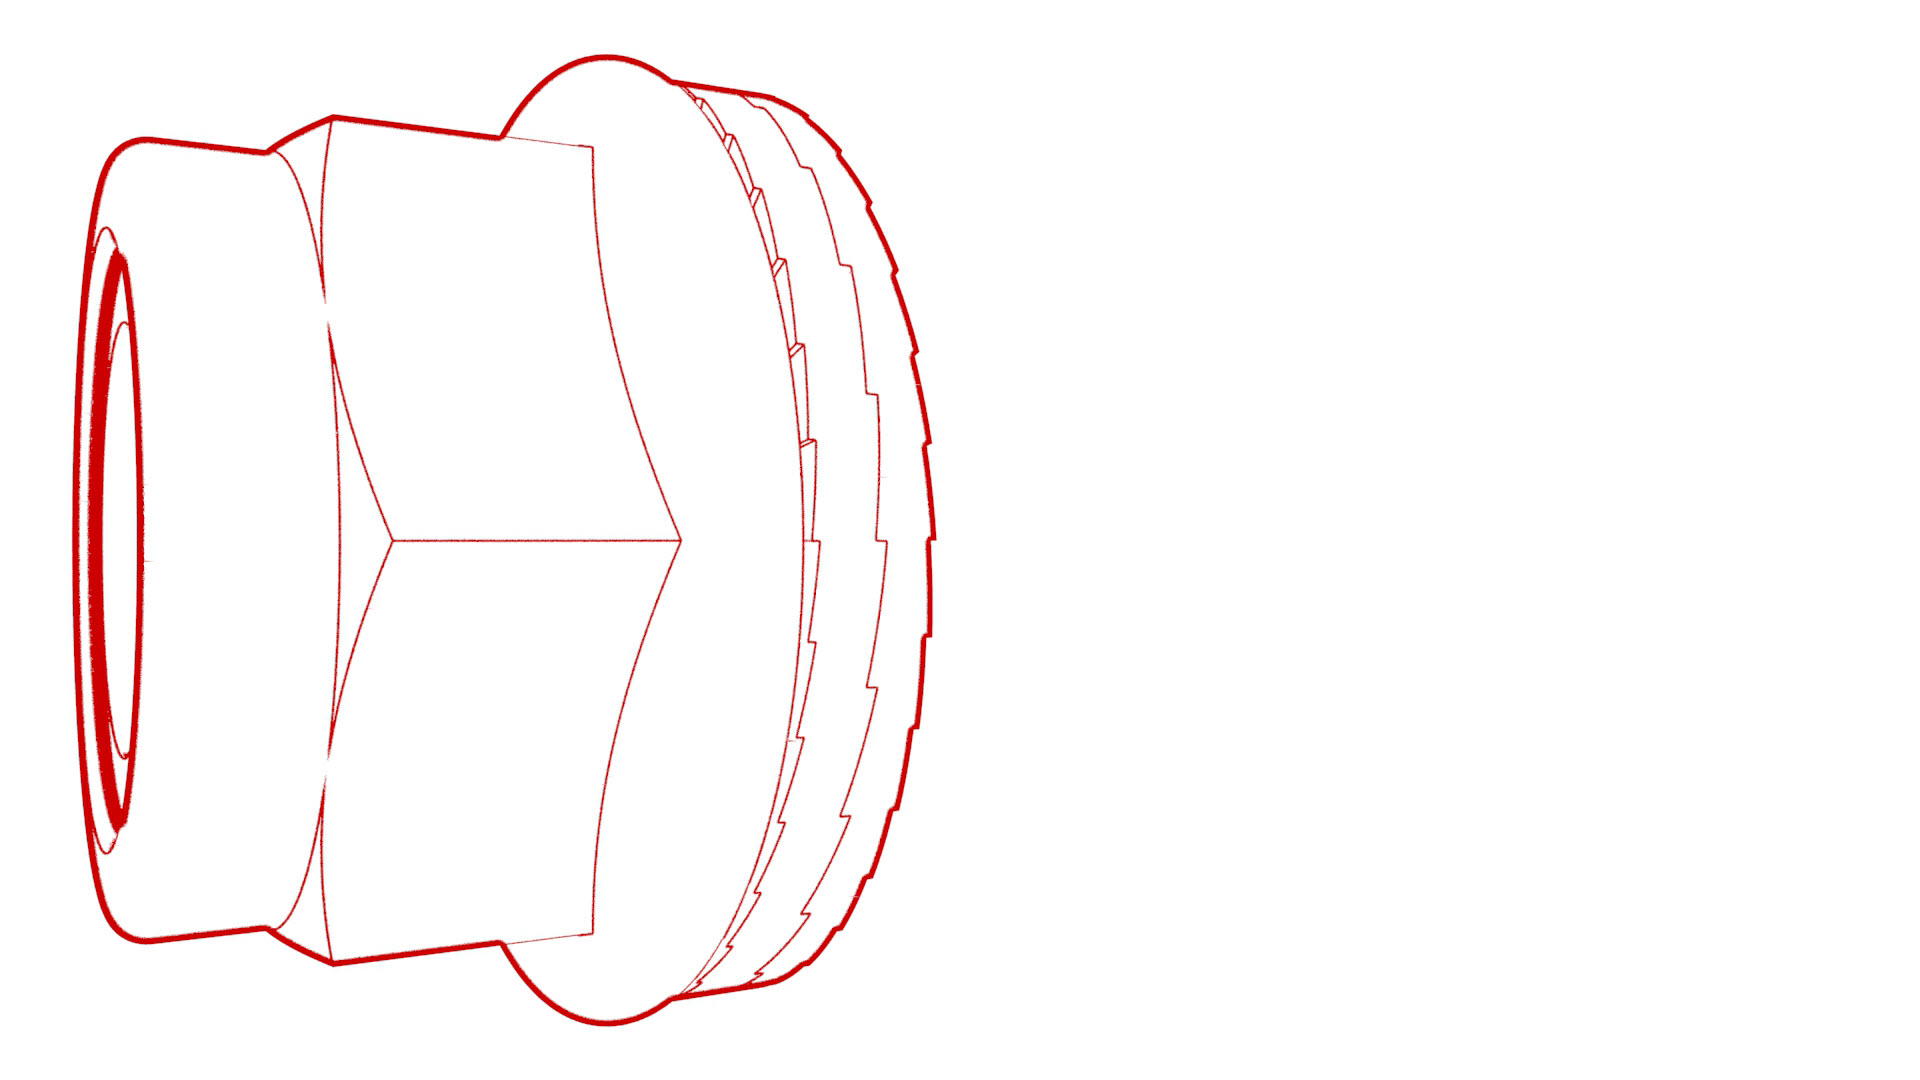
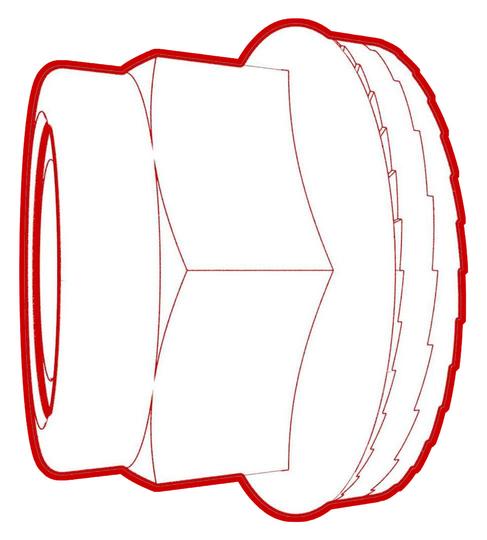
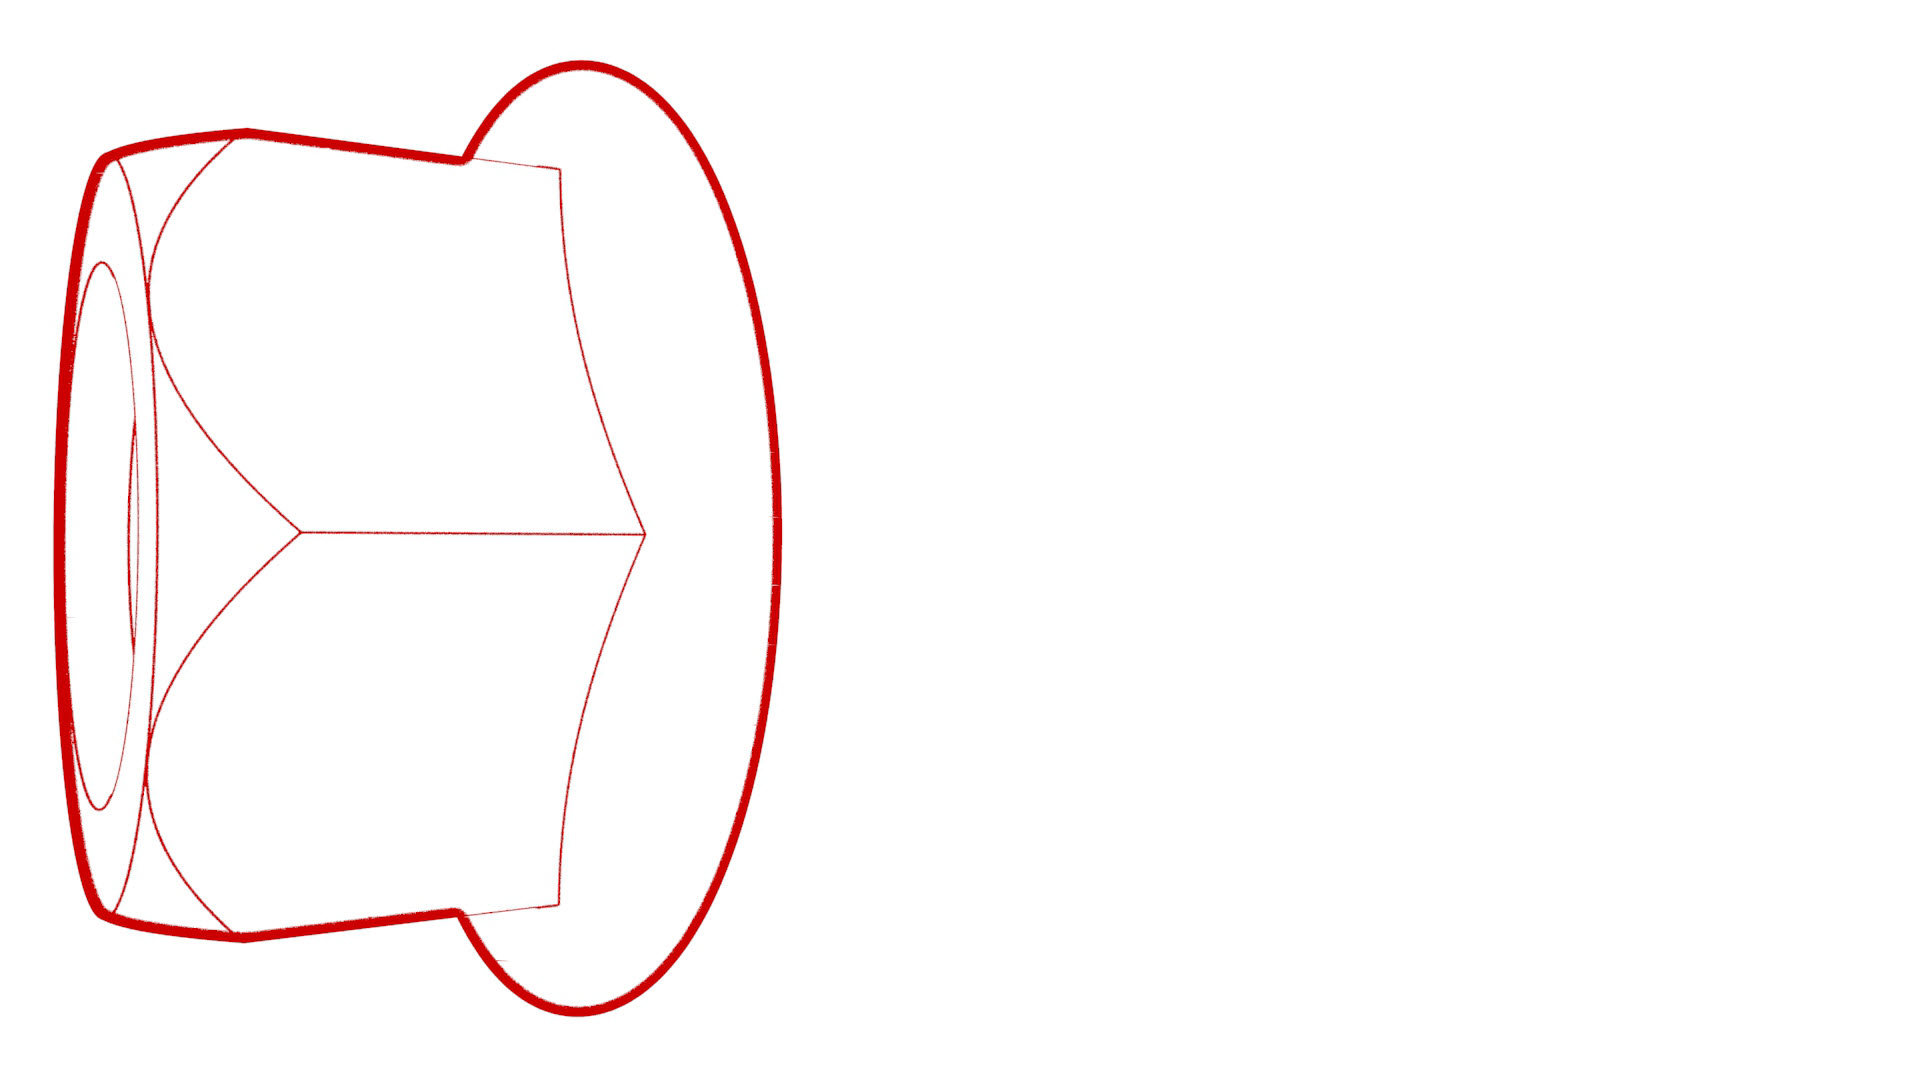
Check the torque for the nut that attaches the LH tie rod end to the LH knuckle, and then mark the nut with a paint pen.
 Torque 180 Nm
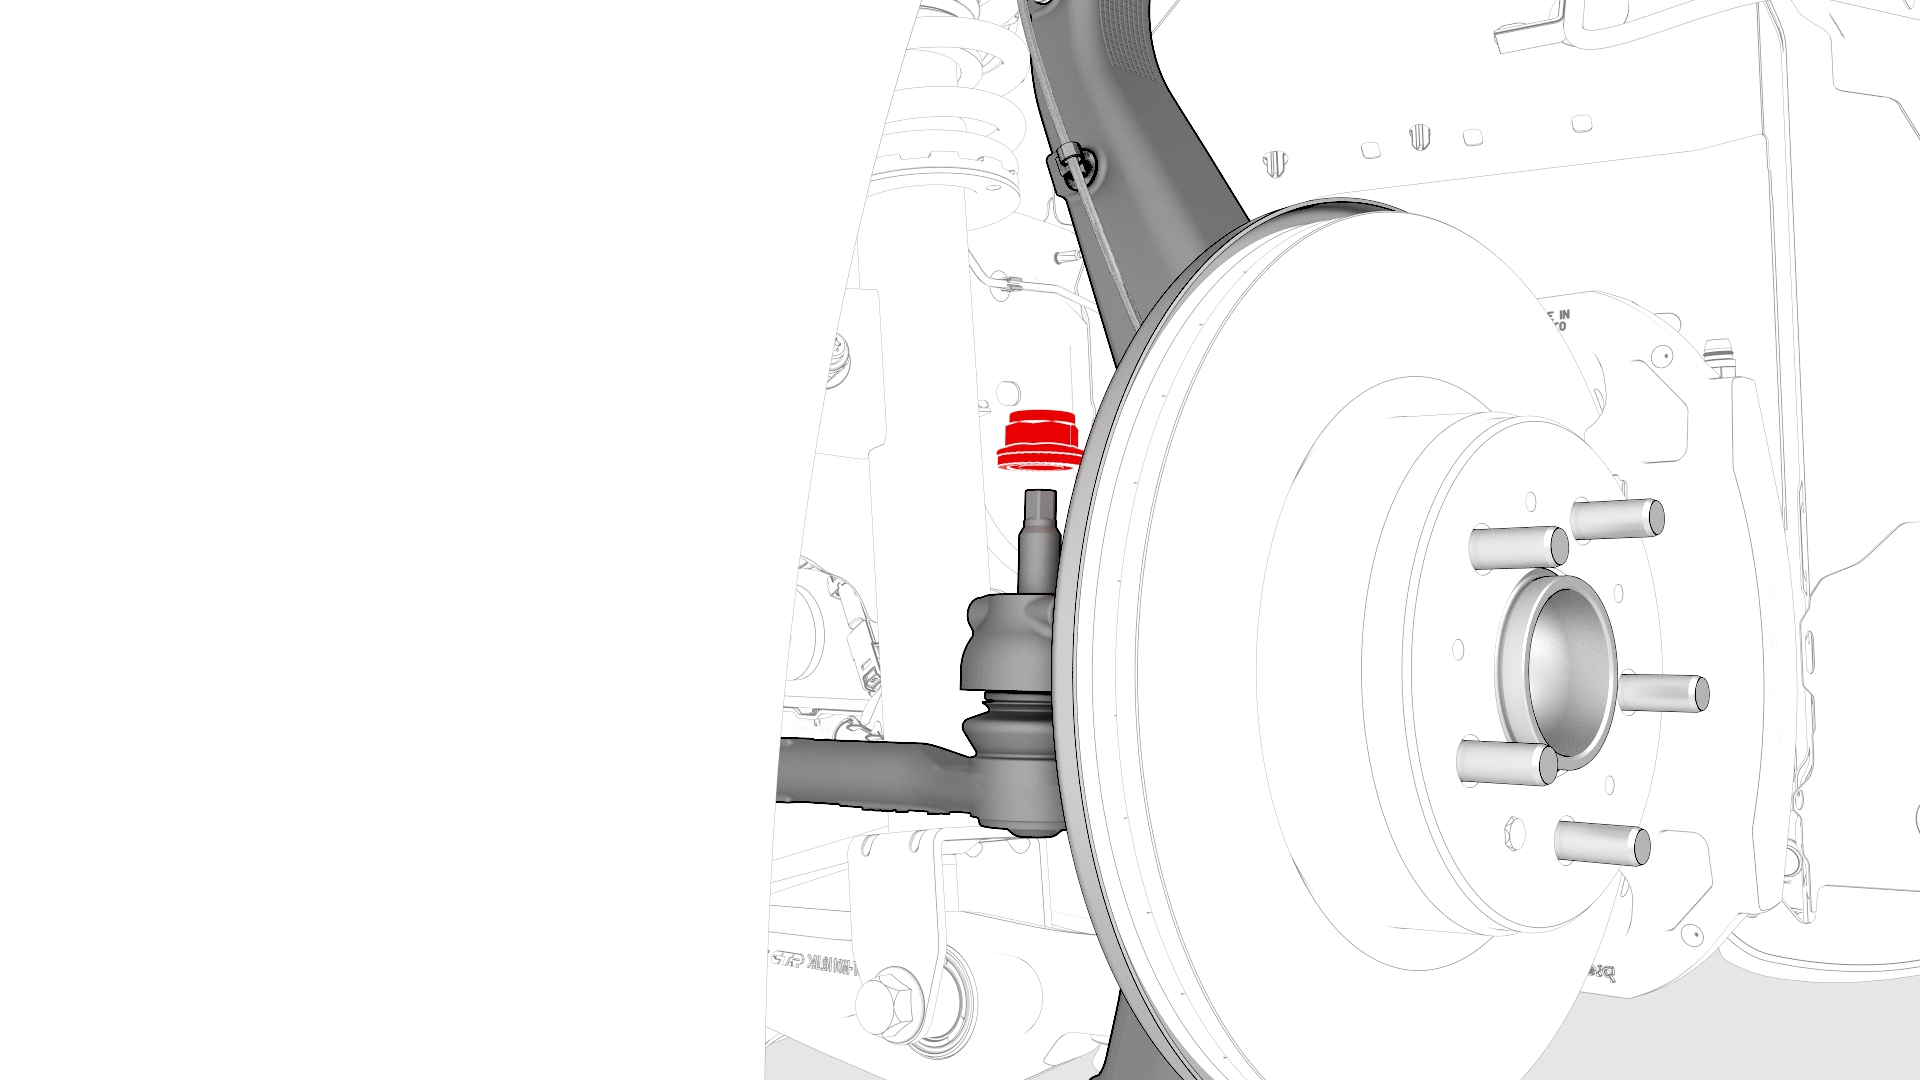
-
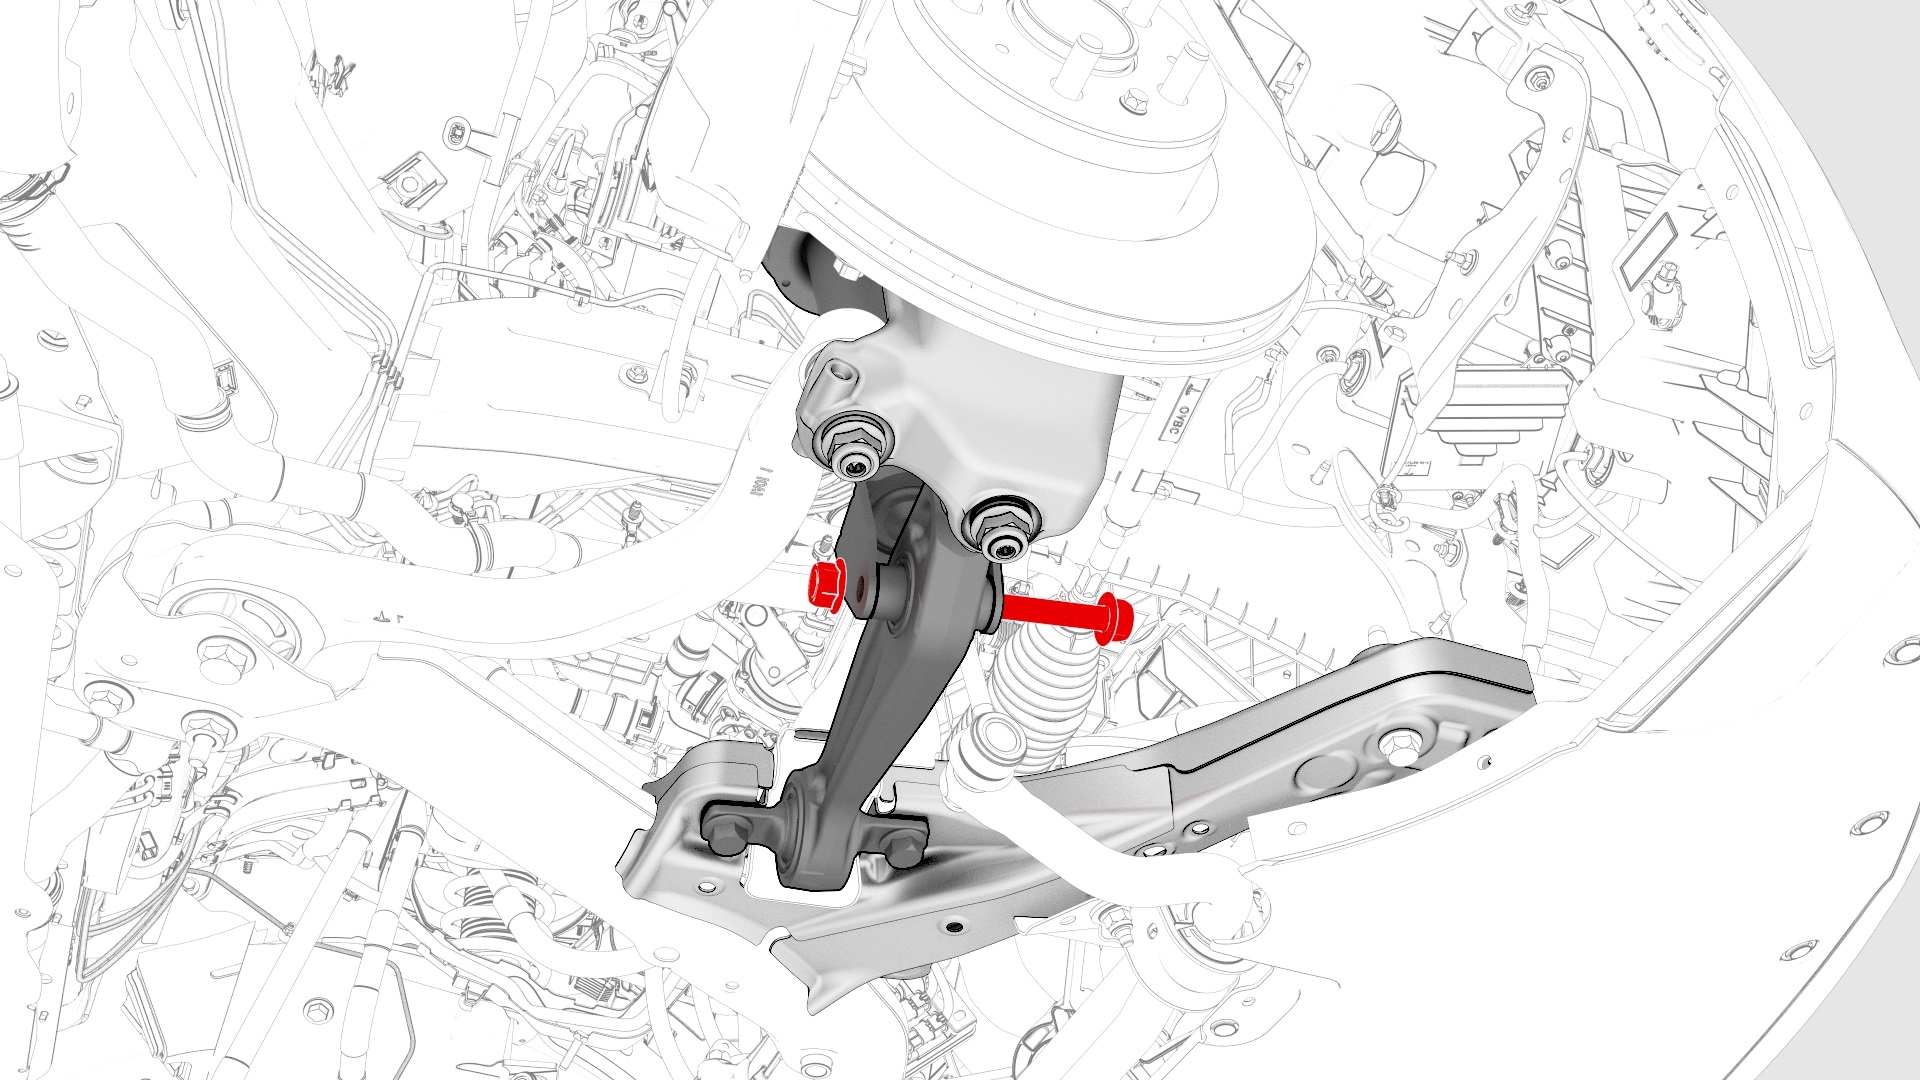
Check the torque for the nut that attaches the LH upper control arm to the LH knuckle, and then mark the nut with a paint pen.
 Torque 56 Nm
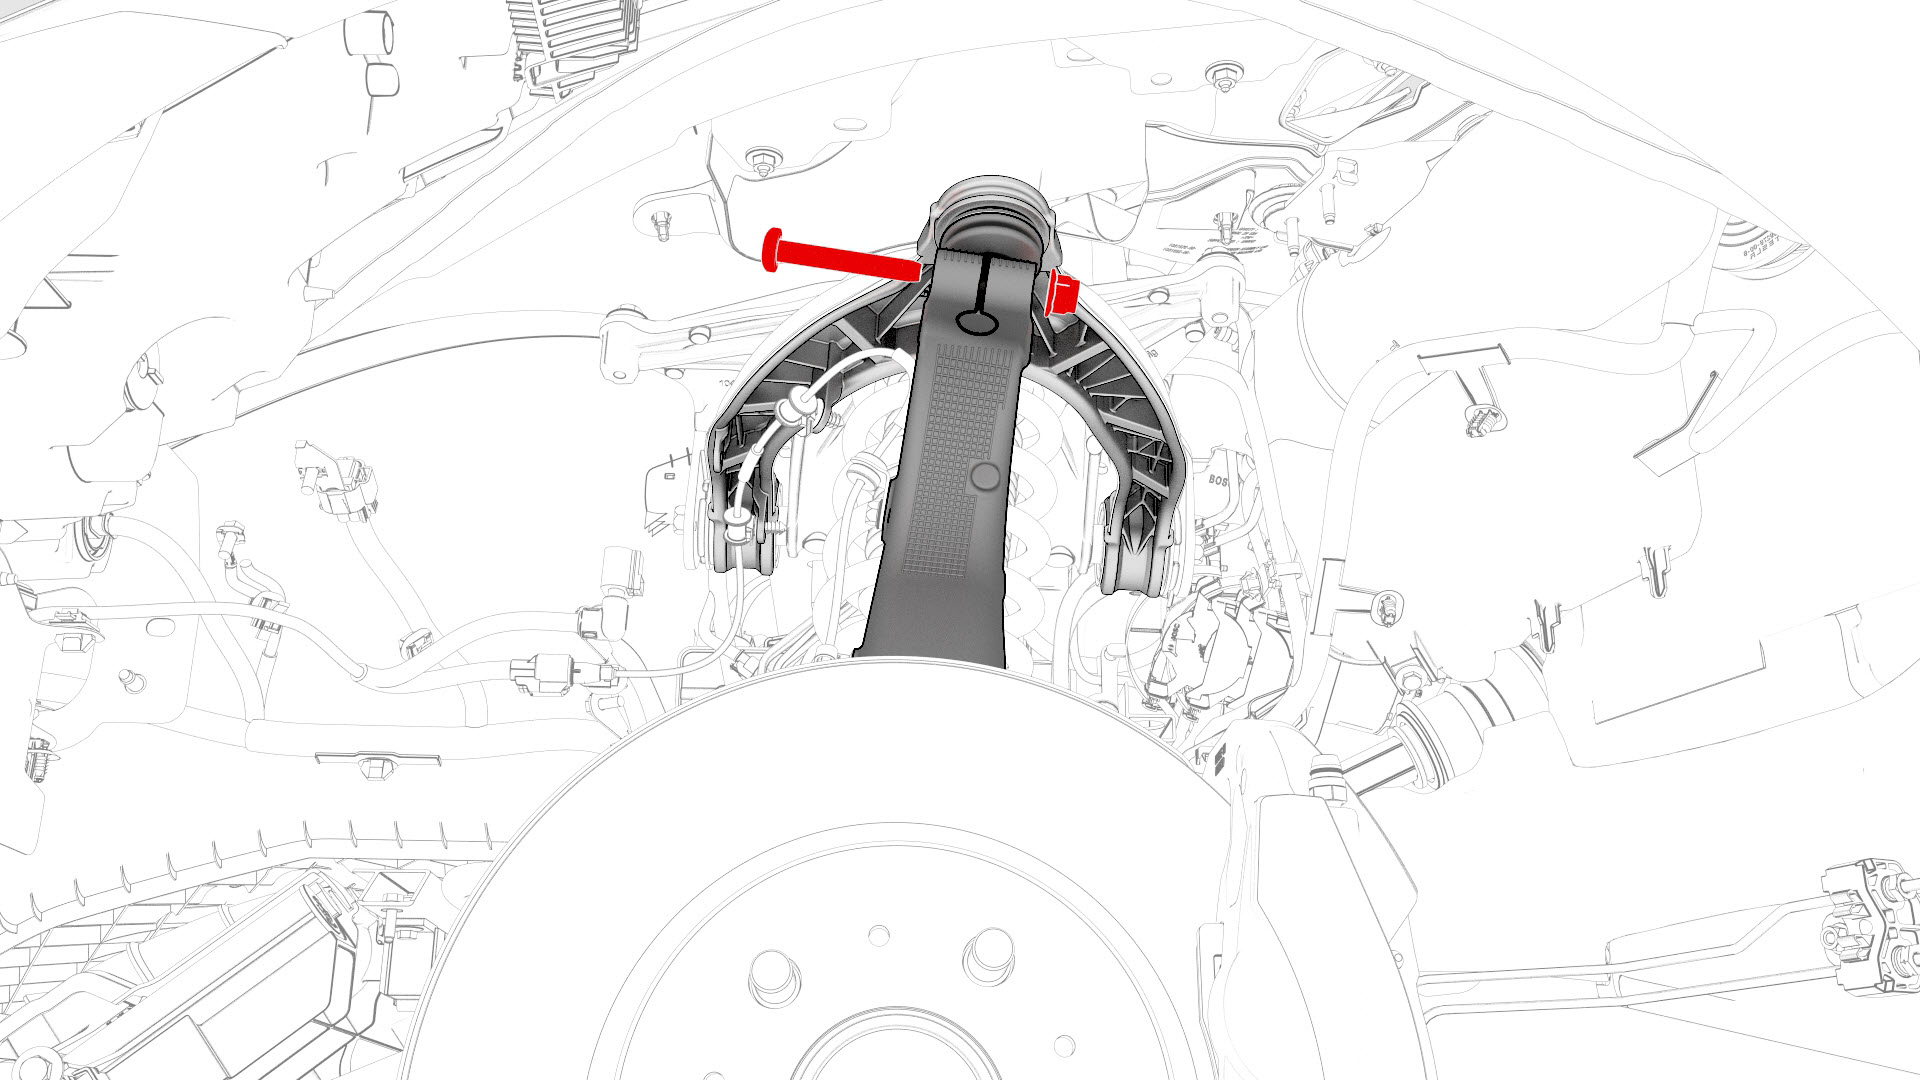
-
Check the torque for the nut that attaches the LH front lower compliance link to the front subframe, and then mark the nut with a paint pen.
 Torque 115 Nm
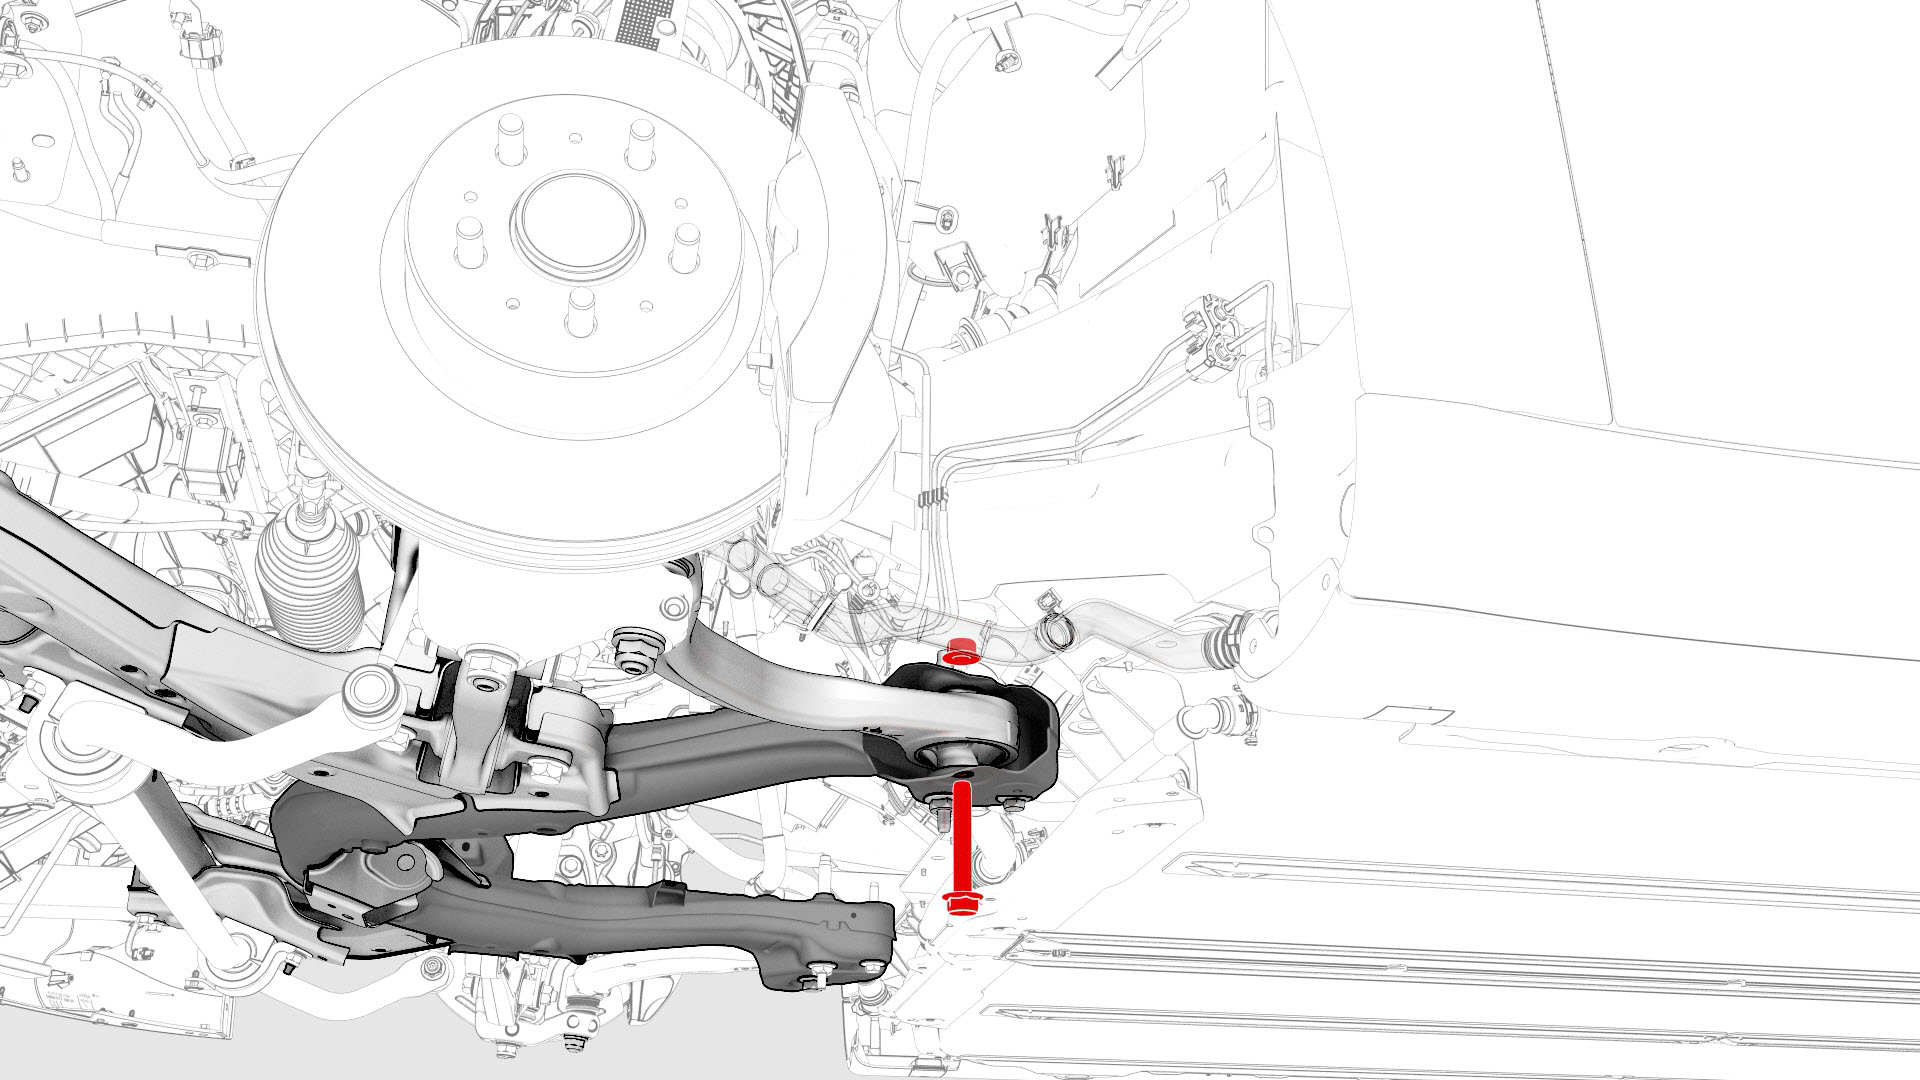
-
Check the torque for the nuts that attach the LH front lower lateral link to the front subframe, and then mark the nuts with a paint pen.
 Torque 115 Nm
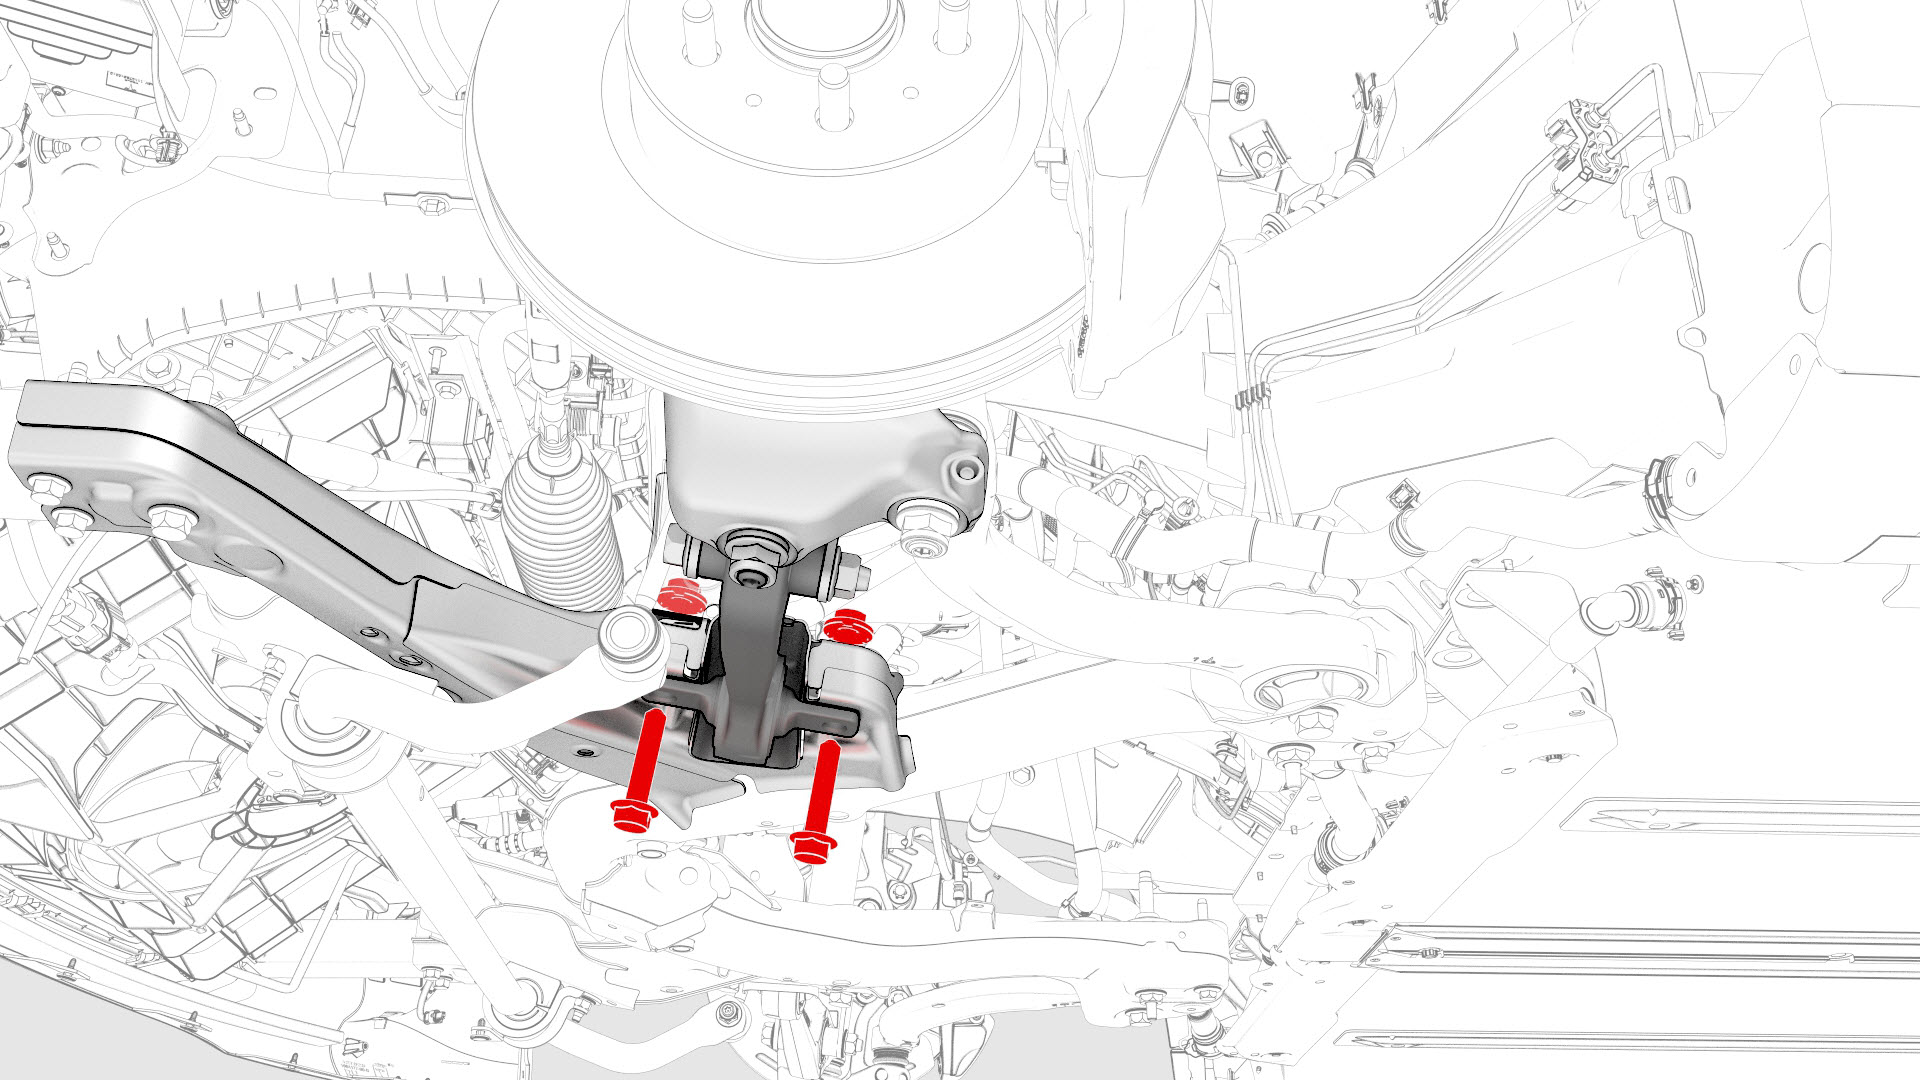
-
Check the torque for the nut that attaches the LH front lower compliance link to the LH knuckle, and then mark the nut with a paint pen.
 Torque 180 Nm
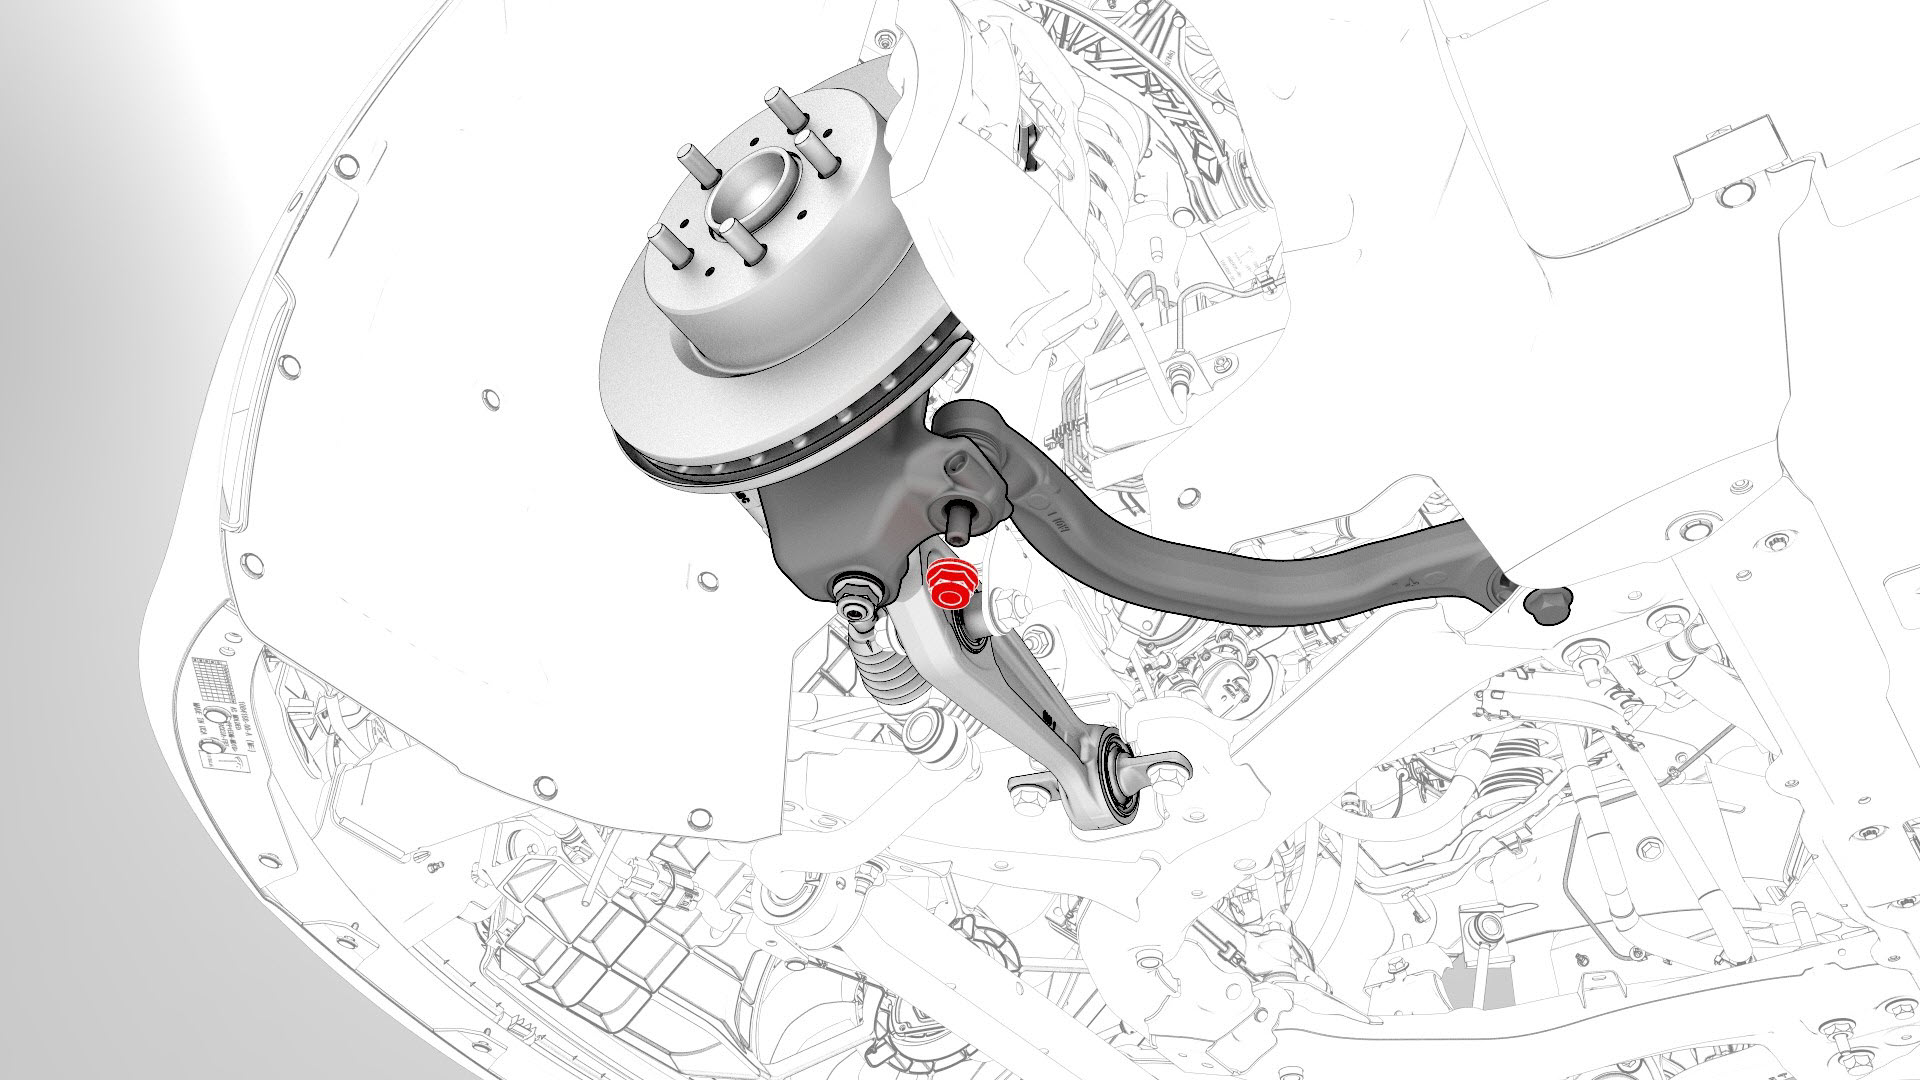
-
Check the torque for the nut that attaches the LH front lower lateral link to the LH knuckle, and then mark the nut with a paint pen.
 Torque 180 Nm
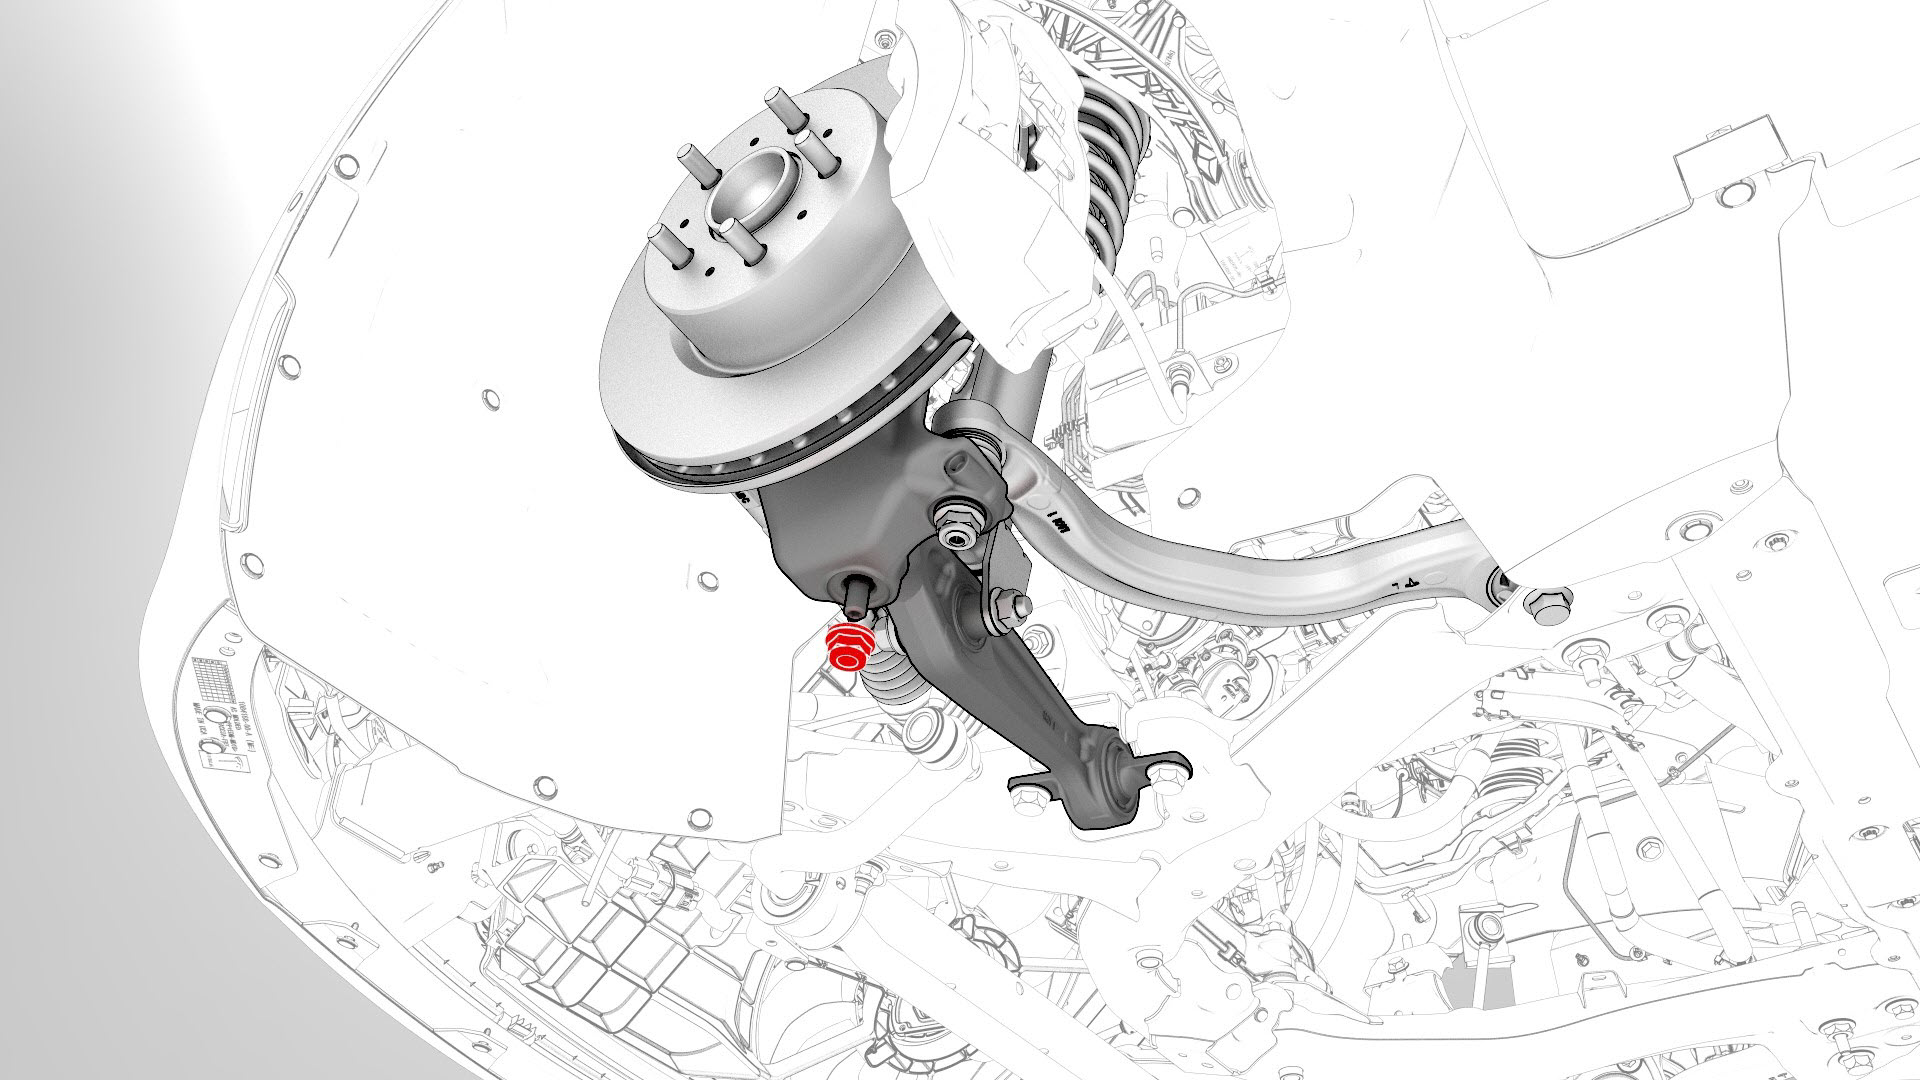
-
Check the torque for the nut that attaches the LH front stabilizer bar link to the front stabilizer bar, and then mark the nut with a paint pen.
 Torque 98 Nm
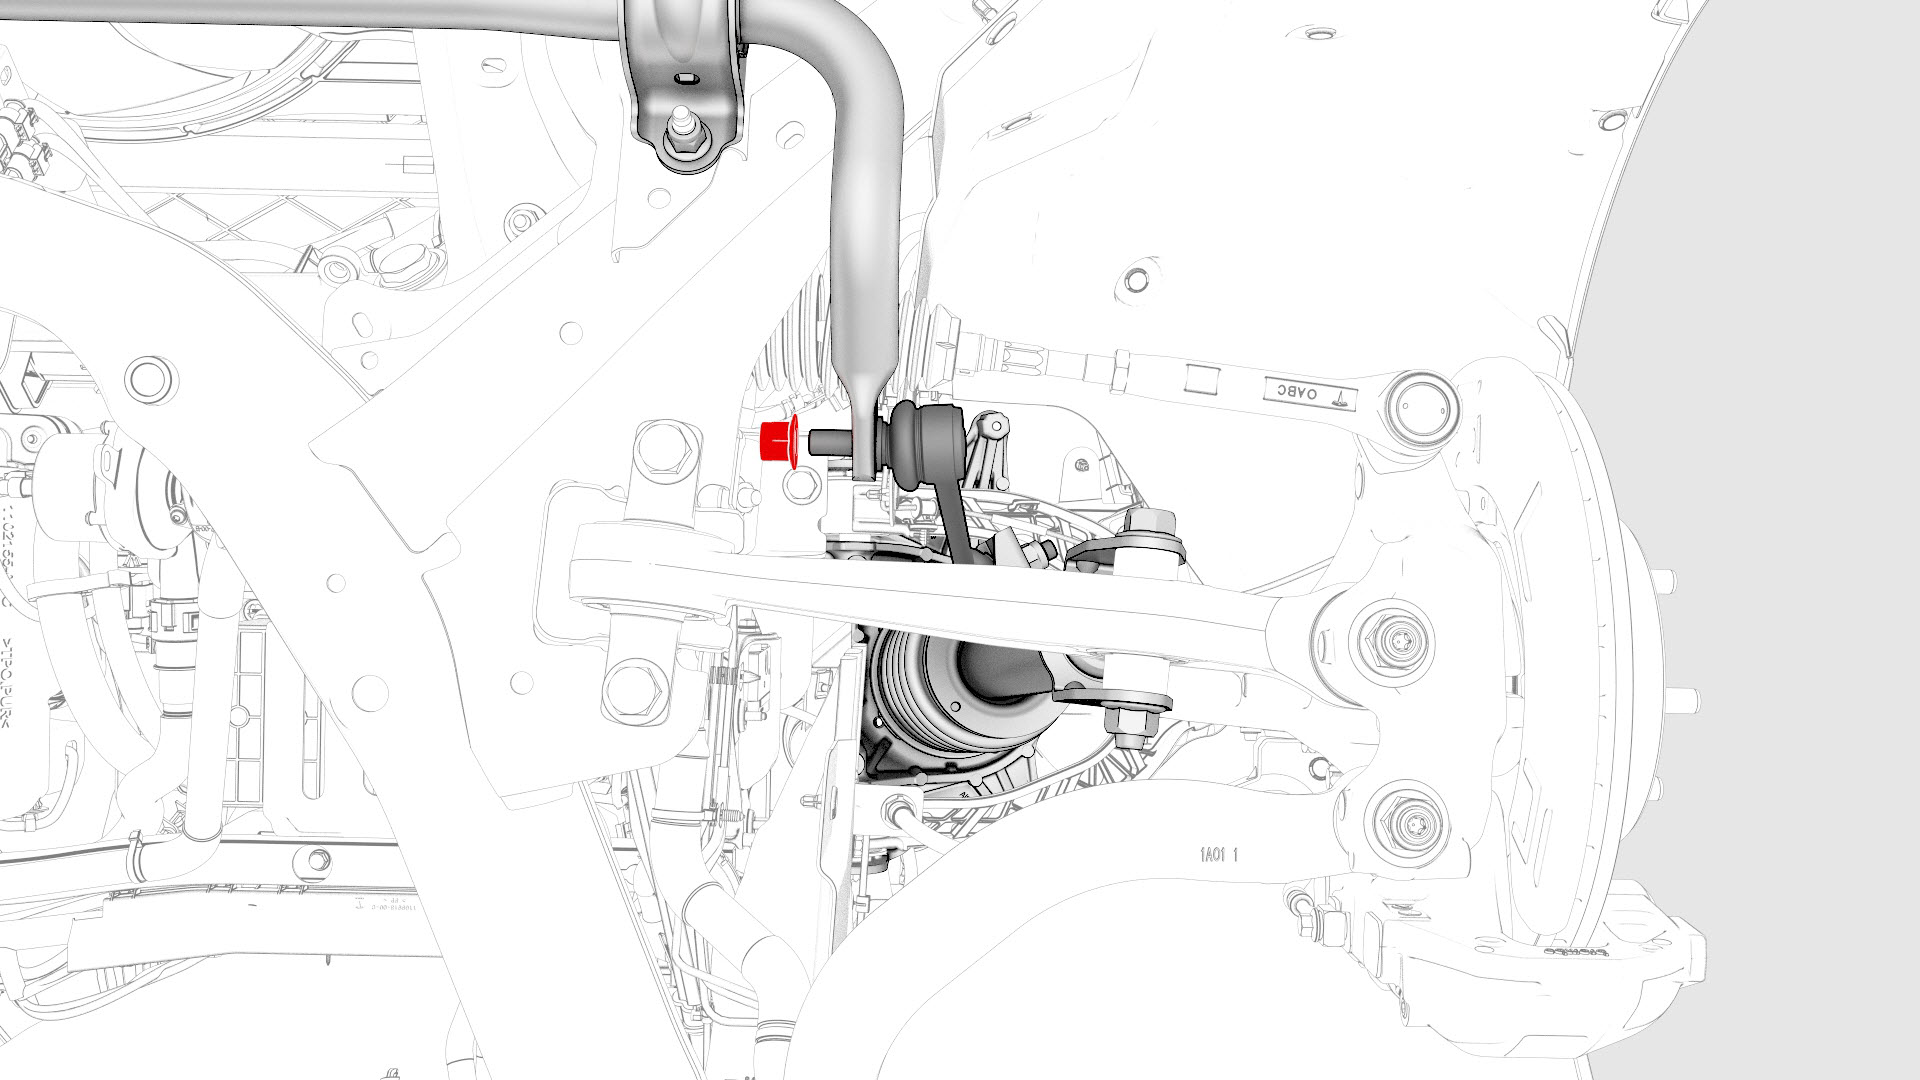
-
Check the torque for the nut that attaches the LH front spring and damper assembly to the LH front lower lateral link, and then mark the nut with a paint pen.
 Torque 106 Nm
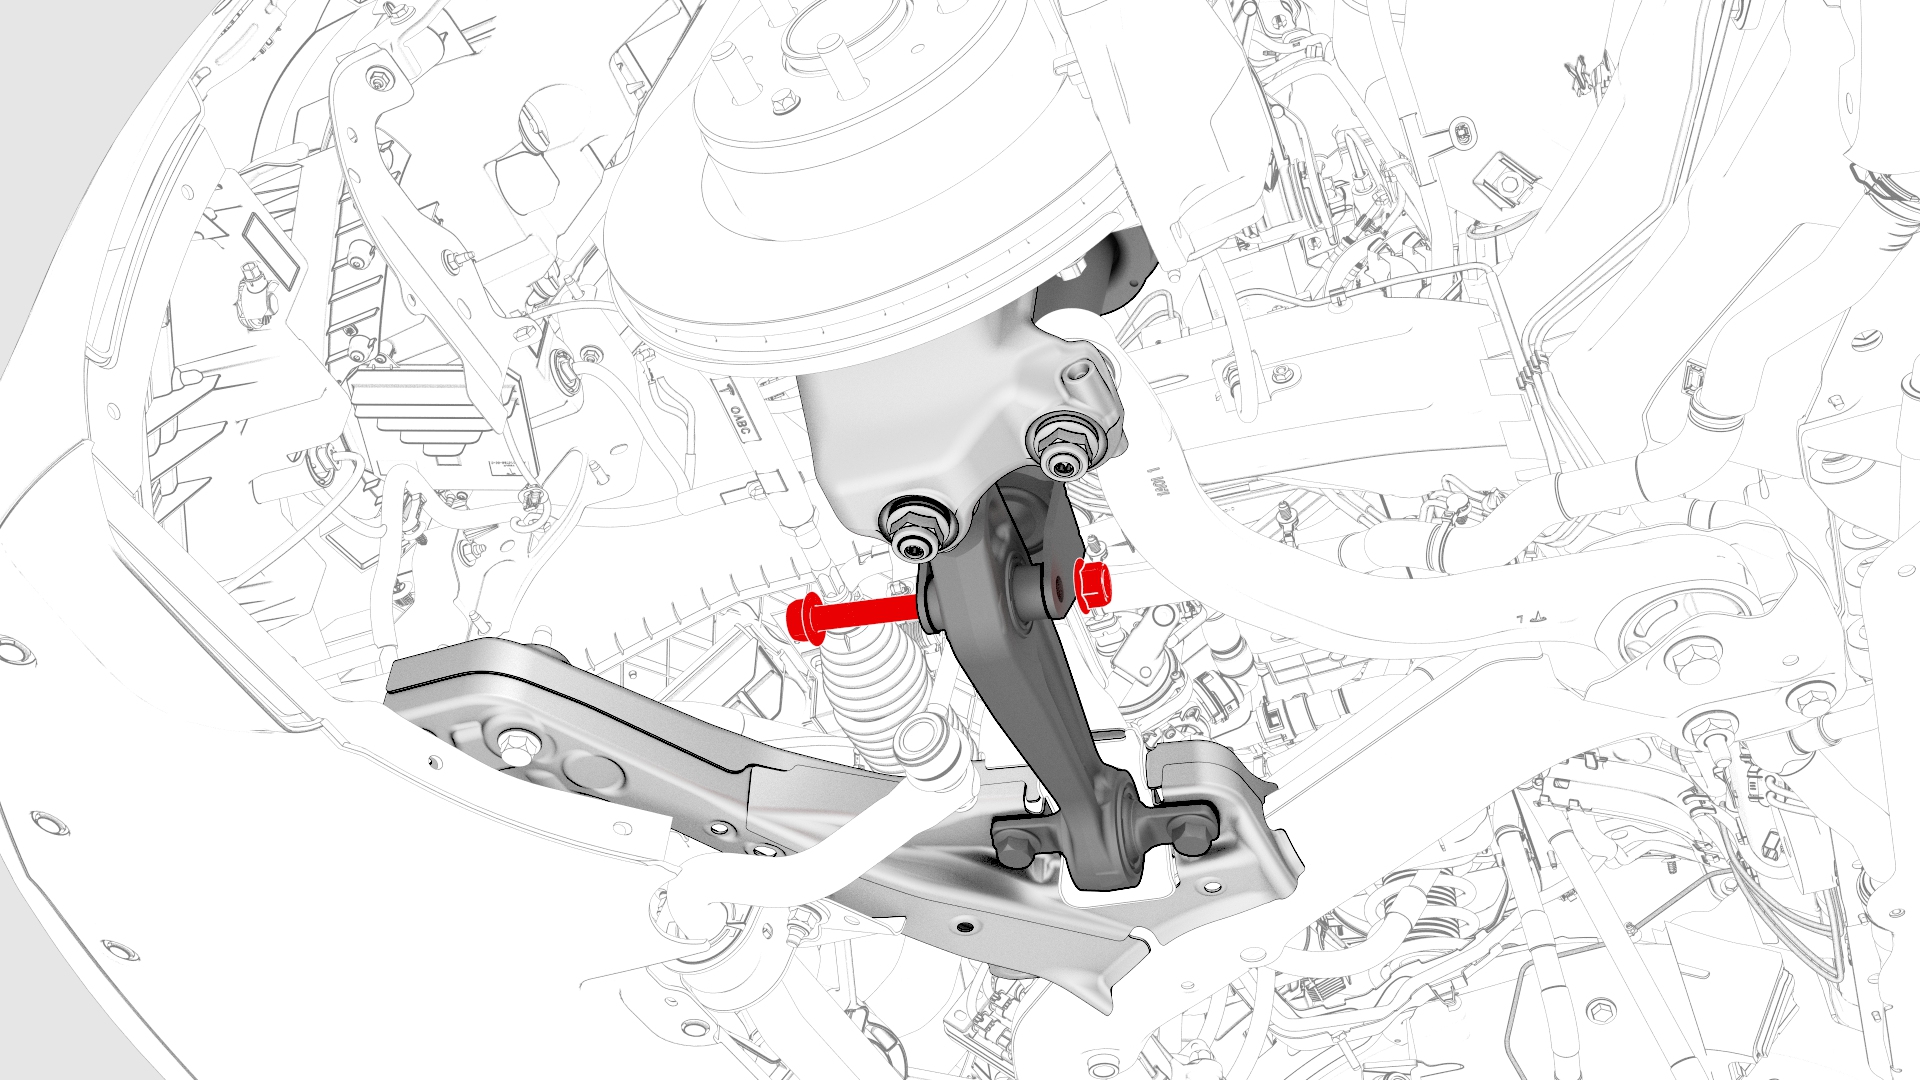
-
Check the torque for the nut that attaches the RH front spring and damper assembly to the RH front lower lateral link, and then mark the nut with a paint pen.Torque 106 Nm
-
Install the clips (x2) that attach the valance to the front stabilizer bar brackets.
| 1 | Remove the LH and RH front wheels. See Wheel (Remove and Install). | ||
| 2 | Remove the front aero shield panel. See Panel - Aero Shield - Front (Remove and Replace). | ||
| 3 | Remove the clips (x2) that attach the valance to the front stabilizer bar brackets. | |
| 4 | Check the torque for the nuts that attach the front stabilizer bar to the front subframe, and then mark the nuts with a paint pen. Torque 35 Nm | |
| 5 | Check the torque for the nut that attaches the LH front stabilizer bar link to the LH front spring and damper assembly, and then mark the nut with a paint pen. Torque 98 Nm | |
| 6 | Check the torque for the nut that attaches the LH tie rod end to the LH knuckle, and then mark the nut with a paint pen. Torque 180 Nm | |
| 7 | Check the torque for the nut that attaches the LH upper control arm to the LH knuckle, and then mark the nut with a paint pen. Torque 56 Nm | |
| 8 | Check the torque for the nut that attaches the LH front lower compliance link to the front subframe, and then mark the nut with a paint pen. Torque 115 Nm | |
| 9 | Check the torque for the nuts that attach the LH front lower lateral link to the front subframe, and then mark the nuts with a paint pen. Torque 115 Nm | |
| 10 | Check the torque for the nut that attaches the LH front lower compliance link to the LH knuckle, and then mark the nut with a paint pen. Torque 180 Nm | |
| 11 | Check the torque for the nut that attaches the LH front lower lateral link to the LH knuckle, and then mark the nut with a paint pen. Torque 180 Nm | |
| 12 | Check the torque for the nut that attaches the LH front stabilizer bar link to the front stabilizer bar, and then mark the nut with a paint pen. Torque 98 Nm | |
| 13 | Repeat step 5 through step 12 on the RH side of the front suspension. | ||
| 14 | Install the LH and RH front wheels. See Wheel (Remove and Install). | ||
| 15 | Raise the vehicle on a 4 post lift. See Raise Vehicle - 4 Post Lift. | ||
| 16 | Check the torque for the nut that attaches the LH front spring and damper assembly to the LH front lower lateral link, and then mark the nut with a paint pen. Torque 106 Nm | |
| 17 | Check the torque for the nut that attaches the RH front spring and damper assembly to the RH front lower lateral link, and then mark the nut with a paint pen. Torque 106 Nm | |
| 18 | Install the clips (x2) that attach the valance to the front stabilizer bar brackets. | |
| 19 | Install the front aero shield panel. See Panel - Aero Shield - Front (Remove and Replace). | ||
| 20 | Remove the vehicle from the 4 post lift. See Raise Vehicle - 4 Post Lift. |