Glove Box (LHD) (Remove and Replace)
Correction code 1405100214051002
Remove
-
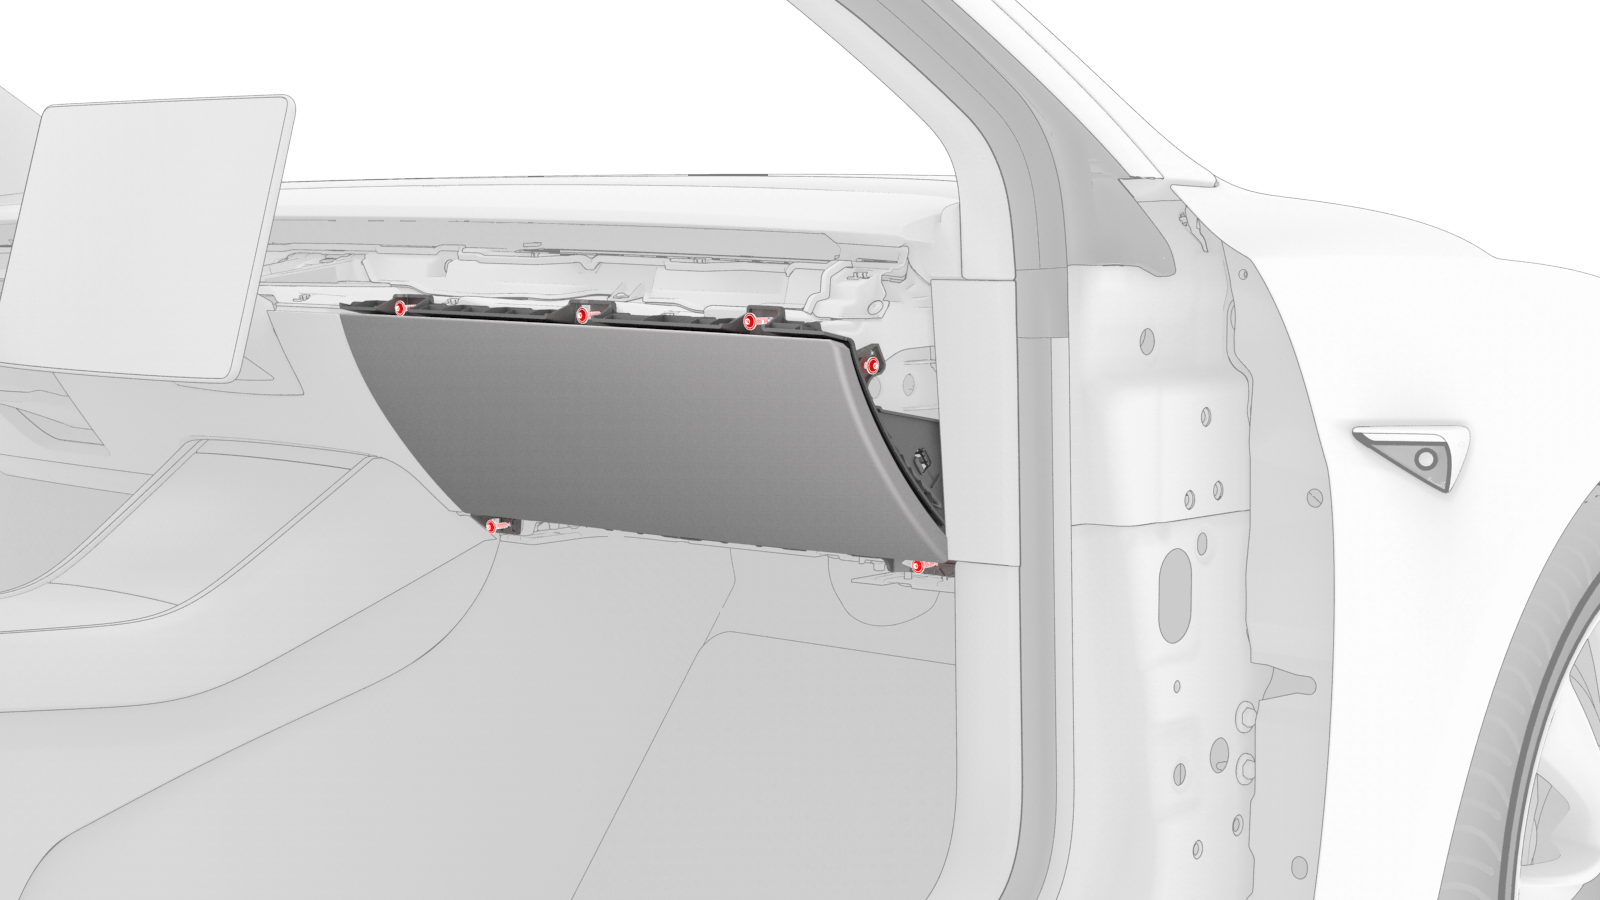
Remove the screws (x6) that attach the glove box to the IP carrier.
-
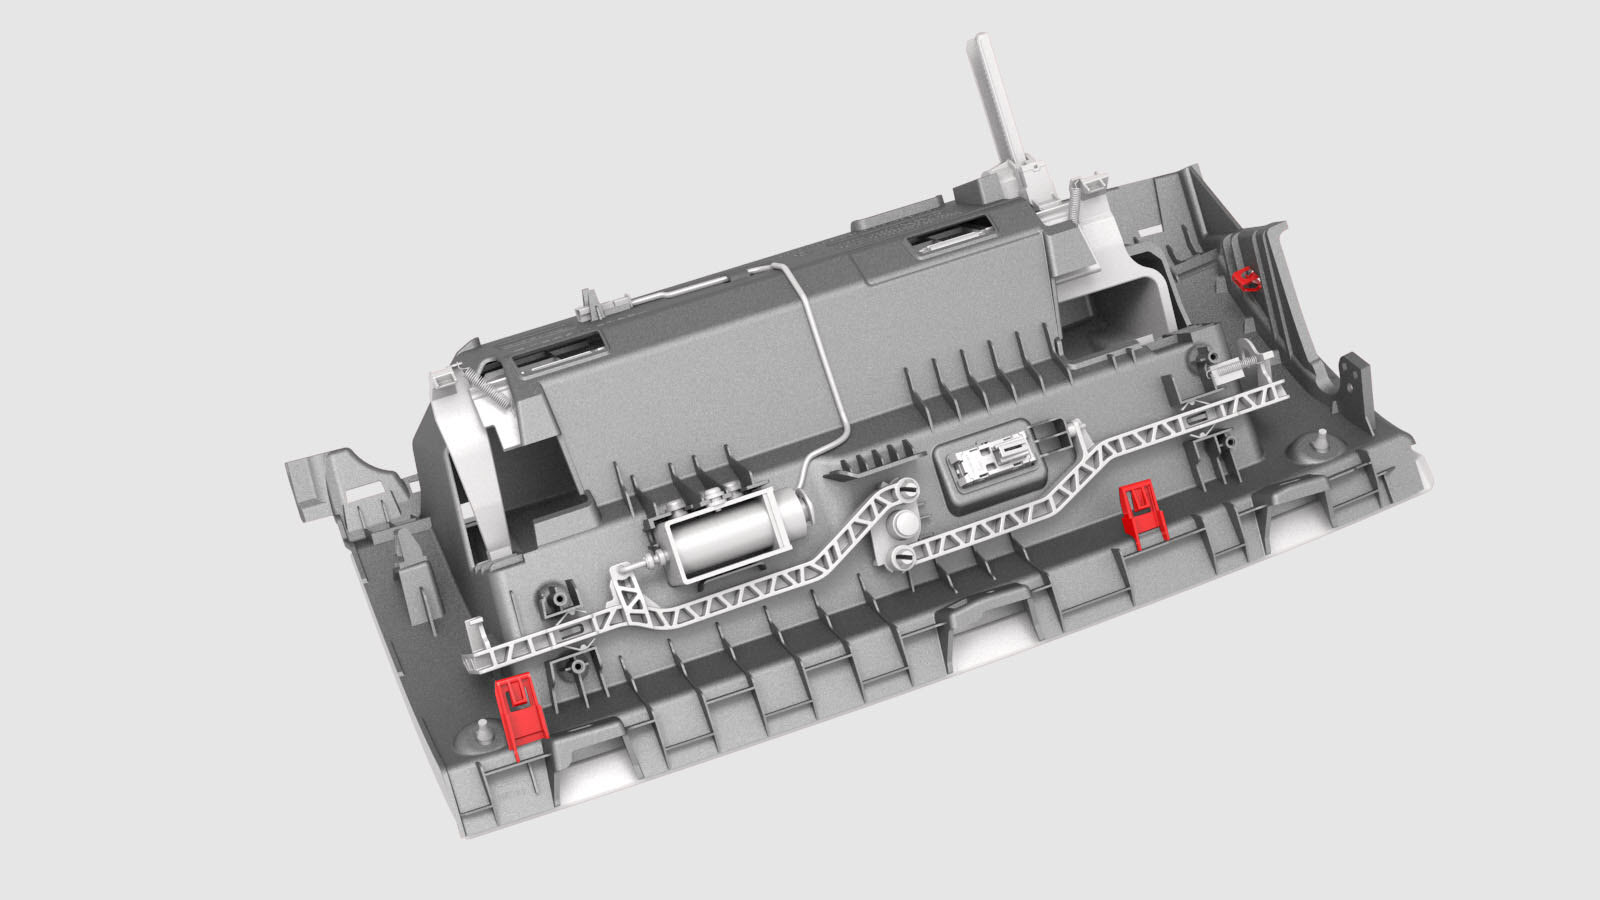
Release the clips that attach the glove box to the IP carrier.
-
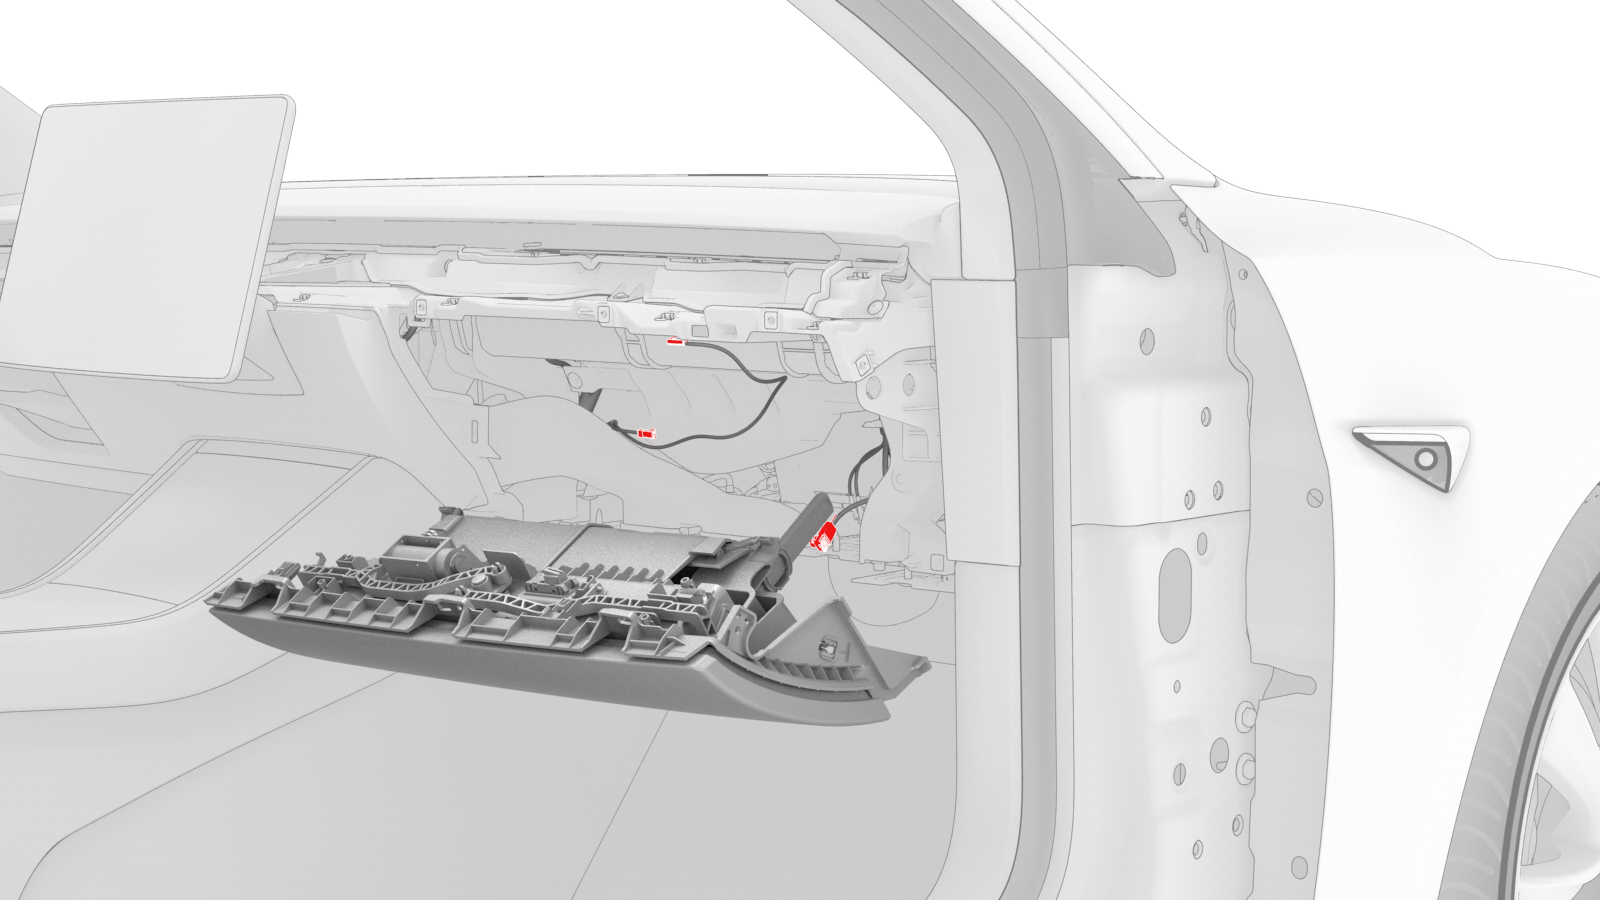
Disconnect the electrical harness from the glove box solenoid connector, the damper connector, and the puddle light connector.
Note: 2 of the electrical connectors are accessed from the bottom of the instrument panel.
-
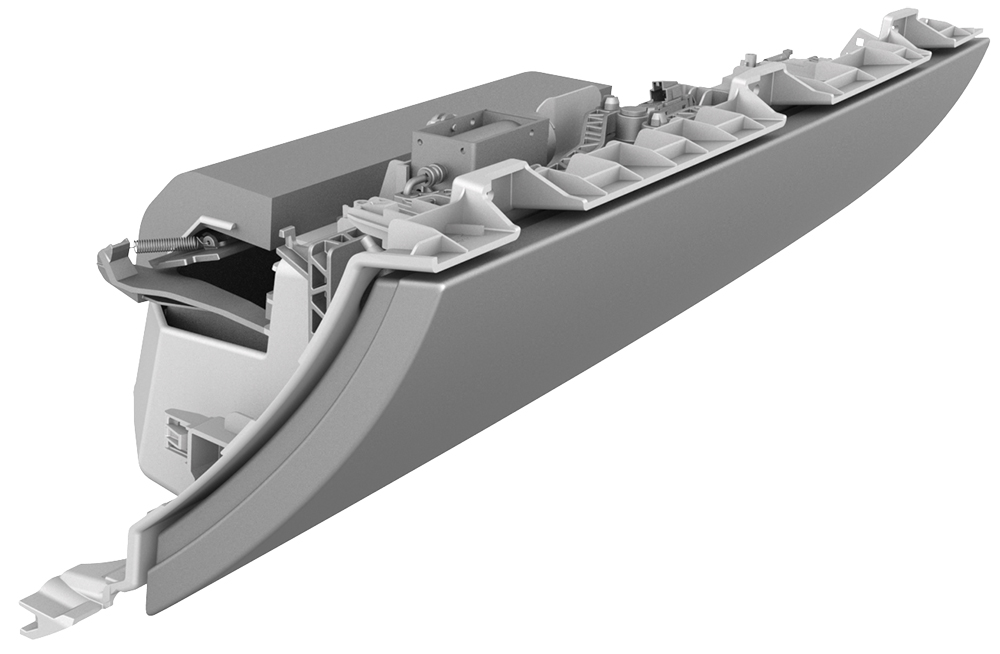
Remove the glove box from the vehicle.
| 1 | Remove and secure the customer's belongings from the glove box, if needed. | ||
| 2 | Remove the 2nd row lower seat cushion. See Seat Cushion - Lower - 2nd Row (Remove and Replace). | ||
| 3 | Remove the rear underhood apron. See Underhood Apron - Rear (Remove and Replace). | ||
| 4 | Disconnect 12V power. See 12V Power (Disconnect and Connect). | ||
| 5 | Remove the LH and RH instrument panel end caps. See End Cap - Instrument Panel - LH (Remove and Replace). | ||
| 6 | Remove the RH middle A-pillar trim. See Trim - A-Pillar - Middle - LH (Remove and Replace). | ||
| 7 | Remove the RH lower A-pillar trim. See Trim - A-Pillar - Lower - LH (Remove and Replace). | ||
| 8 | Remove the passenger footwell cover. See Cover - Footwell - Passenger (LHD) (Remove and Replace). | ||
| 9 | Remove the front passenger knee airbag. See Airbag - Knee - Front Passenger (Remove and Replace). | ||
| 10 | Remove the main instrument panel decor trim. See Decor Trim - Instrument Panel - Main (Remove and Replace). | ||
| 11 | Remove the screws (x6) that attach the glove box to the IP carrier. | |
| 12 | Release the clips that attach the glove box to the IP carrier. | |
| 13 | Disconnect the electrical harness from the glove box solenoid connector, the damper connector, and the puddle light connector. Note: 2 of the electrical connectors are accessed from the bottom of the instrument panel.
| |
| 14 | Remove the glove box from the vehicle. |
Install
-
Bring the glove box into the vehicle, and then connect the electrical harness to the glove box solenoid connector, the damper connector, and the puddle light connector.
Note: 2 of the electrical connectors are accessed from the bottom of the instrument panel.Note: Route the puddle lamp electrical harness as illustrated.
Glove box harness connectors
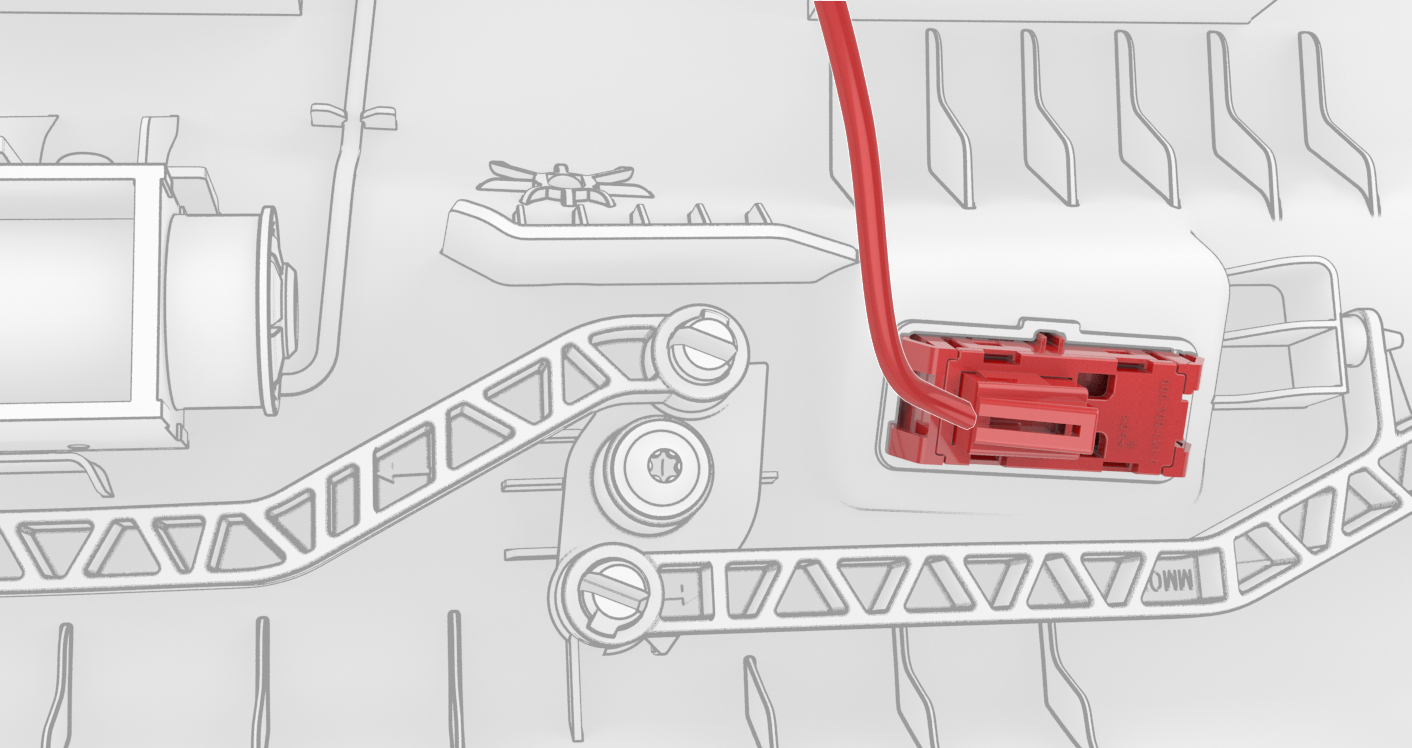 Puddle lamp harness routing
 -
Fasten the clips that attach the glove box to the IP carrier.
-
Install the screws (x6) that attach the glove box to the IP carrier.
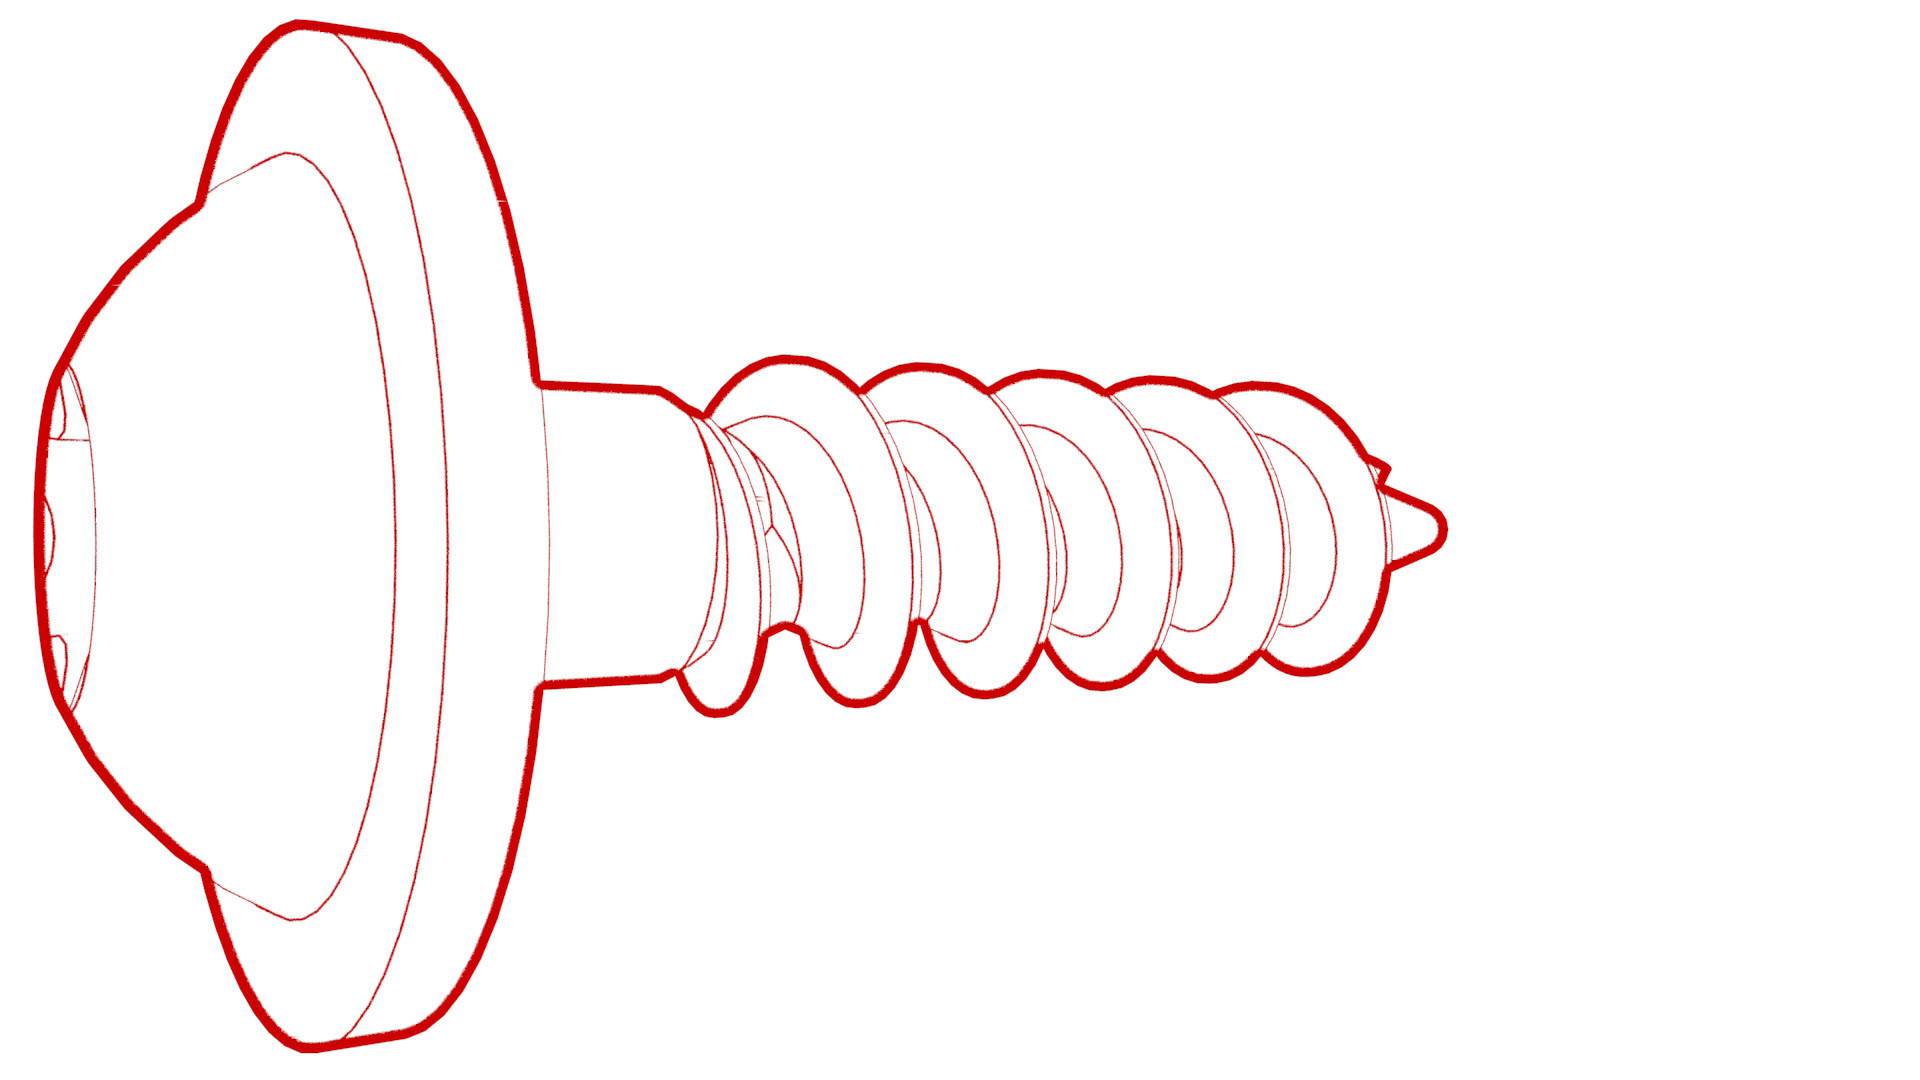 Torque 2.3 Nm
Glove box harness connectors
Puddle lamp harness routing
| 1 | Bring the glove box into the vehicle, and then connect the electrical harness to the glove box solenoid connector, the damper connector, and the puddle light connector. Note: 2 of the electrical connectors are accessed from the bottom of the instrument panel.
Note: Route the puddle lamp electrical harness as illustrated.
| |
| 2 | Make sure that the glove box damper pin is fully seated, and not to bump the glove box damper when installing the glove box. | ||
| 3 | Fasten the clips that attach the glove box to the IP carrier. | |
| 4 | Install the screws (x6) that attach the glove box to the IP carrier. Torque 2.3 Nm | |
| 5 | Install the main instrument panel decor trim. See Decor Trim - Instrument Panel - Main (Remove and Replace). | ||
| 6 | Install the front passenger knee airbag. See Airbag - Knee - Front Passenger (Remove and Replace). | ||
| 7 | Install the passenger footwell cover. See Cover - Footwell - Passenger (LHD) (Remove and Replace). | ||
| 8 | Install the RH lower A-pillar trim. See Trim - A-Pillar - Lower - LH (Remove and Replace). | ||
| 9 | Install the RH middle A-pillar trim. See Trim - A-Pillar - Middle - LH (Remove and Replace). | ||
| 10 | Install the LH and RH instrument panel end caps. See End Cap - Instrument Panel - LH (Remove and Replace). | ||
| 11 | Reconnect 12V power. See 12V Power (Disconnect and Connect). | ||
| 12 | Install the rear underhood apron. See Underhood Apron - Rear (Remove and Replace). | ||
| 13 | Install the 2nd row lower seat cushion. See Seat Cushion - Lower - 2nd Row (Remove and Replace). | ||
| 14 | Verify that the glove box door opens normally through the touchscreen. | ||
| 15 | Return the customer's belongings in the glove box, if needed. |