Reservoir - Windshield Washer (Remove and Replace)
Correction code 1750110217501102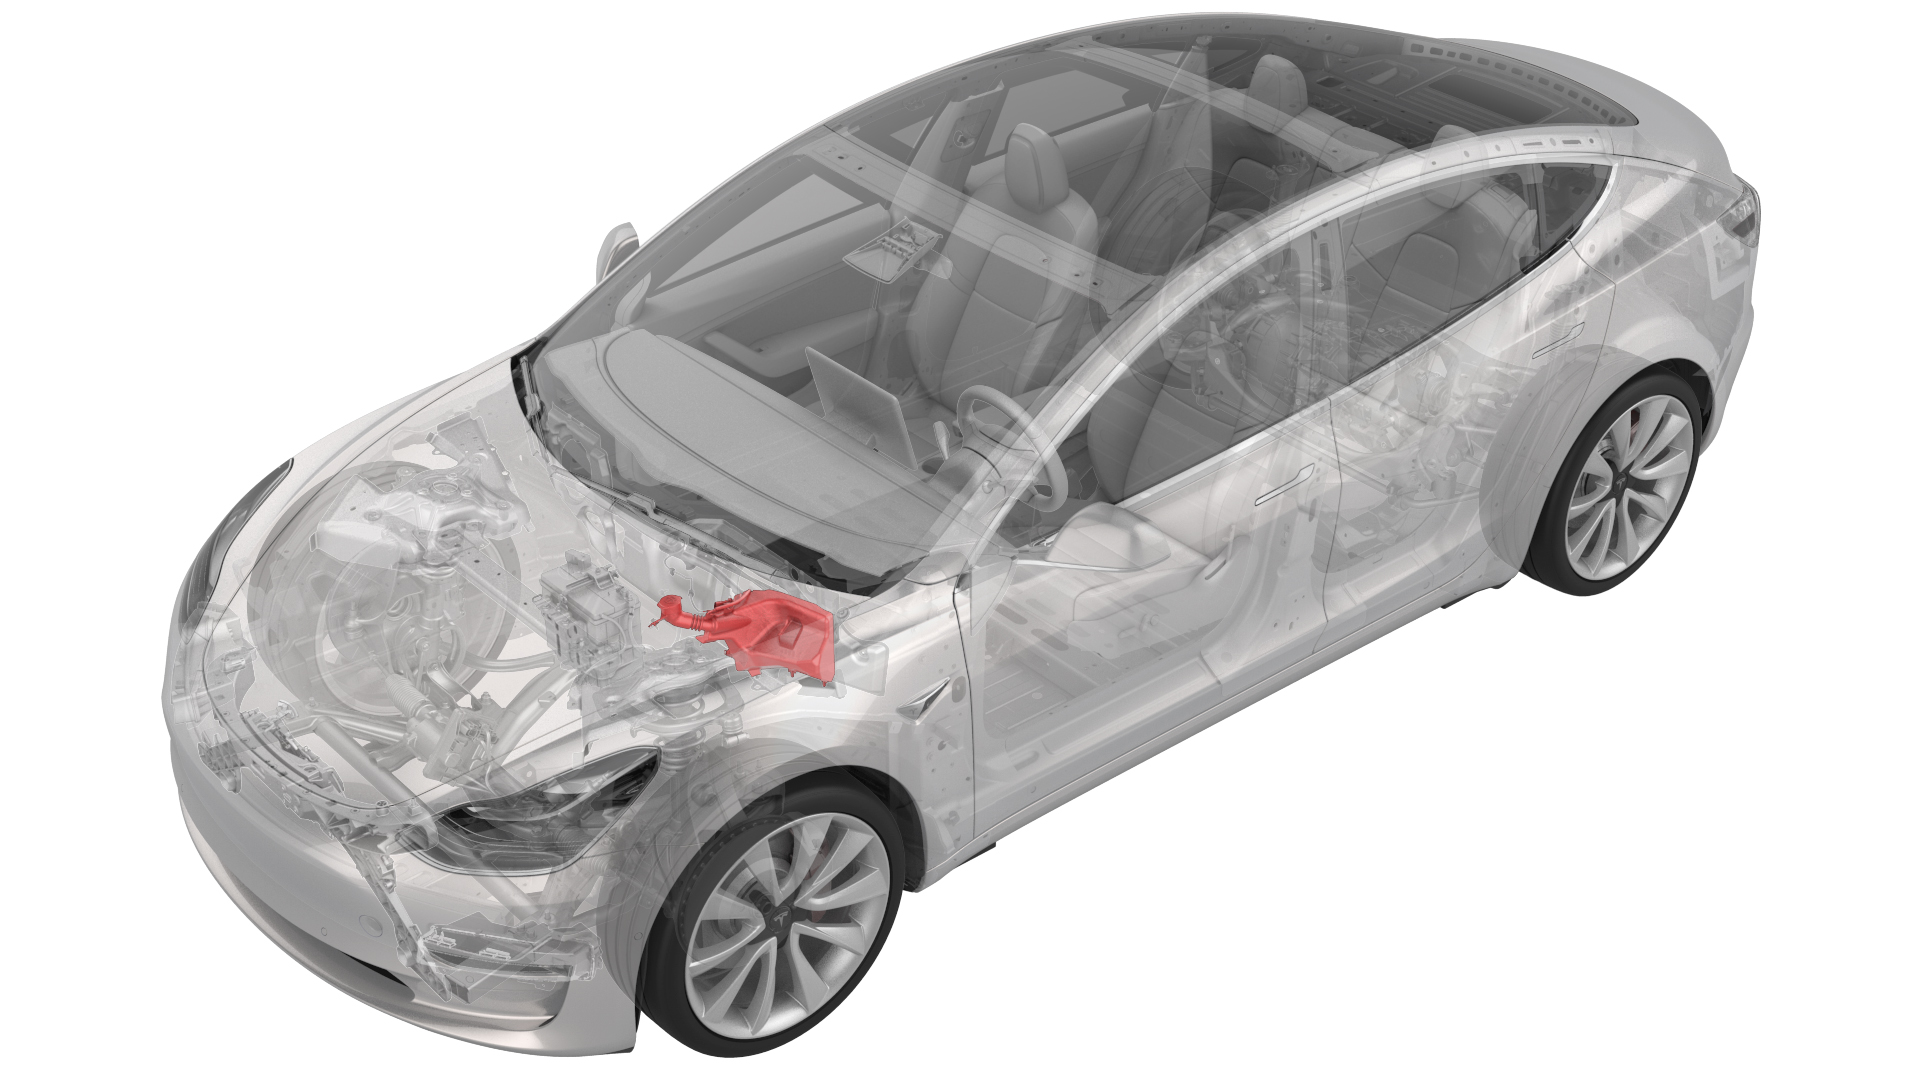
Remove
-
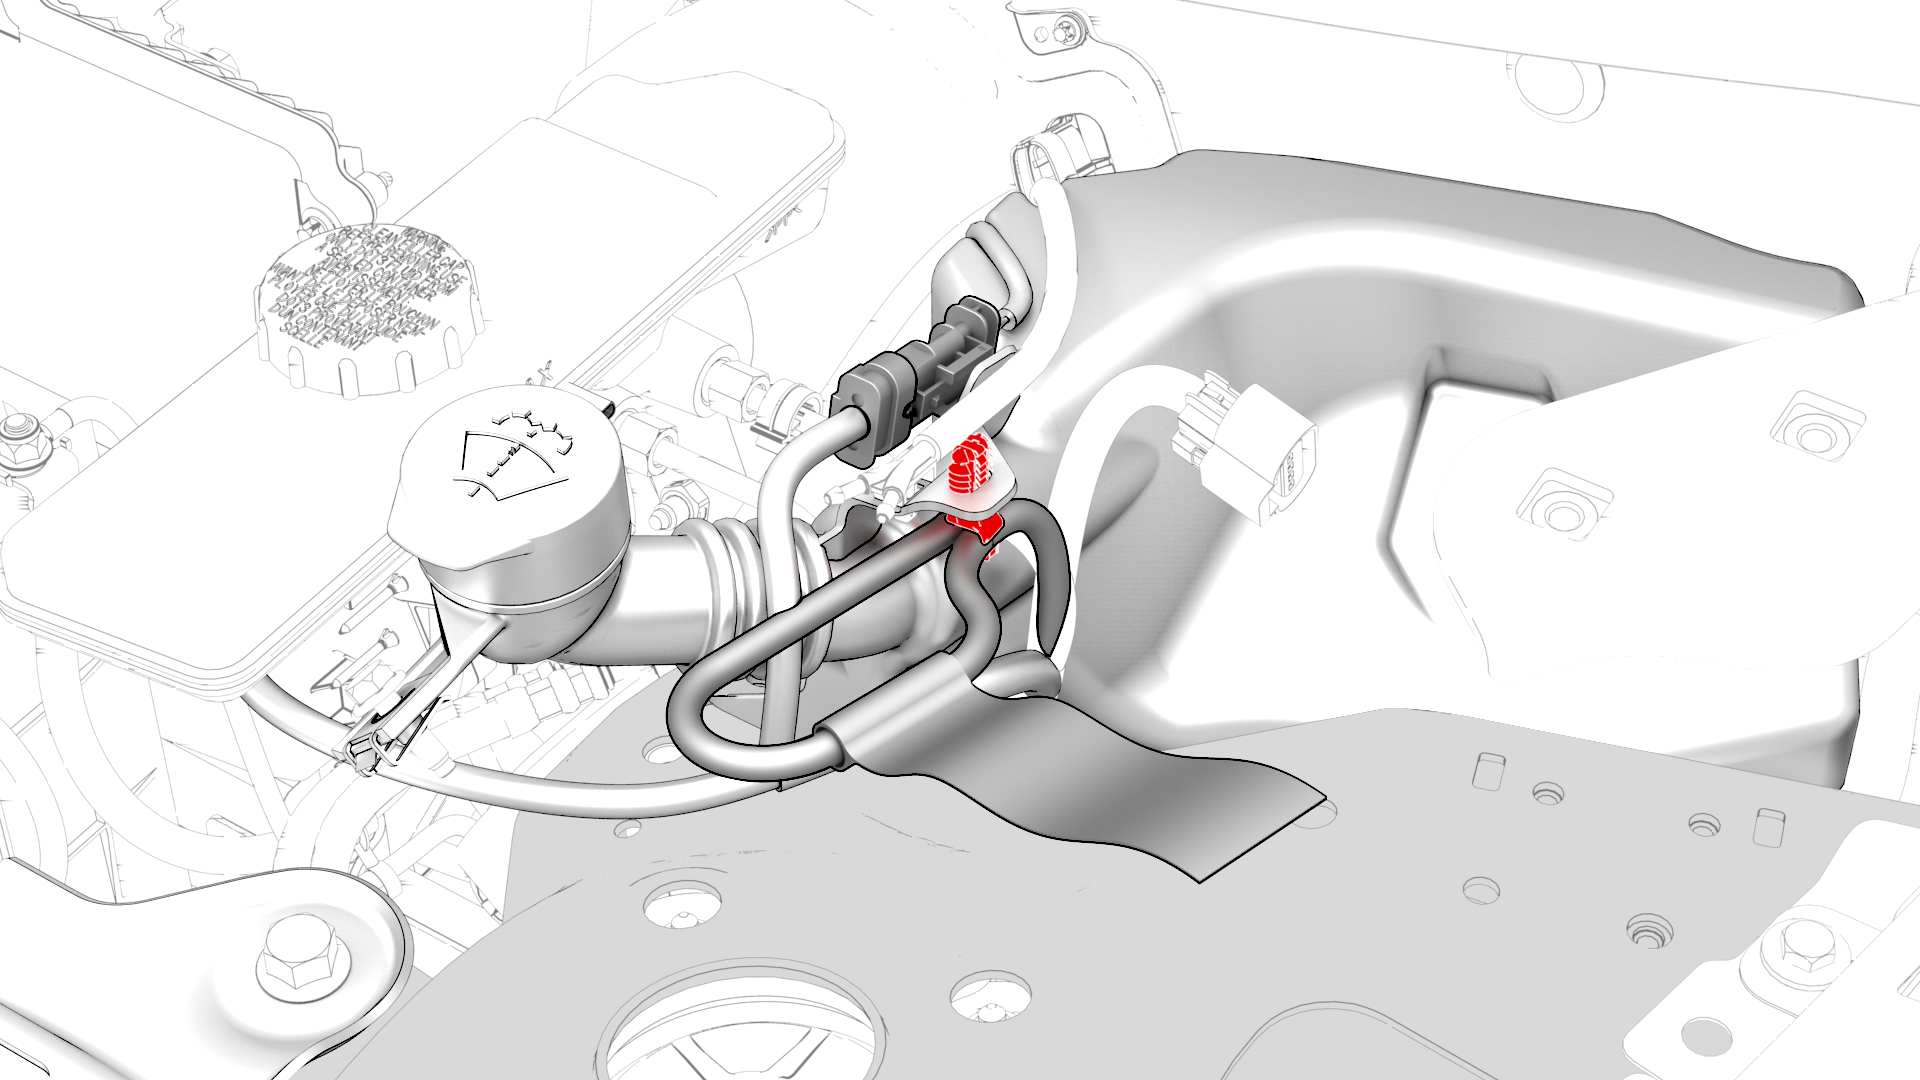
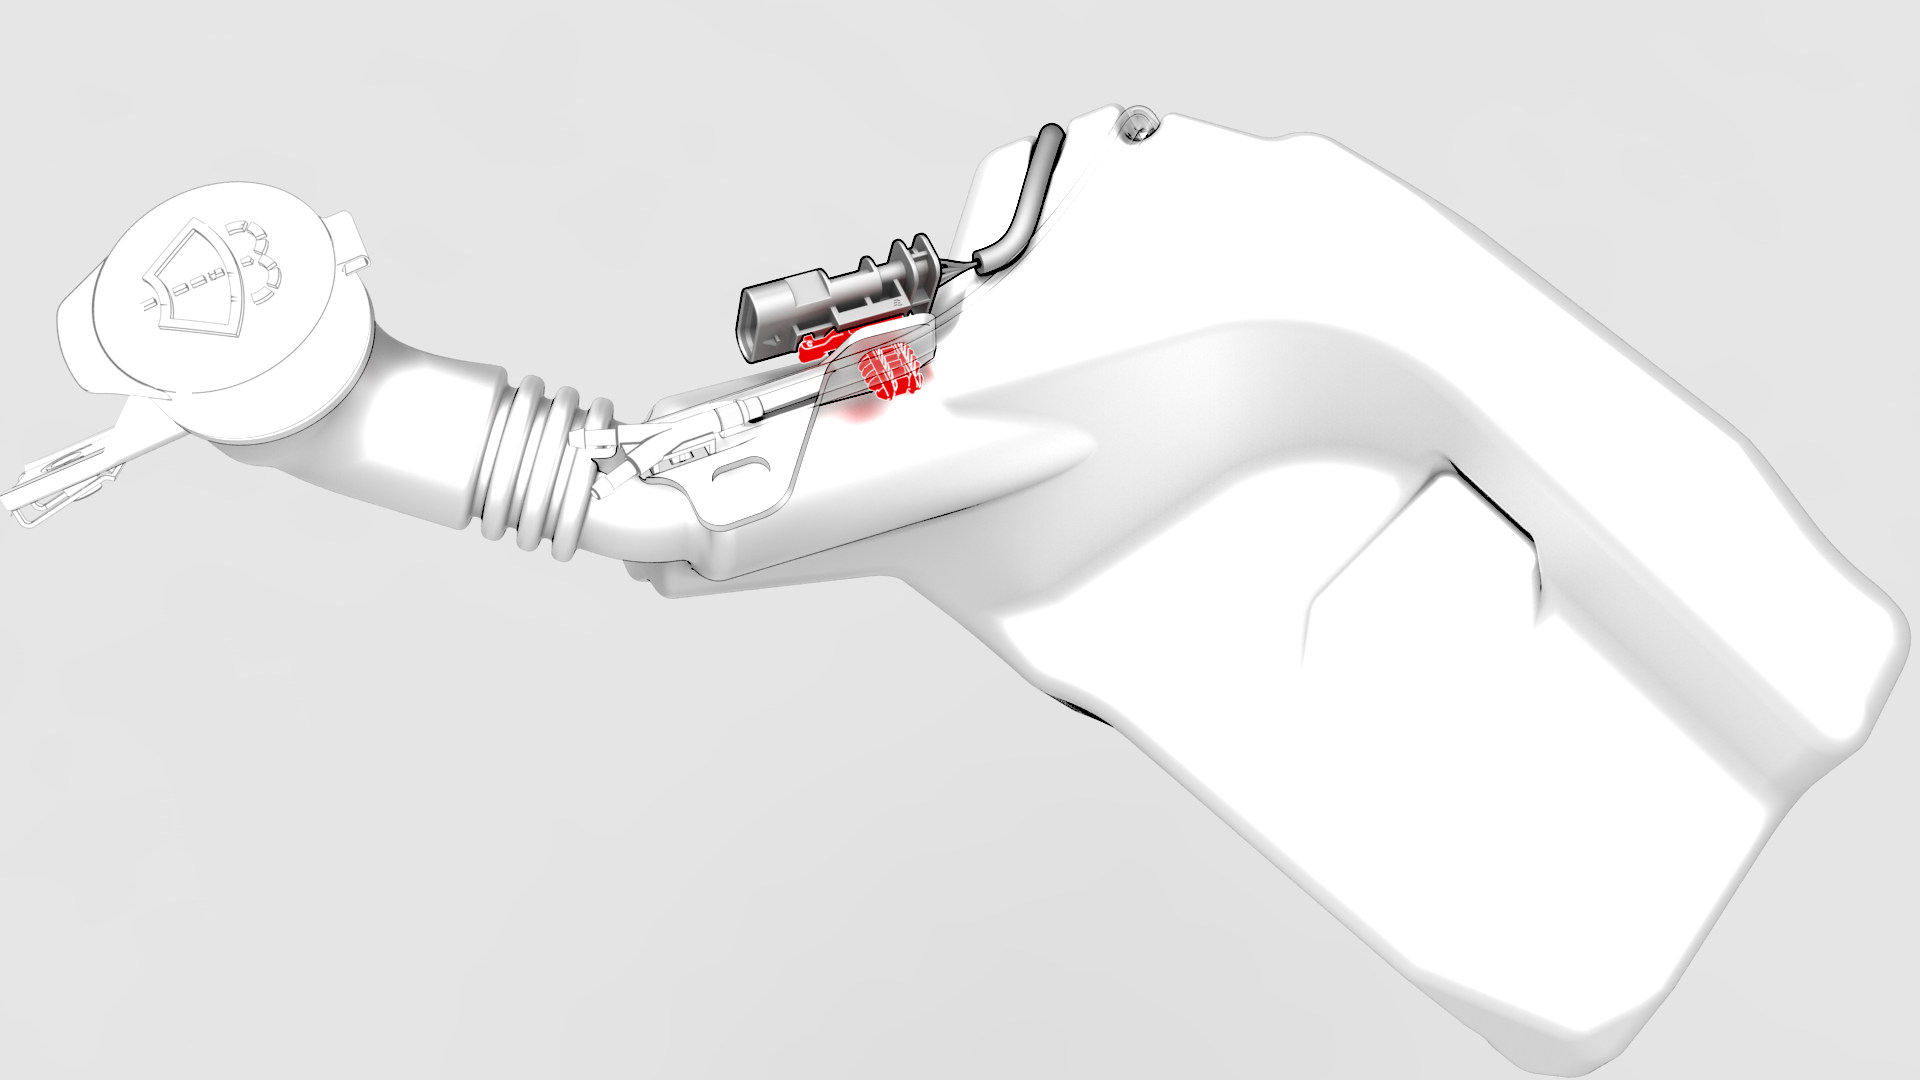
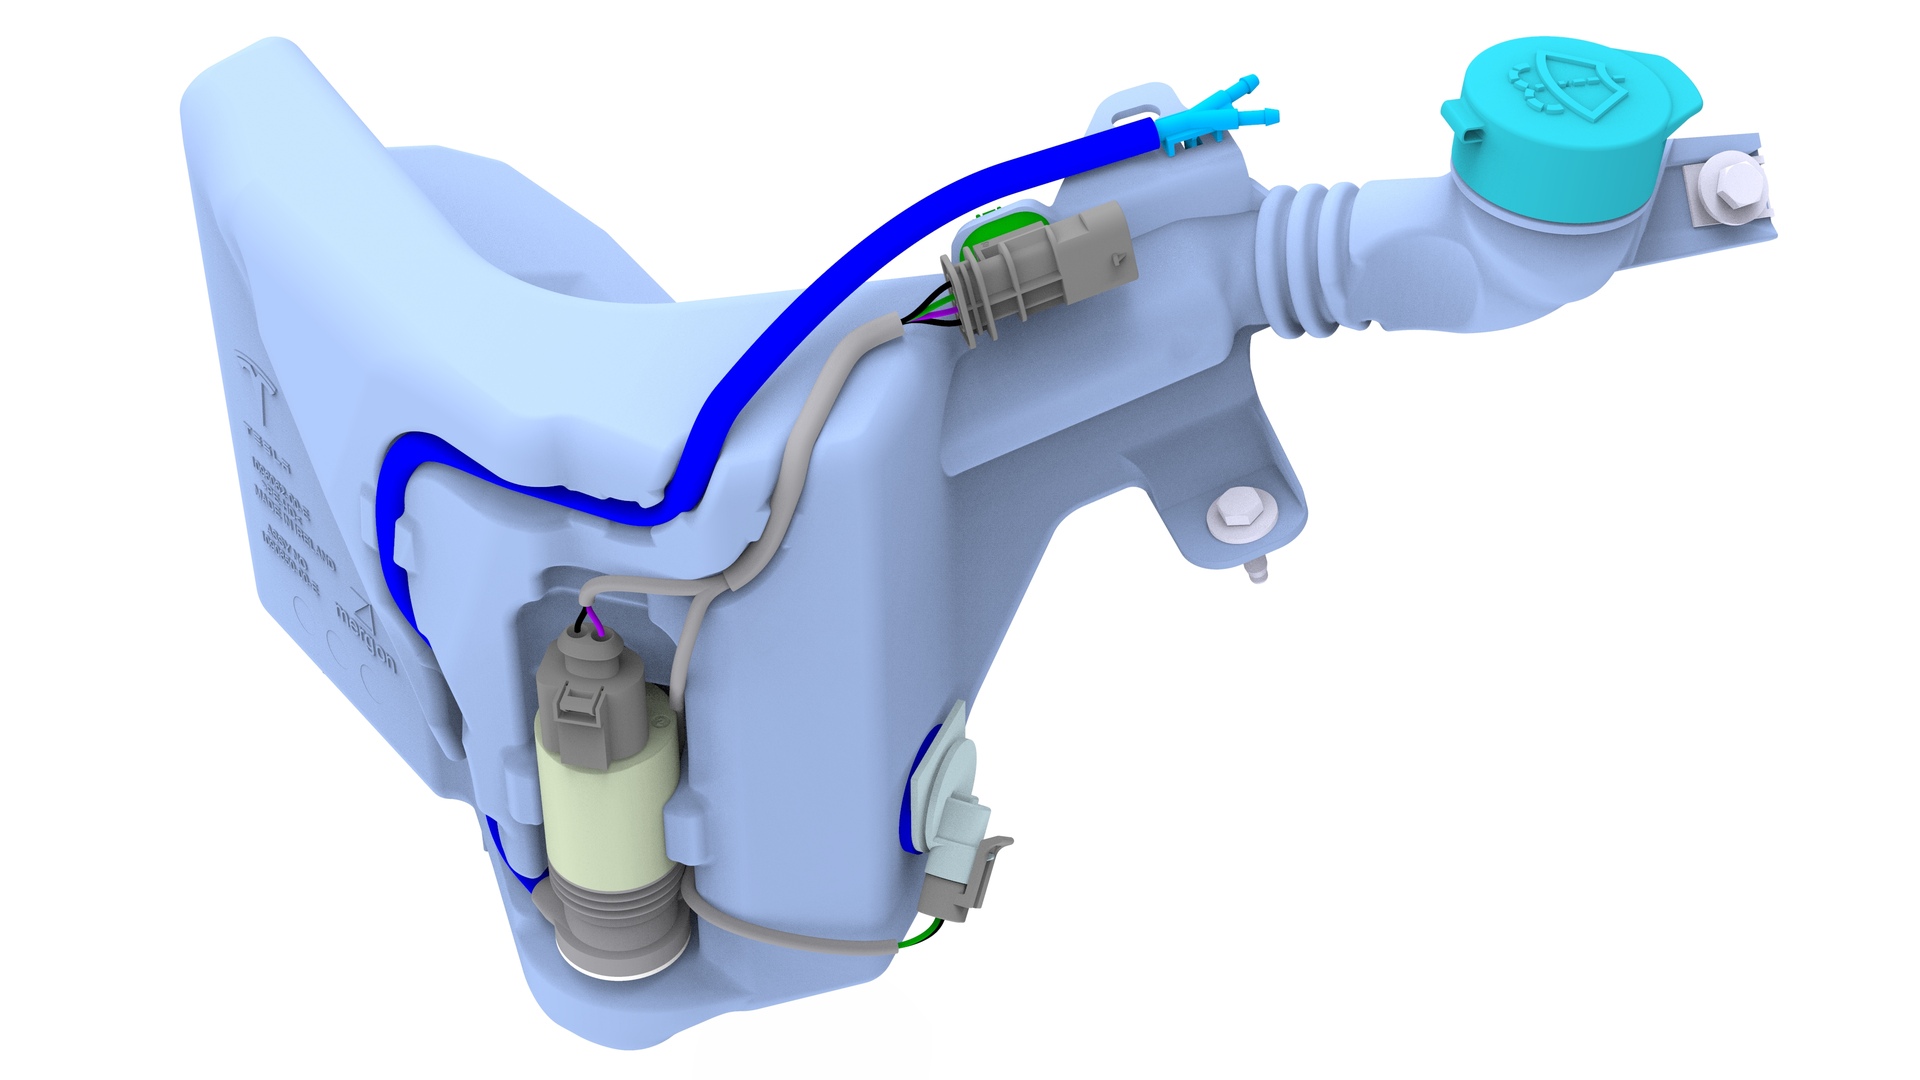
Release the clip that attaches the electrical harness to the windshield washer reservoir.
-
Disconnect the electrical connector from the windshield washer reservoir.
-
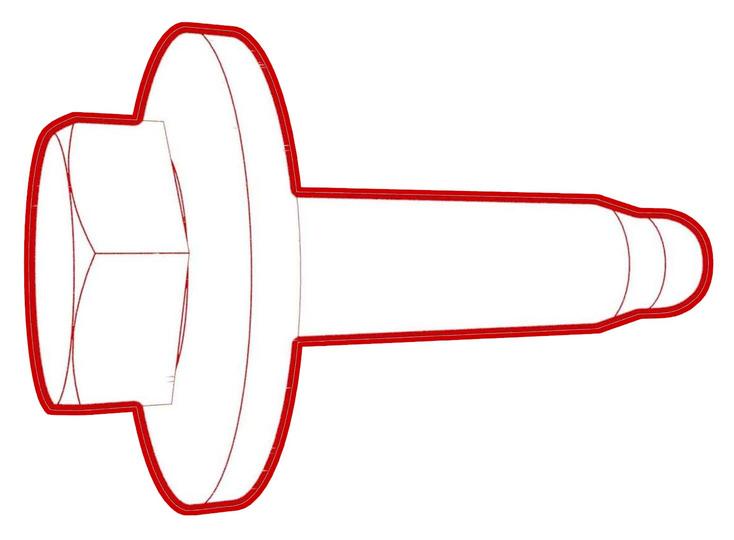
Remove the lower bolt that attaches the windshield washer reservoir to the body.
 Torque 3 Nm
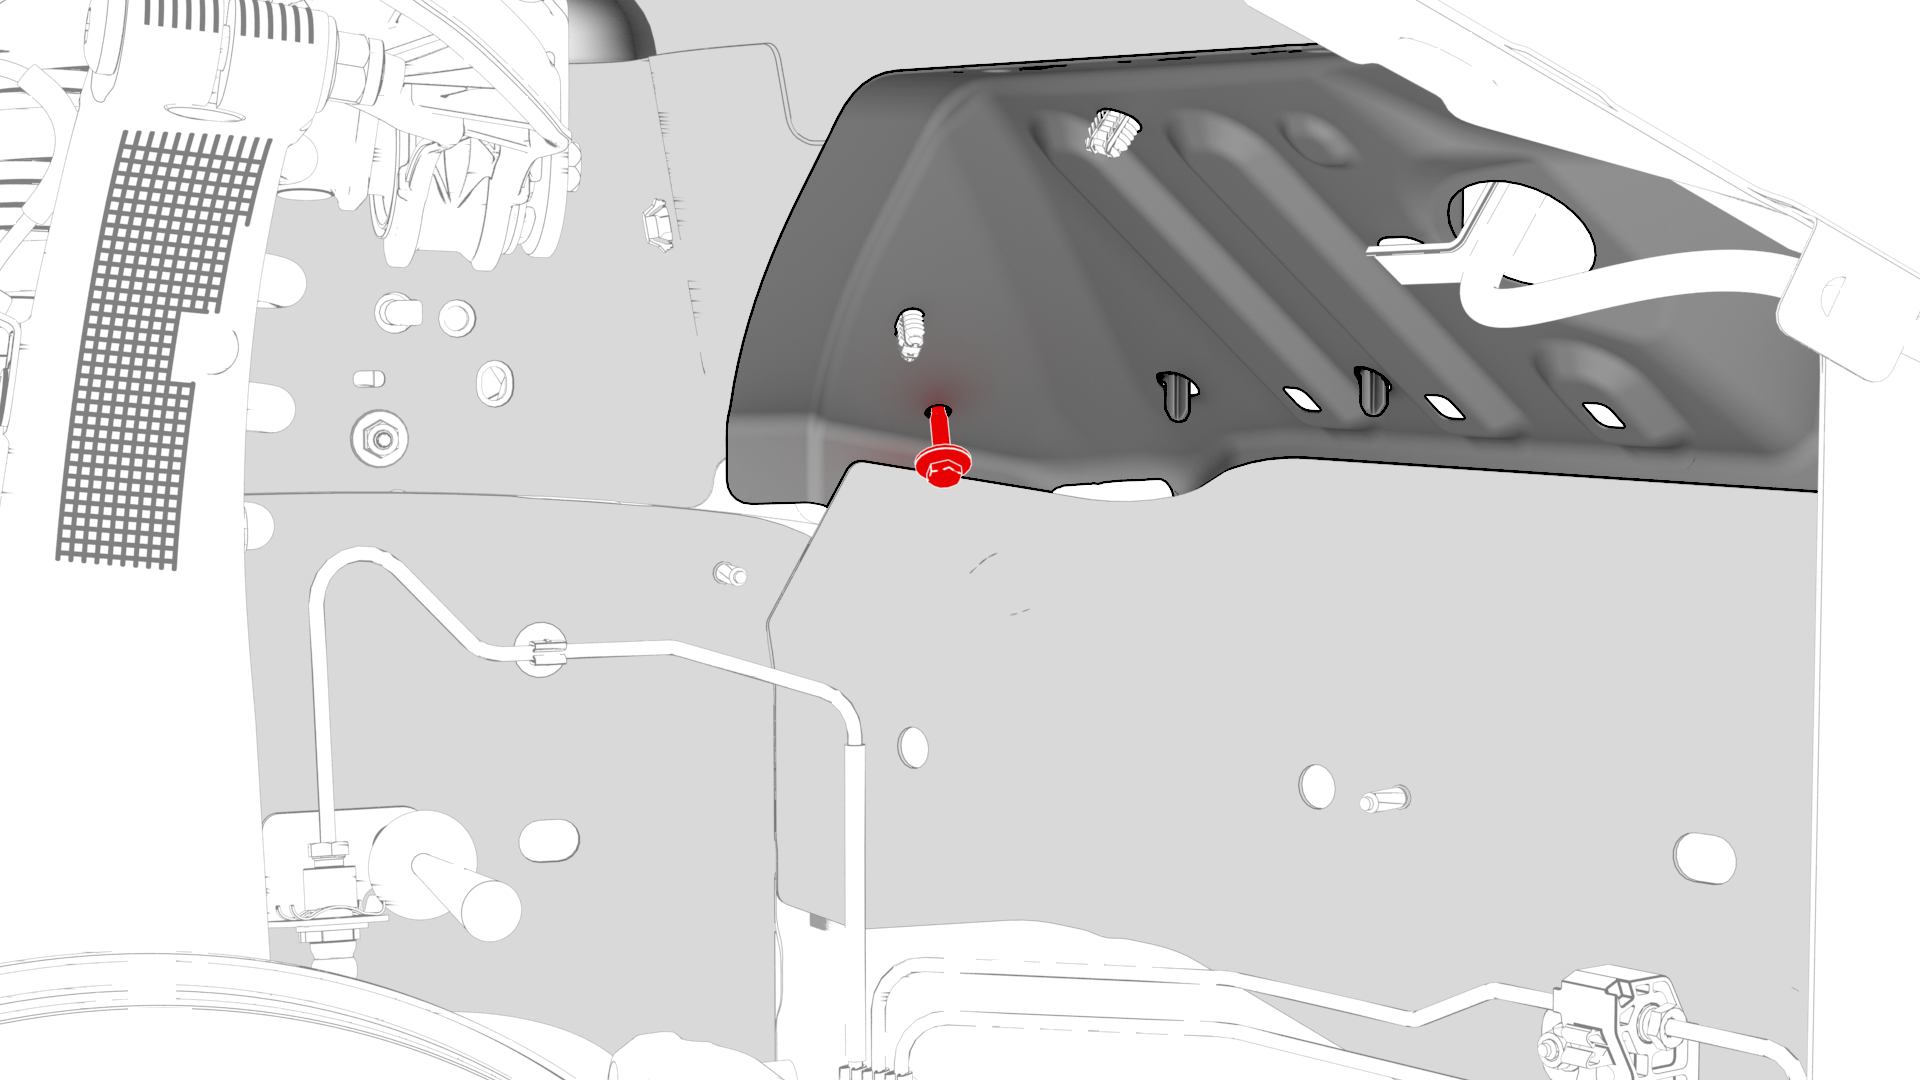
-
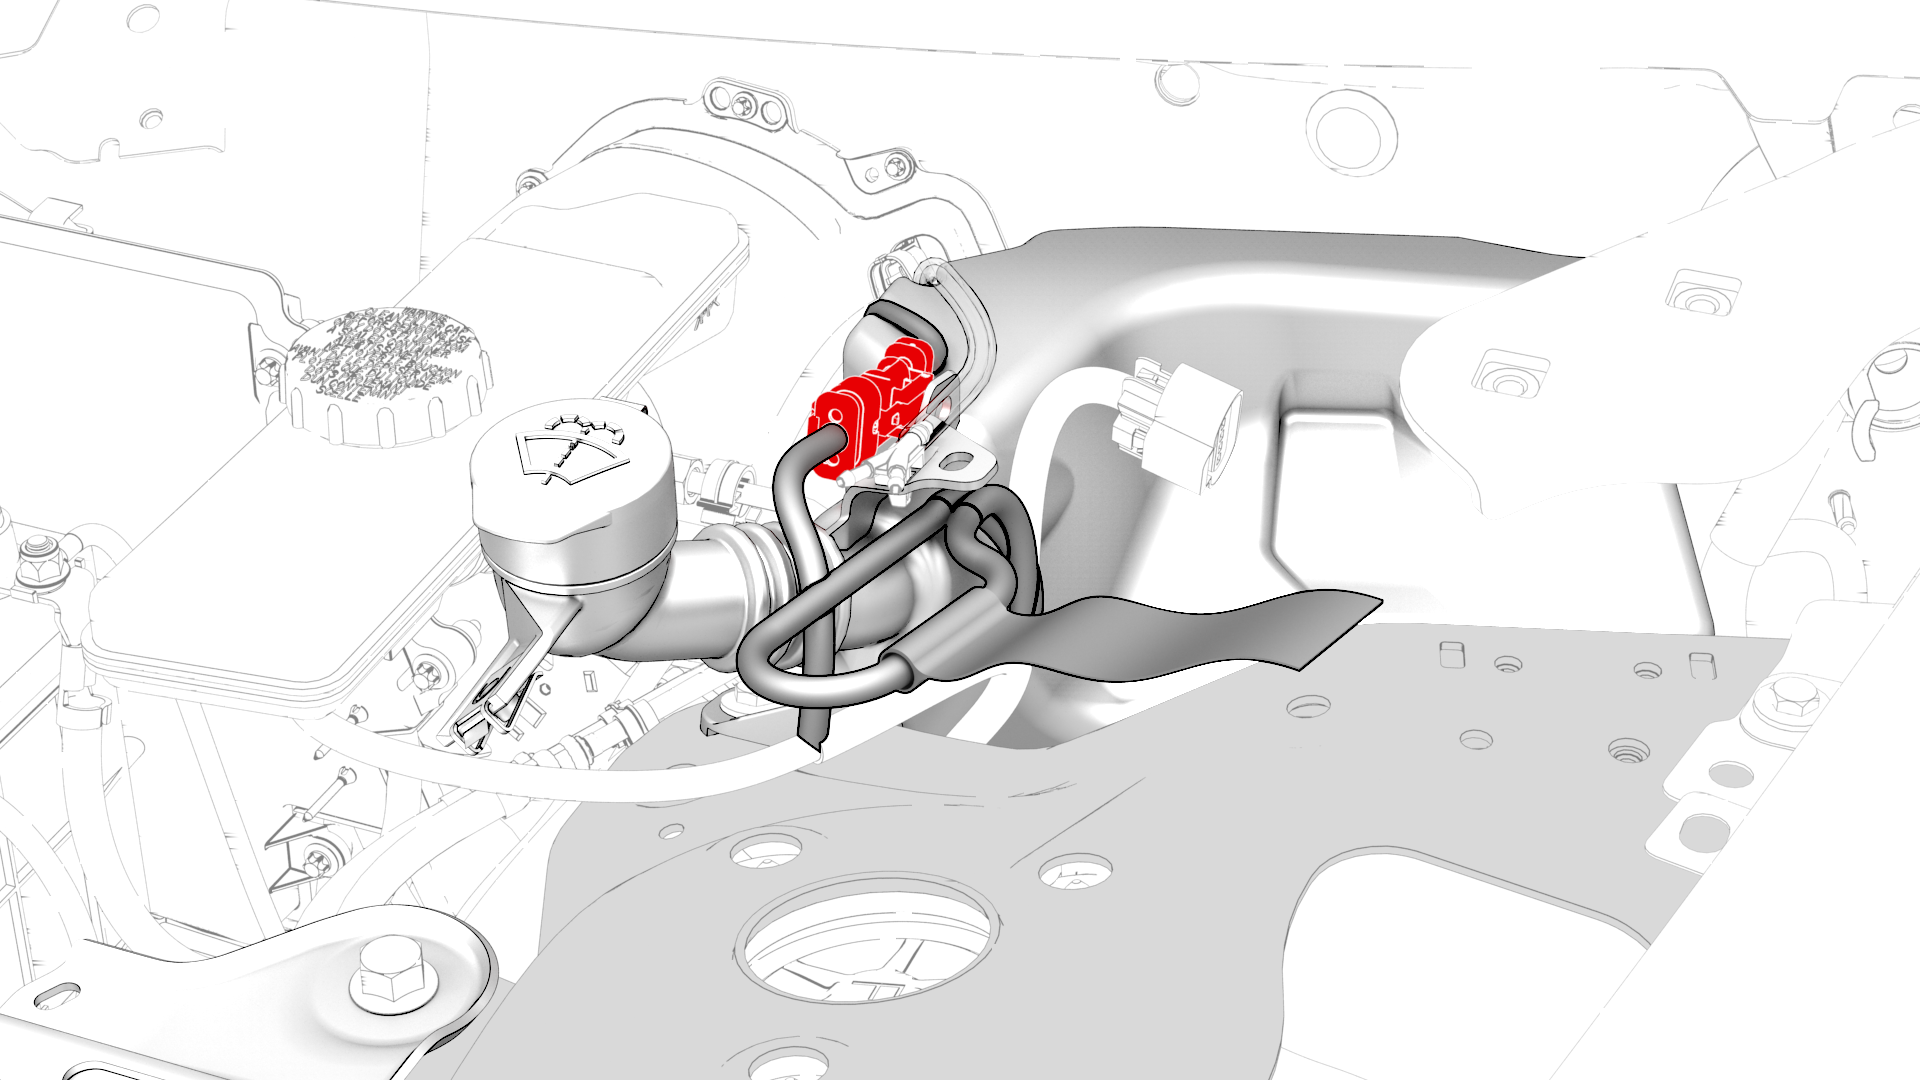
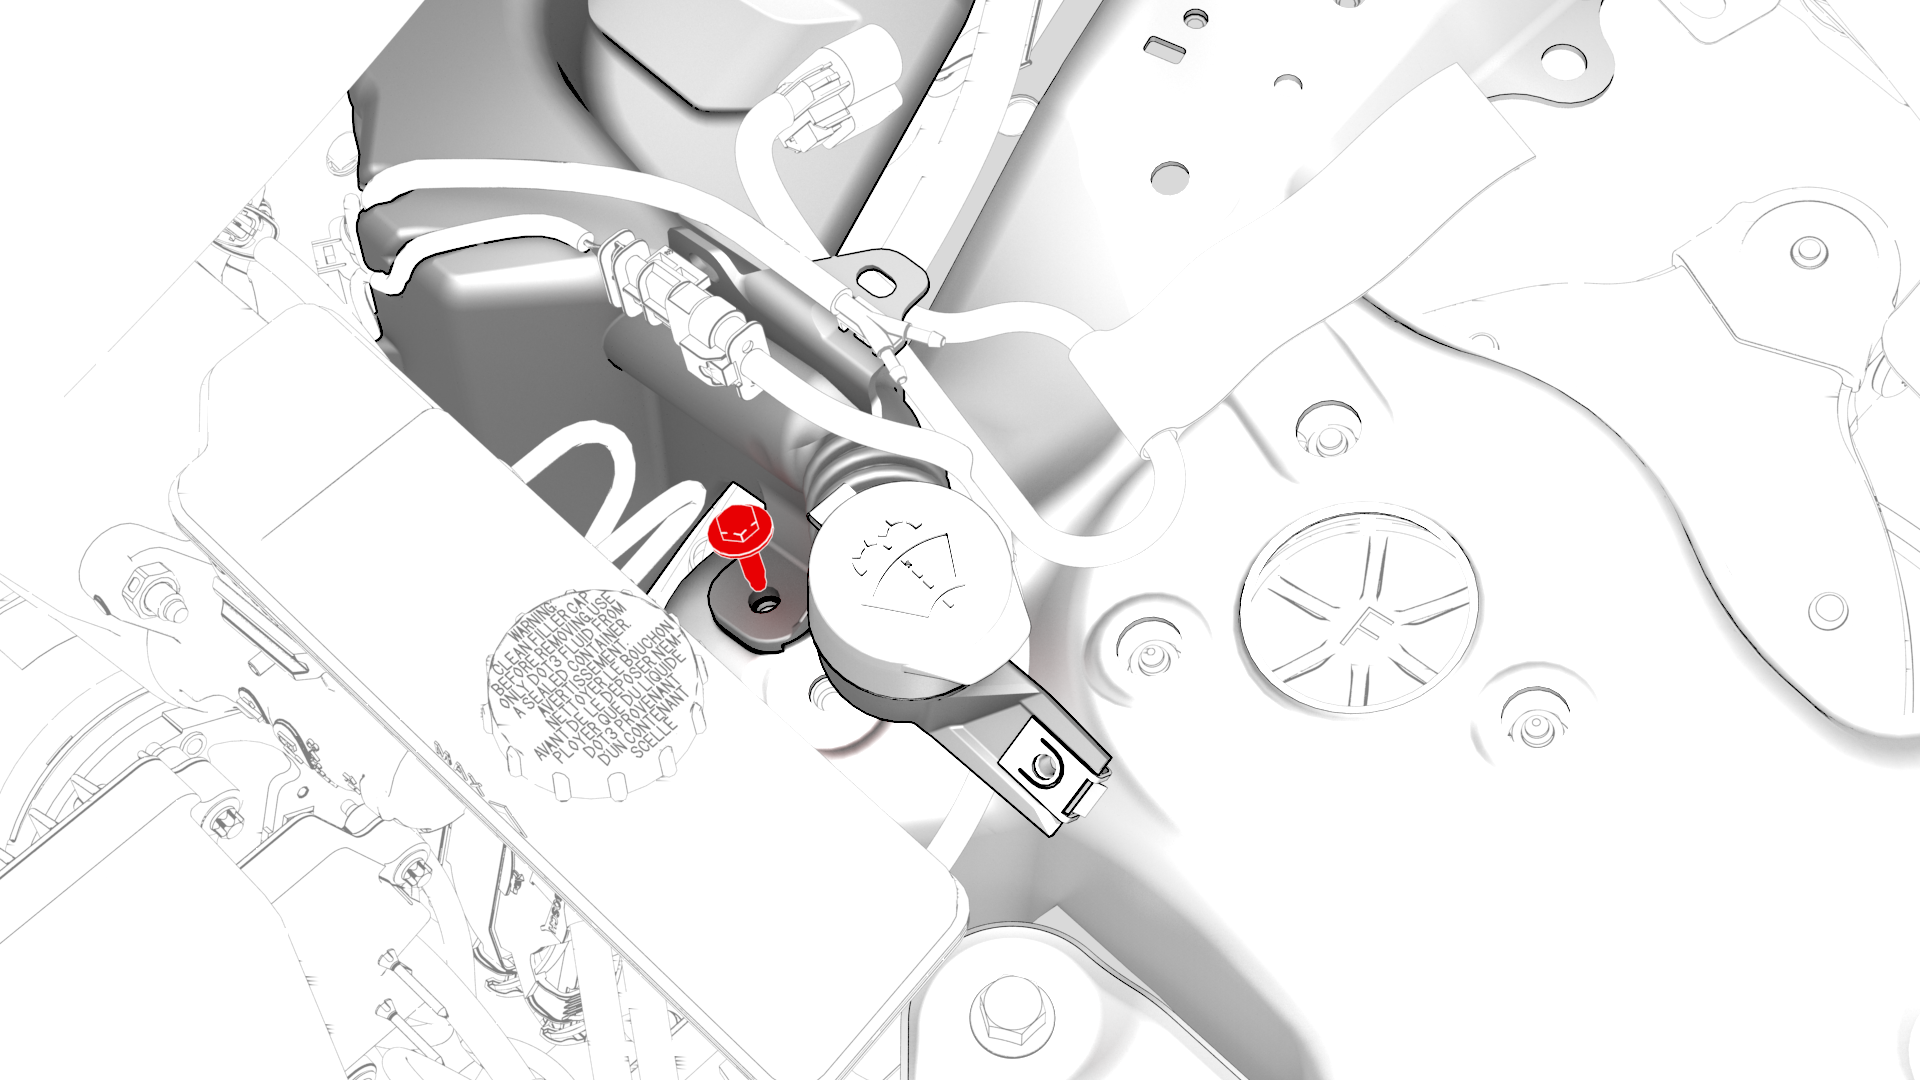
Remove the upper bolt that attaches the windshield washer reservoir to the body.Torque 3 Nm
-
Disconnect the electrical wiring harness connectors from the washer pump and level sensor.
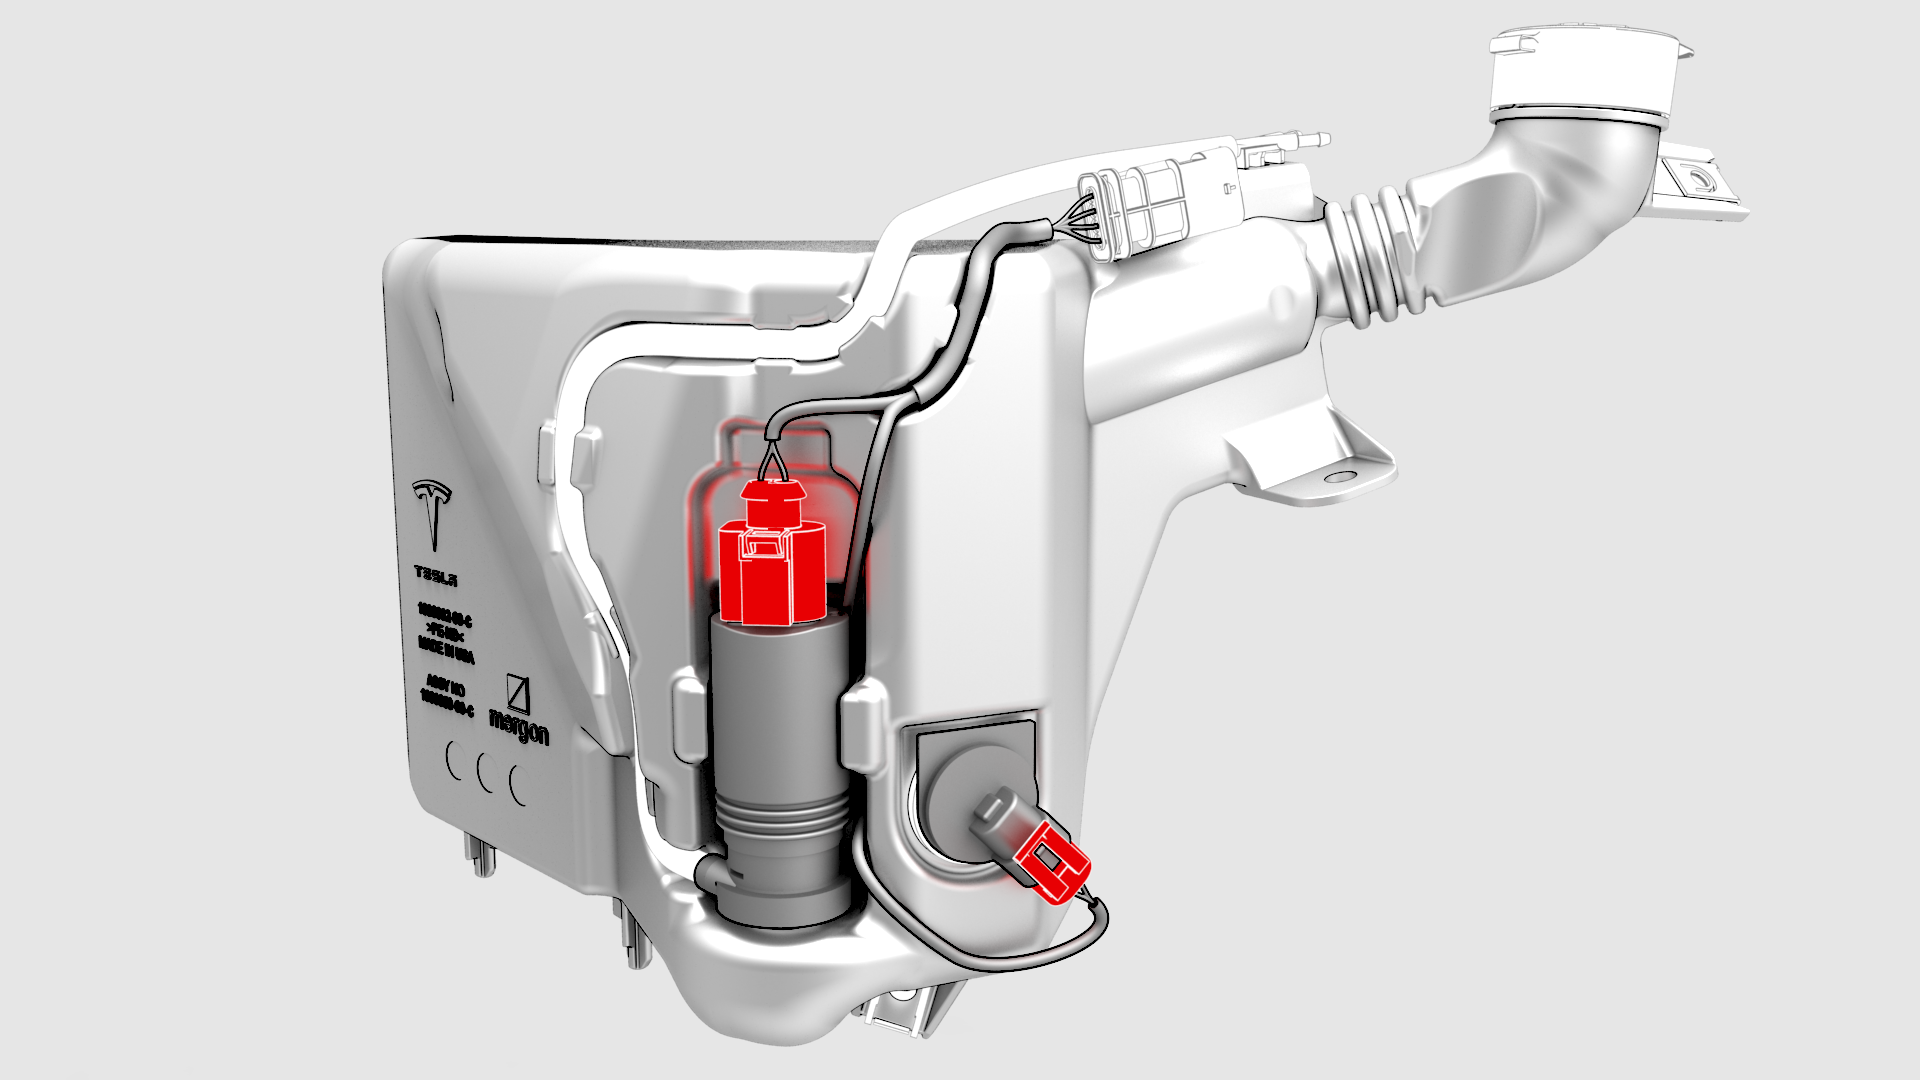
-
Release the clip that attaches the electrical harness to the reservoir, and then remove the electrical harness from the windshield washer reservoir.
-
Pull the level sensor out of the grommet and free of the reservoir.
-
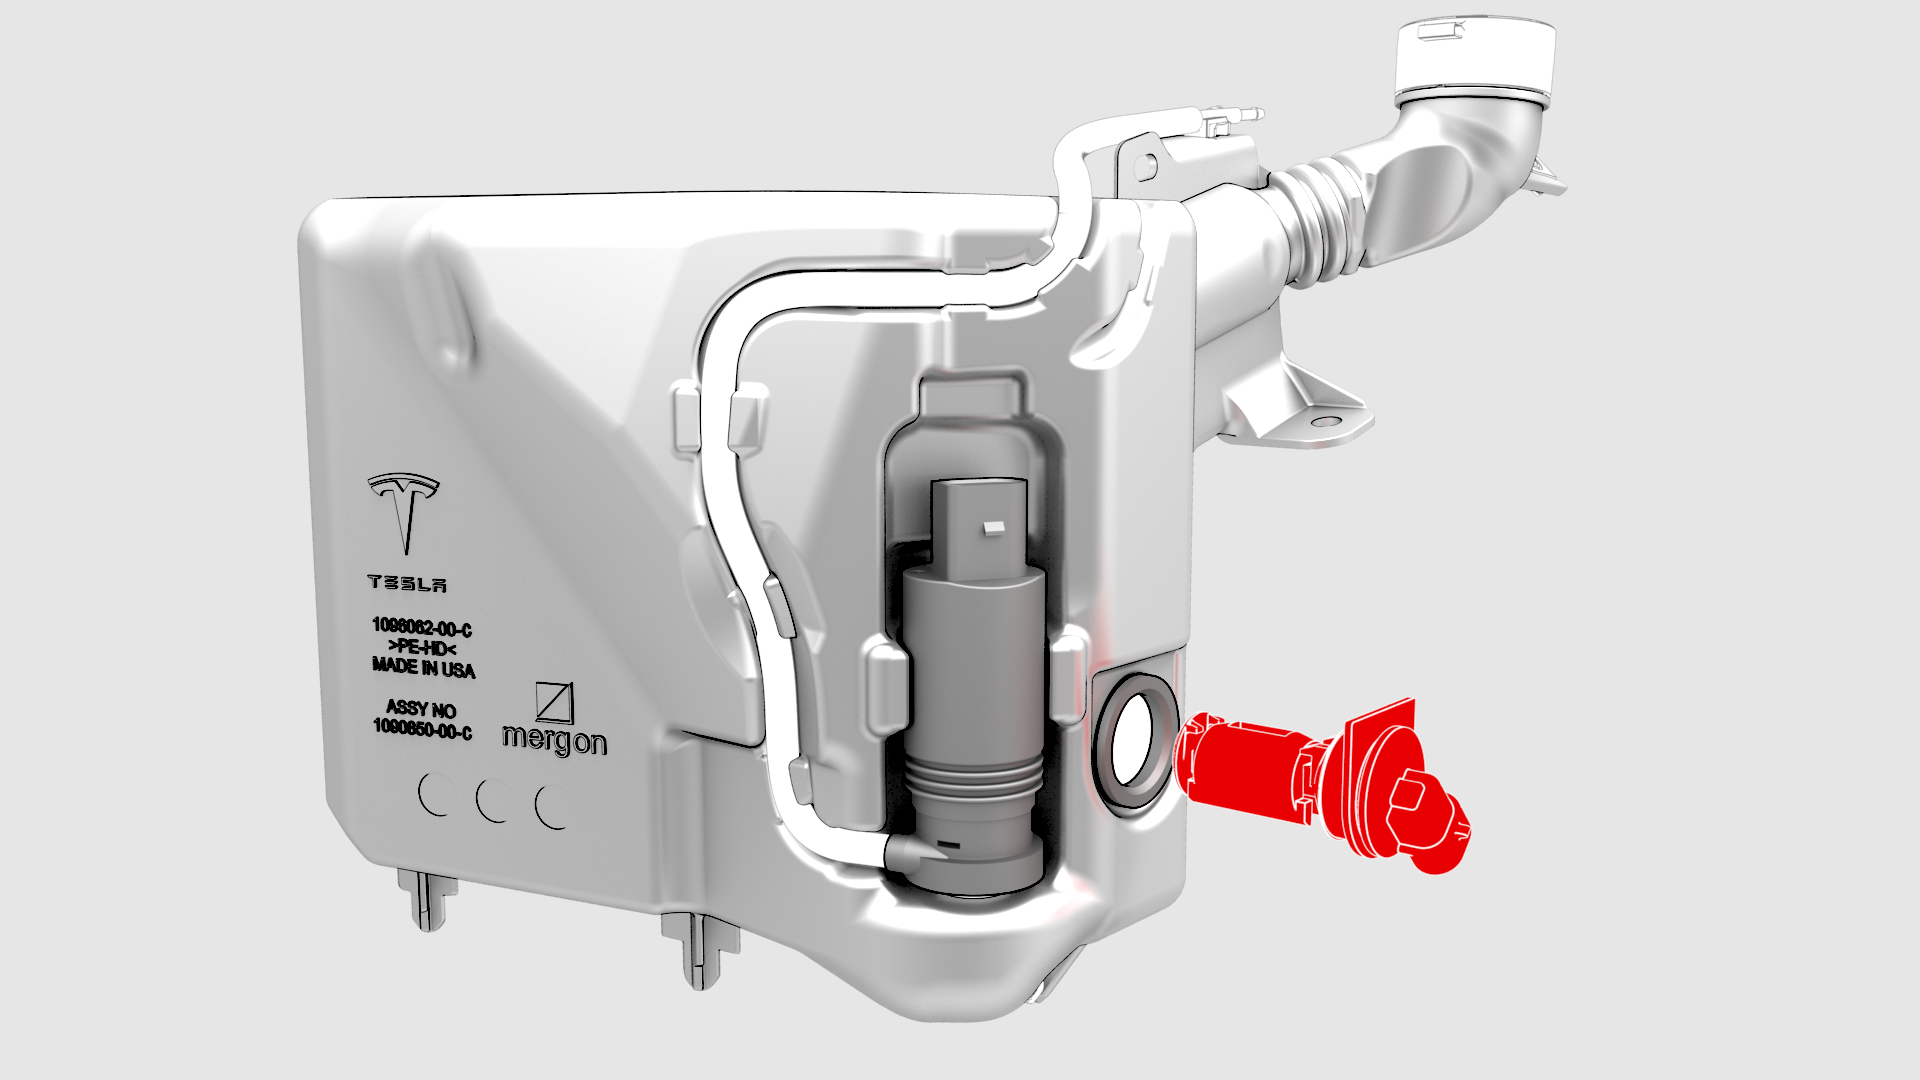
Pull the washer pump out of the grommet and with the hose, free of the windshield washer reservoir.

| 1 | Remove the rear underhood apron. See Underhood Apron - Rear (Remove and Replace). | ||
| 2 | Remove the cabin intake duct. See Duct - Cabin Intake (Remove and Replace). | ||
| 3 | Remove the hood latch cover. See Cover - Hood Latch (Remove and Replace). | ||
| 4 | Remove the underhood storage unit. See Underhood Storage Unit (Remove and Replace). | ||
| 5 | Remove the LH and RH wiper arms. See Wiper Arms (Remove and Replace). | ||
| 6 | Remove the cowl screen panel. See Panel - Cowl Screen (Remove and Replace). | ||
| 7 | Remove the wiper motor. See Wiper Motor (Remove and Replace). | ||
| 8 | Release the clip that attaches the electrical harness to the windshield washer reservoir. | |
| 9 | Disconnect the electrical connector from the windshield washer reservoir. | |
| 10 | Remove the LH front wheel. See Wheel (Remove and Install). | ||
| 11 | Remove the LH front wheel arch liner. See Wheel Arch Liner - Front - LH (Remove and Replace). | ||
| 12 | Remove the lower bolt that attaches the windshield washer reservoir to the body. Torque 3 Nm | |
| 13 | Lower the vehicle until the tires touch the ground. | ||
| 14 | Remove the upper bolt that attaches the windshield washer reservoir to the body. Torque 3 Nm | |
| 15 | Remove the windshield washer reservoir from the vehicle and drain any fluid from the reservoir. | ||
| 16 | Disconnect the electrical wiring harness connectors from the washer pump and level sensor. | |
| 17 | Release the clip that attaches the electrical harness to the reservoir, and then remove the electrical harness from the windshield washer reservoir. | |
| 18 | Pull the level sensor out of the grommet and free of the reservoir. | |
| 19 | Pull the washer pump out of the grommet and with the hose, free of the windshield washer reservoir. |
Install
Installation procedure is the reverse of removal.