Bracket - 12V Battery (Dual Motor) (Remove and Replace)
Correction code 1701401217014012
Remove
-
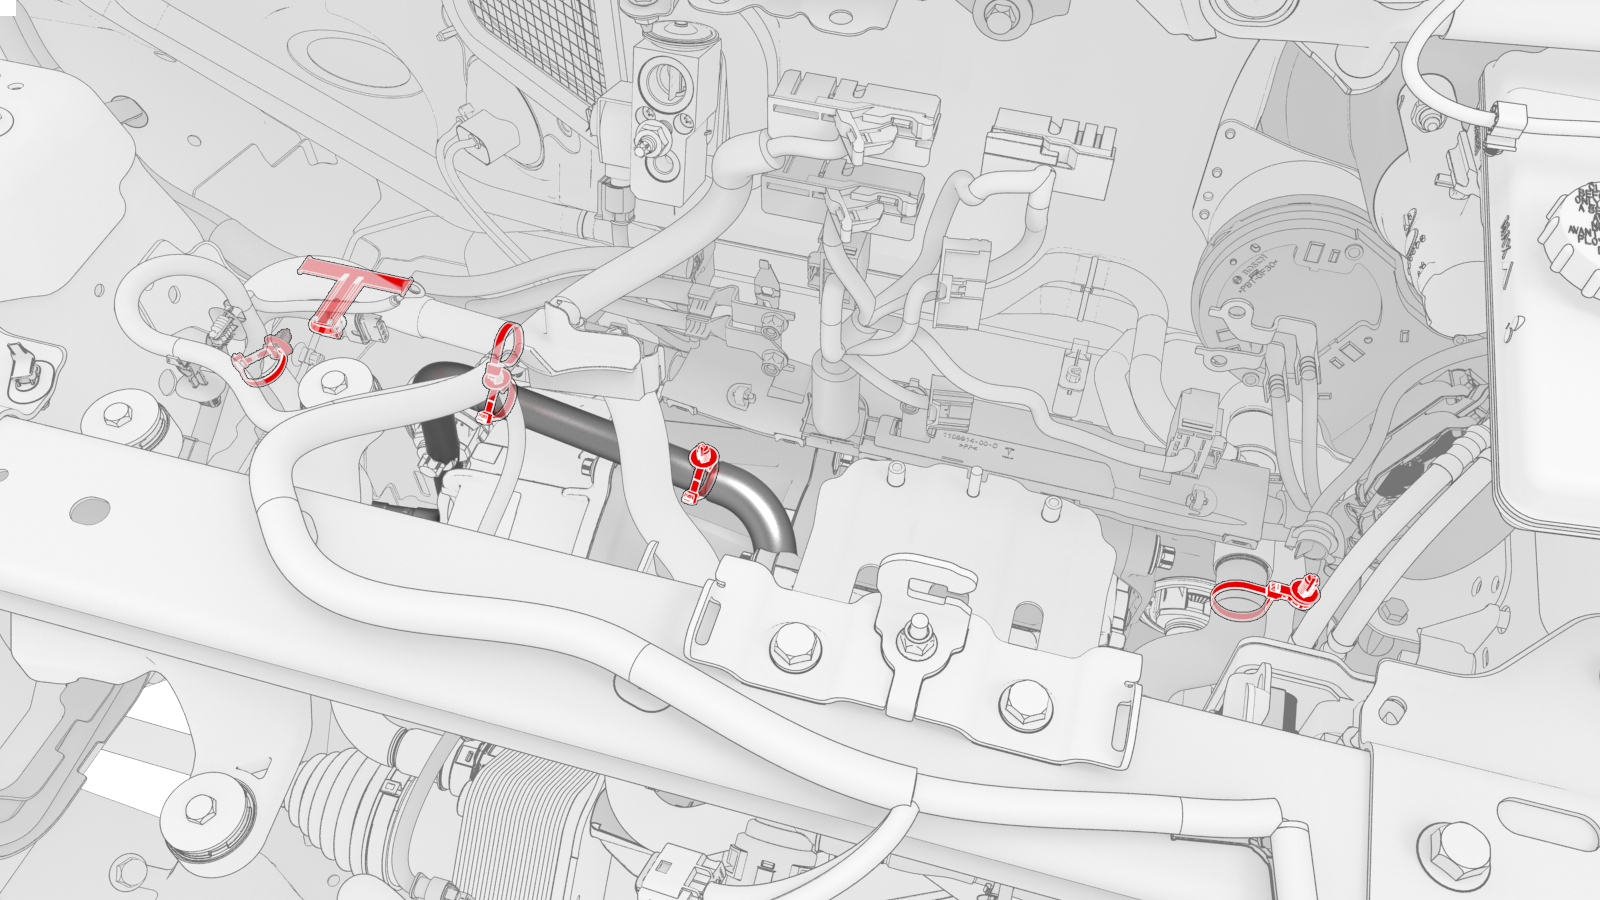
Release the clips that attach the coolant hoses and electrical harnesses to the 12V battery beam.
-
Remove the bolts that attach the 12V battery beam to the vehicle.
 Torque 9 Nm
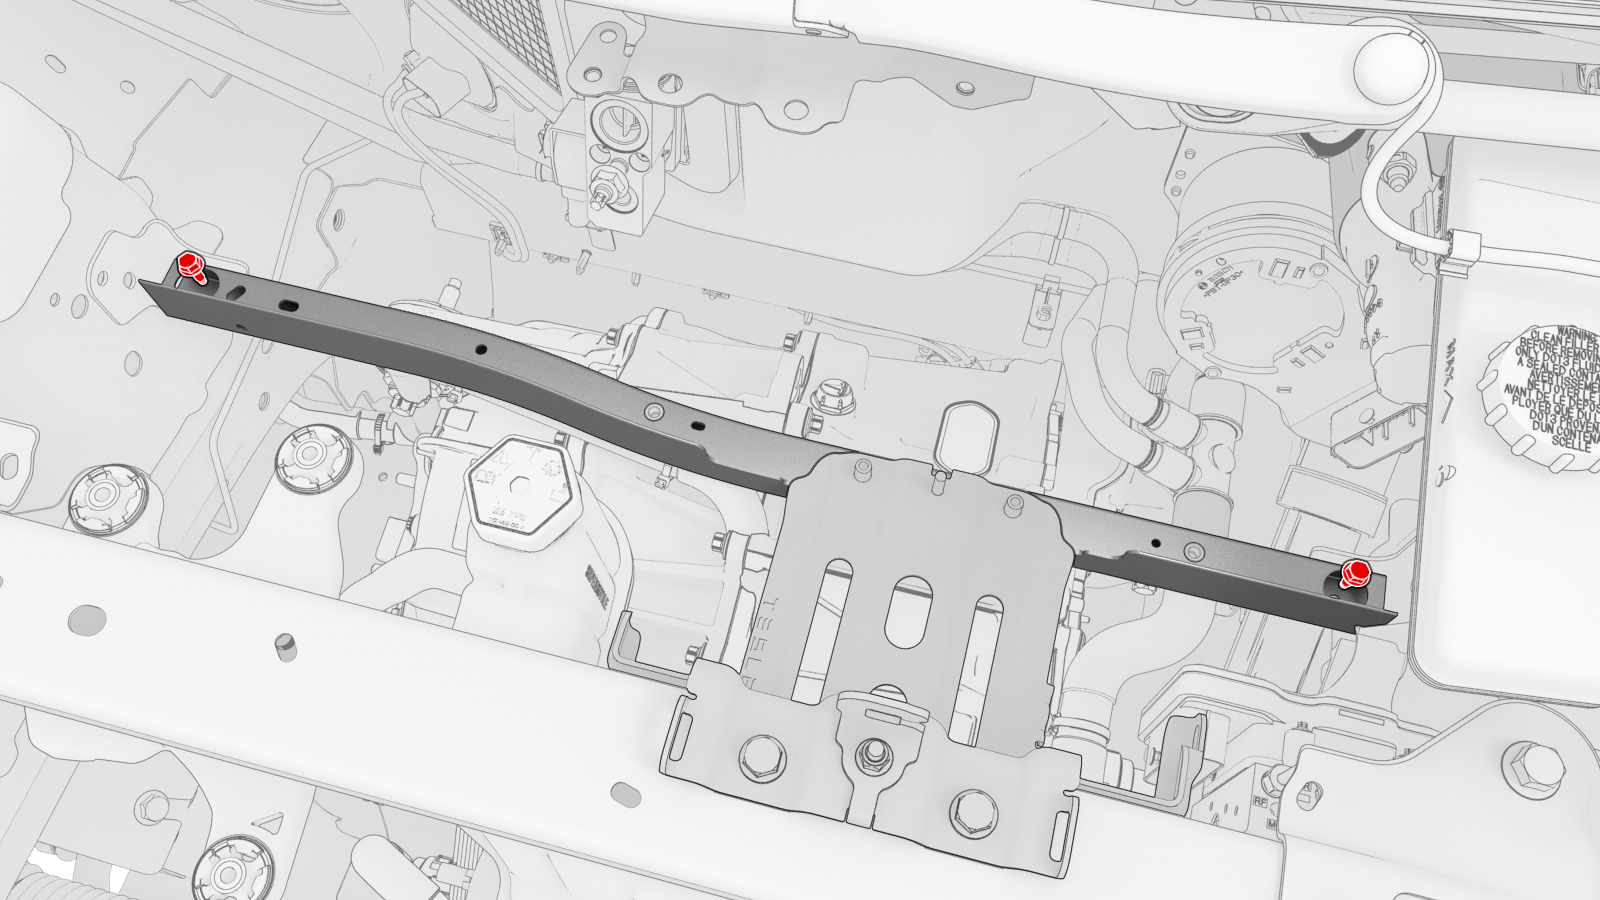
-
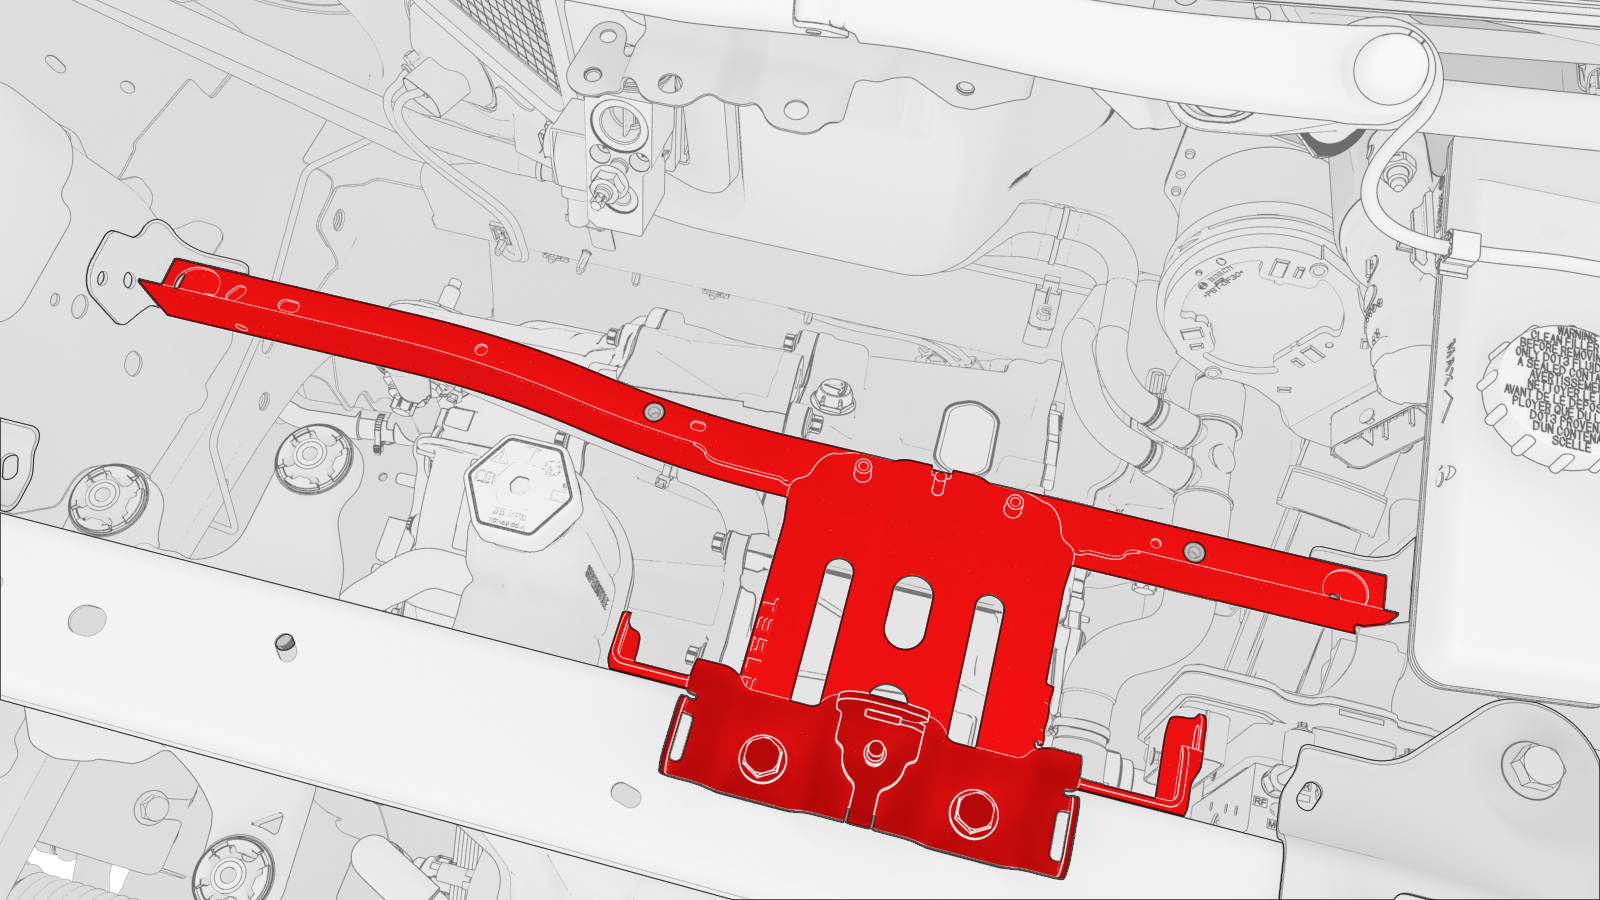
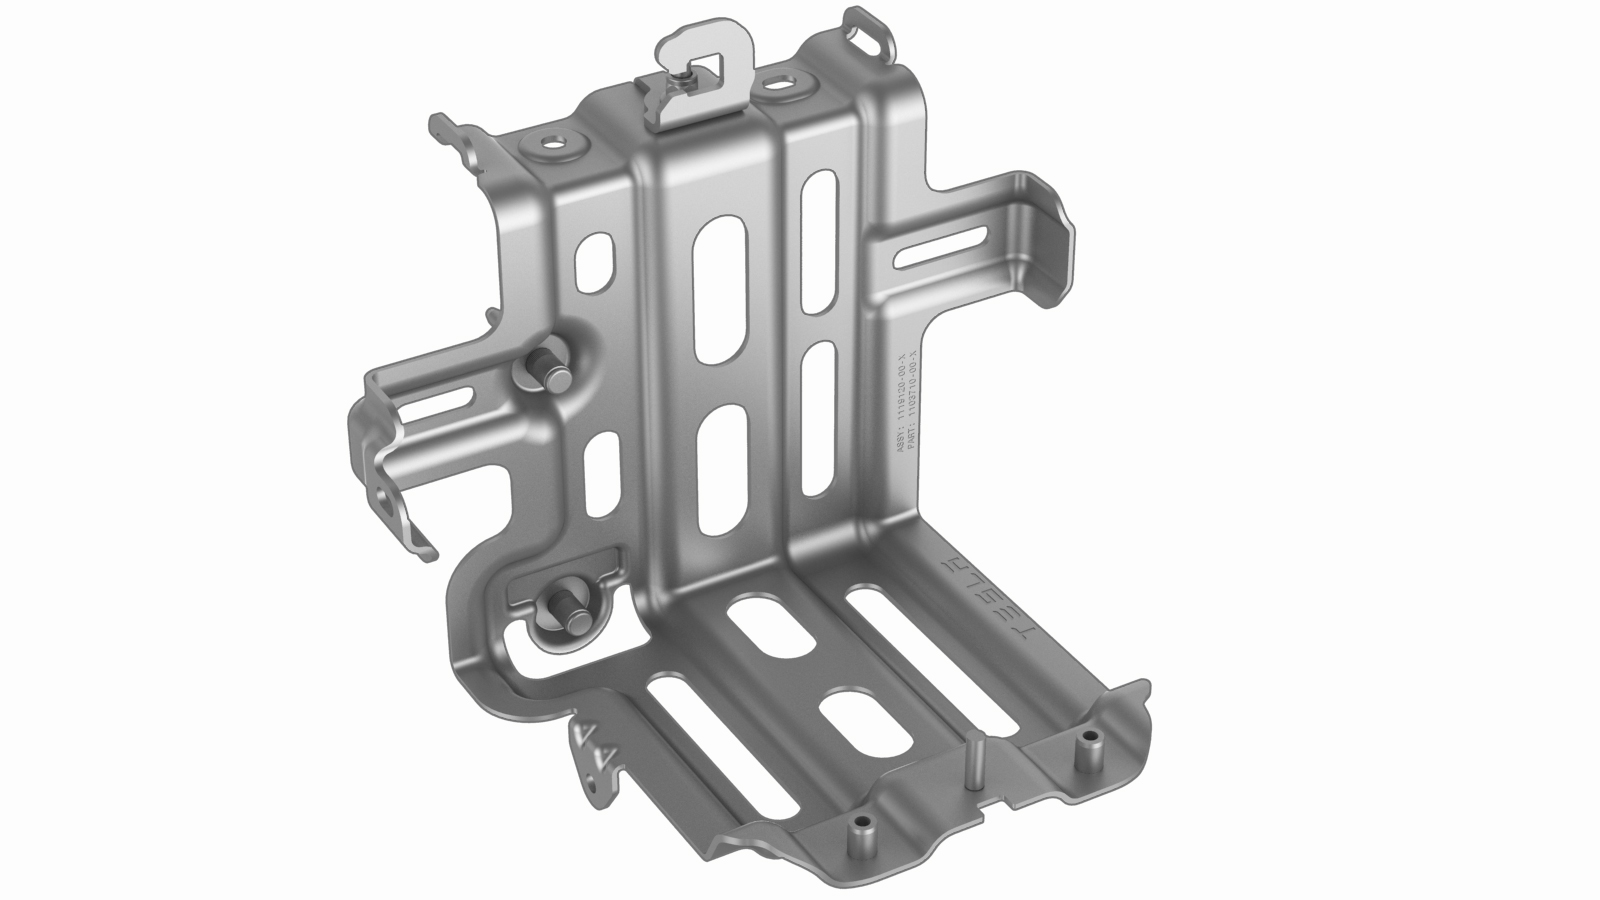
Remove the 12V battery bracket and 12V battery beam from the vehicle.
Note: Carefully slide the beam toward the RH side of the vehicle, and then lift the LH side of the beam to remove the assembly.
-
Remove the bolts that attach the 12V battery beam to the 12V battery bracket, and then set the beam aside.
 Torque 9 Nm
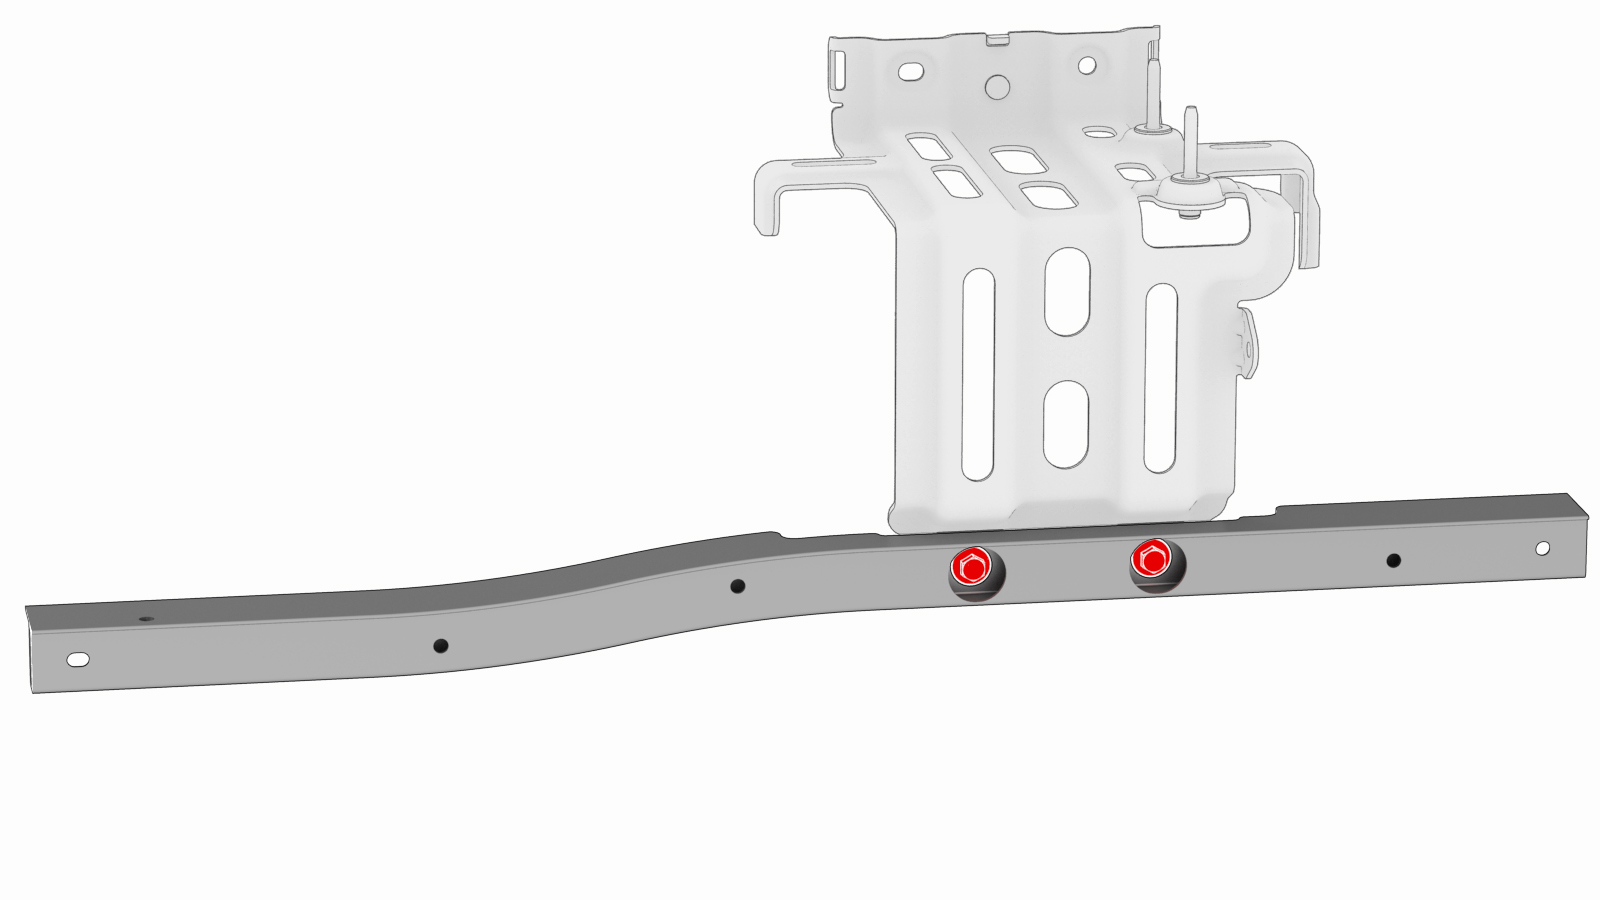
| 1 | Remove the 2nd row lower seat cushion. See Seat Cushion - Lower - 2nd Row (Remove and Replace). | ||
| 2 | Remove the rear underhood apron. See Underhood Apron - Rear (Remove and Replace). | ||
| 3 | Remove the cabin intake duct. See Duct - Cabin Intake (Remove and Replace). | ||
| 4 | Remove the underhood storage unit. See Underhood Storage Unit (Remove and Replace). | ||
| 5 | Remove the LH and RH wiper arms. See Wiper Arms (Remove and Replace). | ||
| 6 | Remove the LH and RH shock tower covers. See Cover - Shock Tower - LH (Remove and Replace). | ||
| 7 | Remove the cowl screen panel. See Panel - Cowl Screen (Remove and Replace). | ||
| 8 | Disconnect 12V power. See 12V Power (Disconnect and Connect). | ||
| 9 | Remove the 12V auxiliary battery. See Battery - 12V (Remove and Replace). | ||
| 10 | Remove the front body controller module. See Module - Body Controller - Front (Dual Motor) (Remove and Replace). | ||
| 11 | Release the clips that attach the coolant hoses and electrical harnesses to the 12V battery beam. | |
| 12 | Remove the bolts that attach the 12V battery beam to the vehicle. Torque 9 Nm | |
| 13 | Remove the 12V battery bracket and 12V battery beam from the vehicle. Note: Carefully slide the beam toward the RH side of the vehicle, and then lift the LH side of the beam to remove the assembly.
| |
| 14 | Remove the bolts that attach the 12V battery beam to the 12V battery bracket, and then set the beam aside. Torque 9 Nm |
Install
Installation procedure is the reverse of removal, except for the following:
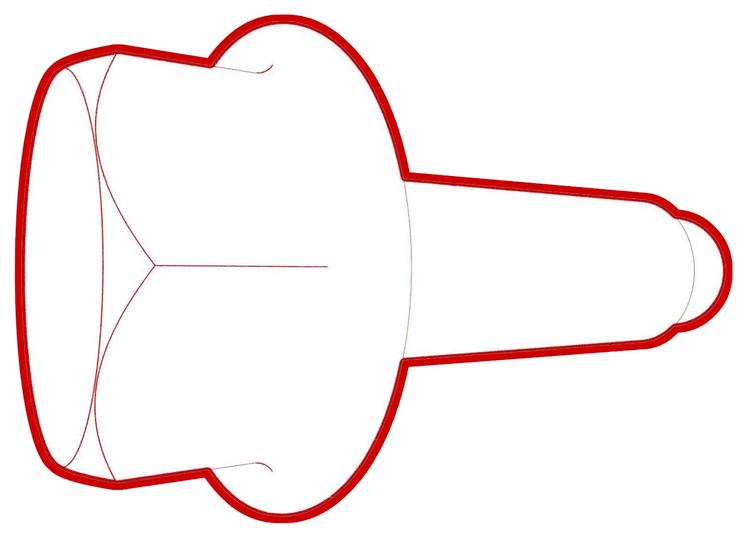
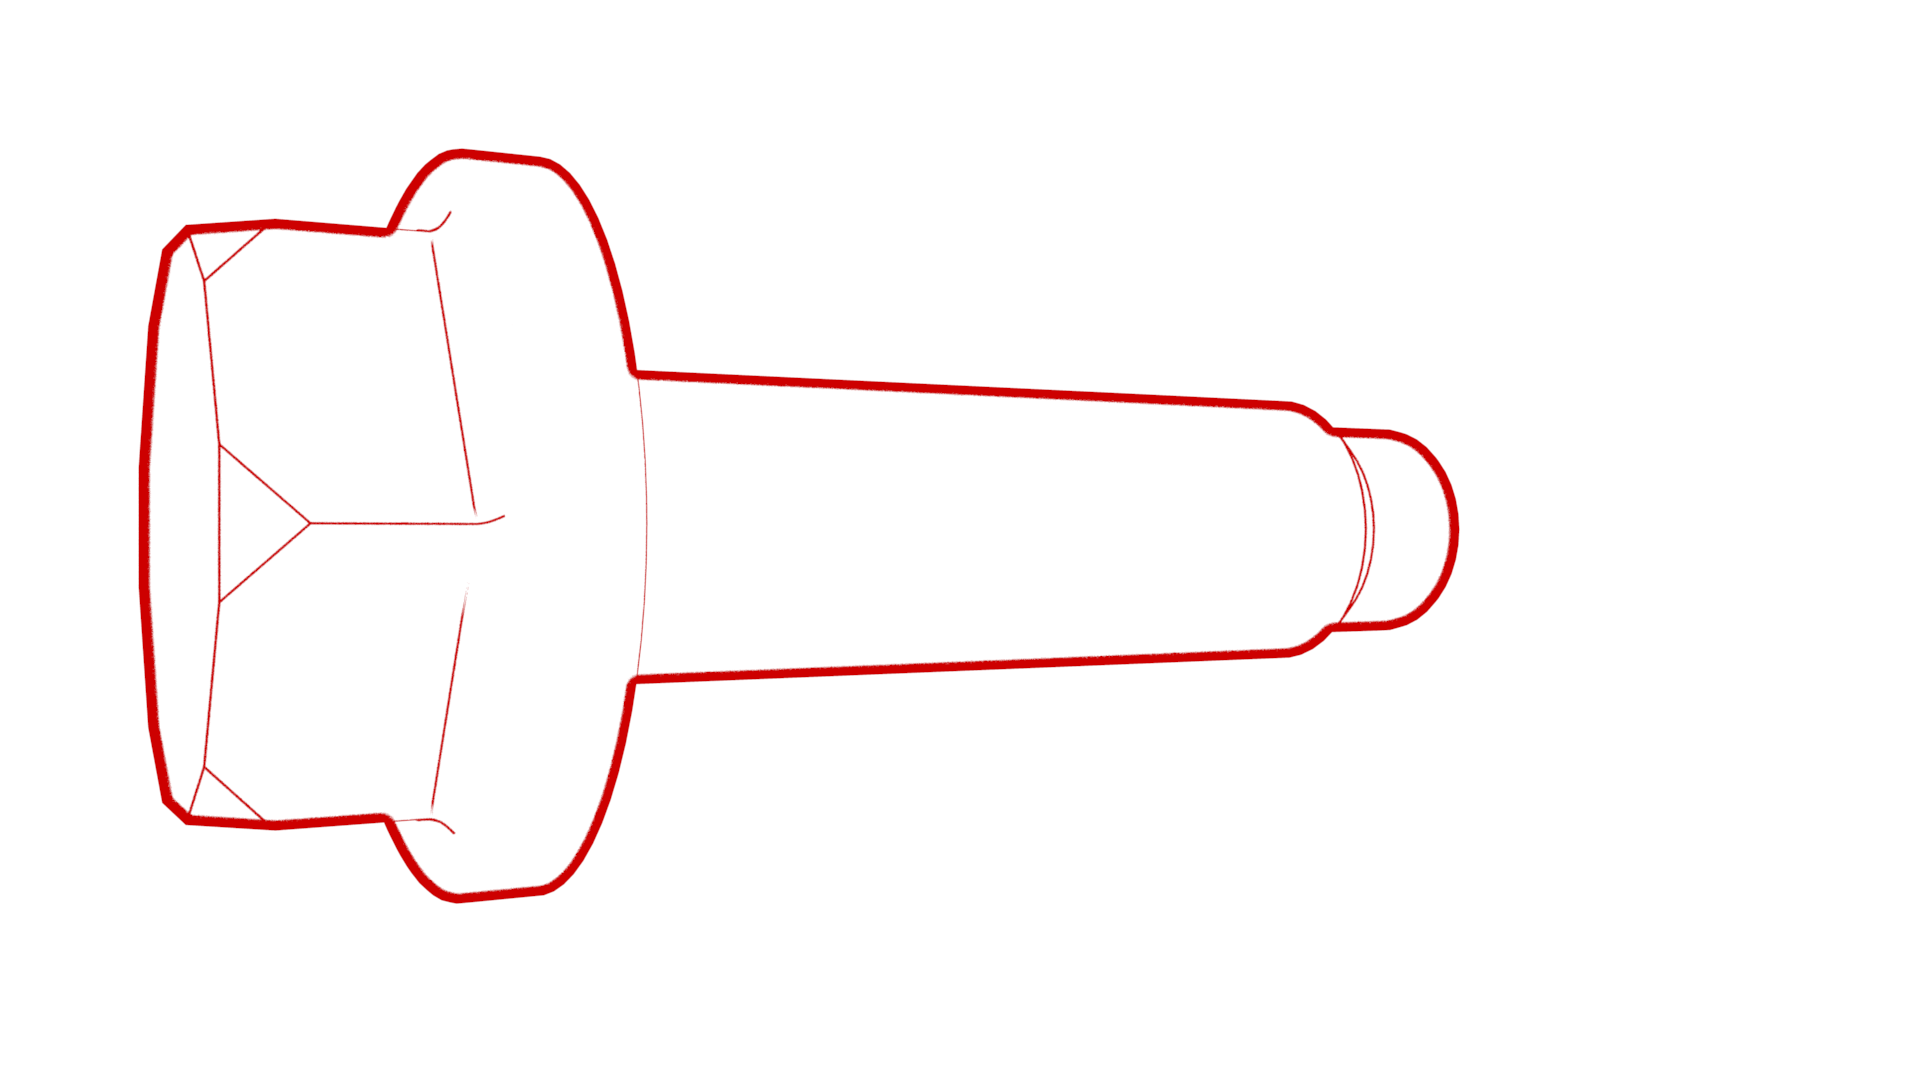
- Replace all nyloc nuts.
- Replace all patchbolts.