Brake Lines - Master Cylinder to ABS (Remove and Replace)
Correction code 3303400233034002
 1079041-00-A
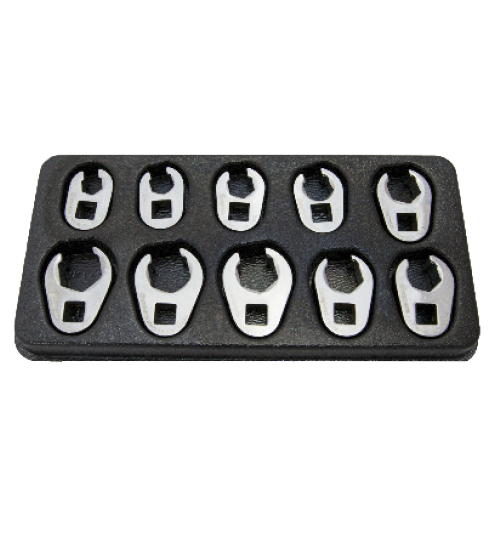
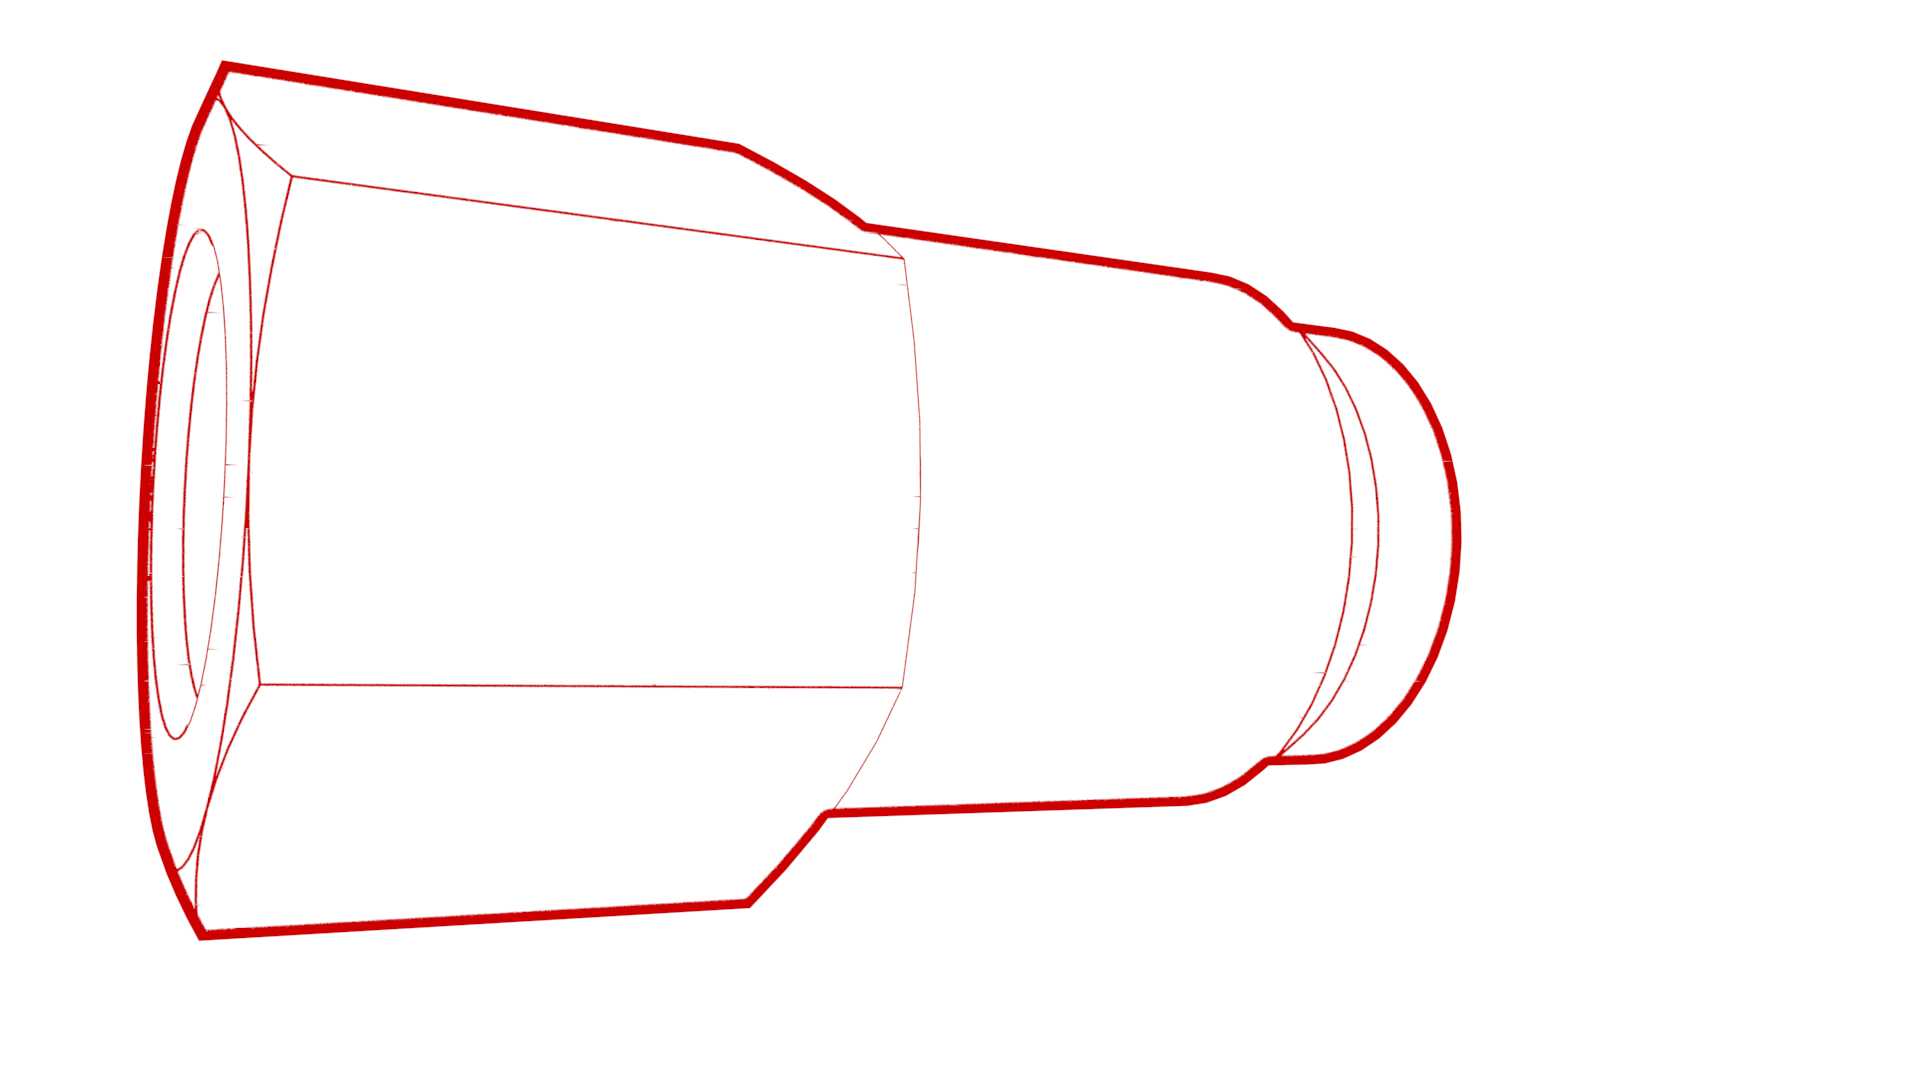
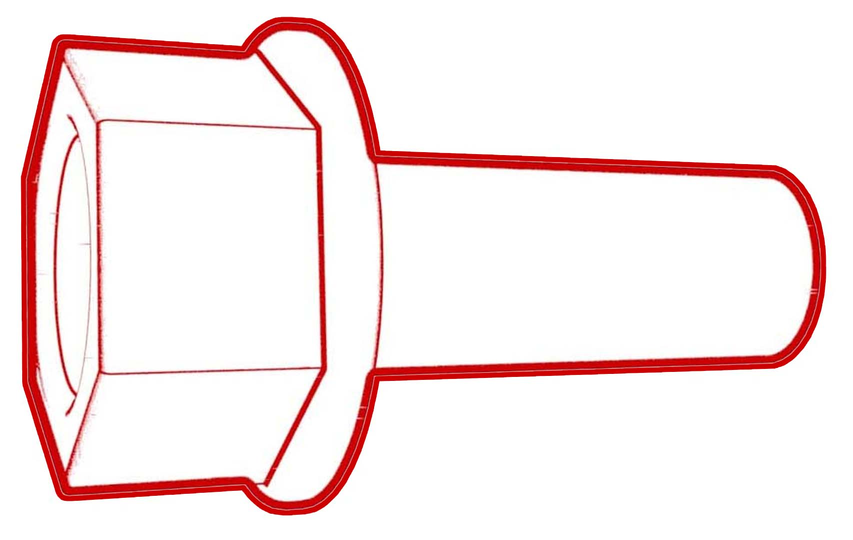
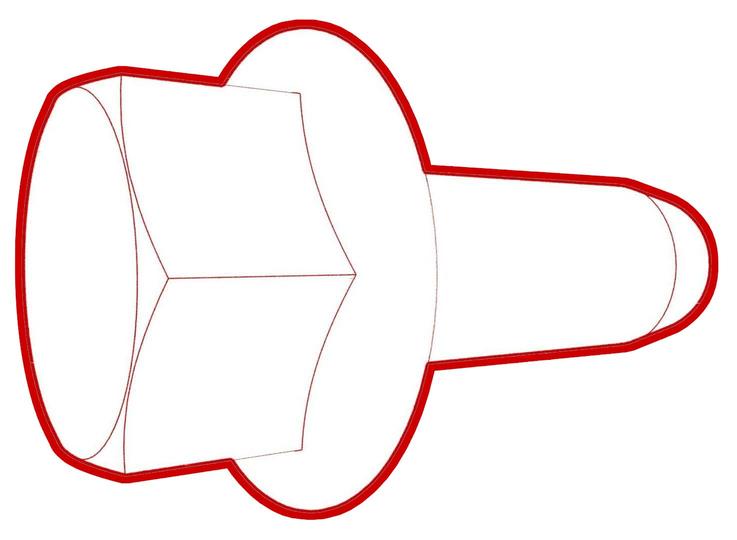
Flare nut crowfoot set
1079041-00-A
Flare nut crowfoot set
SPECIAL TOOLS
Flare nut crowfoot set (1079041-00-A) |
Remove

Caution:
Brake fluid dissolves paint. Have clean towels and plenty of water standing by to wash spilled brake fluid off painted surfaces.
Note:
Dispose of used brake fluid in a manner consistent with local environmental codes.
-
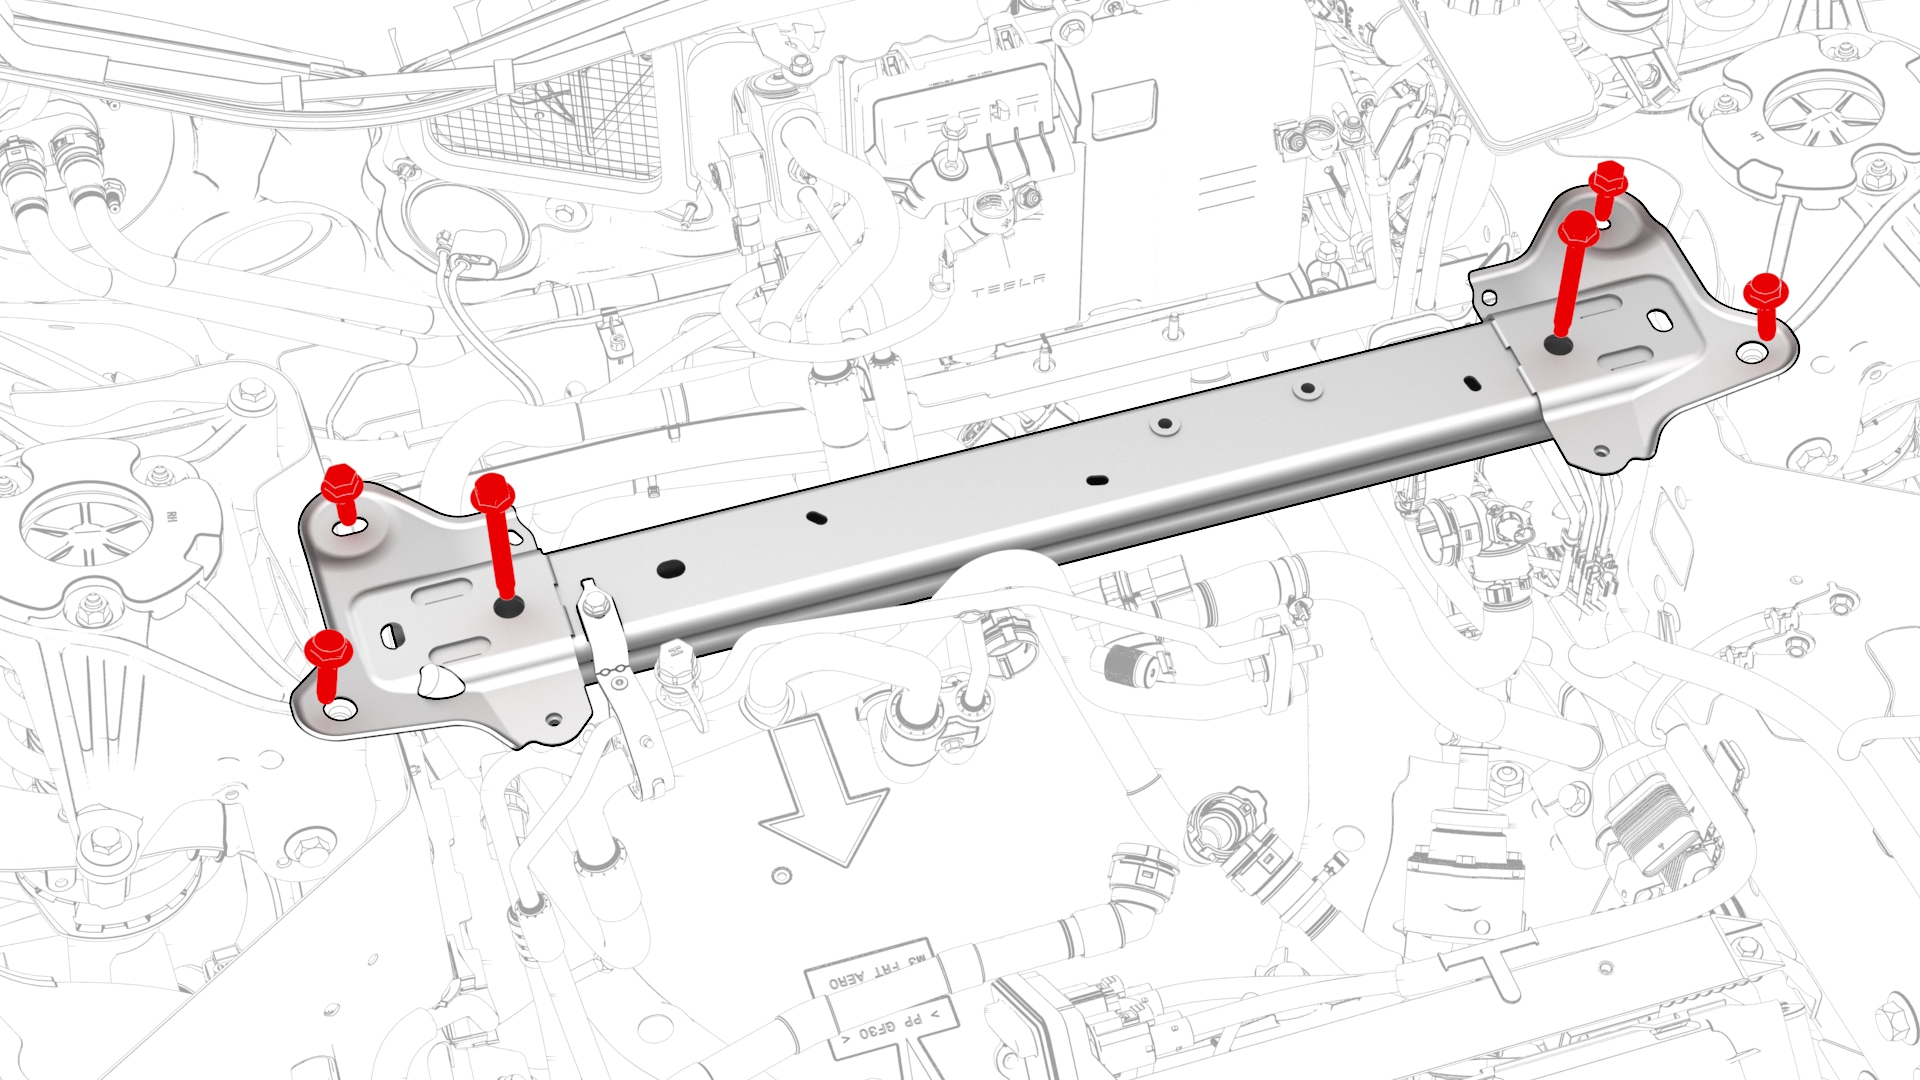
Remove the bolts that attach the shock tower brace to the body, and slide the LH side of the brace forward to allow access to the ABS unit fittings.
-
Disconnect the electrical harness from the ABS unit connector.
-
Release the clips (x3) that attach the LH front electrical harness to the LH front frame rail.
-
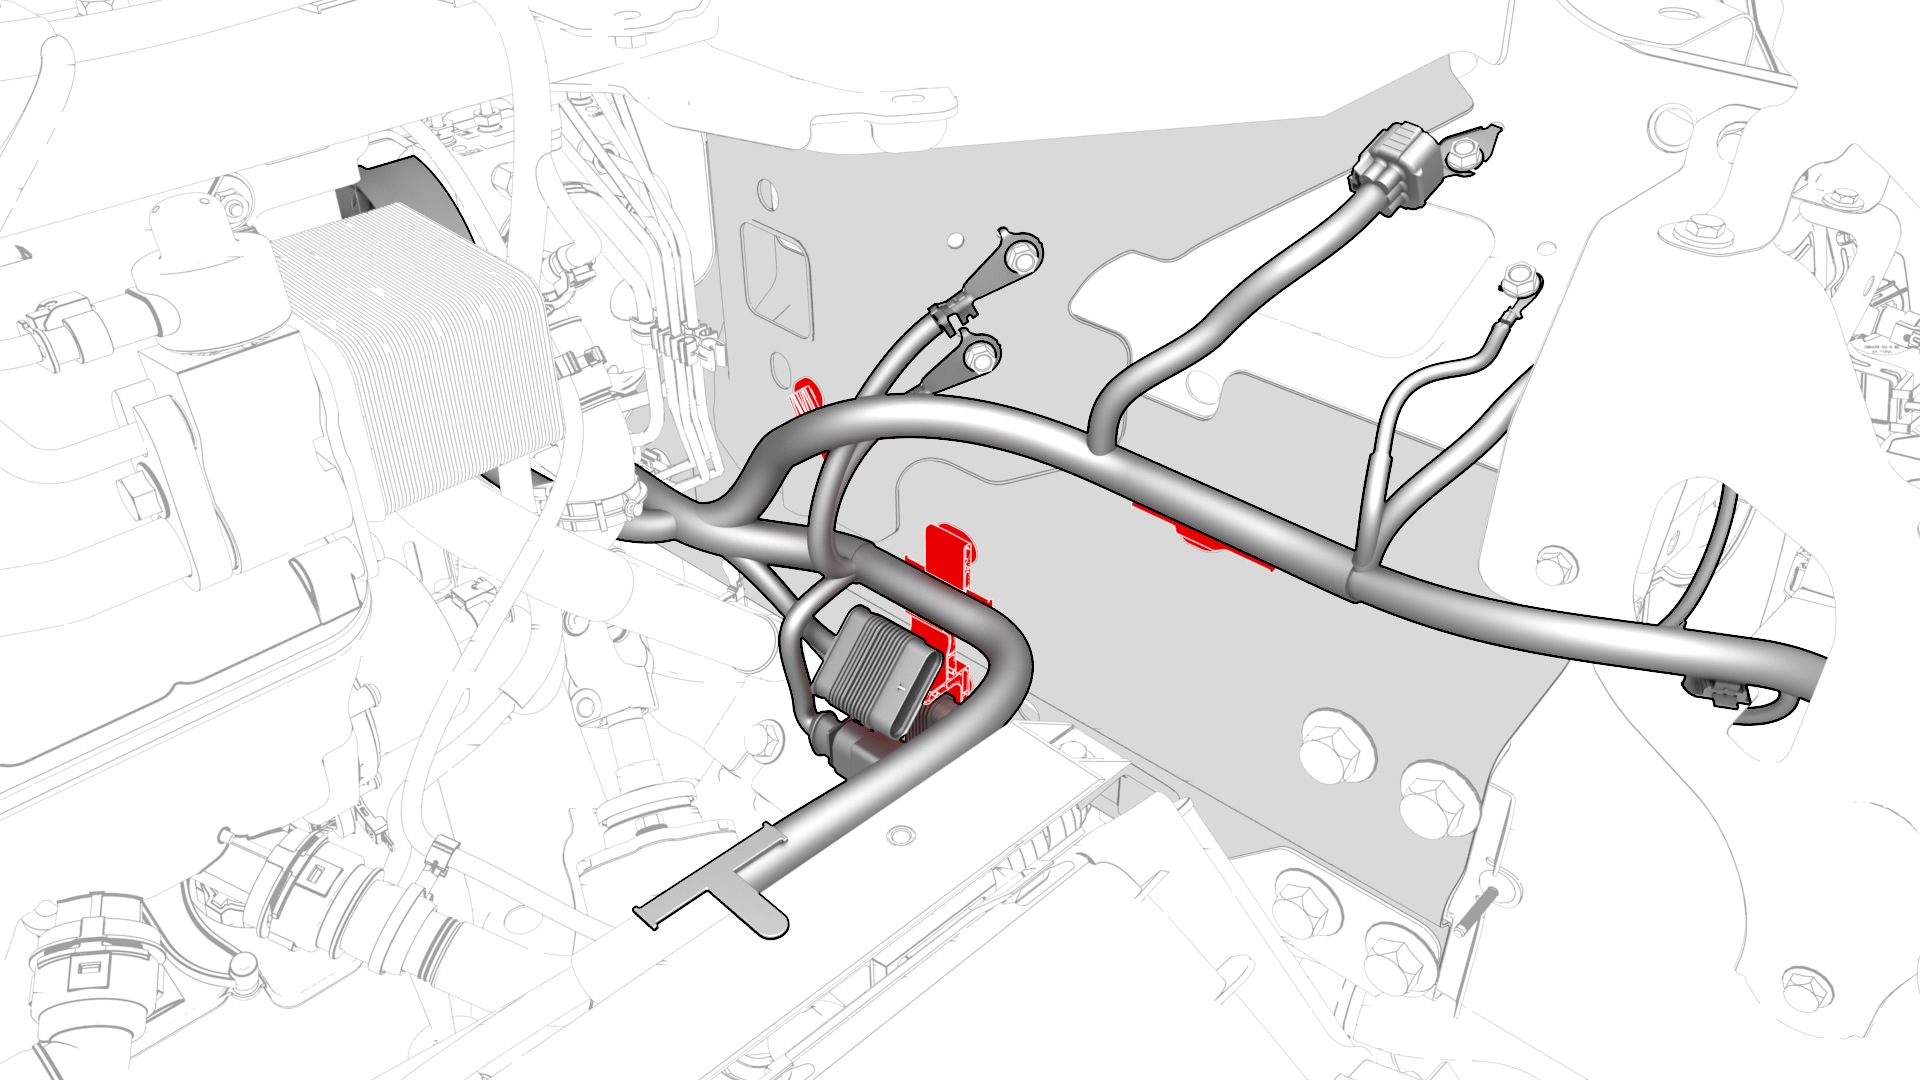
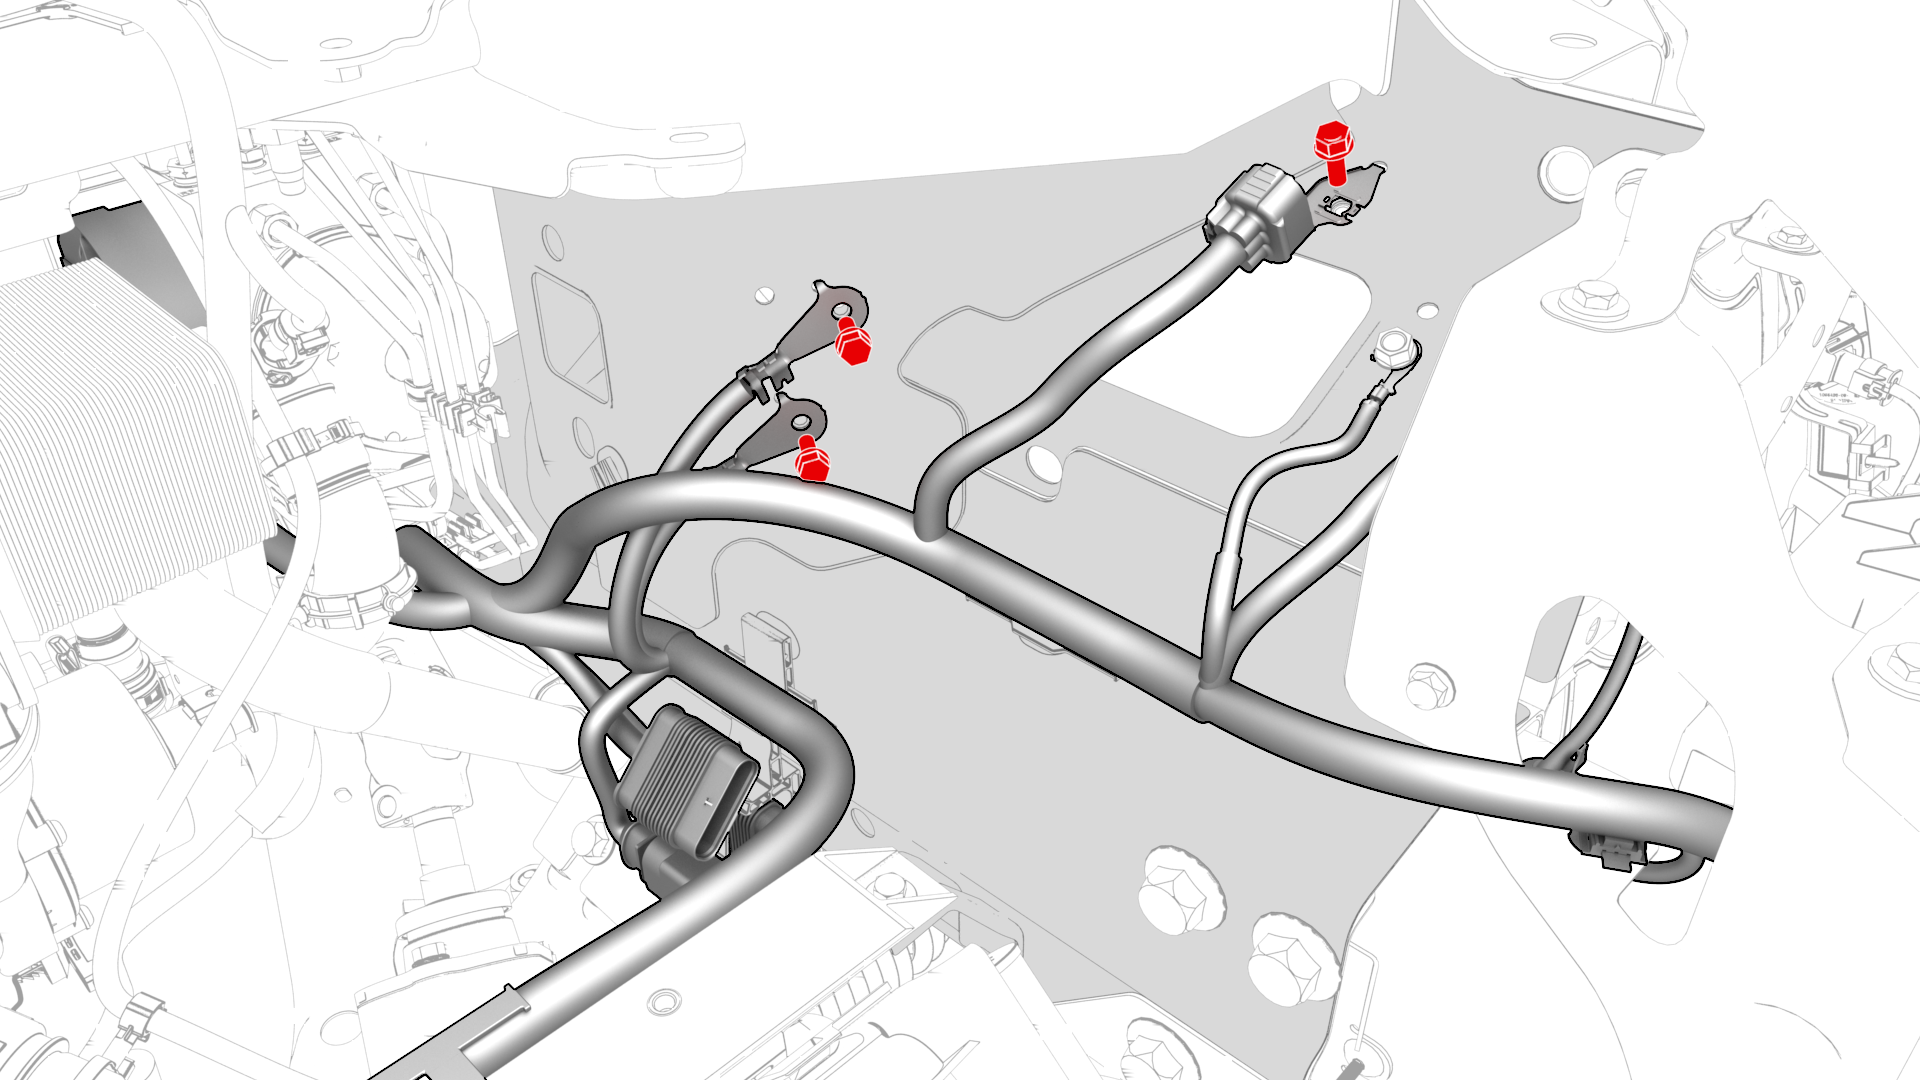
Remove and discard the bolts (x3) that attach the LH front electrical harness ground straps to the LH shock tower, and then move the electrical harness aside.
-
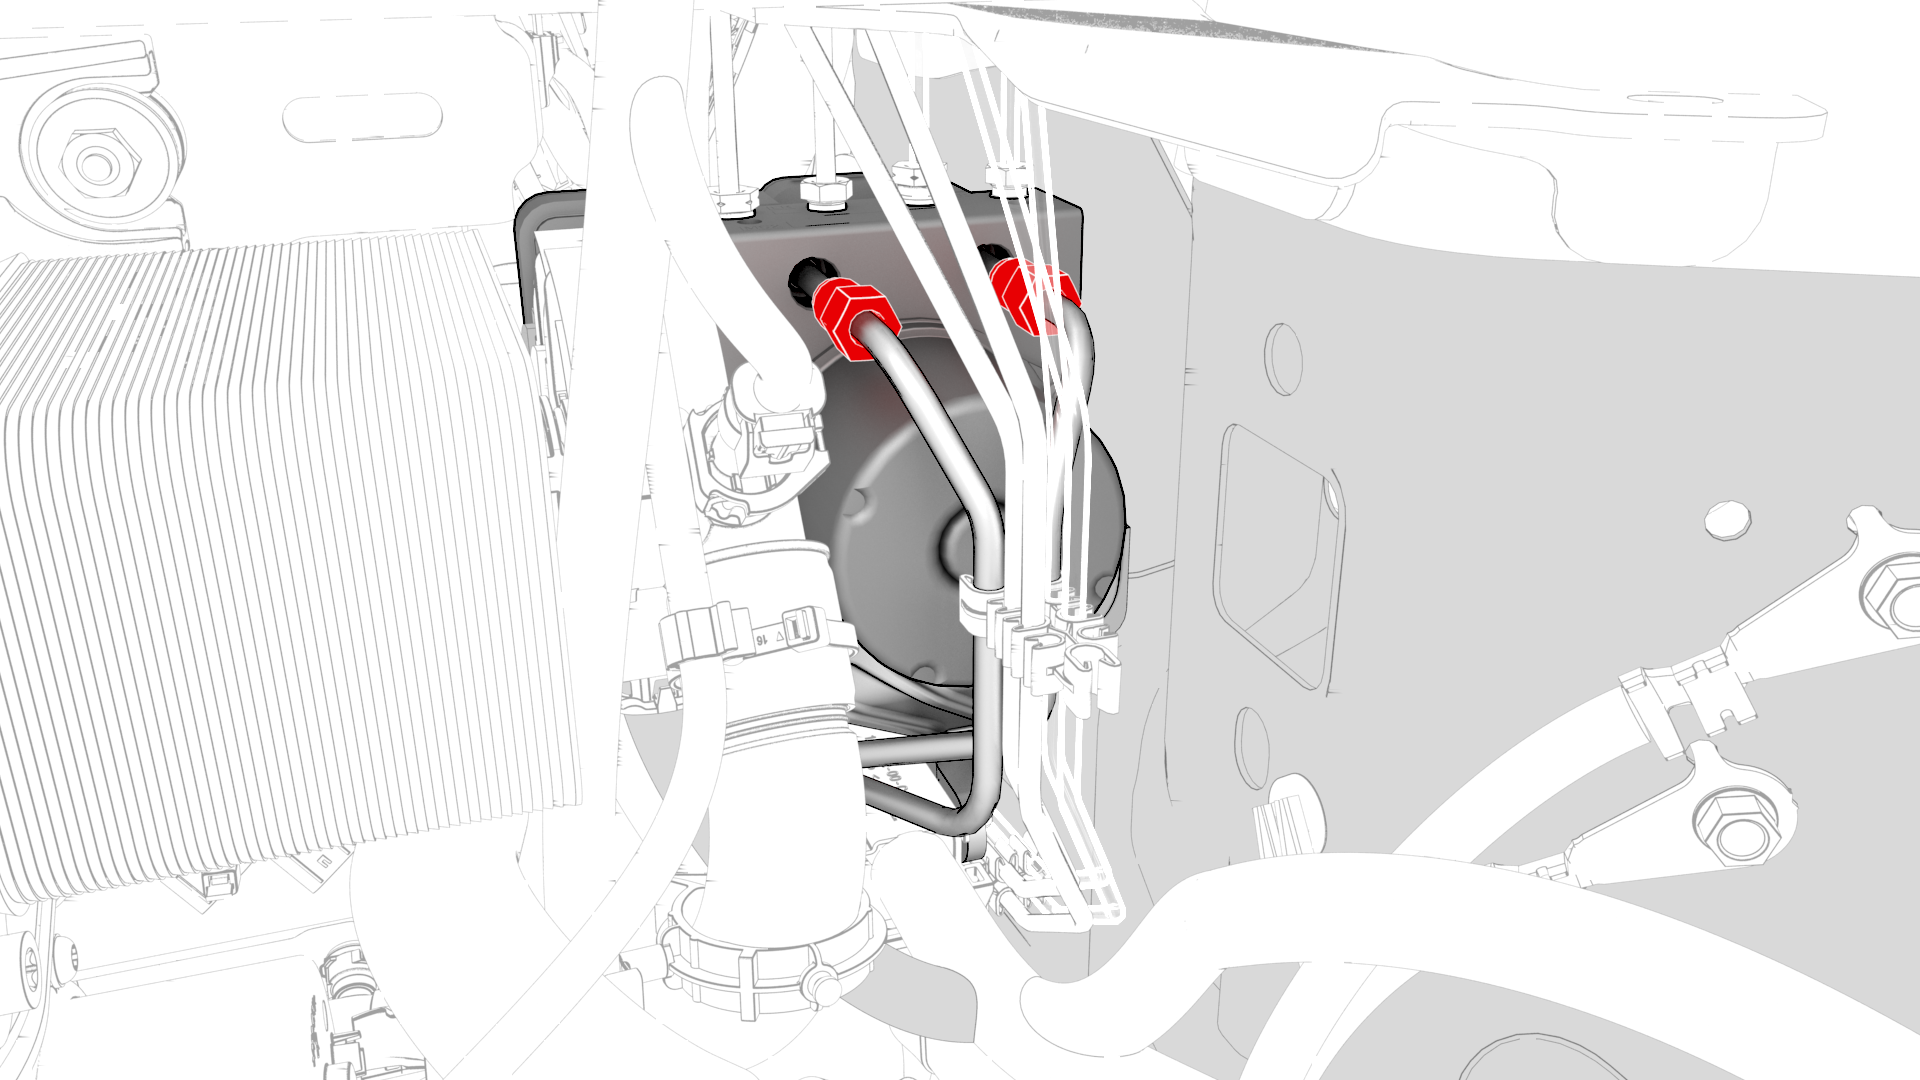
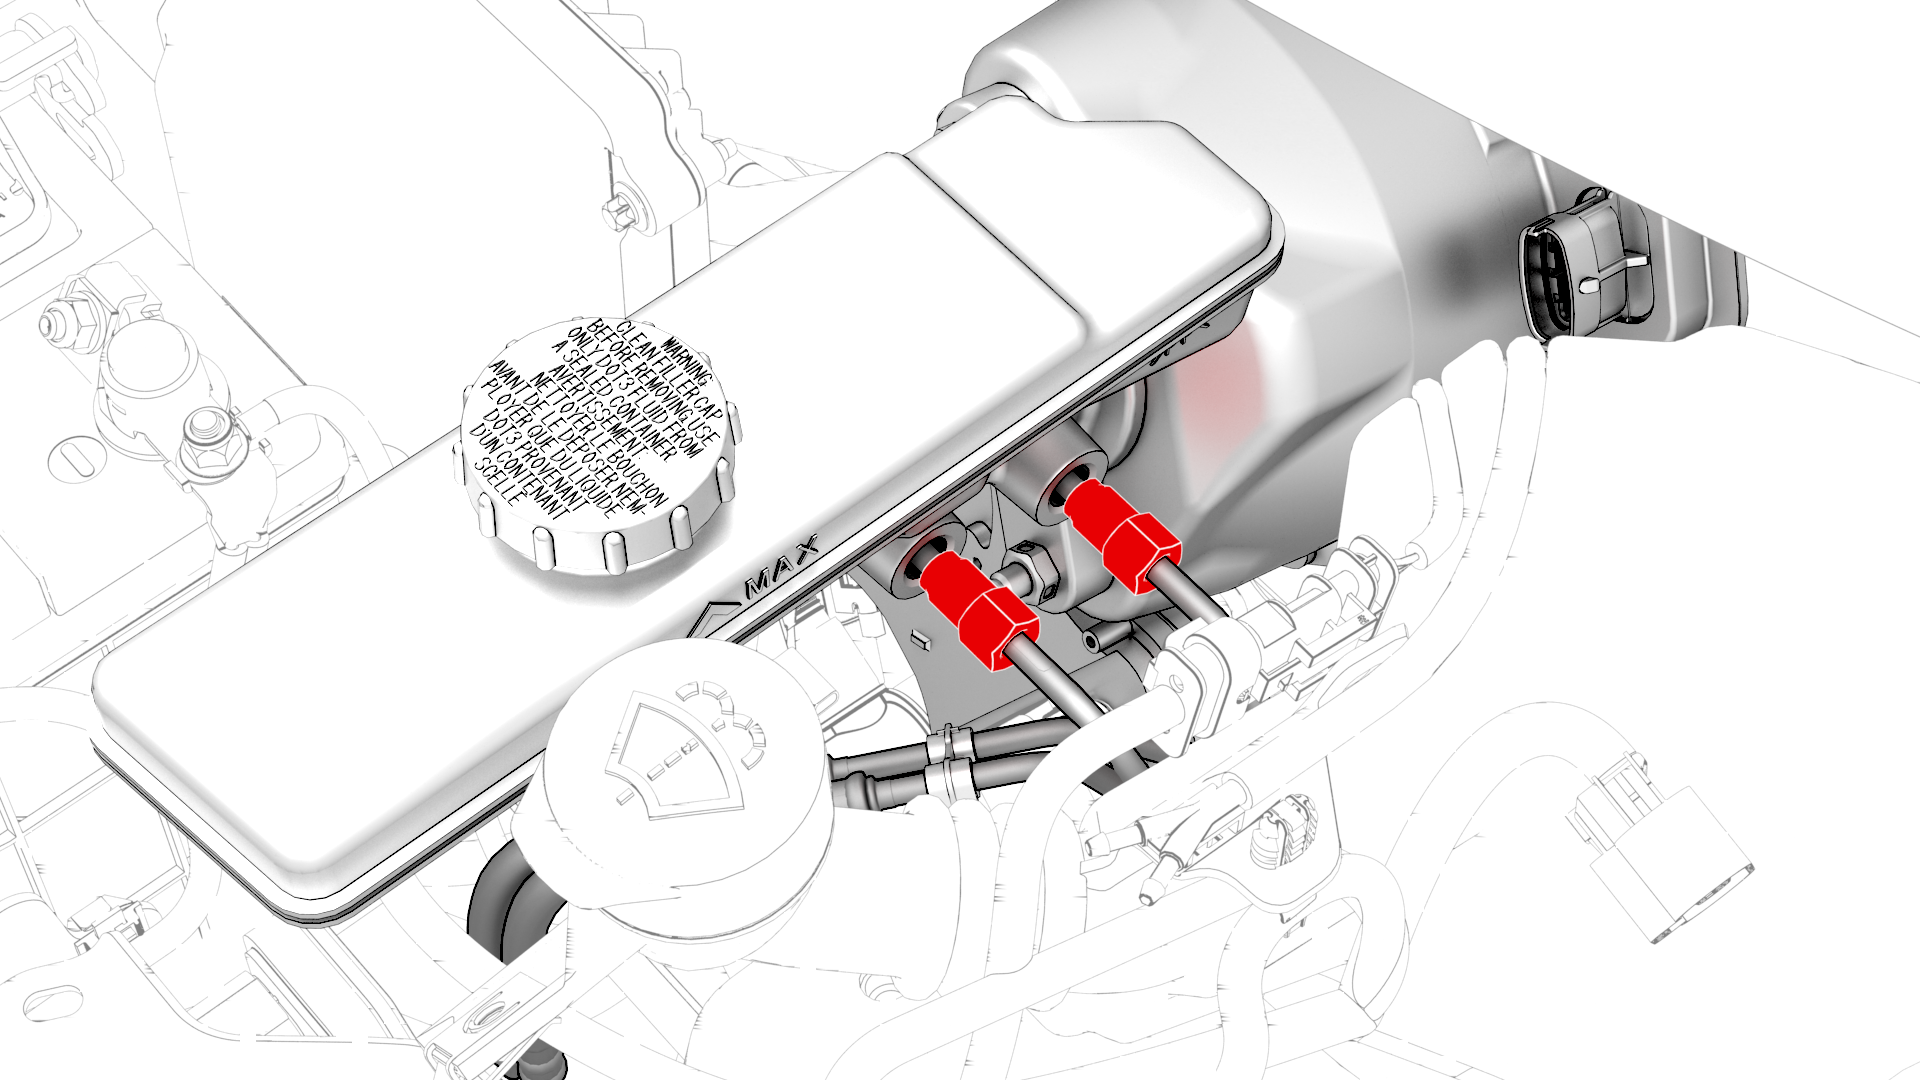
Remove the brake line tube nuts from the ABS unit, and allow the fluid to drain.
-
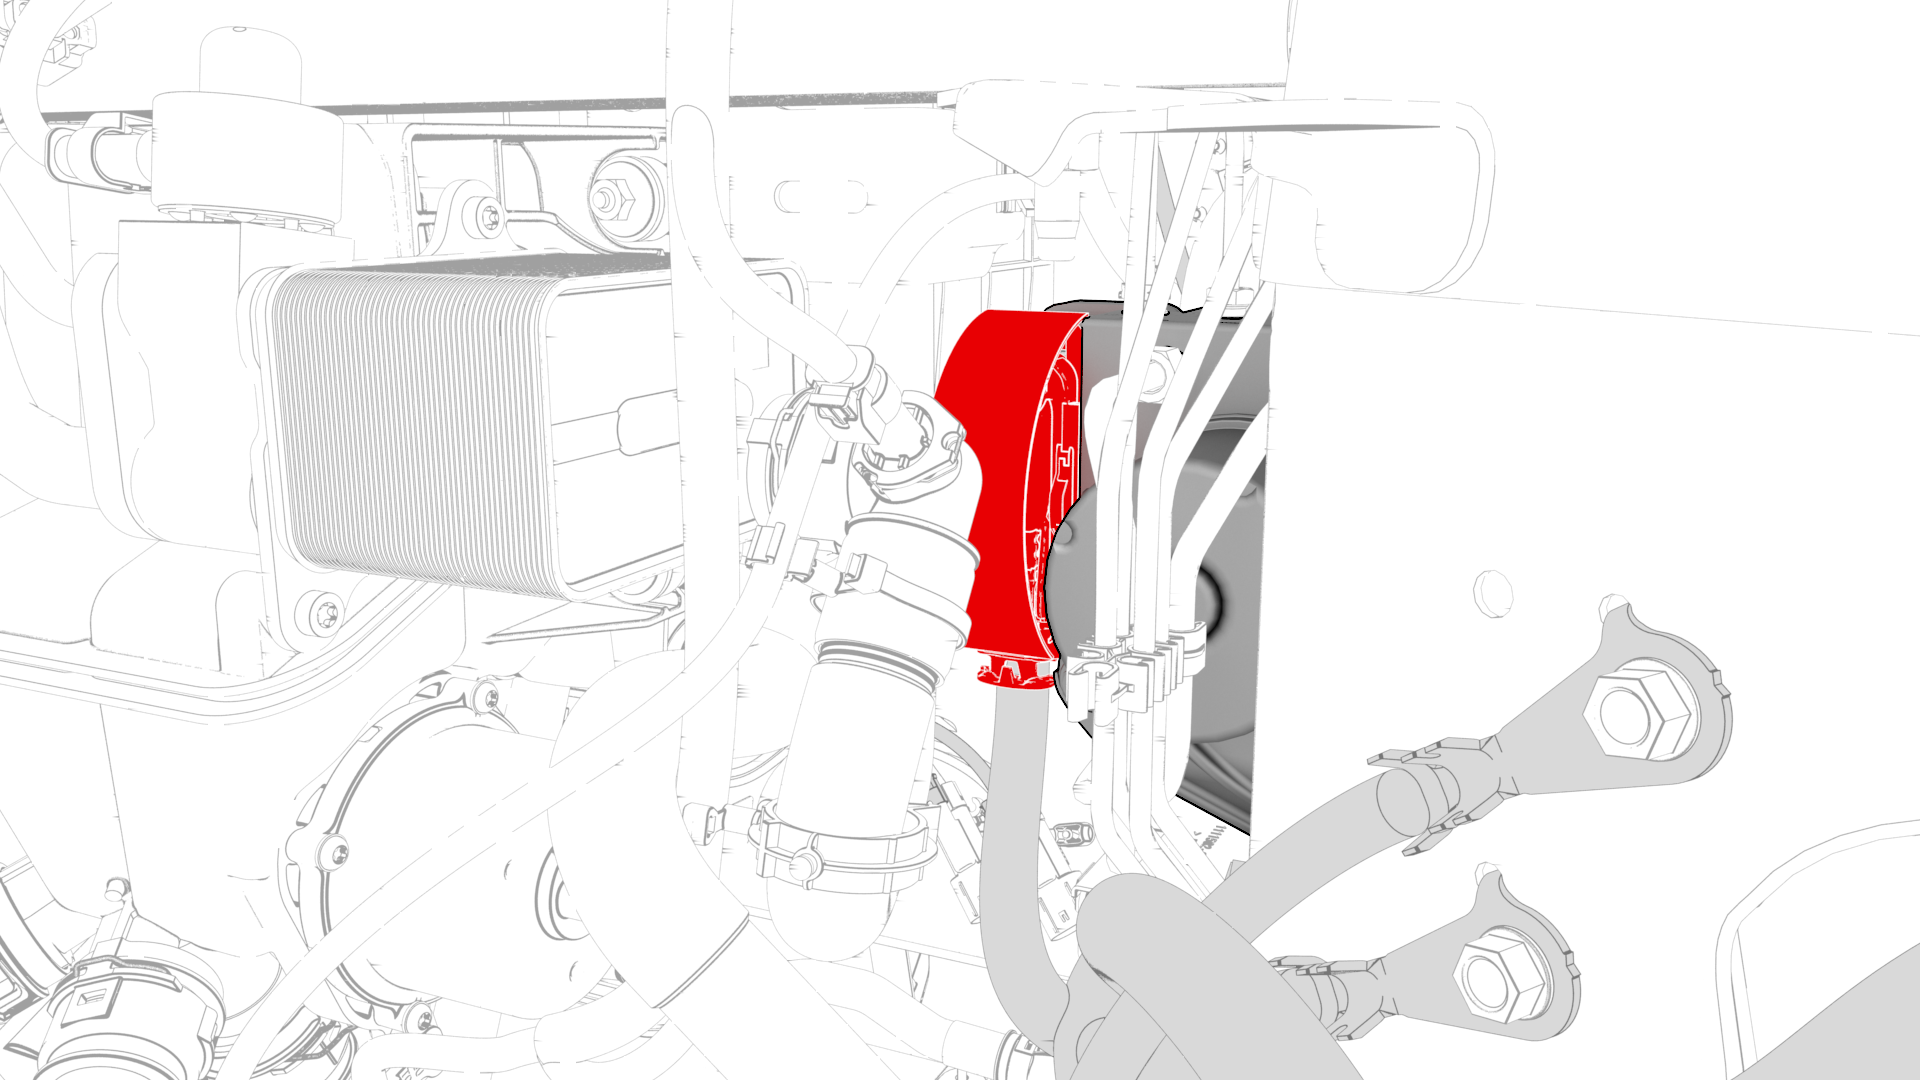
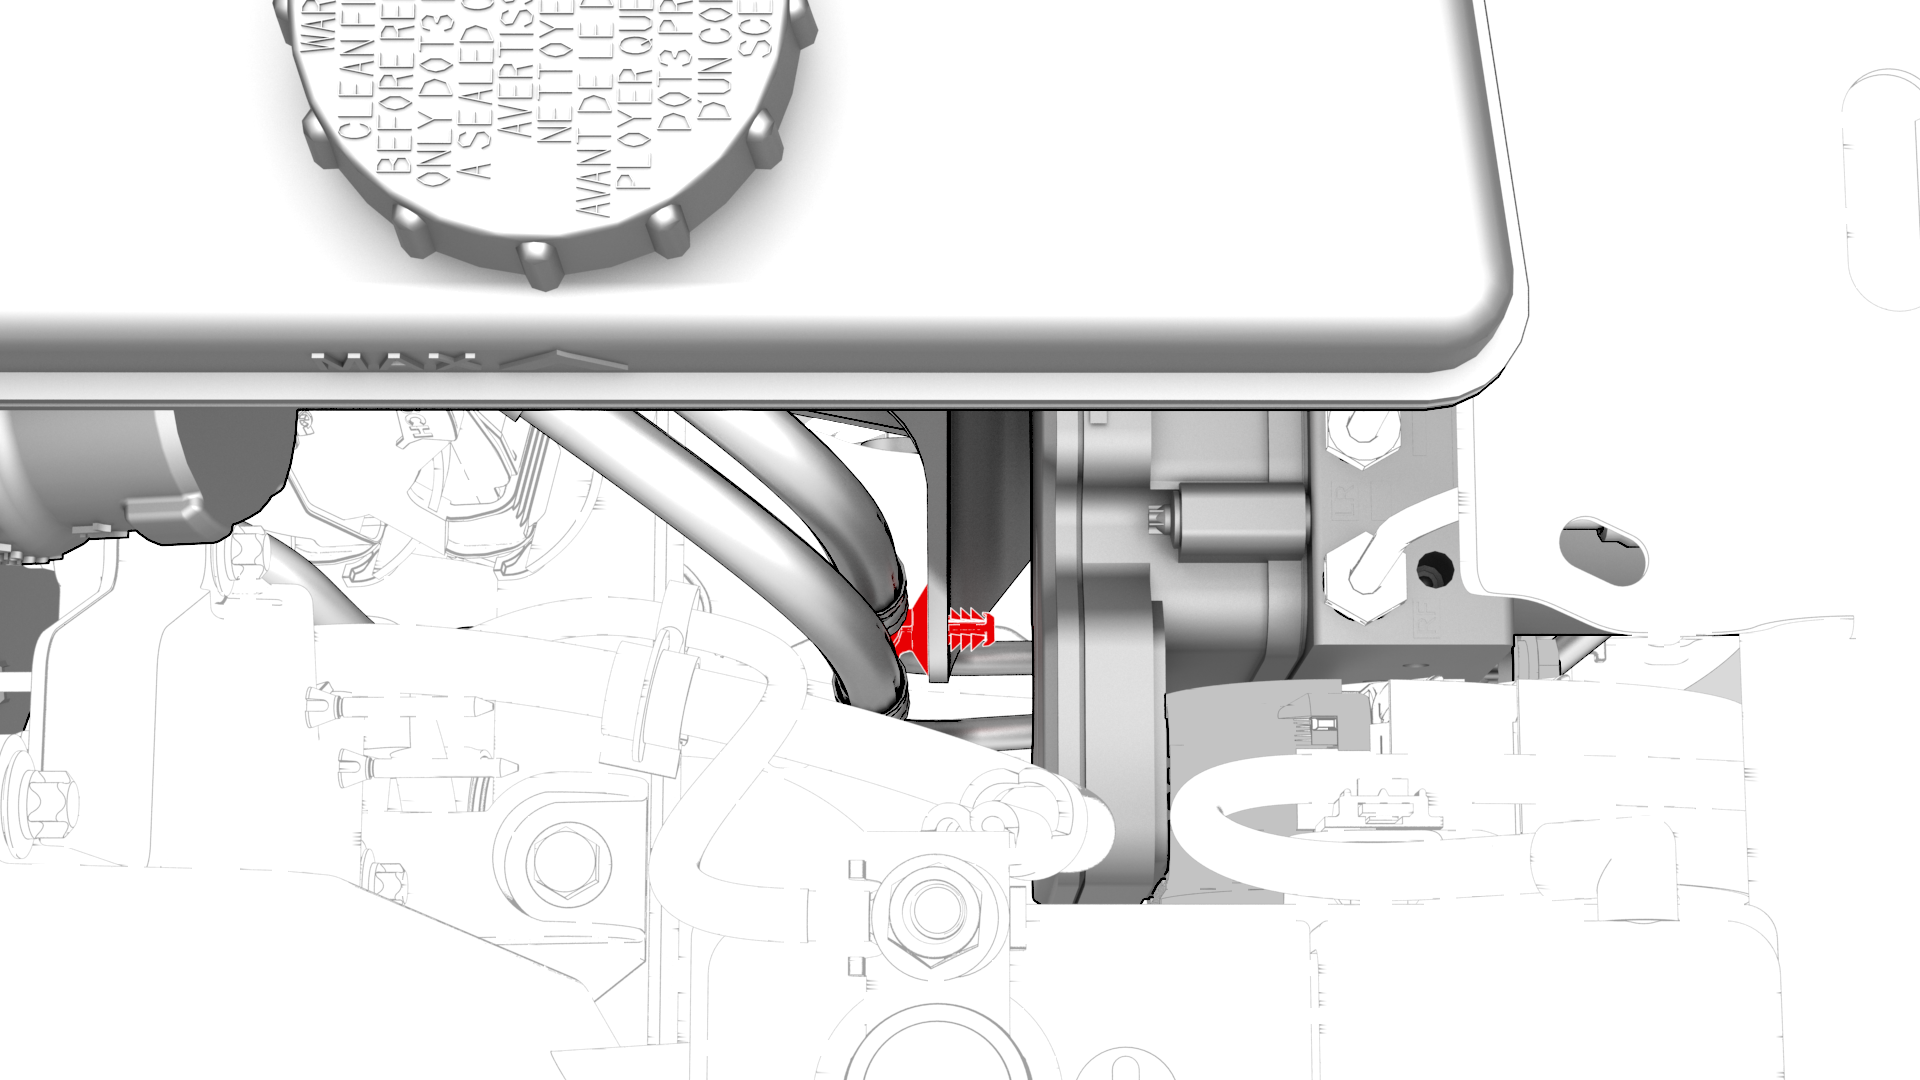
Release the clip that attaches the brake lines to the ABS unit.

-
Release the clip that attaches the electrical harness to the brake line at the master cylinder.
-
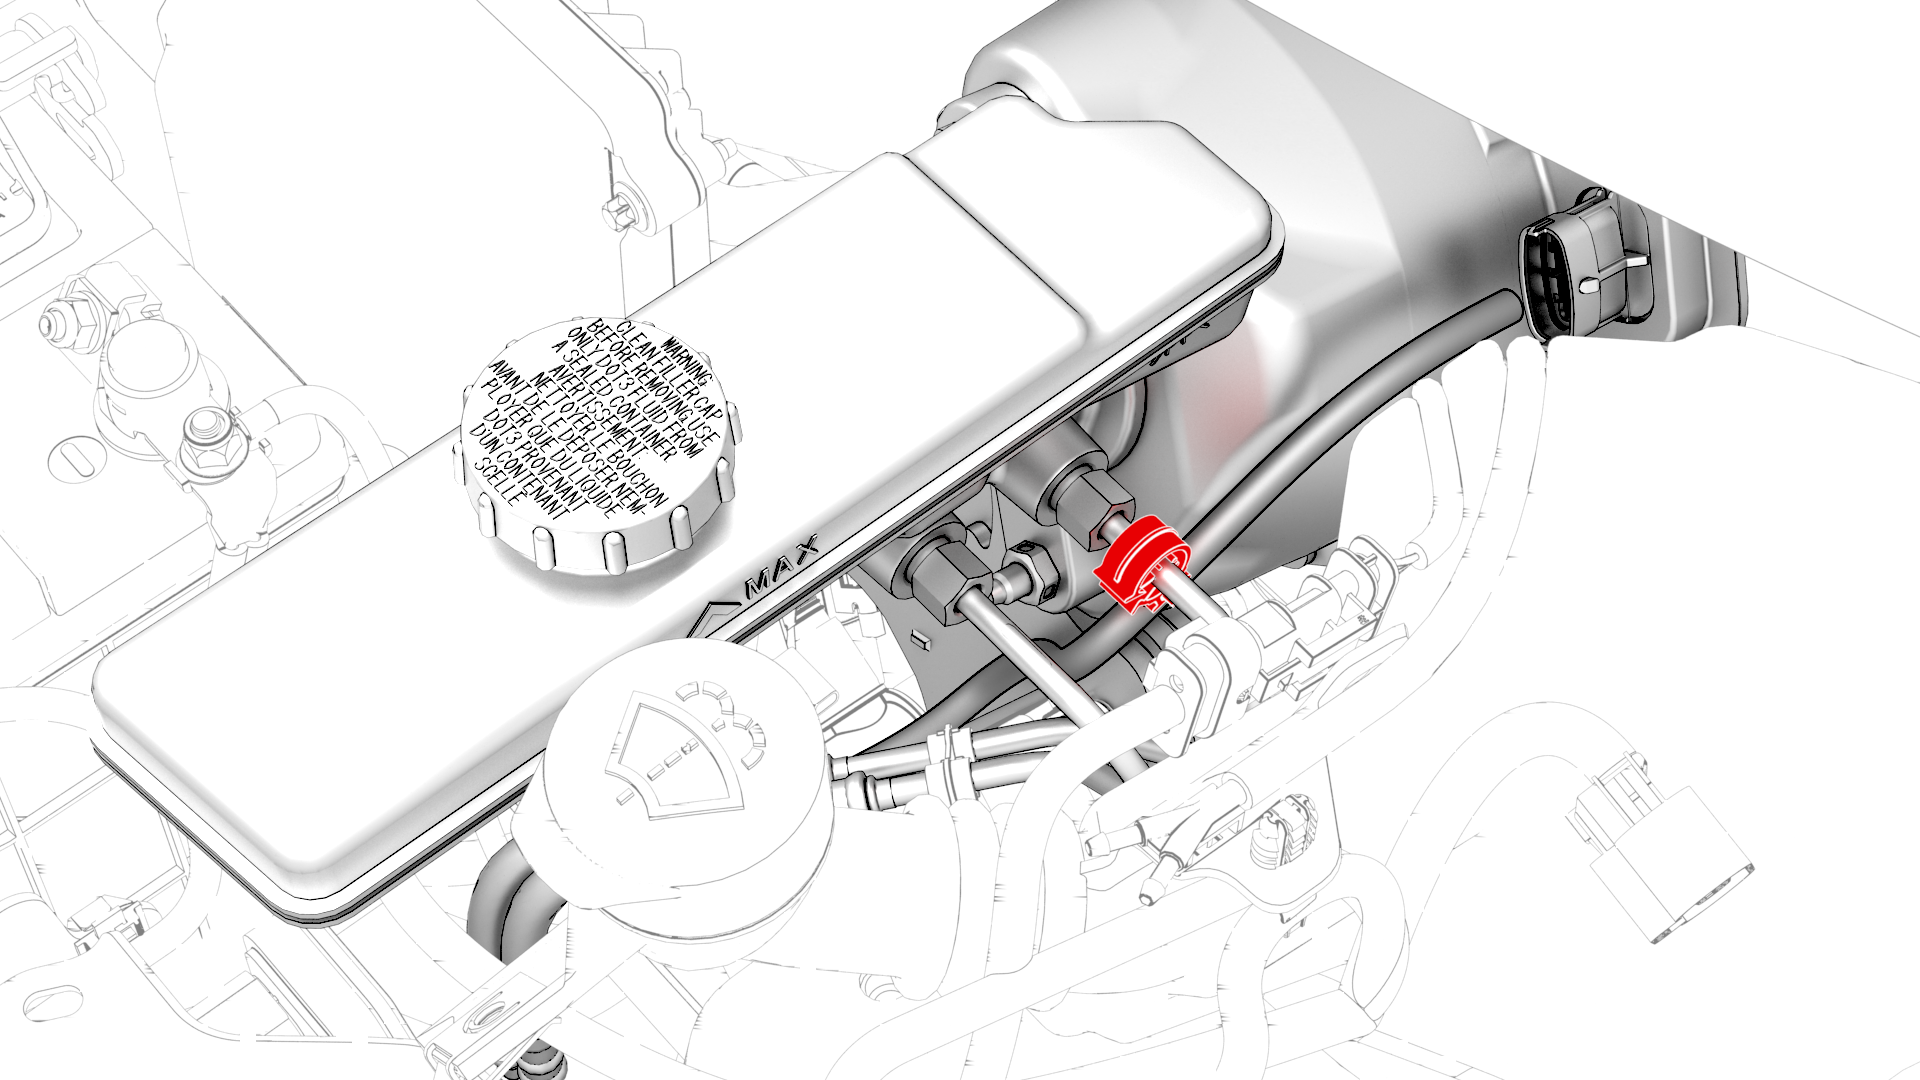
Remove the brake line tube nuts from the master cylinder, and allow the fluid to drain.
-
Release the clips that attach the brake lines to the body.
-
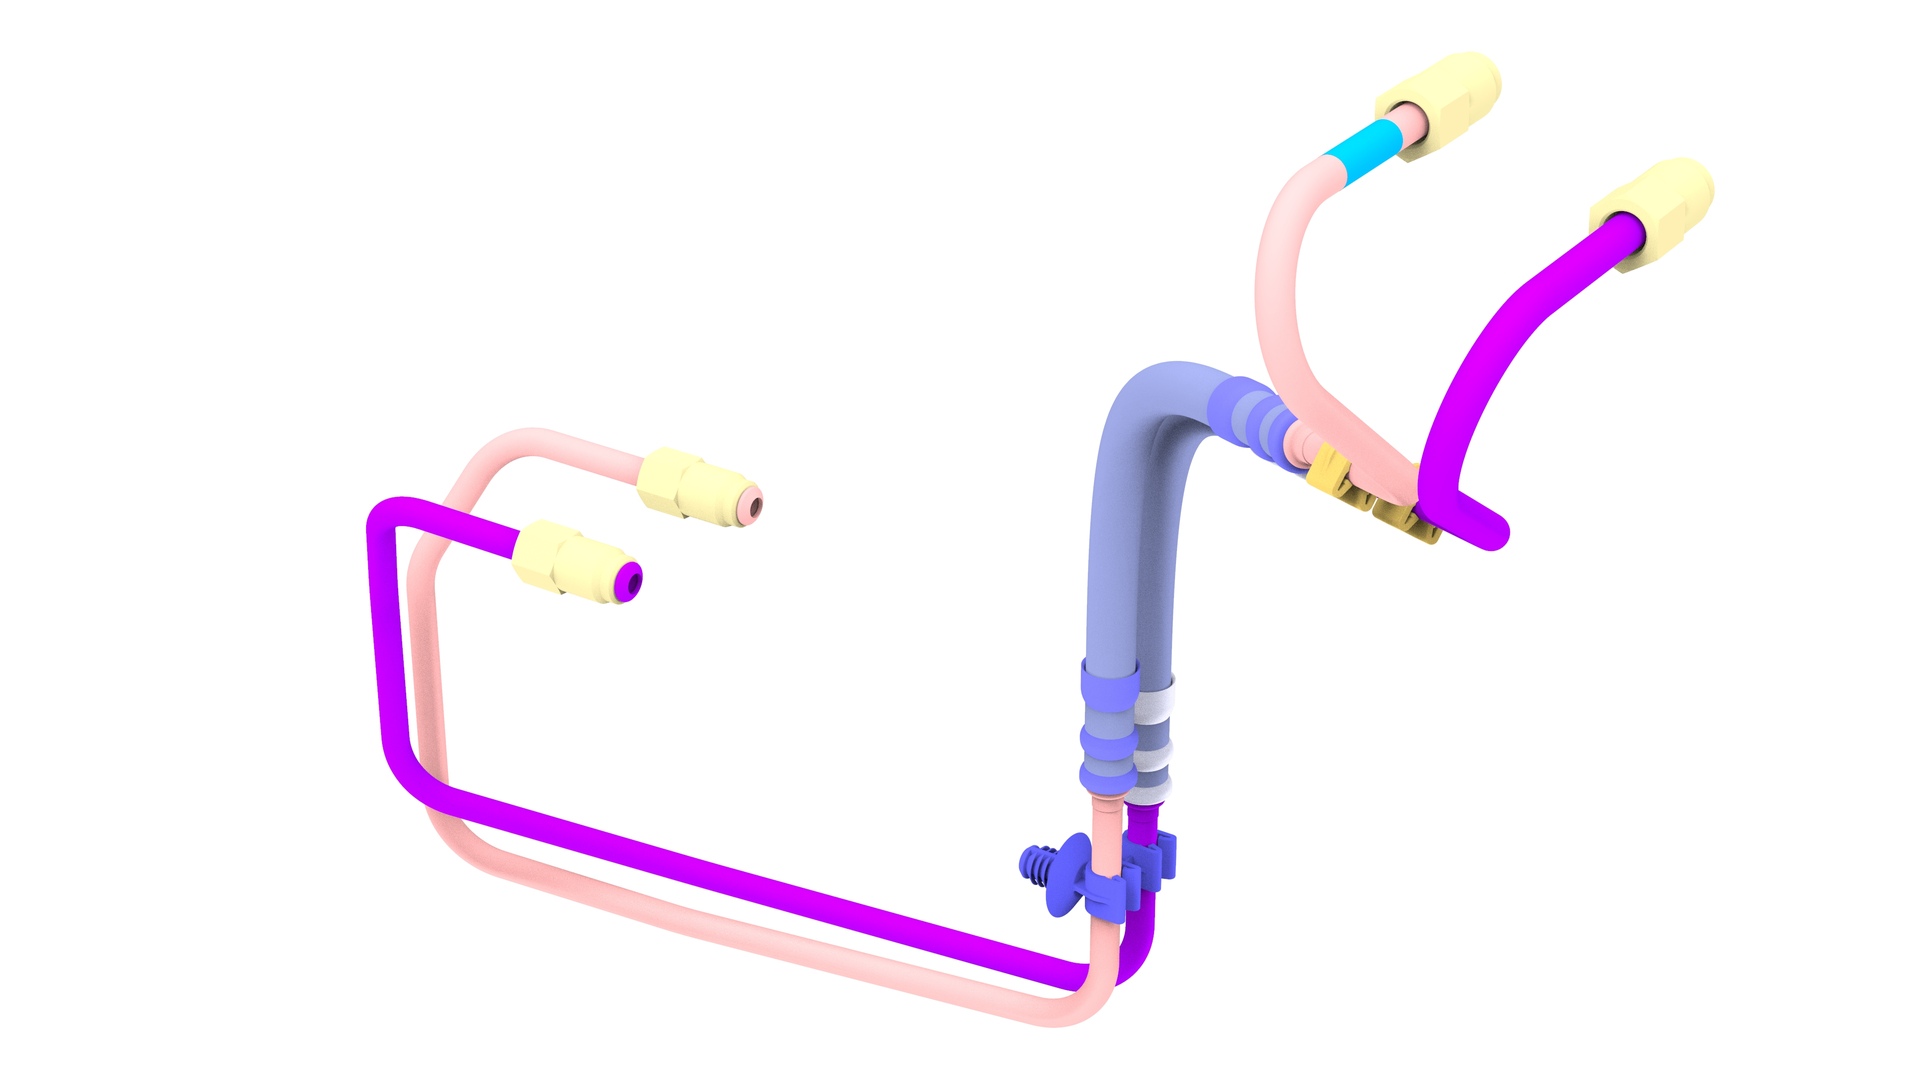
Remove the brake lines from the vehicle.
| 1 | Remove the cowl screen panel. See Panel - Cowl Screen (Remove and Replace). | ||
| 2 | Remove the battery bracket. See Bracket - 12V Battery (RWD) (Remove and Replace). | ||
| 3 | Remove the bolts that attach the shock tower brace to the body, and slide the LH side of the brace forward to allow access to the ABS unit fittings. | |
| 4 | Disconnect the electrical harness from the ABS unit connector. | |
| 5 | Release the clips (x3) that attach the LH front electrical harness to the LH front frame rail. | |
| 6 | Remove and discard the bolts (x3) that attach the LH front electrical harness ground straps to the LH shock tower, and then move the electrical harness aside. | |
| 7 | Position the oil drain under the ABS unit. | ||
| 8 | Remove the brake line tube nuts from the ABS unit, and allow the fluid to drain. | |
| 9 | Release the clip that attaches the brake lines to the ABS unit. | |
| 10 | Release the clip that attaches the electrical harness to the brake line at the master cylinder. | |
| 11 | Position the oil drain under the brake booster. | ||
| 12 | Remove the brake line tube nuts from the master cylinder, and allow the fluid to drain. | |
| 13 | Release the clips that attach the brake lines to the body. | |
| 14 | Remove the brake lines from the vehicle. |
Install
-
Fasten the clips that attach the brake lines to the body.
-
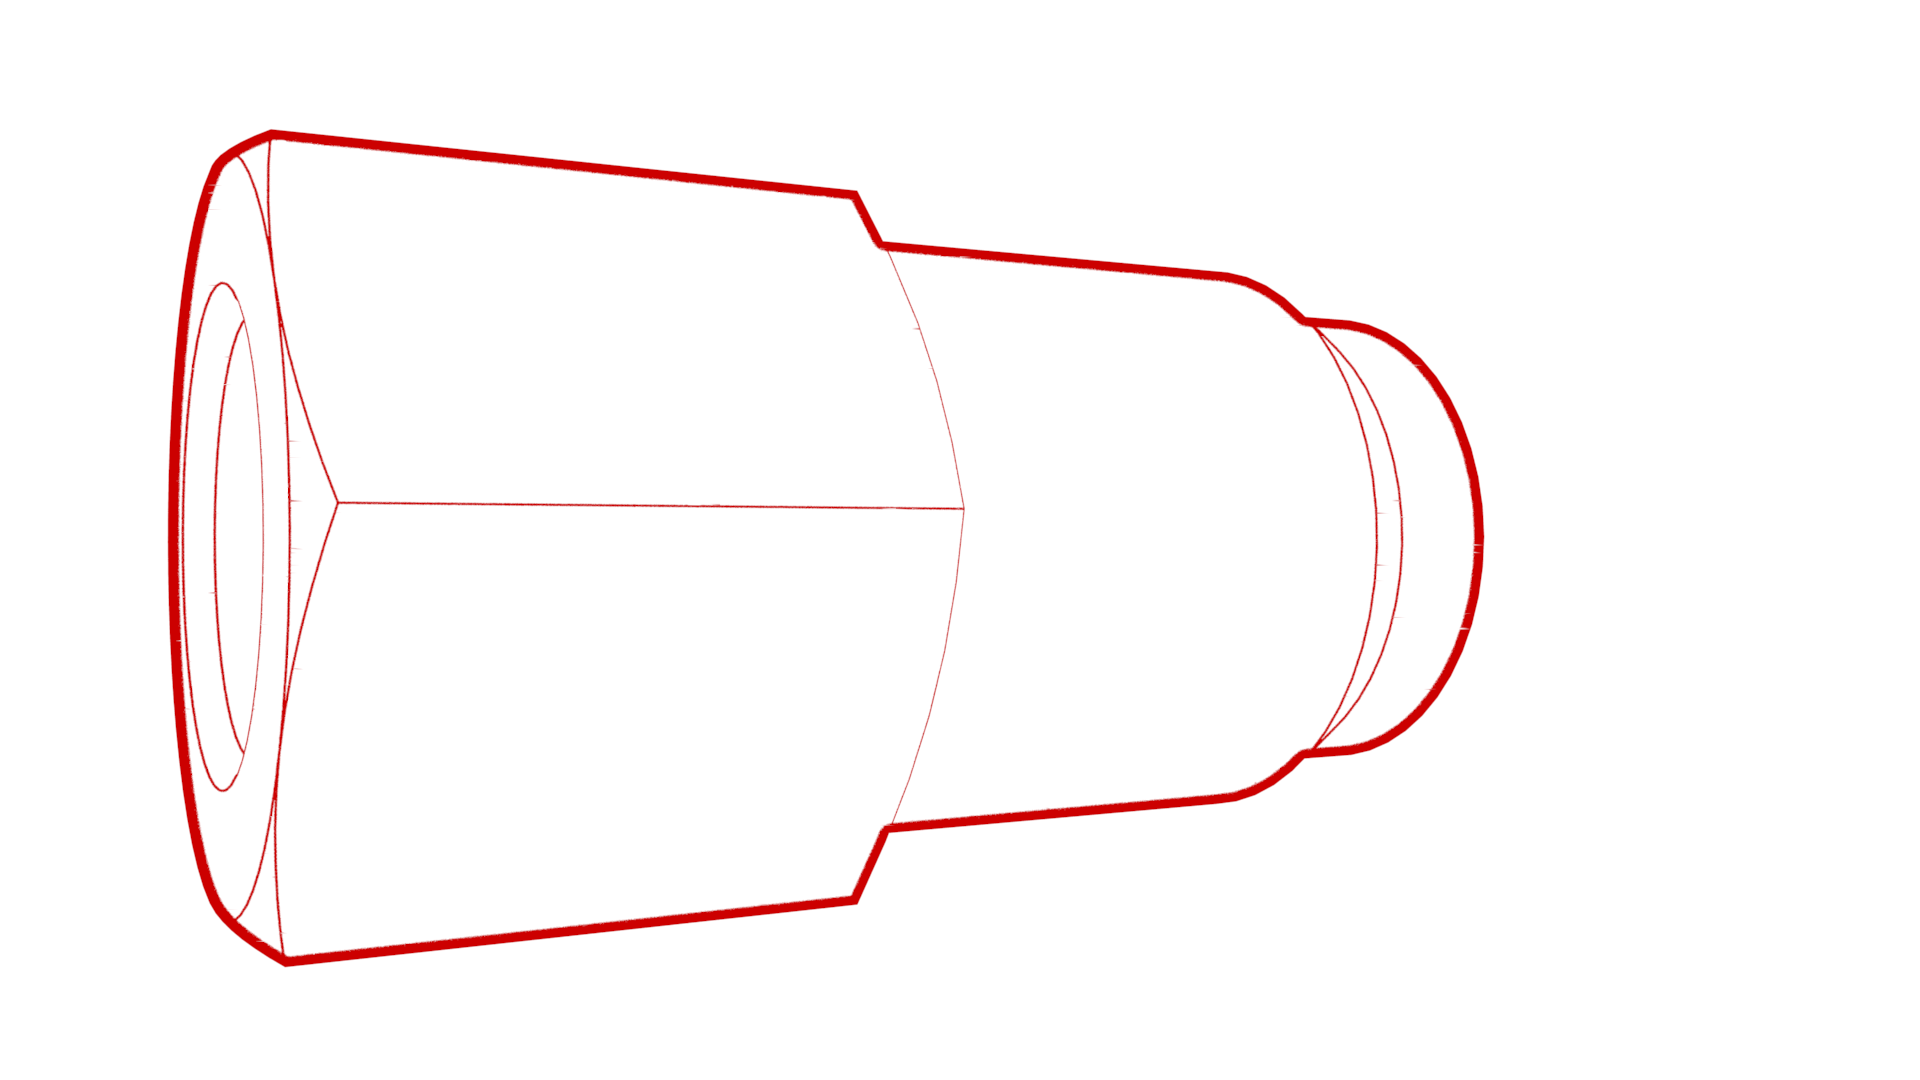
Insert the brake lines into the master cylinder, and then use a crowfoot extension to install the brake line tube nuts into the master cylinder.
 Torque 16 Nm
 -
Fasten the clip that attaches the electrical harness to the brake line at the master cylinder.
-
Insert the brake lines into the ABS unit, and then use a crowfoot extension to install the brake line tube nuts into the ABS unit.
 Torque 16 Nm
 -
Fasten the clip that attaches the brake lines to the ABS unit.
-
Move the LH front electrical harness back to the LH front shock tower, and then install the new bolts (x3) to attach the electrical harness ground straps to the shock tower.
 Torque 8 Nm
 -
Fasten the clips (x3) that attach the LH front electrical harness to the LH front frame rail.
-
Connect the electrical harness to the ABS unit connector.
-
Slide the LH side of the shock tower brace backward to its mounting position, and then install the bolts that attach the shock tower brace to the body.
 Torque Rear Bolts 67 Nm
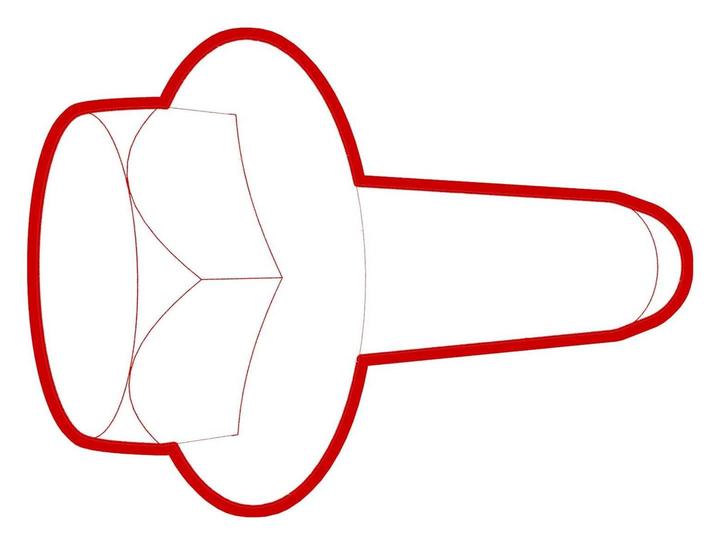 Torque Outer Bolts 62 Nm
 Torque Inner Bolts 67 Nm
| 1 | Remove the oil drain from under the brake booster. | ||
| 2 | Bring the brake lines to the ABS unit and master cylinder. | ||
| 3 | Fasten the clips that attach the brake lines to the body. | |
| 4 | Insert the brake lines into the master cylinder, and then use a crowfoot extension to install the brake line tube nuts into the master cylinder. Torque 16 Nm | |
| 5 | Fasten the clip that attaches the electrical harness to the brake line at the master cylinder. | |
| 6 | Insert the brake lines into the ABS unit, and then use a crowfoot extension to install the brake line tube nuts into the ABS unit. Torque 16 Nm | |
| 7 | Fasten the clip that attaches the brake lines to the ABS unit. | |
| 8 | Move the LH front electrical harness back to the LH front shock tower, and then install the new bolts (x3) to attach the electrical harness ground straps to the shock tower. Torque 8 Nm | |
| 9 | Fasten the clips (x3) that attach the LH front electrical harness to the LH front frame rail. | |
| 10 | Connect the electrical harness to the ABS unit connector. | |
| 11 | Slide the LH side of the shock tower brace backward to its mounting position, and then install the bolts that attach the shock tower brace to the body. Torque Rear Bolts 67 Nm Torque Outer Bolts 62 Nm Torque Inner Bolts 67 Nm | |
| 12 | Install the battery bracket. See Bracket - 12V Battery (RWD) (Remove and Replace). | ||
| 13 | Install the cowl screen panel. See Panel - Cowl Screen (Remove and Replace). | ||
| 14 | Bleed the braking system. See Brake Fluid Bleed / Flush. |