Switch - Window - Front Passenger (Remove and Replace)
Correction code 1150270211502702
Remove
-
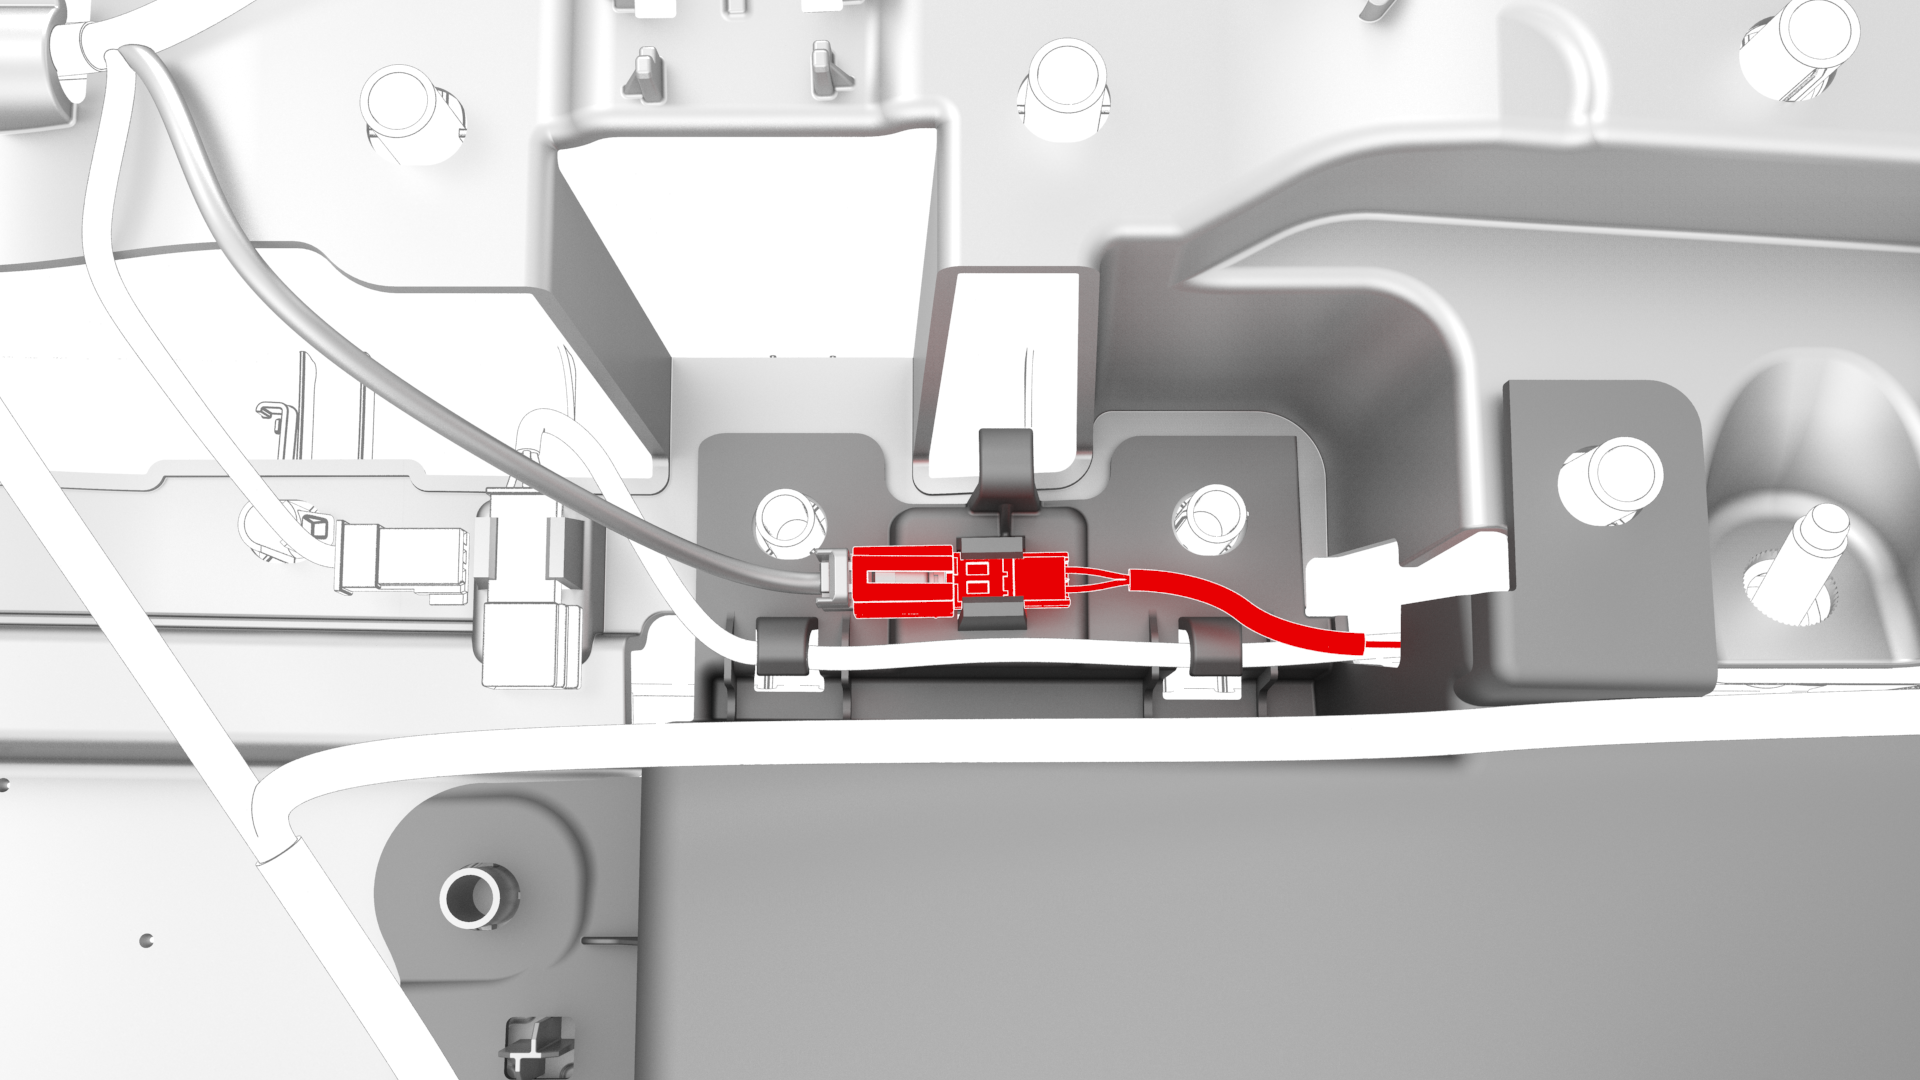
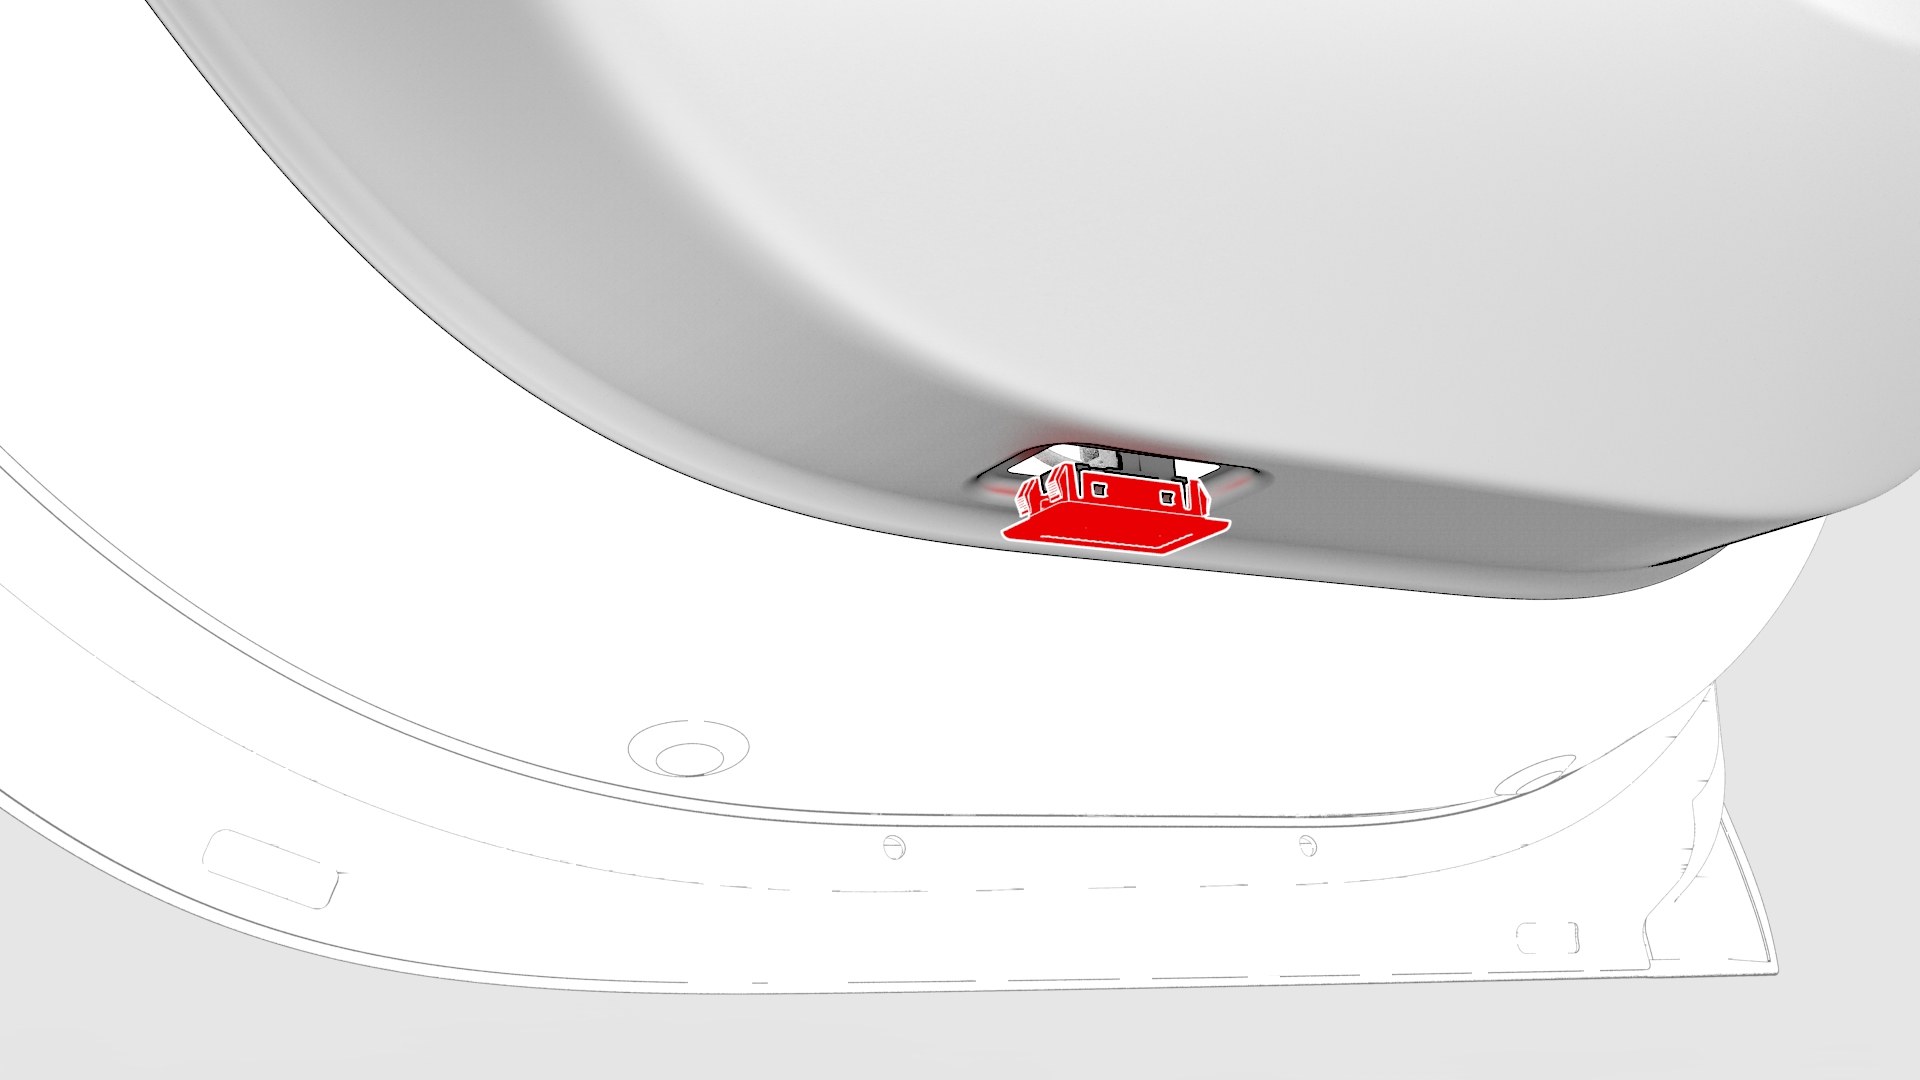
Remove the puddle light electrical connector from the RH front door trim panel.
-
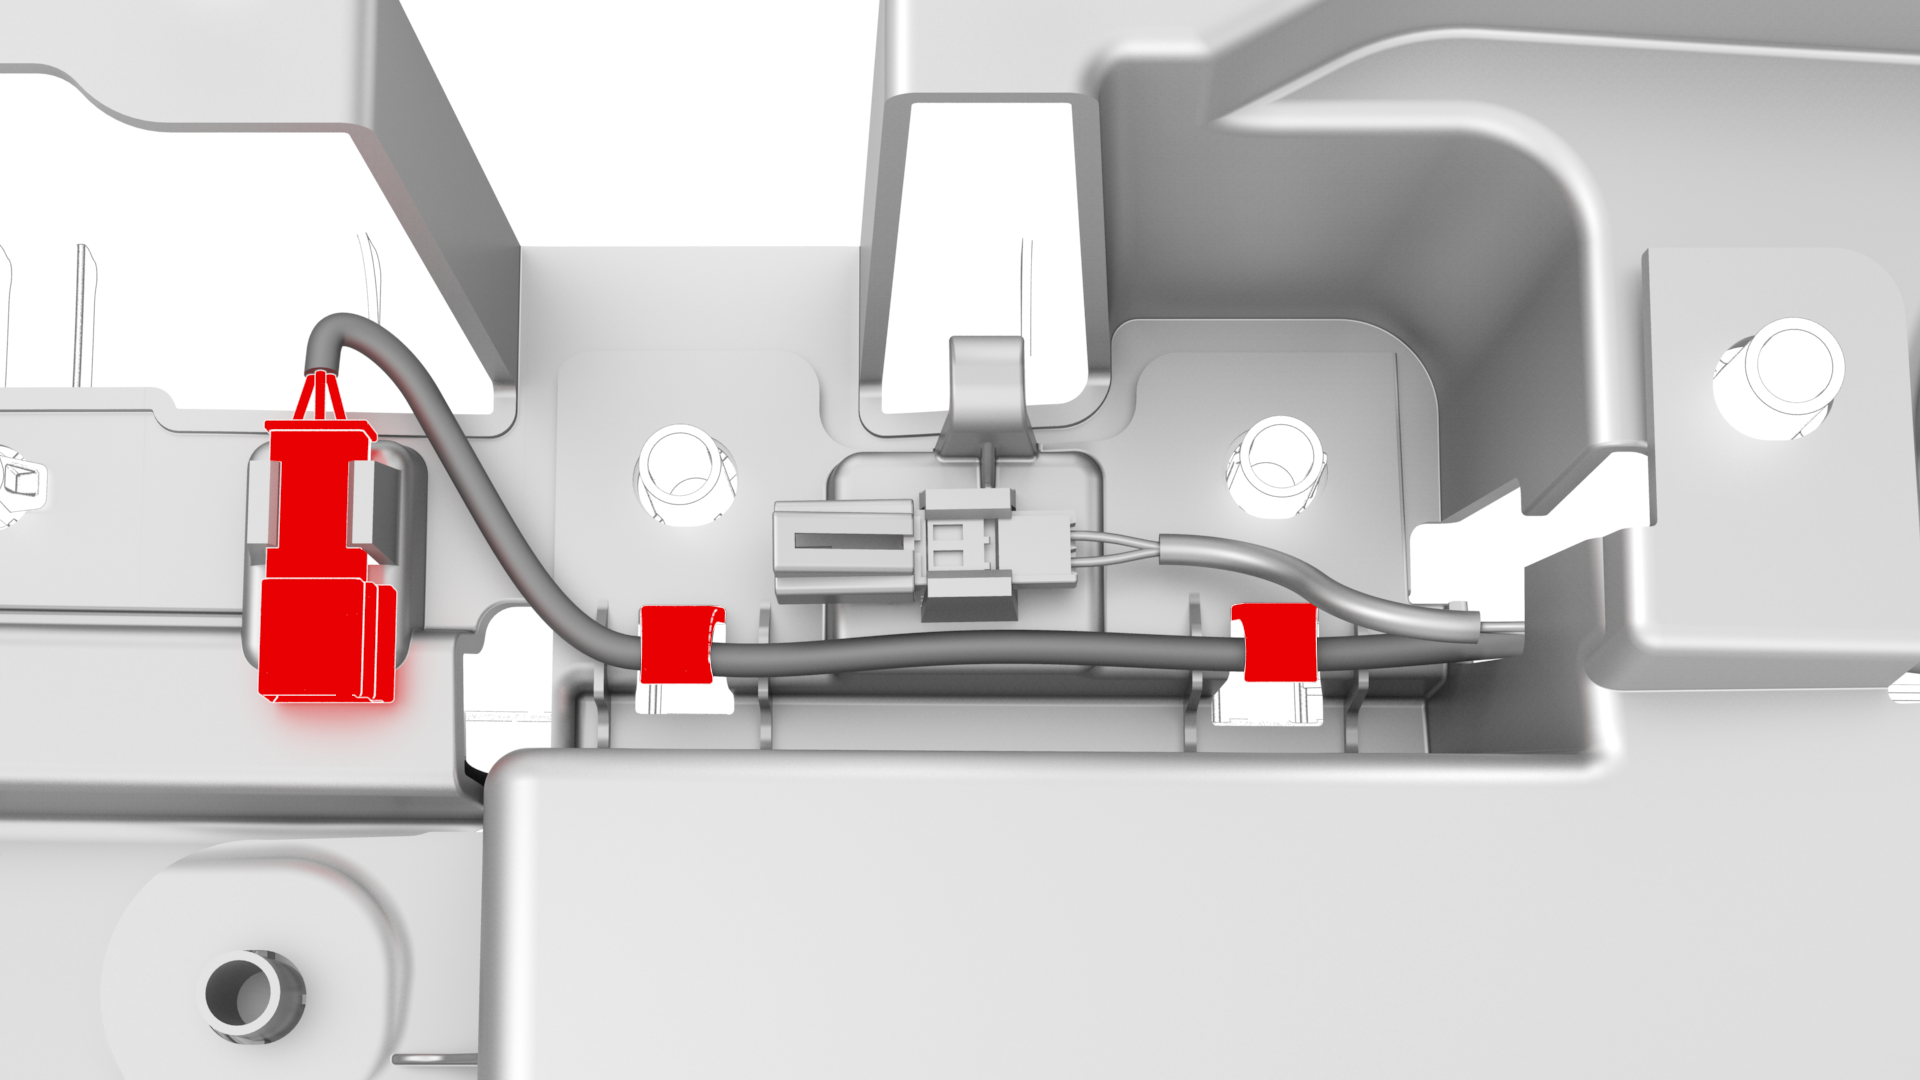
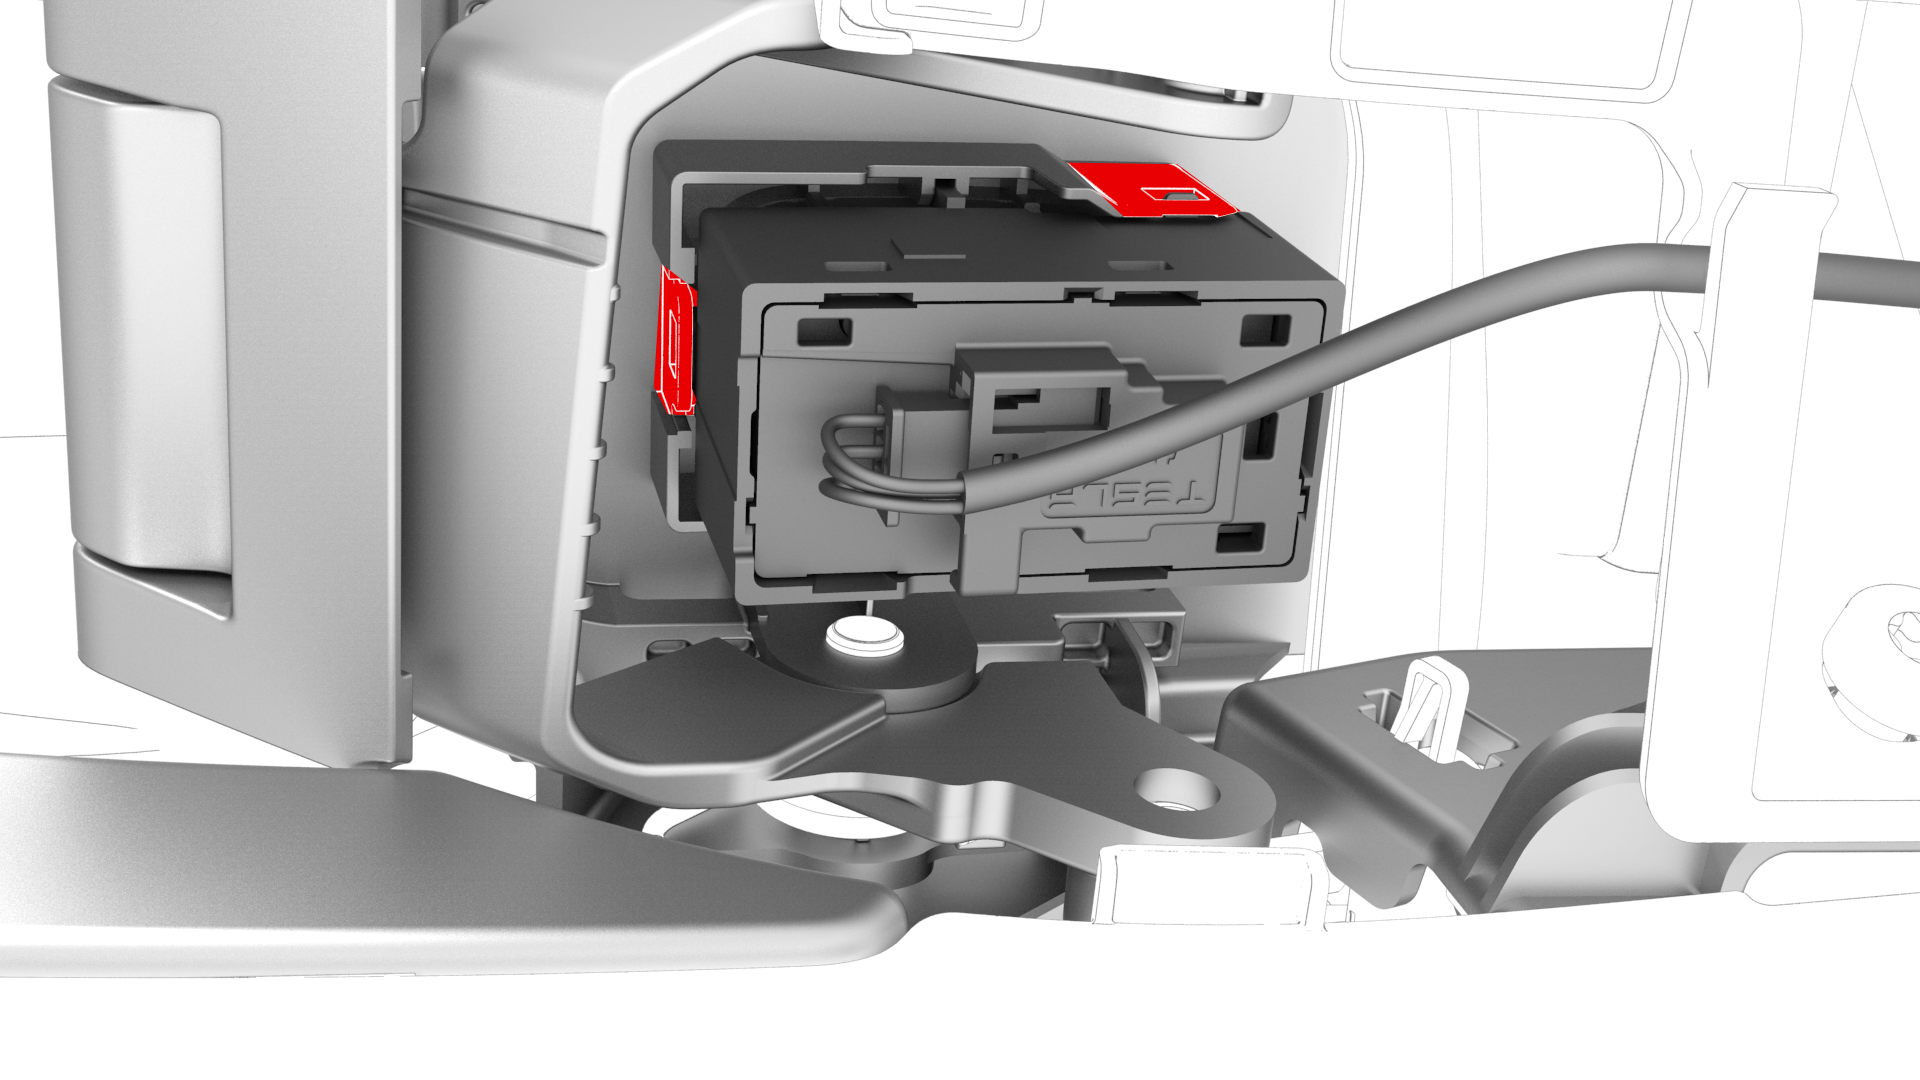
Release the clips that attach the front passenger window switch electrical harness to the RH front door trim panel, and then disconnect the window switch electrical connector.
-
Release the clips that attach the lower bolt cover to the RH front door trim panel, and then remove the lower bolt cover from the door panel.
-
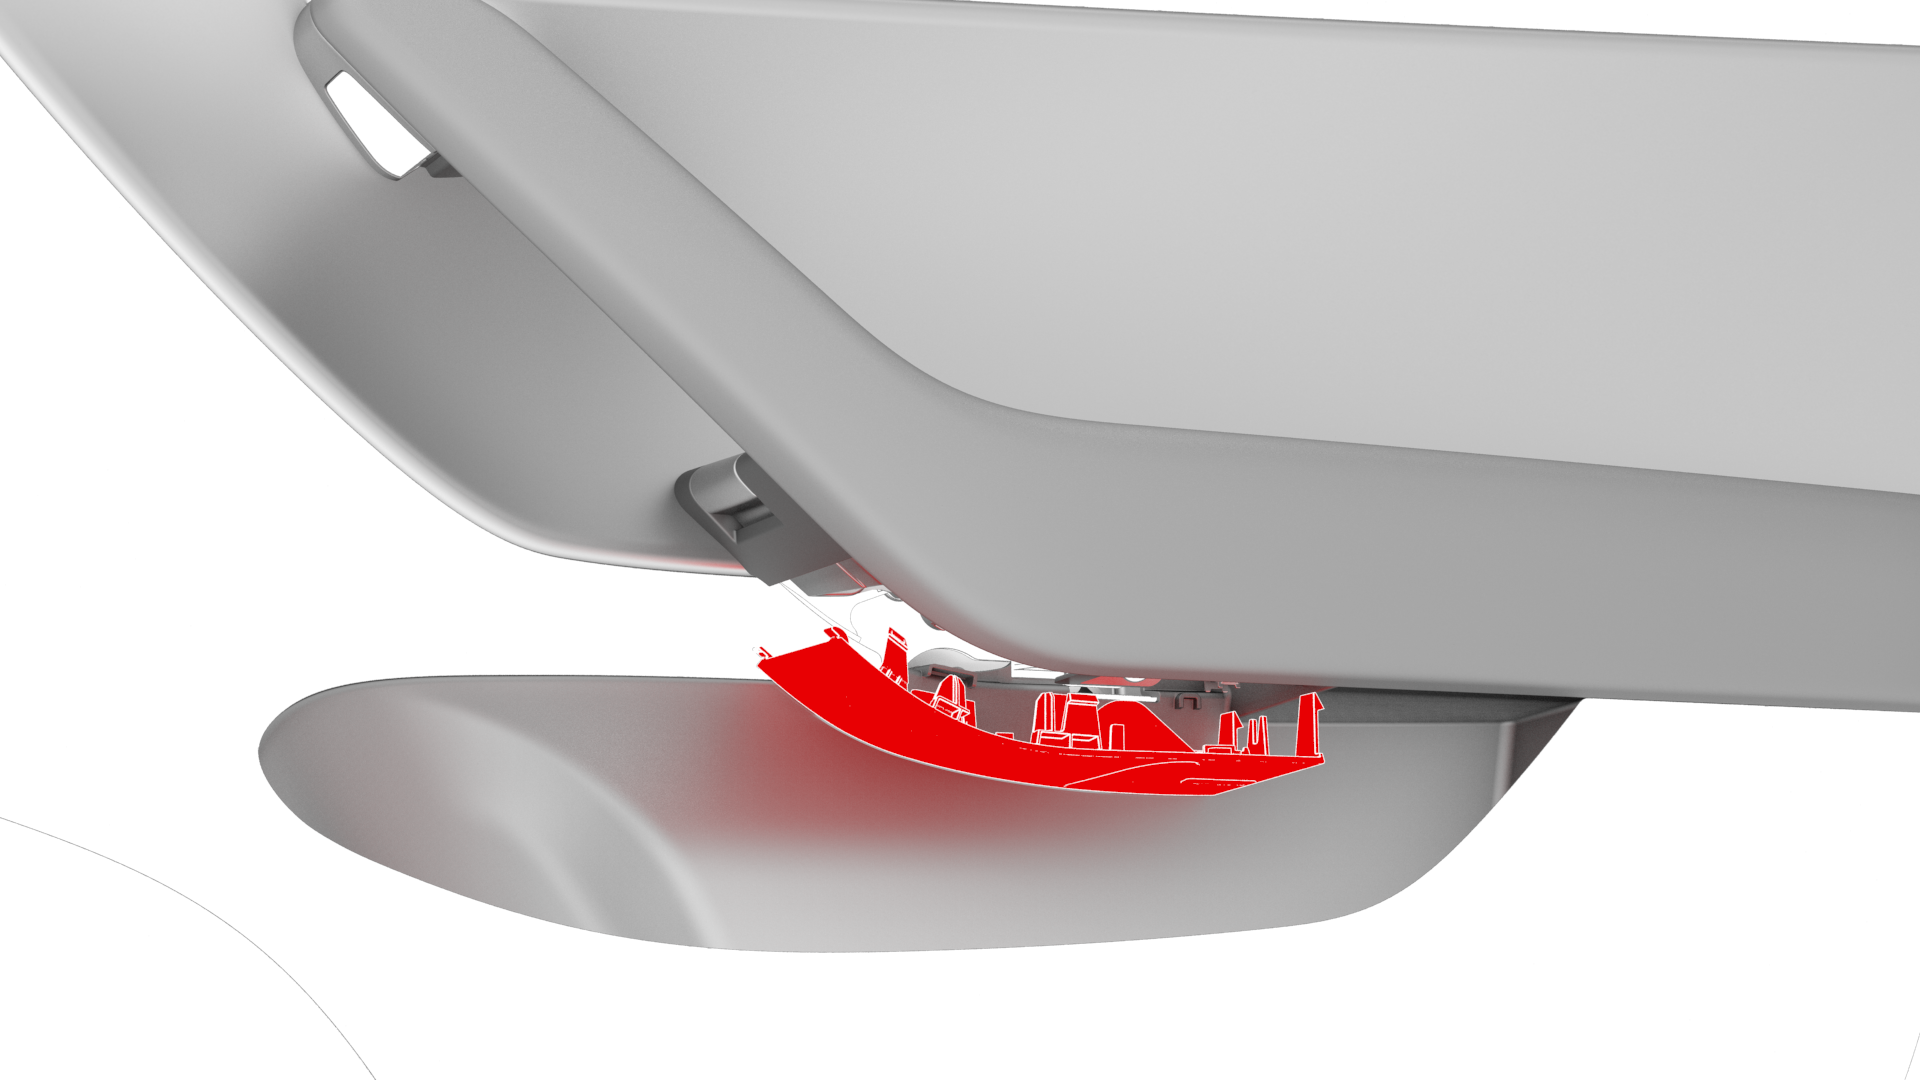
Remove the puddle light from the RH front door trim panel.
-
Release the clips (x4) that attach the front passenger window switch to the door trim panel.
 Tip: Release the front clips first, and then release the outer rear clips while pushing the front passenger window switch to release it from the door trim panel.Note: Replace any broken door panel clips
 -
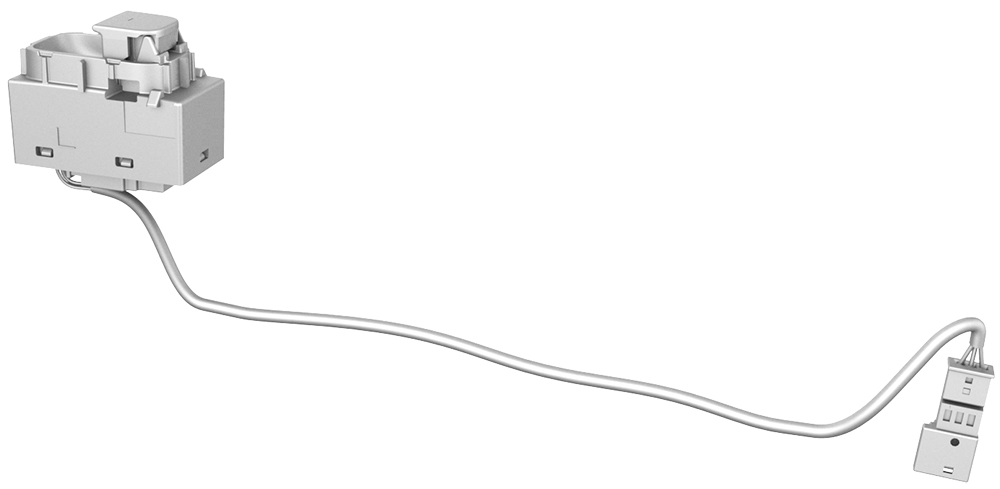
Remove the front passenger window switch from the vehicle.
| 1 | Remove the RH front door trim panel. See Panel - Door Trim - Front - LH (Remove and Install). | ||
| 2 | Remove the puddle light electrical connector from the RH front door trim panel. | |
| 3 | Release the clips that attach the front passenger window switch electrical harness to the RH front door trim panel, and then disconnect the window switch electrical connector. | |
| 4 | Release the clips that attach the lower bolt cover to the RH front door trim panel, and then remove the lower bolt cover from the door panel. | |
| 5 | Remove the puddle light from the RH front door trim panel. | |
| 6 | Release the clips (x4) that attach the front passenger window switch to the door trim panel.Tip: Release the front clips first, and then release the outer rear clips while pushing the front passenger window switch to release it from the door trim panel. Note: Replace any broken door panel clips
| |
| 7 | Remove the front passenger window switch from the vehicle. |
Install
-
Install the puddle light onto the RH front door trim panel.
-
Install the lower bolt cover onto the RH front door trim panel.
-
Install the clips that attach the window switch wiring harness to the RH front door trim panel, and then connect the window switch electrical connector.
-
Install the puddle light electrical connector to the RH front door trim panel.
| 1 | Install the front passenger window switch onto the RH front door trim panel. | ||
| 2 | Install the puddle light onto the RH front door trim panel. | |
| 3 | Install the lower bolt cover onto the RH front door trim panel. | |
| 4 | Install the clips that attach the window switch wiring harness to the RH front door trim panel, and then connect the window switch electrical connector. | |
| 5 | Install the puddle light electrical connector to the RH front door trim panel. | |
| 6 | Install the RH front door trim panel. See Panel - Door Trim - Front - LH (Remove and Install). |