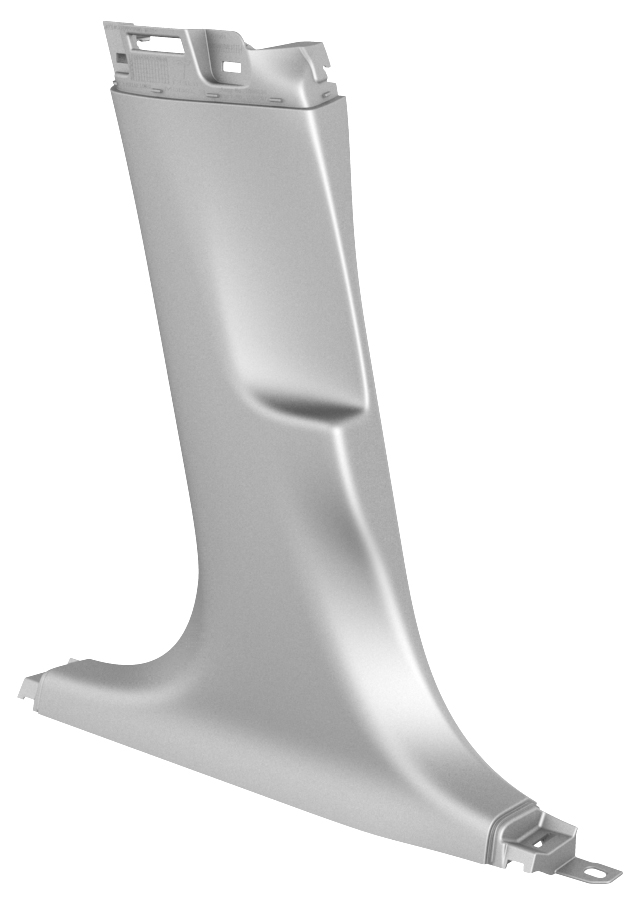
Trim - B-Pillar - Lower - LH (Remove and Replace)
Correction code 1518340215183402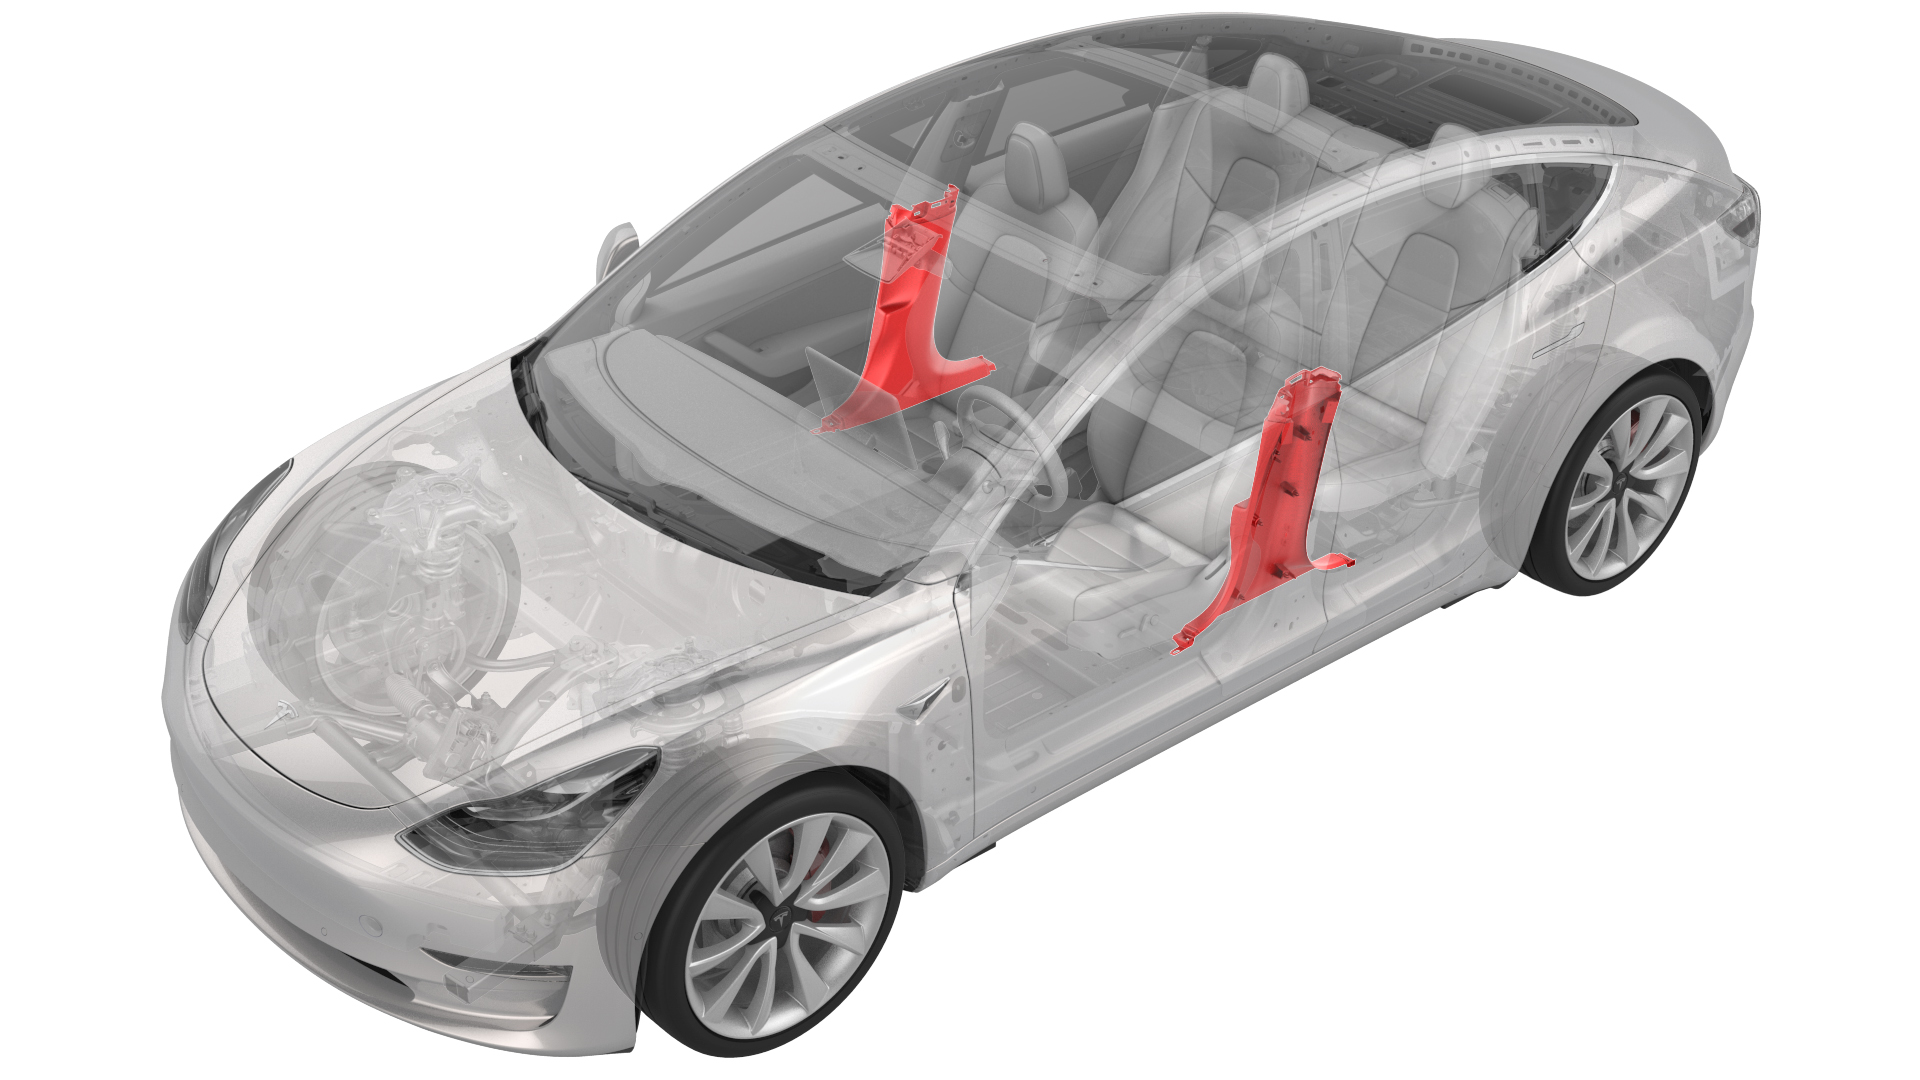
Remove
-
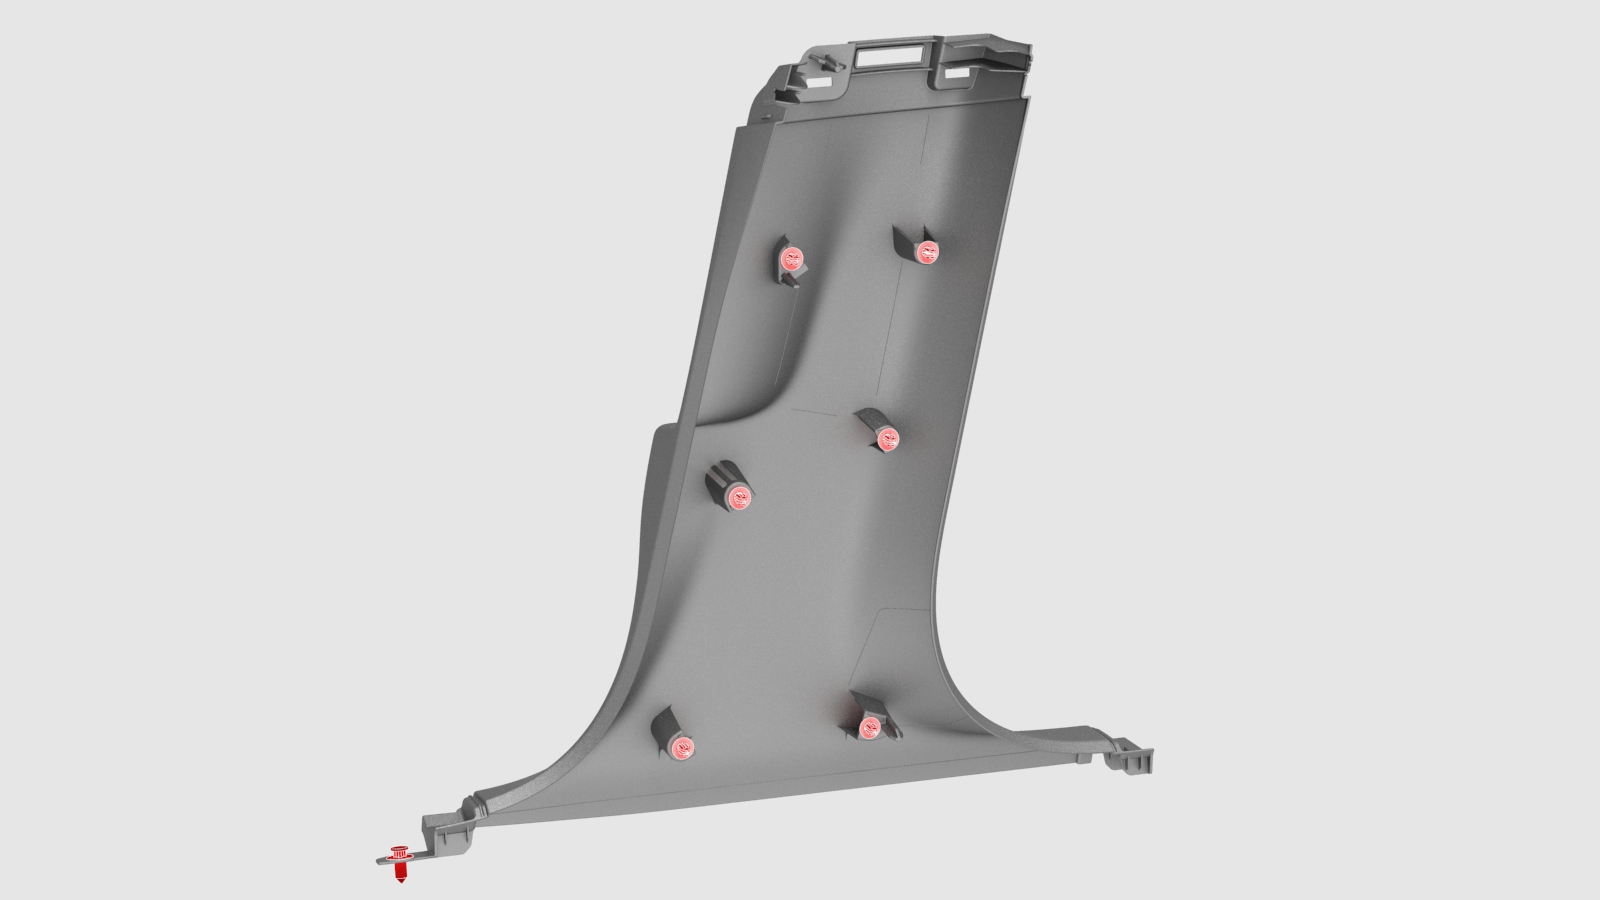
Release the clips that attach the LH lower B-pillar trim to the body, and remove the trim from the vehicle.
Note: Remove any remaining LH lower B-pillar trim clips from the LH B-pillar, and if the LH lower B-pillar trim is to be later installed, remove all clips from the trim.
| 1 | Remove the LH instrument panel end cap. See End Cap - Instrument Panel - LH (Remove and Replace). | ||
| 2 | Remove the LH middle A-pillar trim. See Trim - A-Pillar - Middle - LH (Remove and Replace). | ||
| 3 | Remove the LH lower A-pillar trim. See Trim - A-Pillar - Lower - LH (Remove and Replace). | ||
| 4 | Remove the 2nd row lower seat cushion. See Seat Cushion - Lower - 2nd Row (Remove and Replace). | ||
| 5 | Remove the LH 2nd row seat side bolster. See Bolster - Side - Seat - 2nd Row - LH (Remove and Replace). | ||
| 6 | Remove the LH rear sill panel trim. See Trim - Sill Panel - Rear - LH (Remove and Replace). | ||
| 7 | Remove the LH upper B-pillar trim. See Trim - B-Pillar - Upper - LH (Remove and Replace). | ||
| 8 | Release the clips that attach the LH lower B-pillar trim to the body, and remove the trim from the vehicle. Note: Remove any remaining LH lower B-pillar trim clips from the LH B-pillar, and if the LH lower B-pillar trim is to be later installed, remove all clips from the trim.
|
Install
Installation procedure is the reverse of removal, except for the following:
- If reusing the same LH lower B-pillar trim, install new clips onto the trim.
- Align the LH lower B-pillar trim bottom guide tab with the slot, engage the bottom clips, and then work upward to engage the remaining clips.
- Make sure that the door seal overlaps the LH lower B-pillar trim.