Rear Lettering (Retrofit)
Correction code 1205060612050606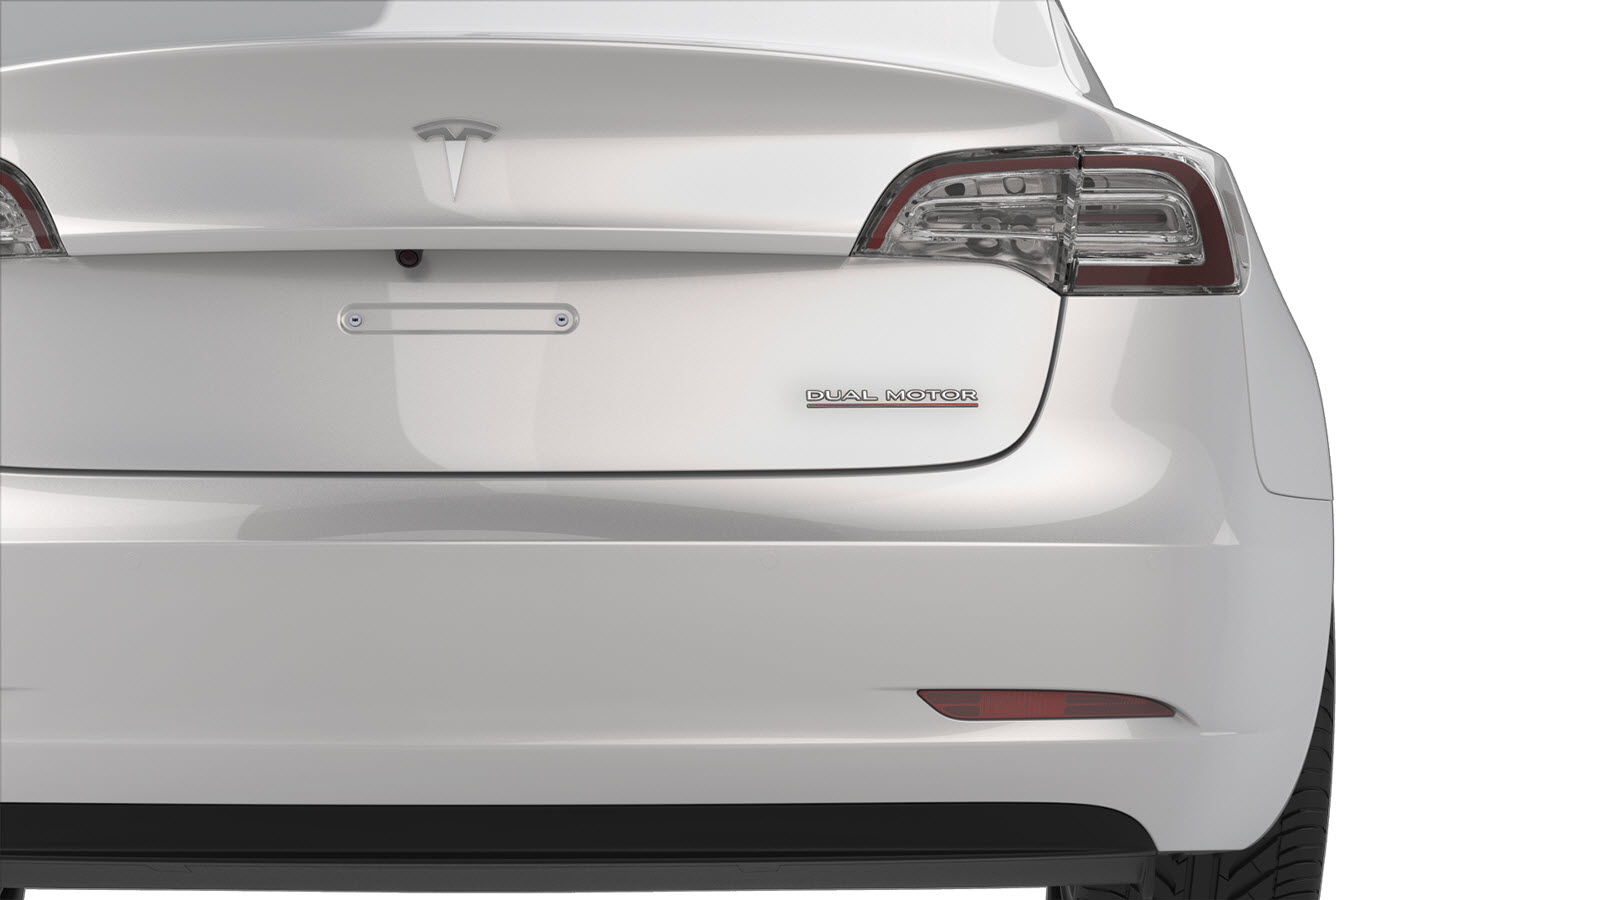
- 1475764-00-AFixture, Badge, Dual Motor/Perf, M3
- 1049517-00-ASeam Roller, Silicone, 5"
SPECIAL TOOLS
Fixture, Badge, Dual Motor/Perf, M3 (1475764-00-A) |
Seam Roller, Silicone, 5" (1049517-00-A) |
Procedure
-
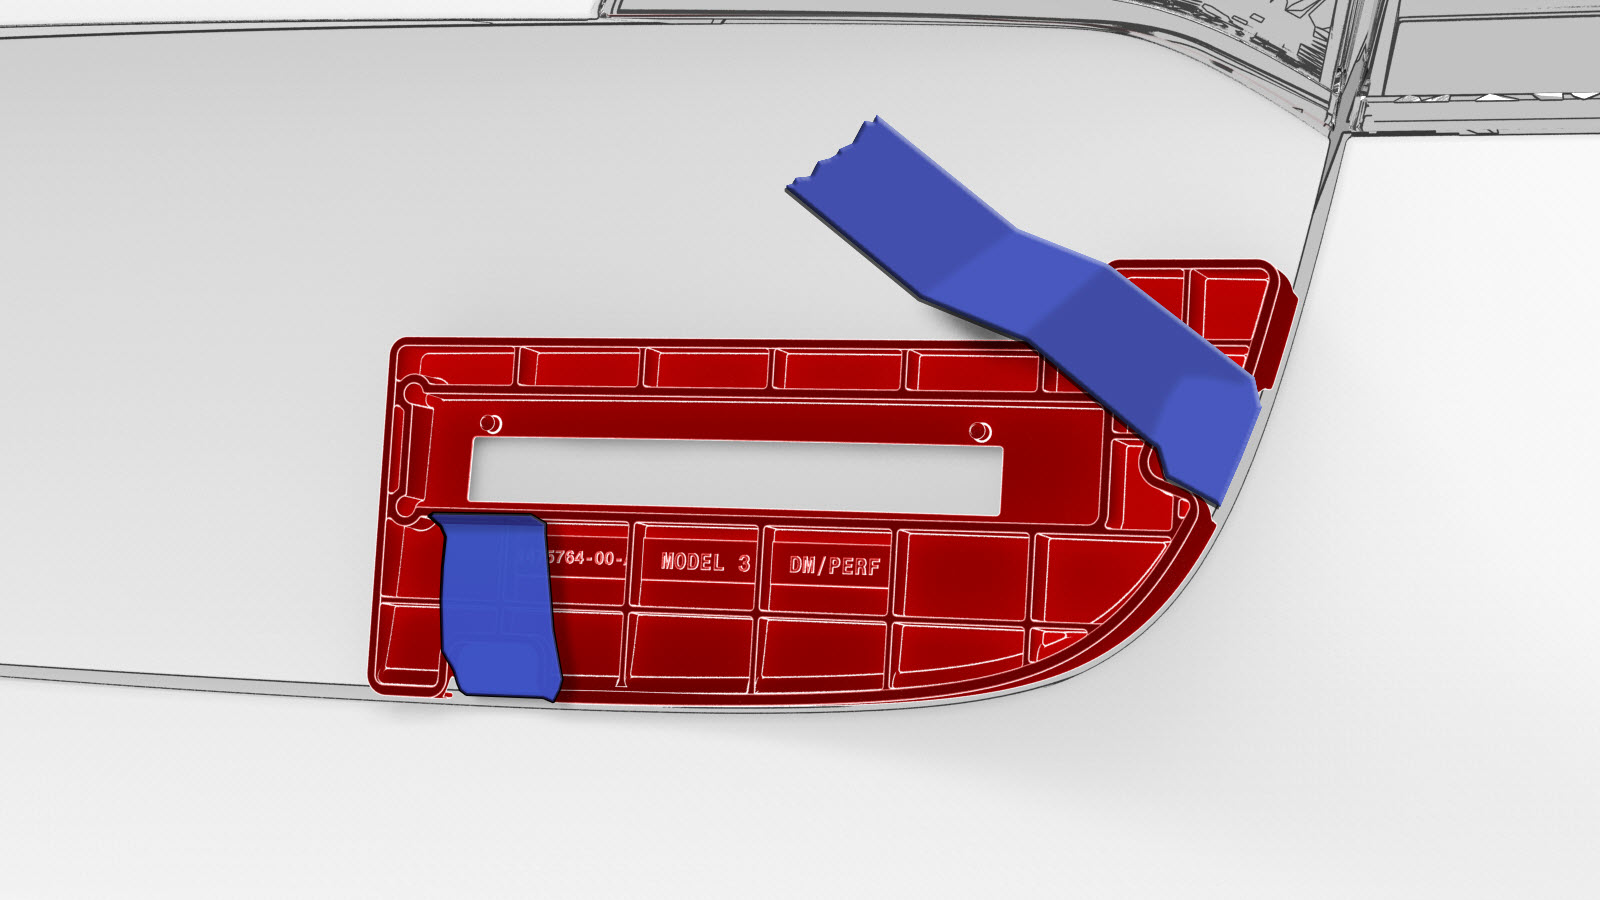
Put the badge fixture tool in position on the trunk and secure it with masking tape.
Note: Make sure the badge and adhesion surface are between 60-120 degrees Fahrenheit (15.556-43.333 Celsius). Use a heat gun in cold weather conditions to bring installation surfaces to optimum temperature.
-
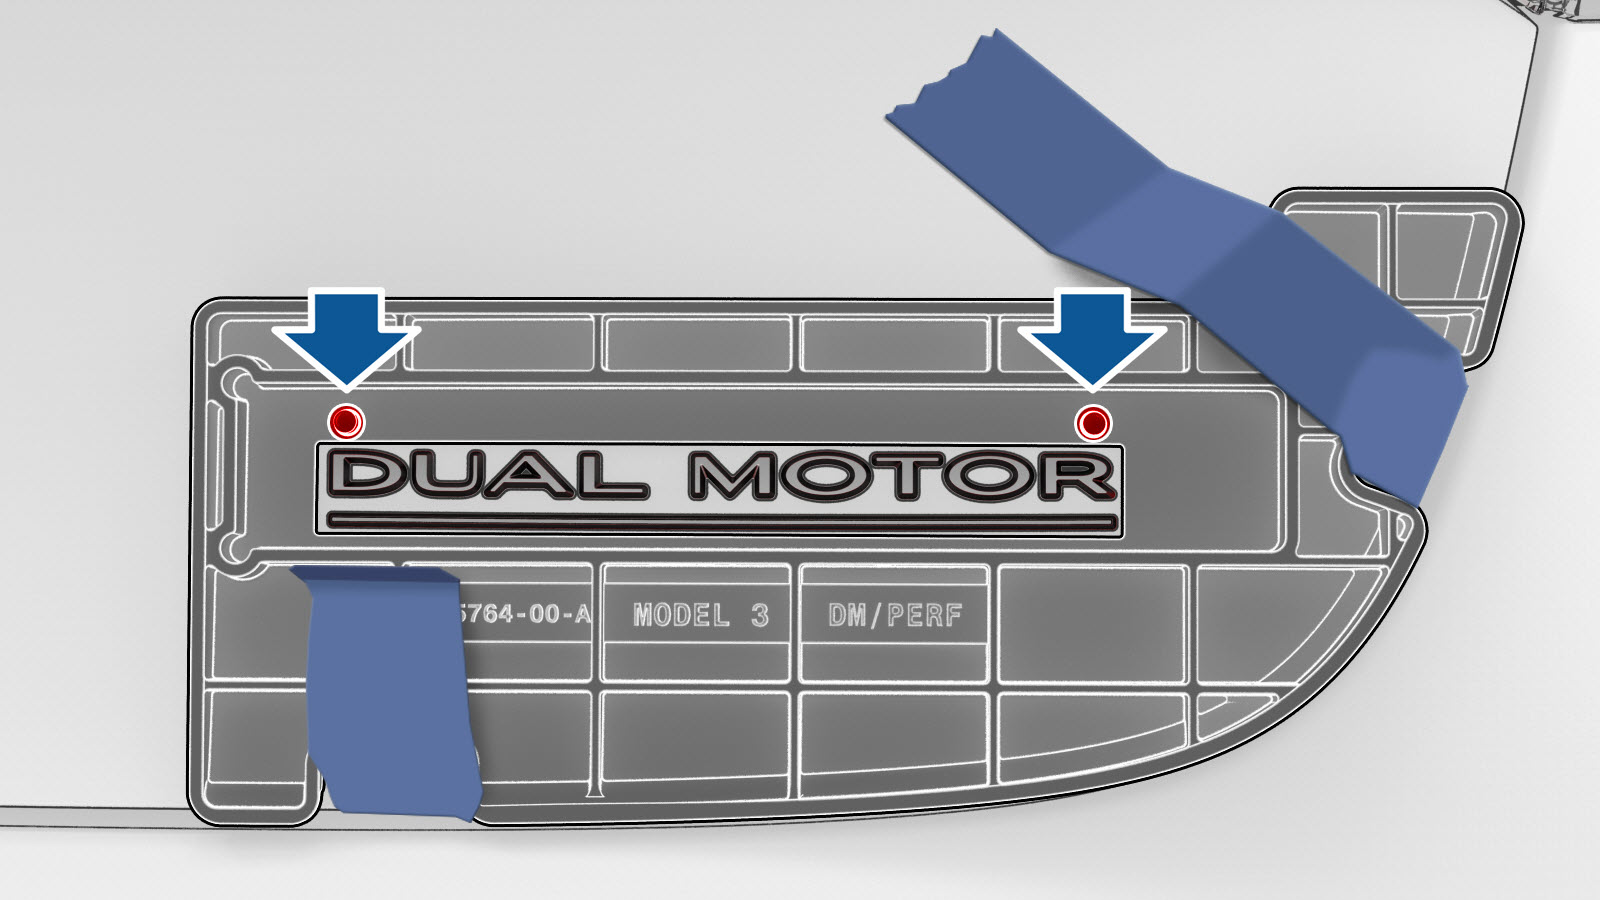
Remove the badge liner on the adhesive side, and then set the badge in the badge fixture using the datum holes.
-
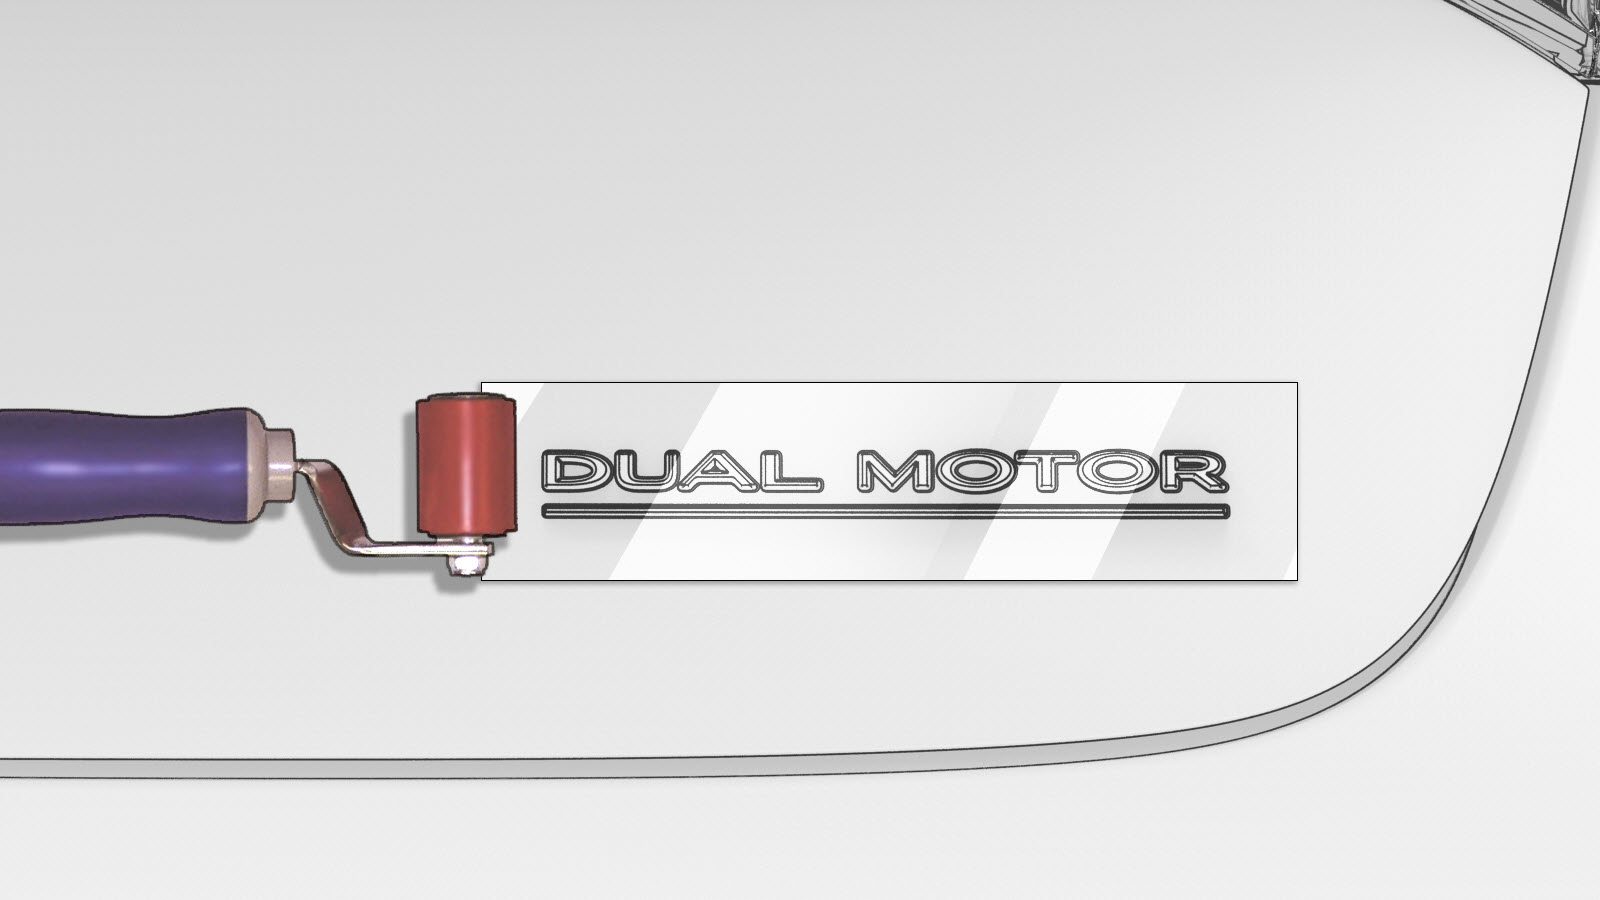
Use the silicone seam roller to fully adhere the badge.
| 1 | Clean the trunk area where the "Dual Motor" badge is to be installed with an isopropyl alcohol (IPA) wipe. | ||
| 2 | Put the badge fixture tool in position on the trunk and secure it with masking tape. Note: Make sure the badge and adhesion surface are between 60-120 degrees Fahrenheit (15.556-43.333 Celsius). Use a heat gun in cold weather conditions to bring installation surfaces to optimum temperature.
| |
| 3 | Remove the badge liner on the adhesive side, and then set the badge in the badge fixture using the datum holes. | |
| 4 | Adhere the badge to the trunk by pressing through the badge fixture window. | ||
| 5 | Remove the clear front liner from the badge. Do not discard the liner at this time. | ||
| 6 | Remove the badge fixture and masking tape from the trunk. | ||
| 7 | Reapply the clear front liner to the badge to protect the surface. | ||
| 8 | Use the silicone seam roller to fully adhere the badge. | |
| 9 | Remove the clear front liner from the badge. |