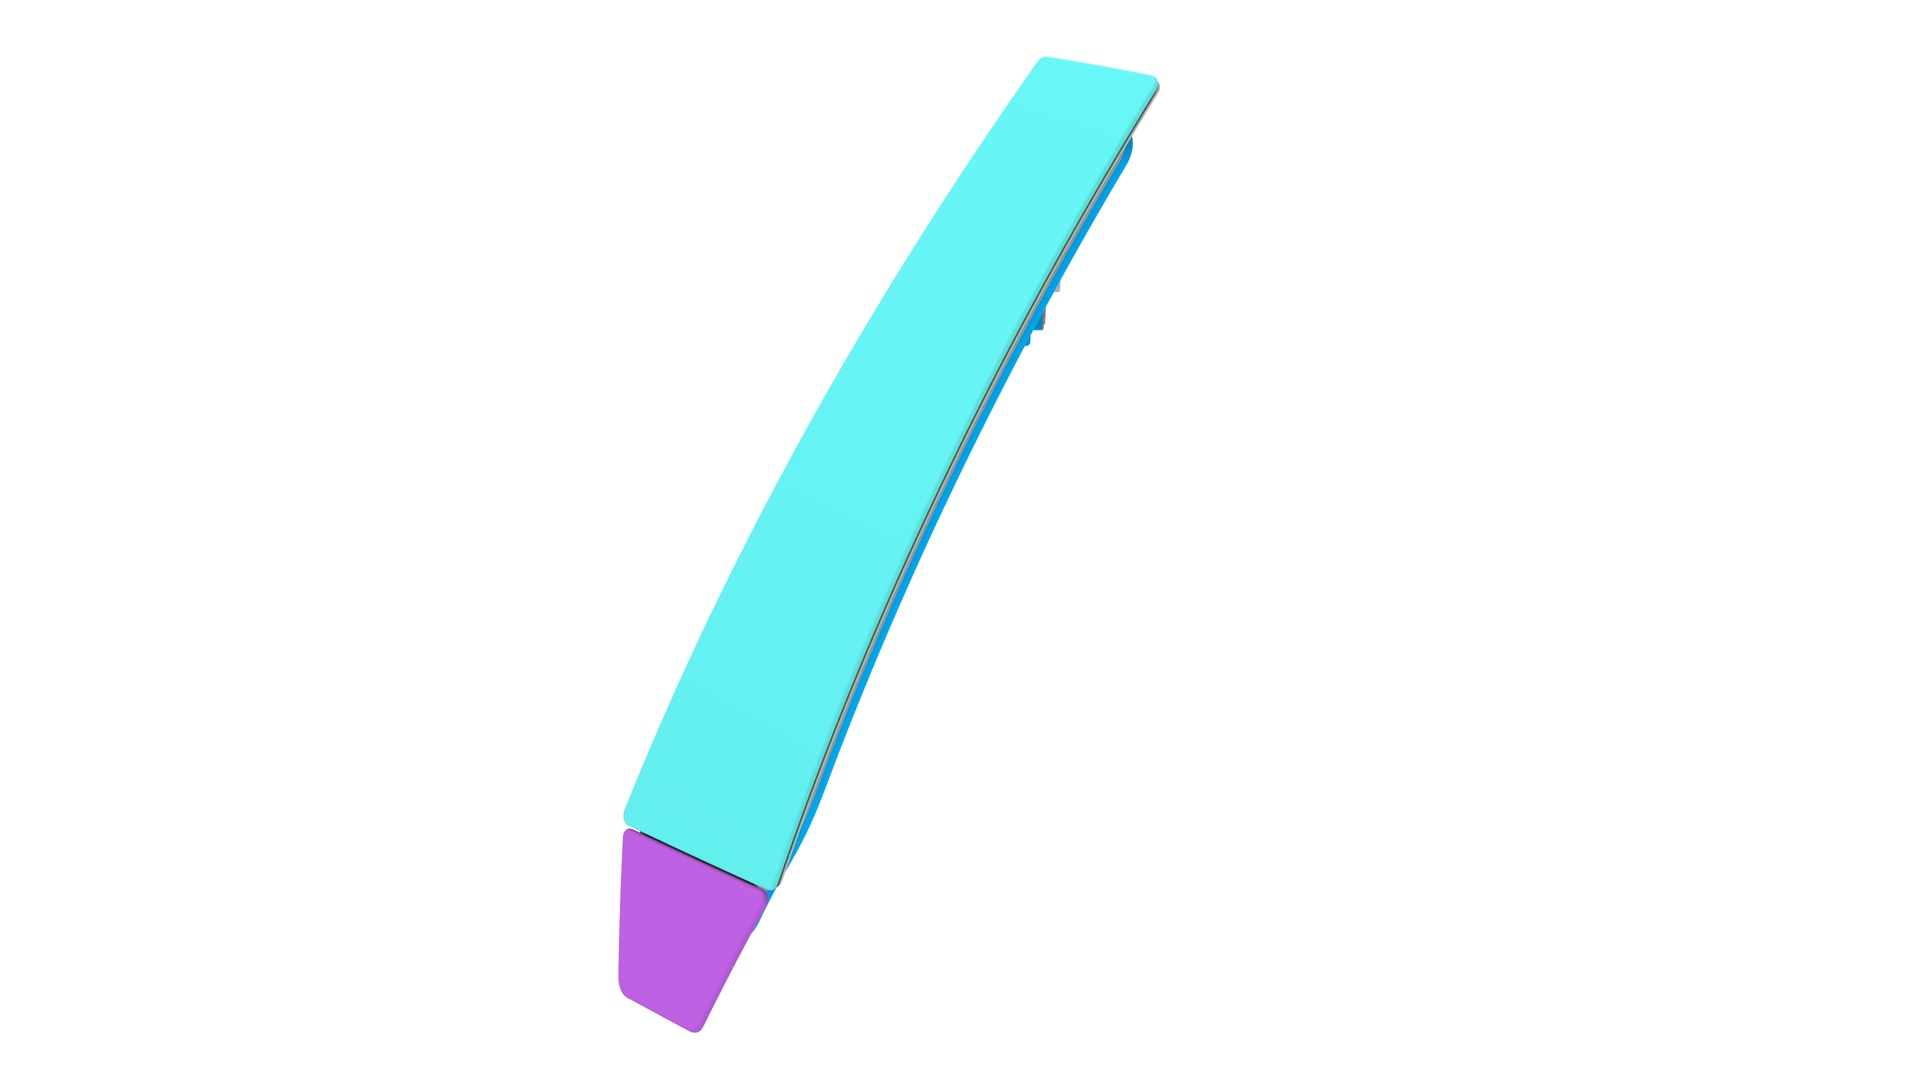
Applique - B-Pillar - LH (Remove and Replace)
Correction code 1220010212200102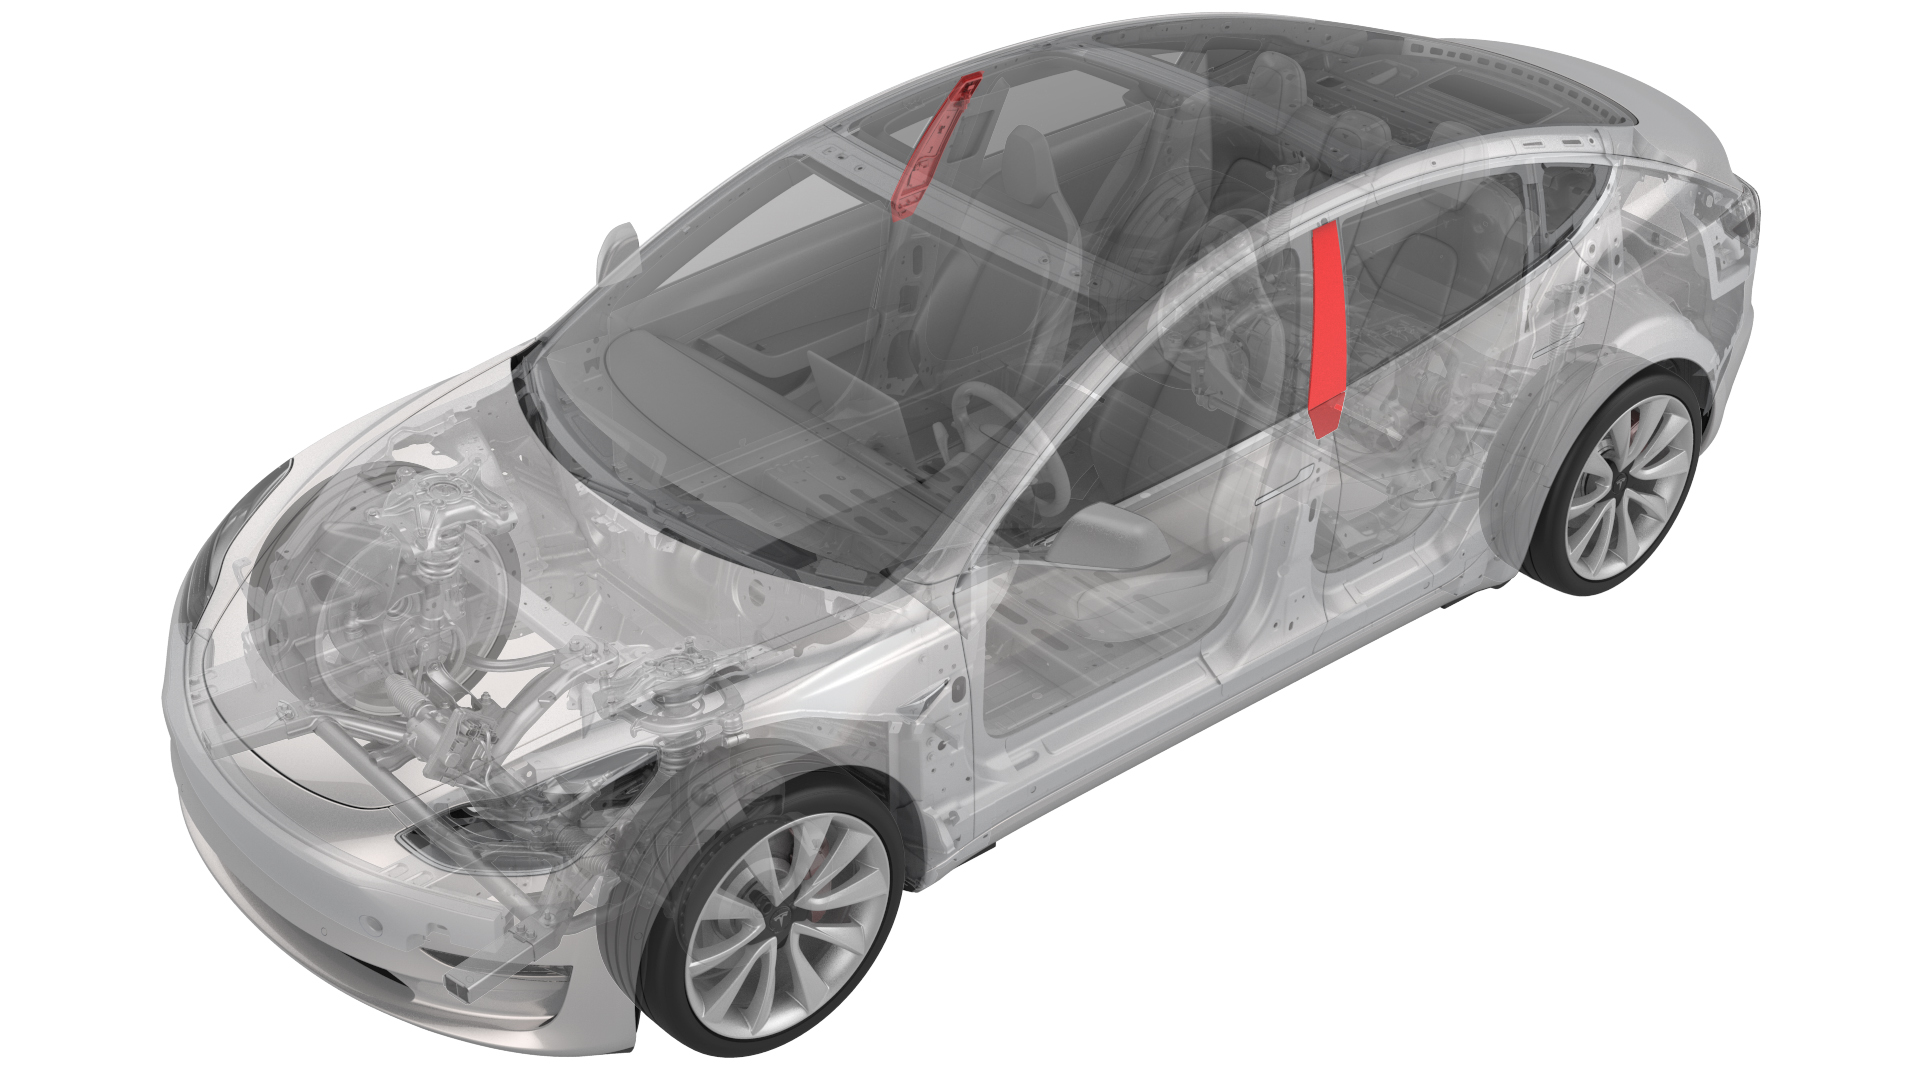
Remove
-
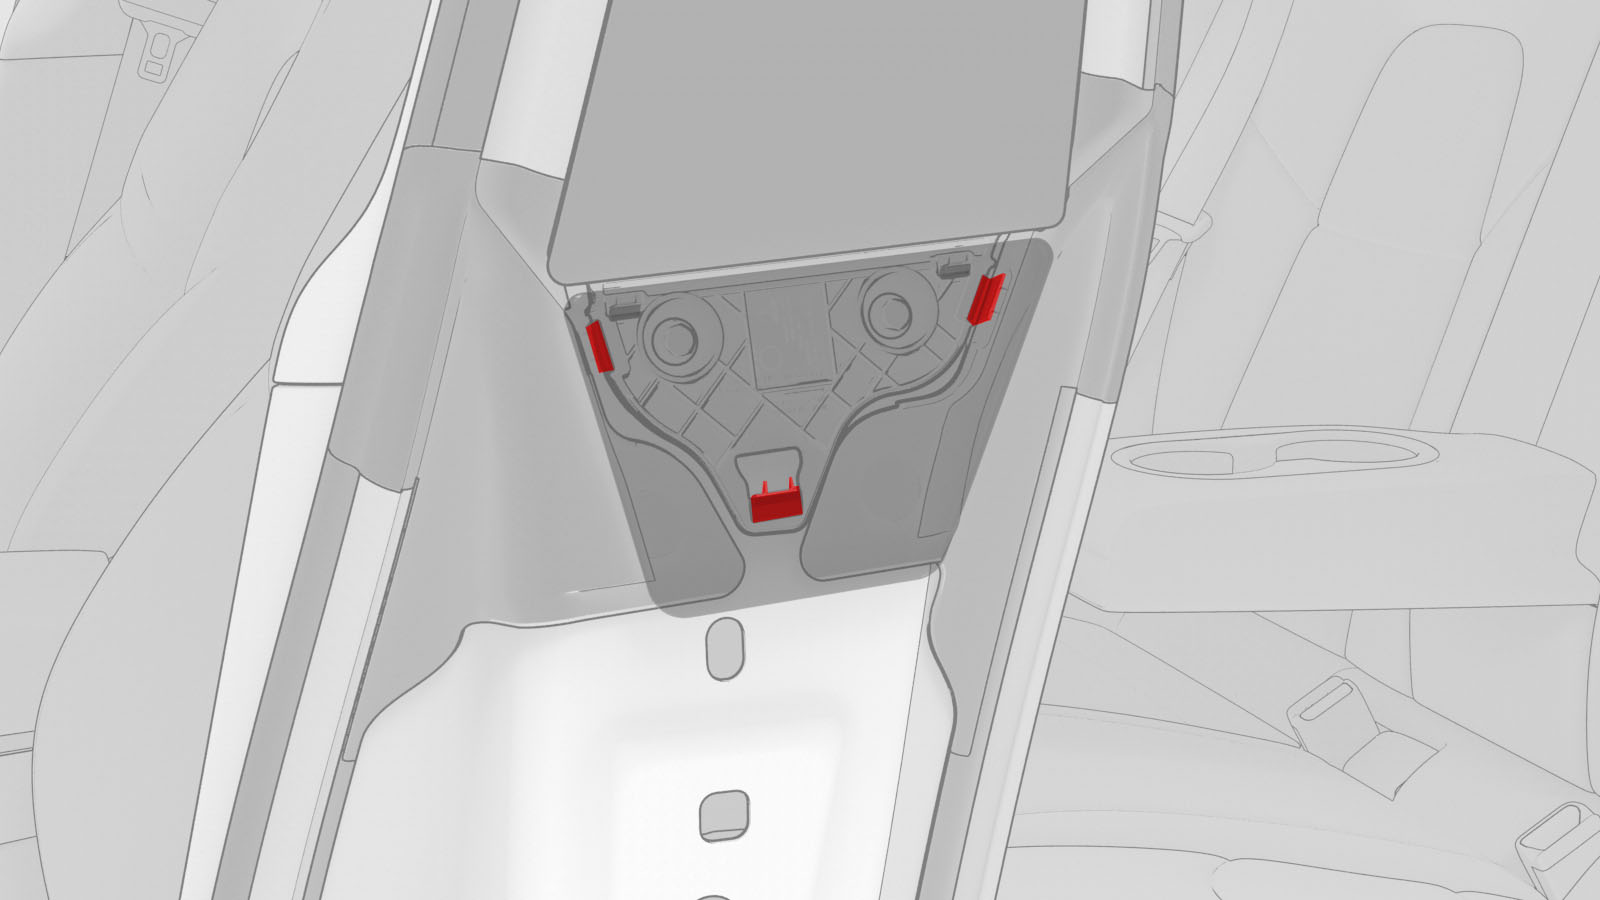
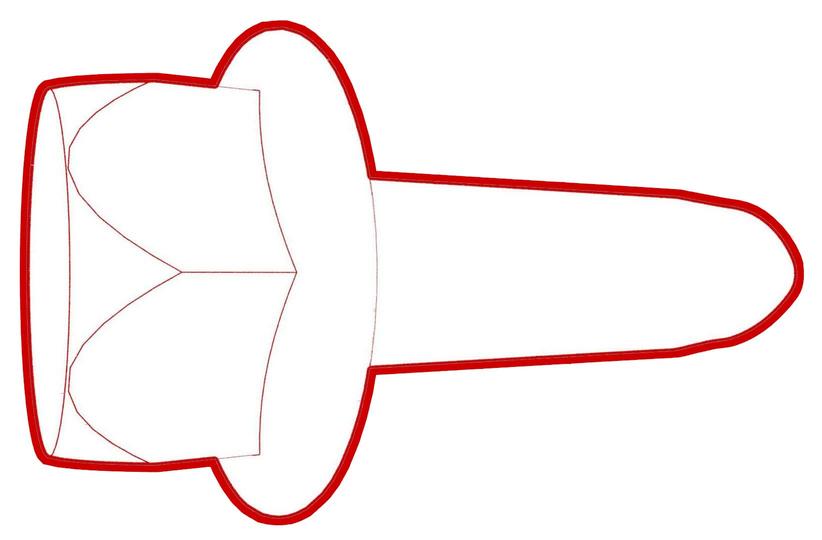
Release the clips that attach the B-pillar applique fastener cover to the vehicle, and then remove the cover.
-
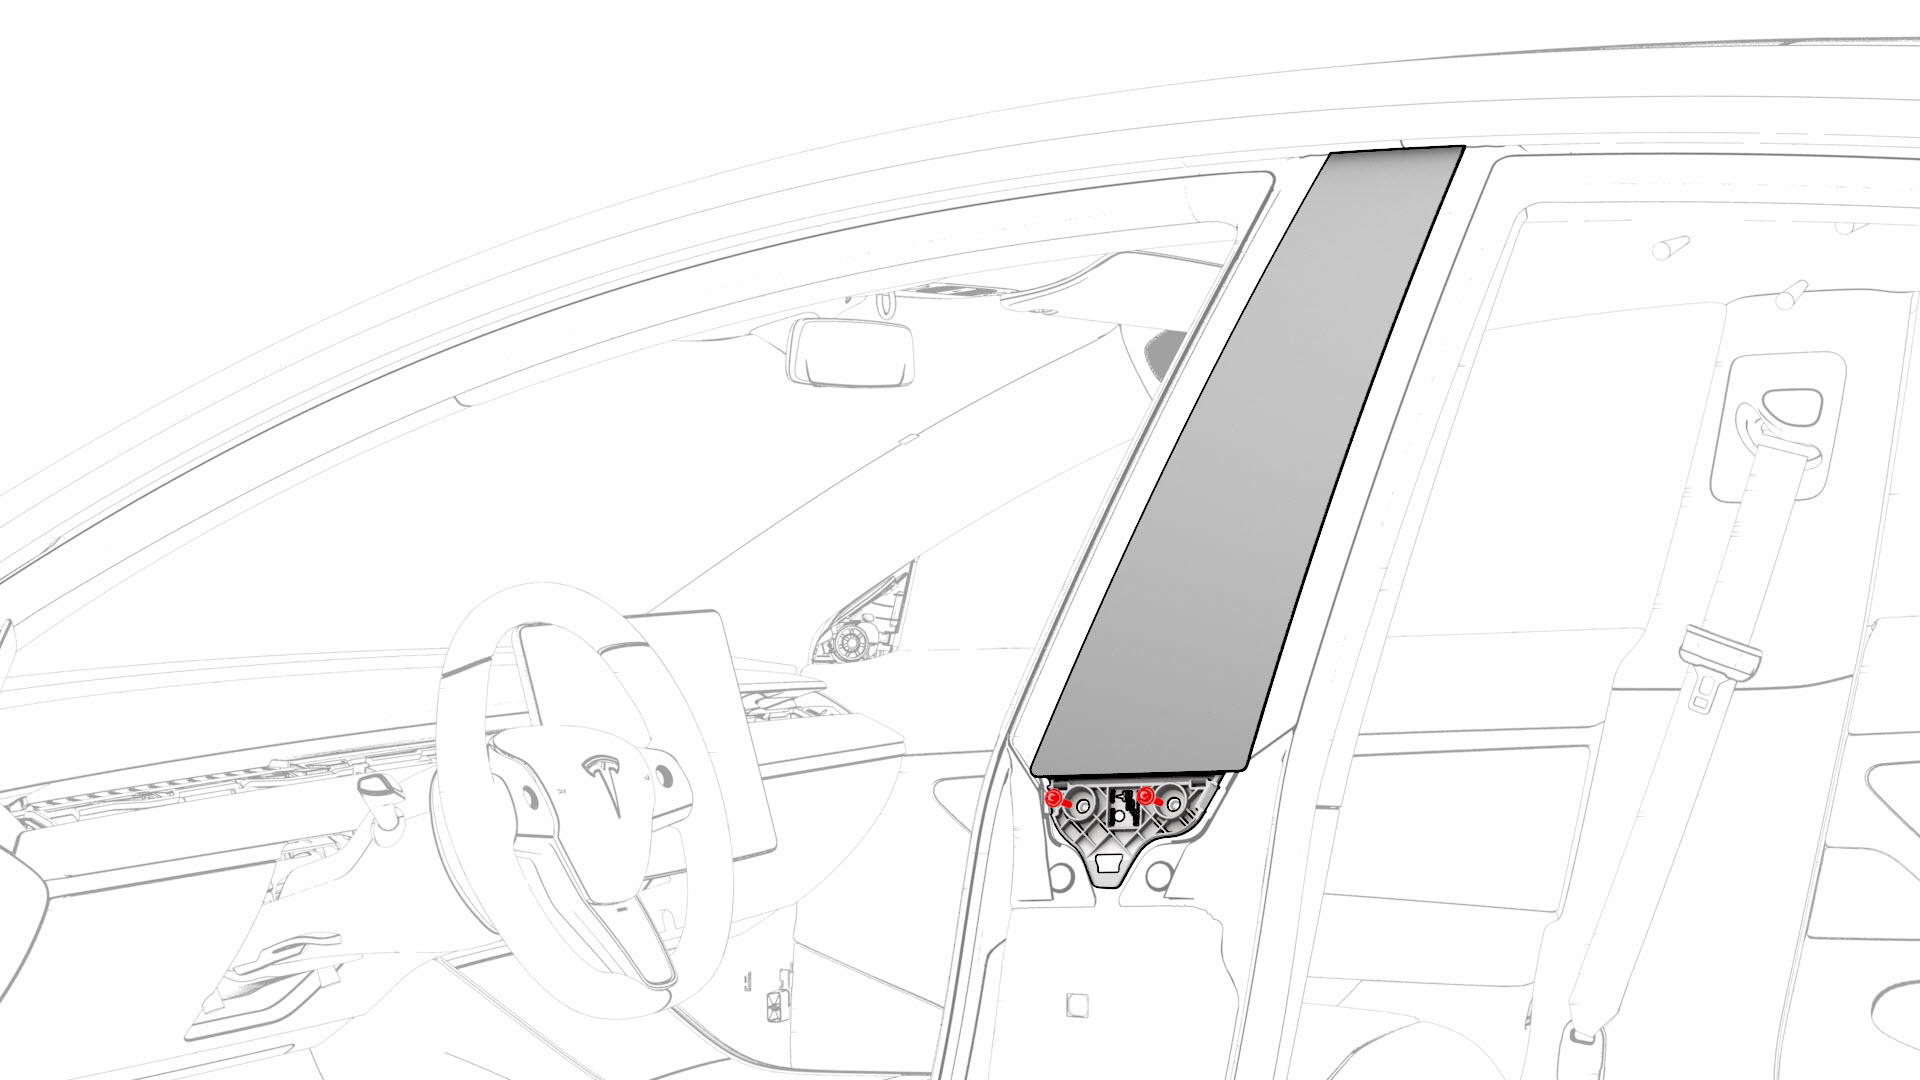
Remove the bolts that attach the B-pillar applique to the body, but do not remove the applique from the vehicle at this time.
-
Release the B-pillar applique from the body, and then disconnect the camera connectors from the B-pillar applique.
 Caution:Use caution not to damage the camera connector.
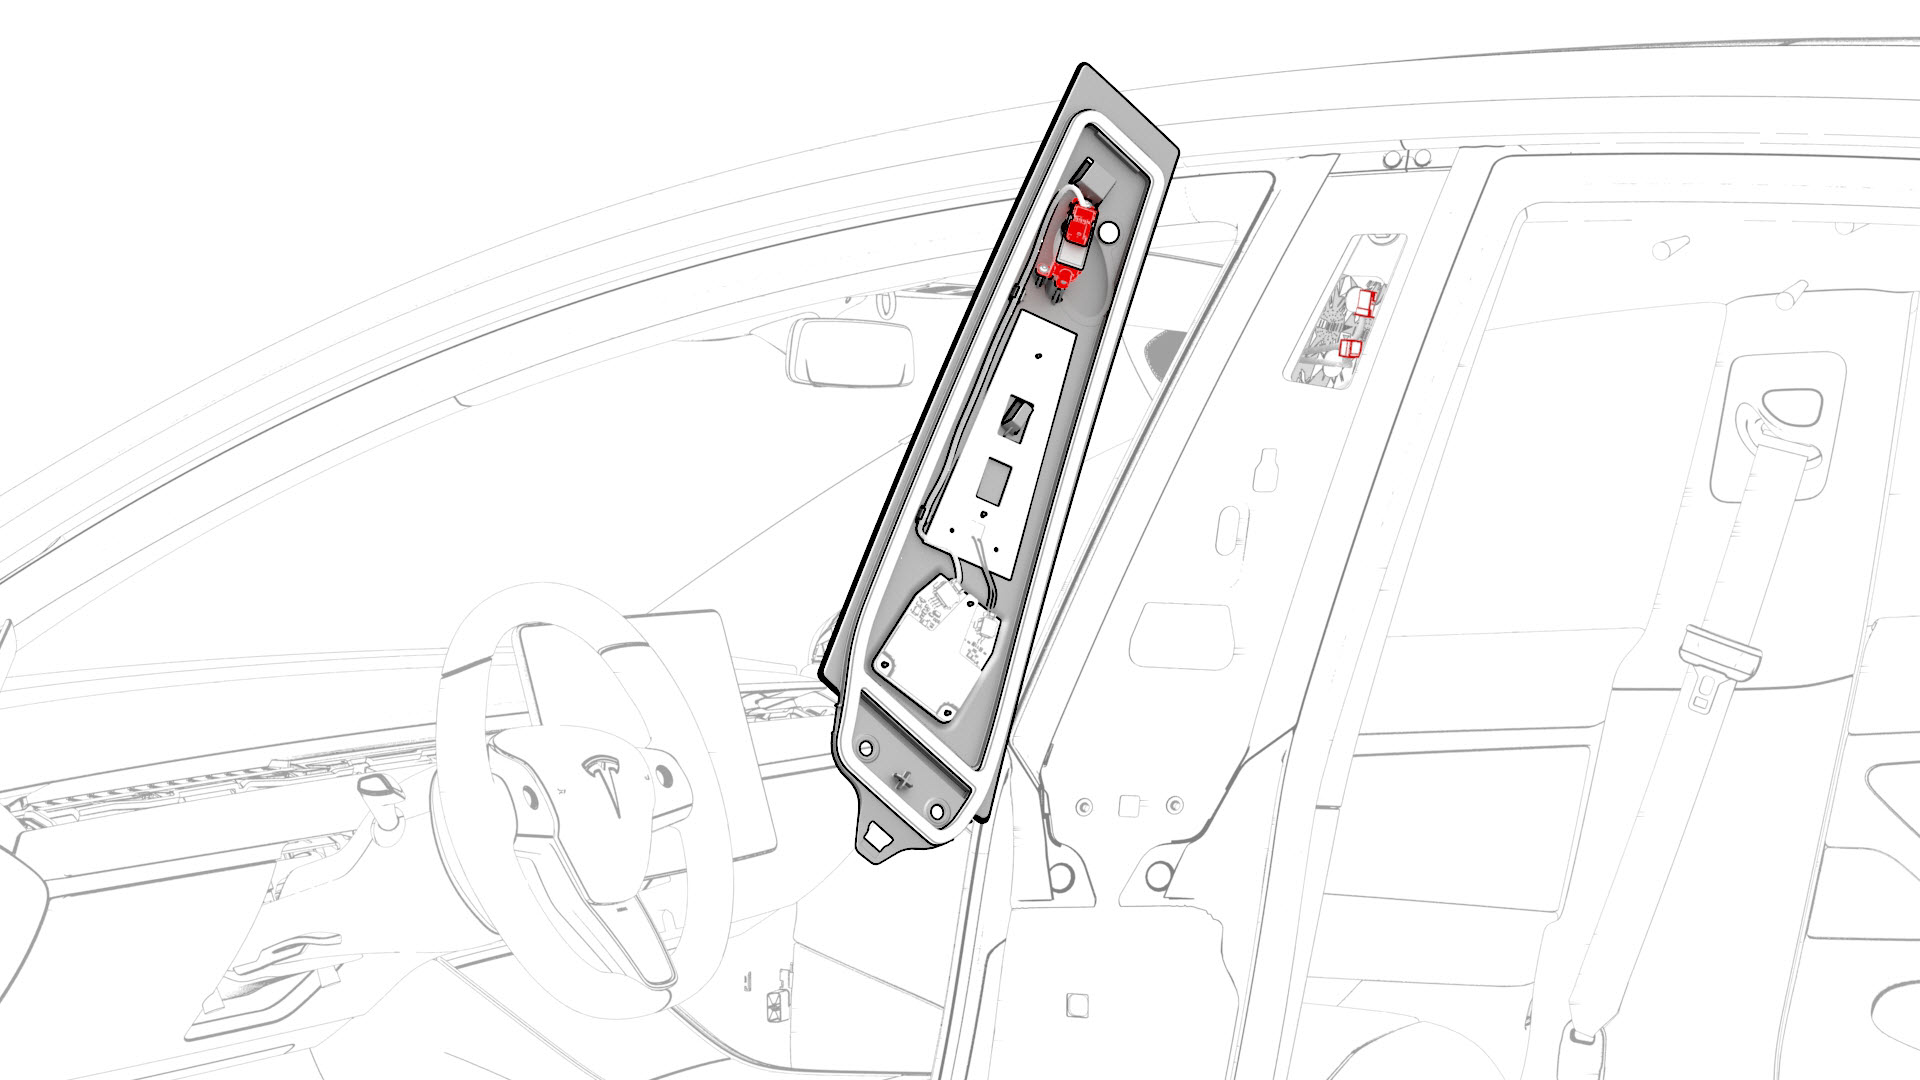
-
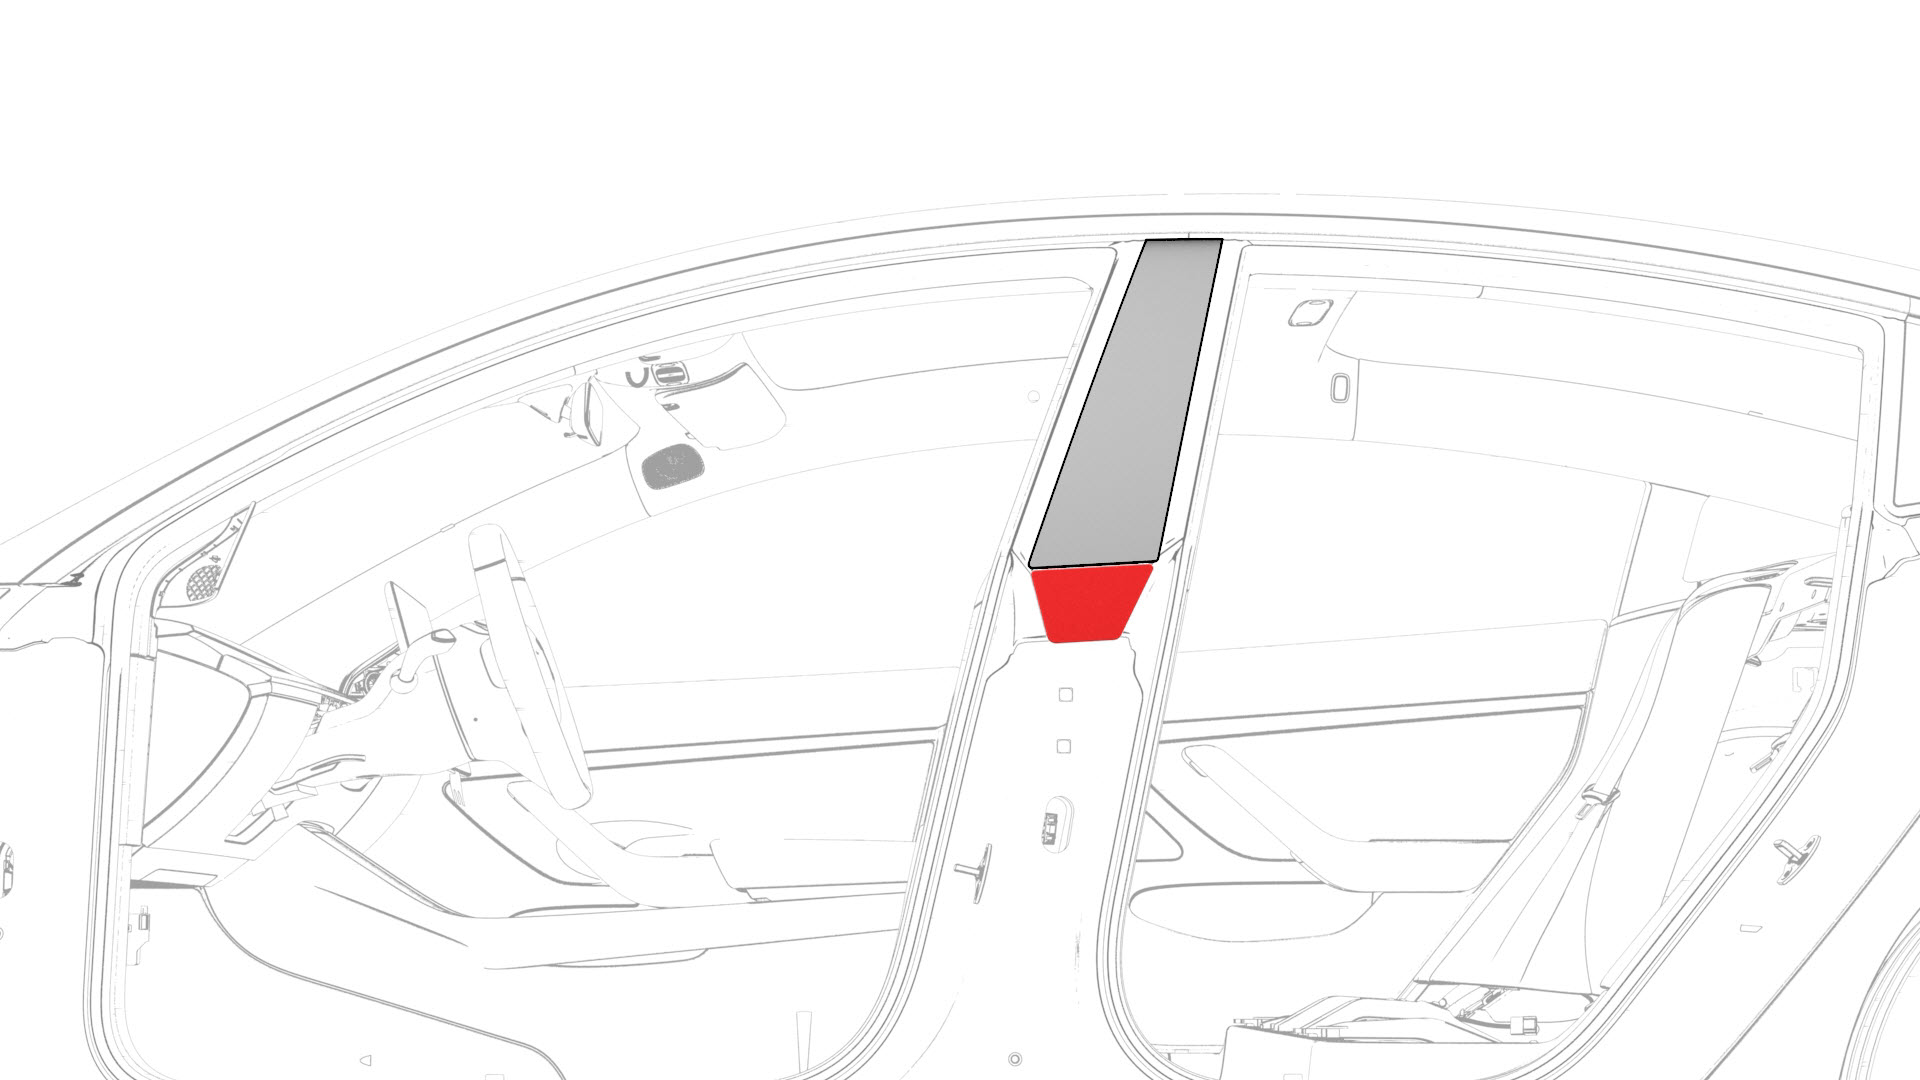
Remove the B-pillar applique from the vehicle.
| 1 | Open the LH front and rear doors. | ||
| 2 | Release the clips that attach the B-pillar applique fastener cover to the vehicle, and then remove the cover. | |
| 3 | Remove the bolts that attach the B-pillar applique to the body, but do not remove the applique from the vehicle at this time. | |
| 4 | Release the B-pillar applique from the body, and then disconnect the camera connectors from the B-pillar applique. Caution: Use caution not to damage the camera connector.
| |
| 5 | Remove the B-pillar applique from the vehicle. |
Install
-
Connect the camera connectors to the B-pillar applique, and then position the applique onto the vehicle.
-
Install the bolts that attach the B-pillar applique to the body.
 Torque 5 Nm
 -
Position the B-pillar applique fastener cover onto the vehicle, and then engage the clips that attach the B-pillar applique fastener cover to the vehicle.
| 1 | Connect the camera connectors to the B-pillar applique, and then position the applique onto the vehicle. | |
| 2 | Install the bolts that attach the B-pillar applique to the body. Torque 5 Nm | |
| 3 | Position the B-pillar applique fastener cover onto the vehicle, and then engage the clips that attach the B-pillar applique fastener cover to the vehicle. | |
| 4 | Close the LH rear door. | ||
| 5 | Update the vehicle firmware using a laptop connected to Garage. | ||
| 6 | Connect a laptop with Toolbox to the vehicle. | ||
| 7 | Close the LH front door. | ||
| 8 | Click on the "Dashboard" tab. | ||
| 9 | Click on "Service Tools". | ||
| 10 | Click on "DAS Image Capture". | ||
| 11 | Click on "Capture Image" to check the current settings. | ||
| 12 | Review the images to make sure all cameras are able to capture images correctly. | ||
| 13 | Verify that all key cards work on the B-pillar applique as designed. |