TXV Valve - Evaporator (Remove and Replace)
Correction code 1820500218205002
Remove
-
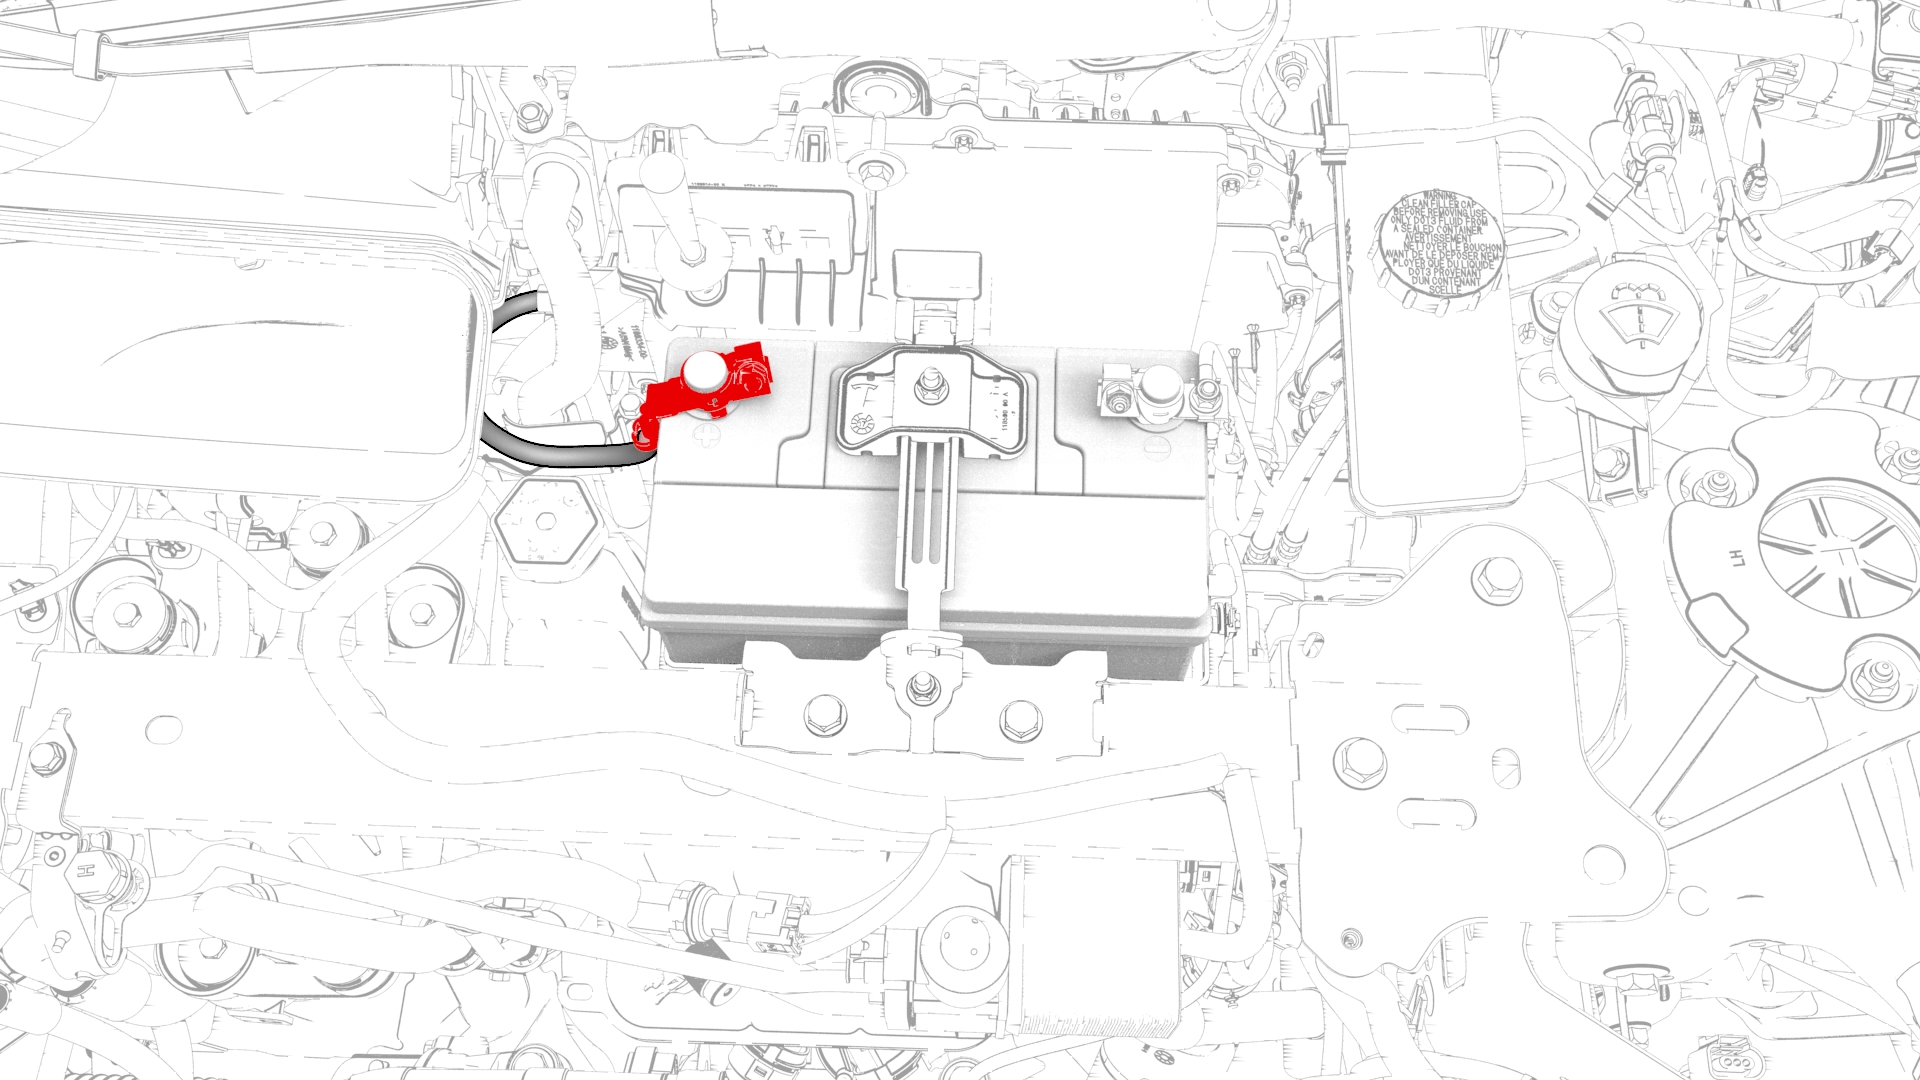
Loosen the nut that attaches the positive harness to the battery, and then remove the harness from the battery.
-
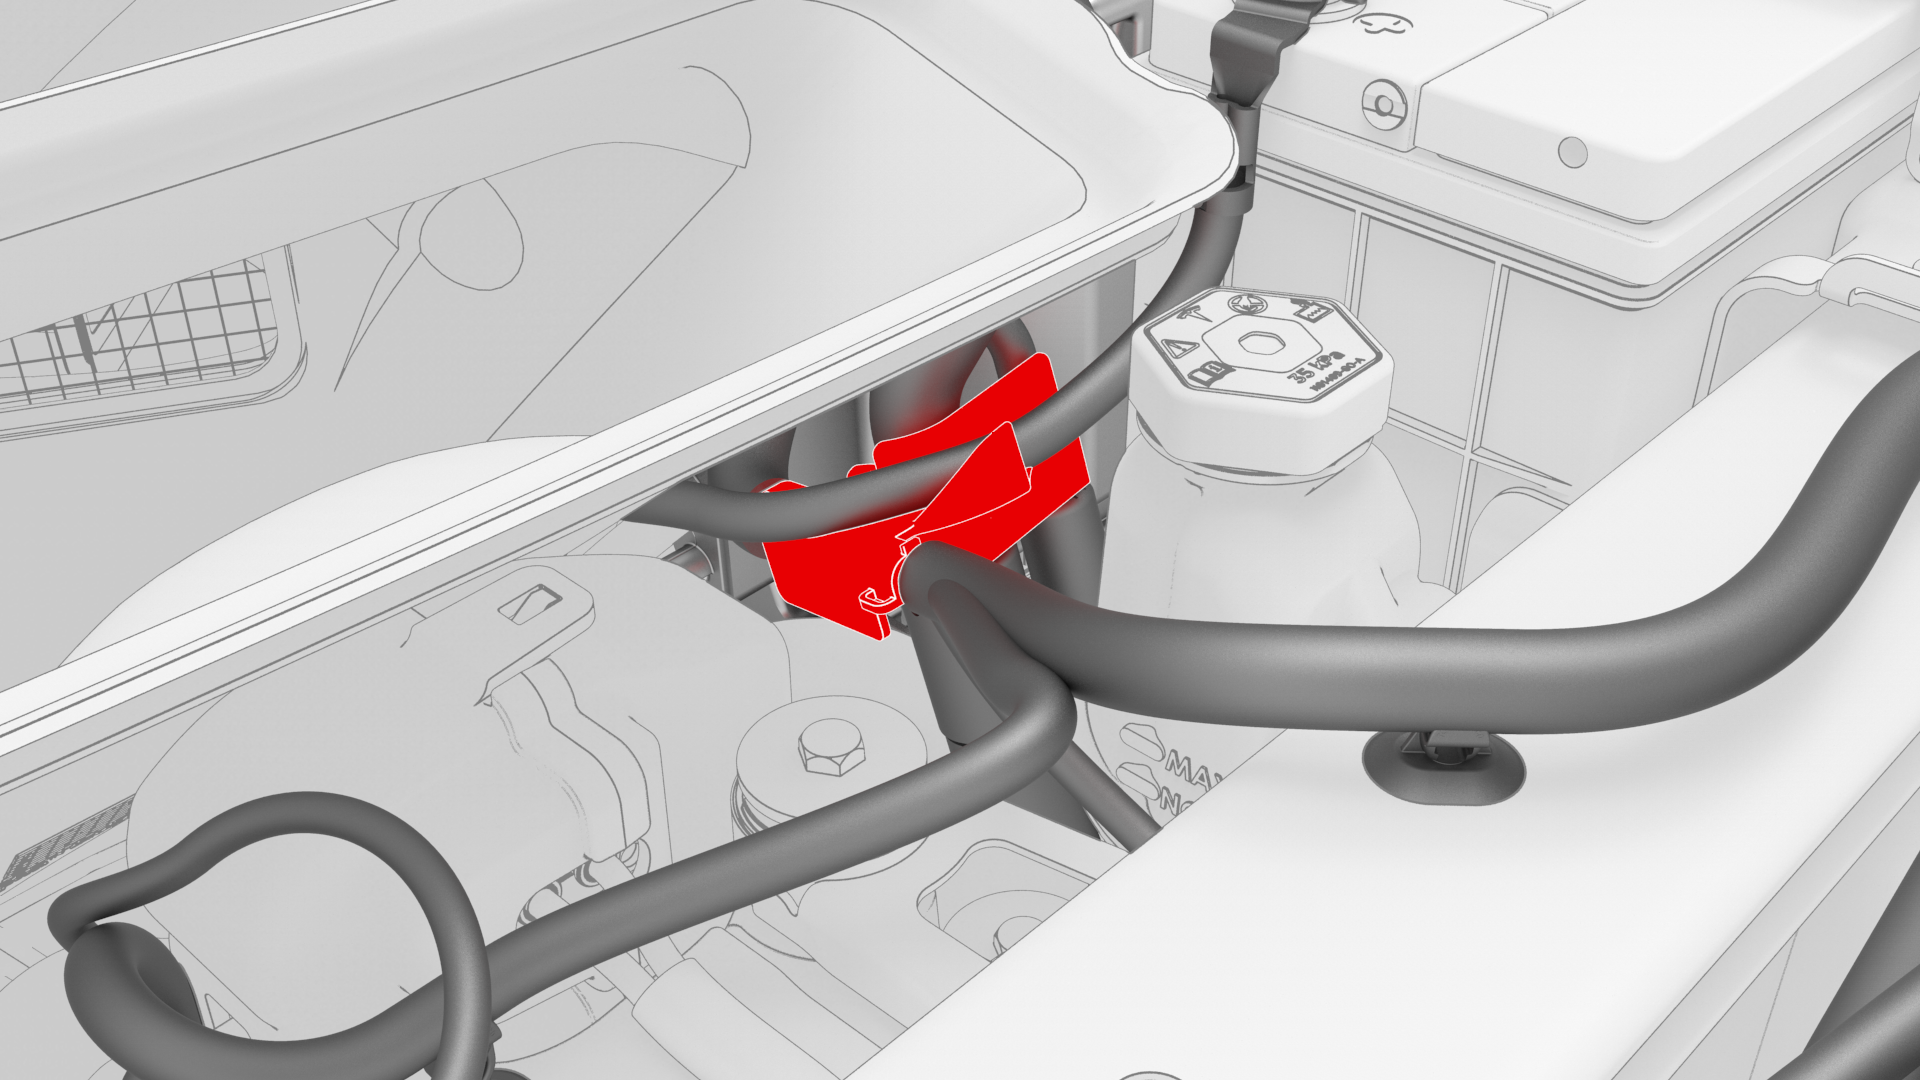
Release the clip that attaches the suction/liquid lines to the electrical harness near the TXV.
-
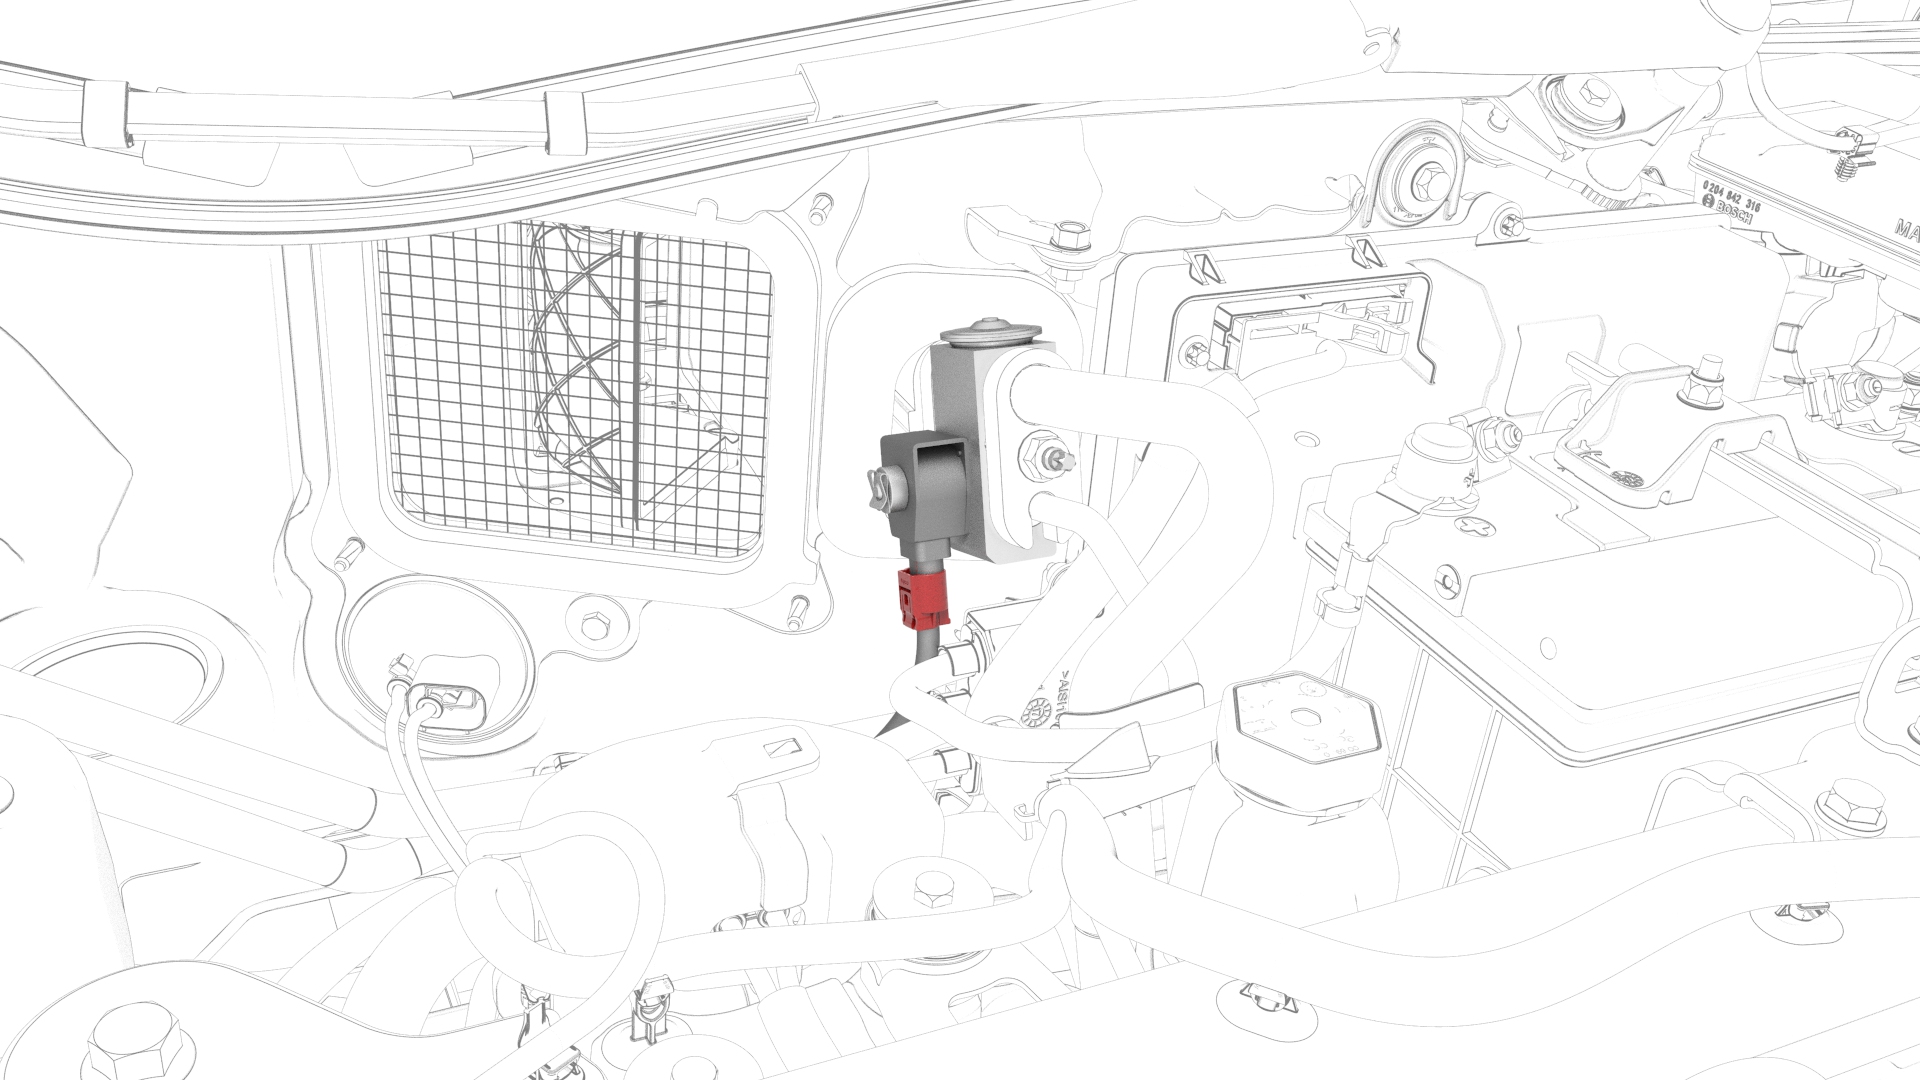
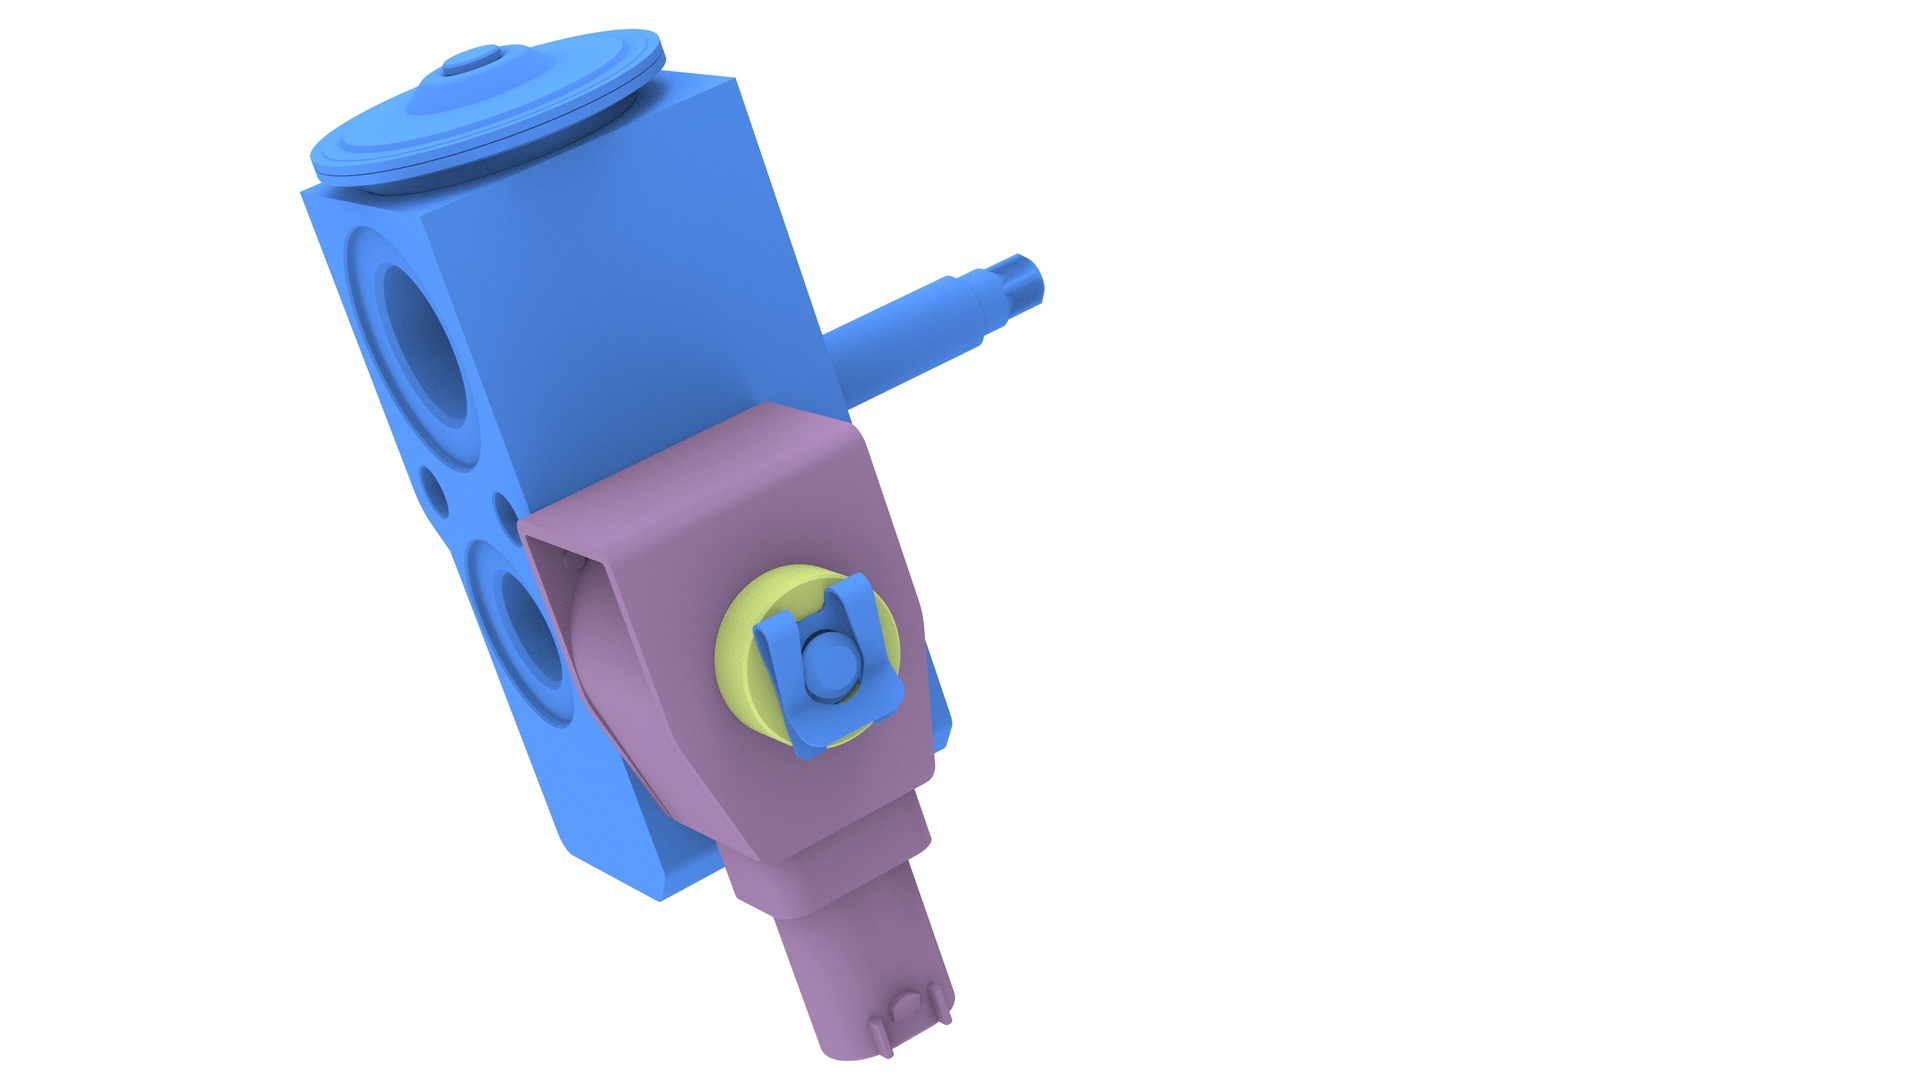
Disconnect the electrical harness from the TXV valve connector.
-
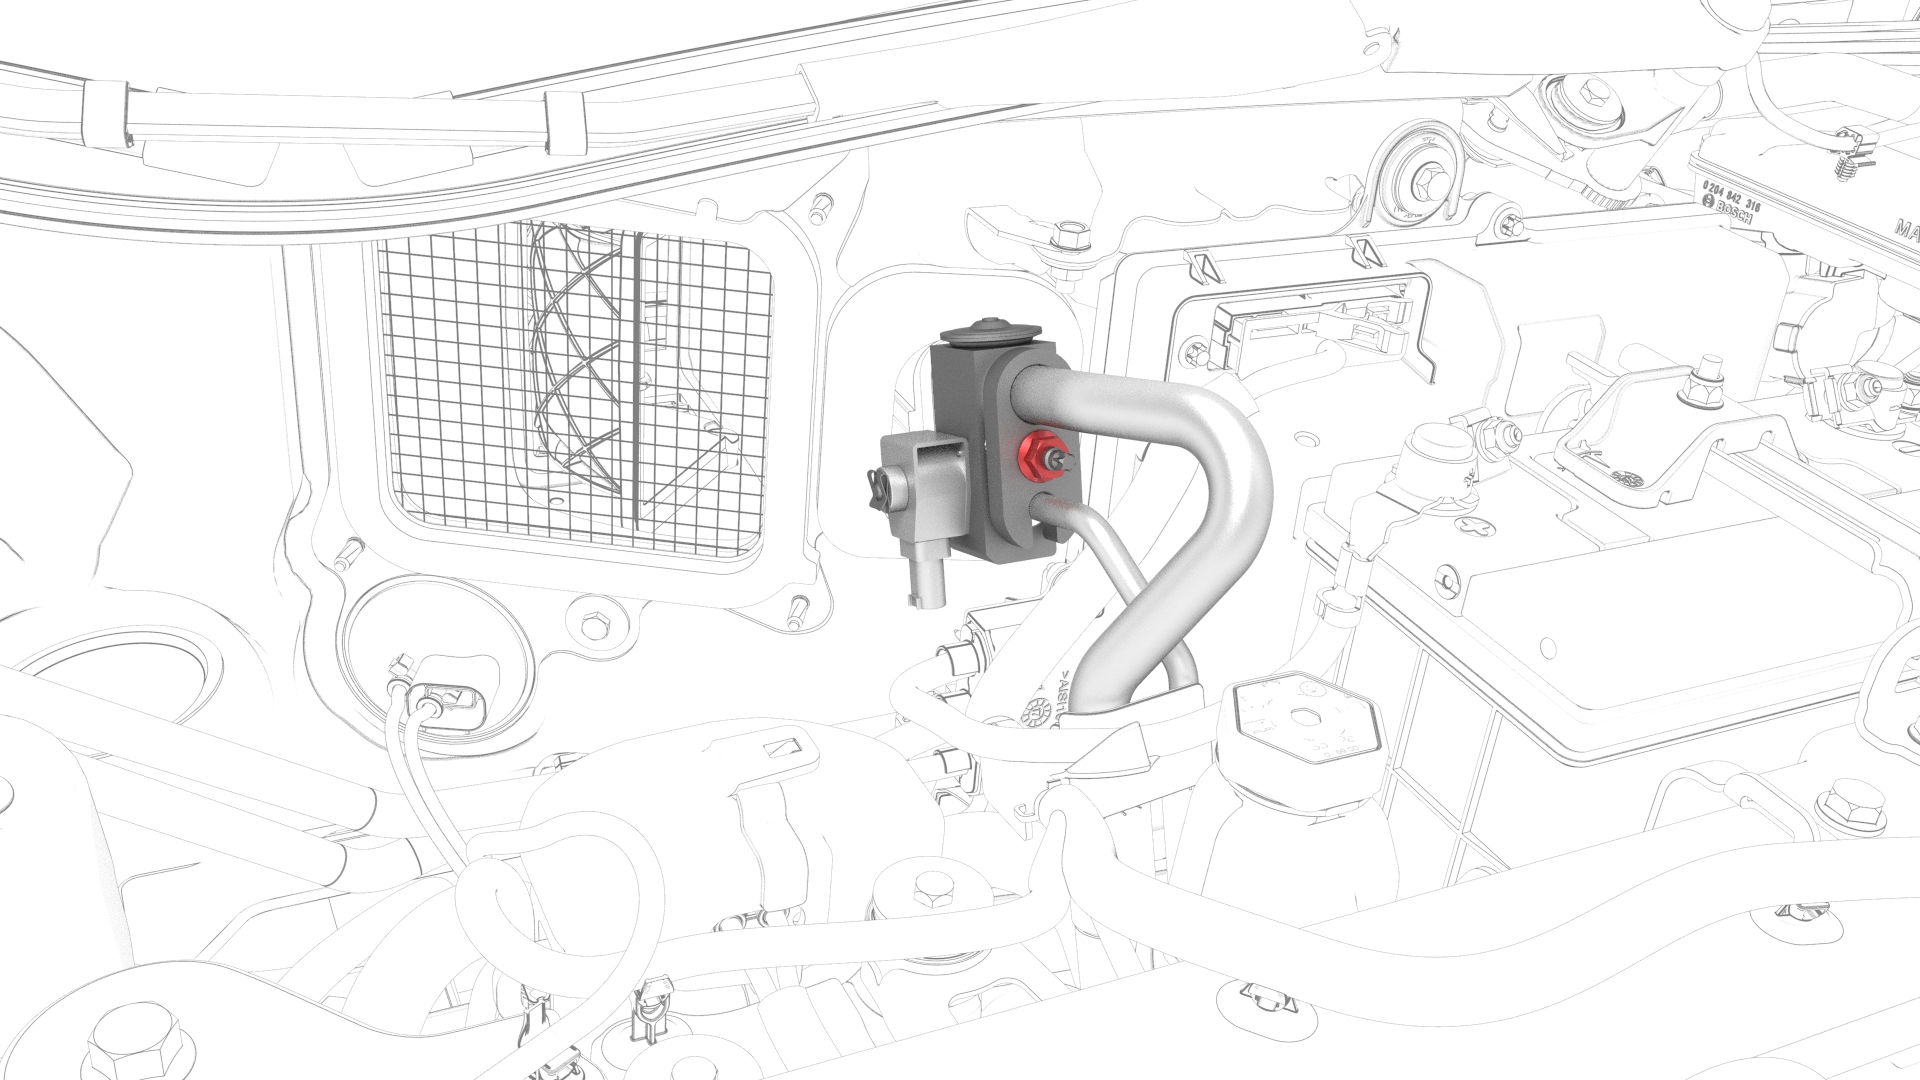
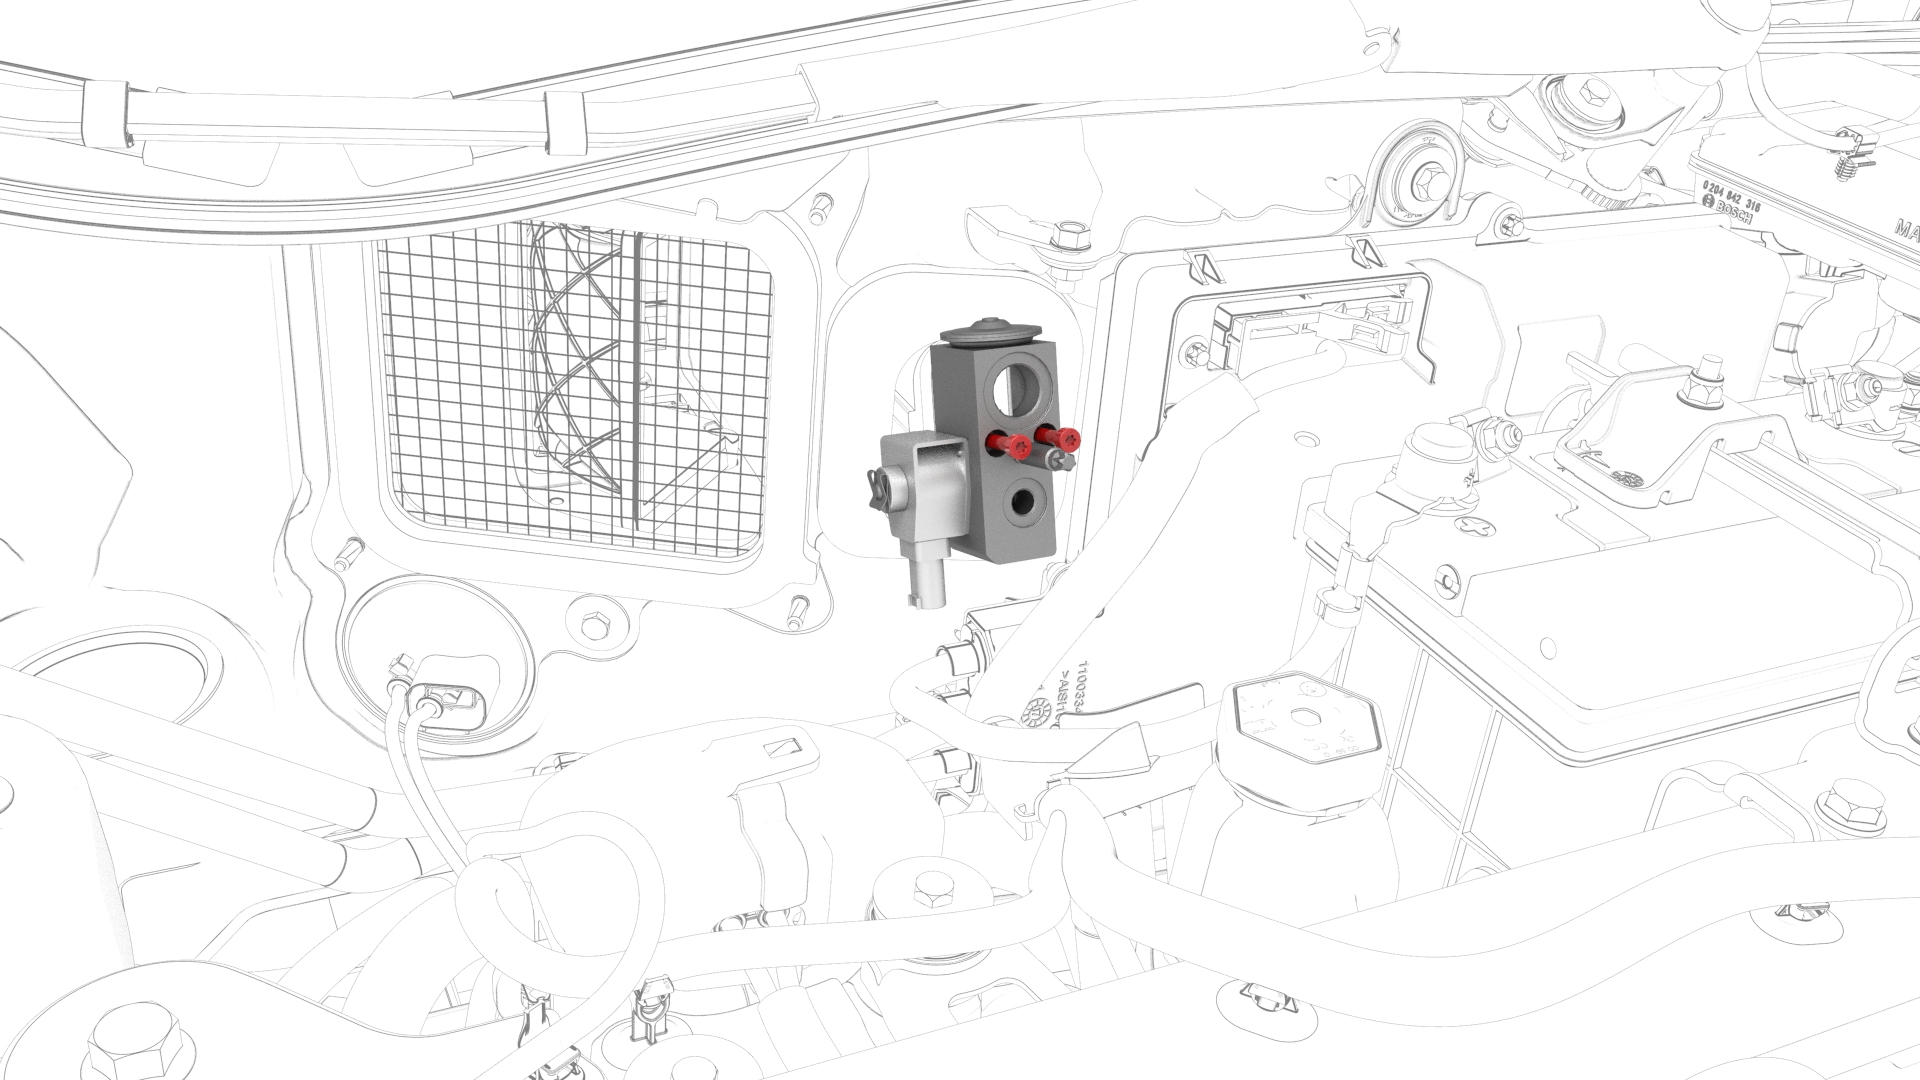
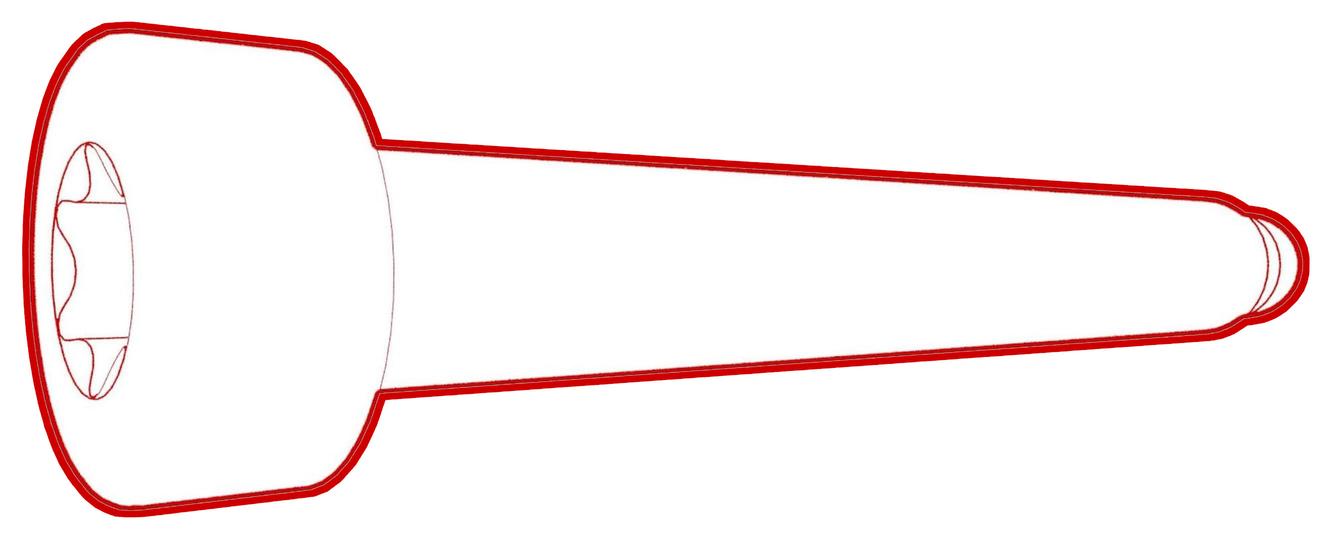
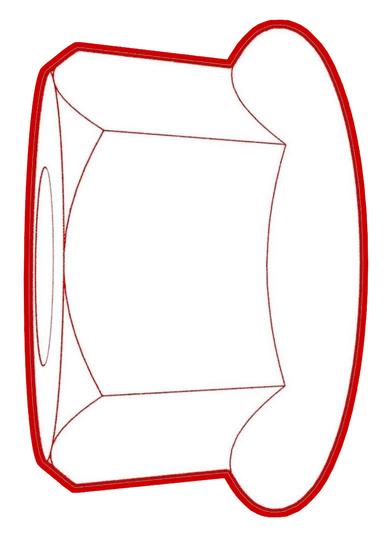
After the refrigerant has been fully recovered, remove the nut that attaches the suction/liquid lines fitting to the TXV valve, and then remove the fitting from the TXV valve.
-
Remove the bolts that attach the TXV valve to the HVAC module, and then remove the TXV valve from the HVAC module.
| 1 | Disconnect 12V power. See 12V Power (Disconnect and Connect). | ||
| 2 | Remove the underhood storage unit. See Underhood Storage Unit (Remove and Replace). | ||
| 3 | Recover the A/C refrigerant. See A/C Refrigerant (Recovery and Recharge). Note: The following steps can be performed while the refrigerant is recovered.
| ||
| 4 | Remove the inner HVAC plenum duct. See Duct - HVAC Plenum - Inner (Remove and Replace). | ||
| 5 | Remove the cover for the 12V positive terminal. | ||
| 6 | Loosen the nut that attaches the positive harness to the battery, and then remove the harness from the battery. | |
| 7 | Release the clip that attaches the suction/liquid lines to the electrical harness near the TXV. | |
| 8 | Disconnect the electrical harness from the TXV valve connector. | |
| 9 | After the refrigerant has been fully recovered, remove the nut that attaches the suction/liquid lines fitting to the TXV valve, and then remove the fitting from the TXV valve. | |
| 10 | Remove and discard the o-rings (x2) from the suction/liquid lines fitting. | ||
| 11 | Remove the bolts that attach the TXV valve to the HVAC module, and then remove the TXV valve from the HVAC module. | |
| 12 | Remove and discard the o-rings (x2) from the HVAC module. |
Install
-
Install the TXV valve onto the HVAC module, and then install the bolts that attach the TXV valve to the HVAC module.
 Torque 7.2 Nm
 -
Install the suction/liquid lines fitting into the TXV valve, and then install the nut that attaches the suction/liquid lines fitting to the TXV valve.
 Torque 22 Nm
 -
Connect the electrical harness to the TXV valve connector.
-
Fasten the clip that attaches the suction/liquid lines to the electrical harness near the TXV.
-
Install the positive harness onto the battery, and tighten the nut that attaches the positive harness to the battery.
 Torque 6 Nm
| 1 | Install new o-rings (x2) onto the HVAC module. | ||
| 2 | Install the TXV valve onto the HVAC module, and then install the bolts that attach the TXV valve to the HVAC module. Torque 7.2 Nm | |
| 3 | Install new o-rings (x2) onto the suction/liquid lines fitting. | ||
| 4 | Install the suction/liquid lines fitting into the TXV valve, and then install the nut that attaches the suction/liquid lines fitting to the TXV valve. Torque 22 Nm | |
| 5 | Perform the A/C refrigerant recharge concurrently with the remainder of this procedure. See A/C Refrigerant (Recovery and Recharge). | ||
| 6 | Connect the electrical harness to the TXV valve connector. | |
| 7 | Fasten the clip that attaches the suction/liquid lines to the electrical harness near the TXV. | |
| 8 | Install the positive harness onto the battery, and tighten the nut that attaches the positive harness to the battery. Torque 6 Nm | |
| 9 | Install the cover for the 12V positive terminal. | ||
| 10 | Install the inner HVAC plenum duct. See Duct - HVAC Plenum - Inner (Remove and Replace). | ||
| 11 | Connect 12V power. See 12V Power (Disconnect and Connect). Note: Do not install the rear apron at this time.
| ||
| 12 | After the A/C refrigerant recharge has fully completed, verify the operation of the A/C system. | ||
| 13 | Connect a charging cable to the vehicle. | ||
| 14 | Use Toolbox to perform a Thermal System Performance Test. | ||
| 15 | After successful completion of the test, disconnect the charging cable. | ||
| 16 | Install the underhood storage unit. See Underhood Storage Unit (Remove and Replace). |