Handle - Exterior Release - Door - Front - LH (Adjust)
Correction code 1145100011451000
- 1080552-00-AGauge, Taper Step
SPECIAL TOOLS
Gauge, Taper Step (1080552-00-A) |
Procedure
-
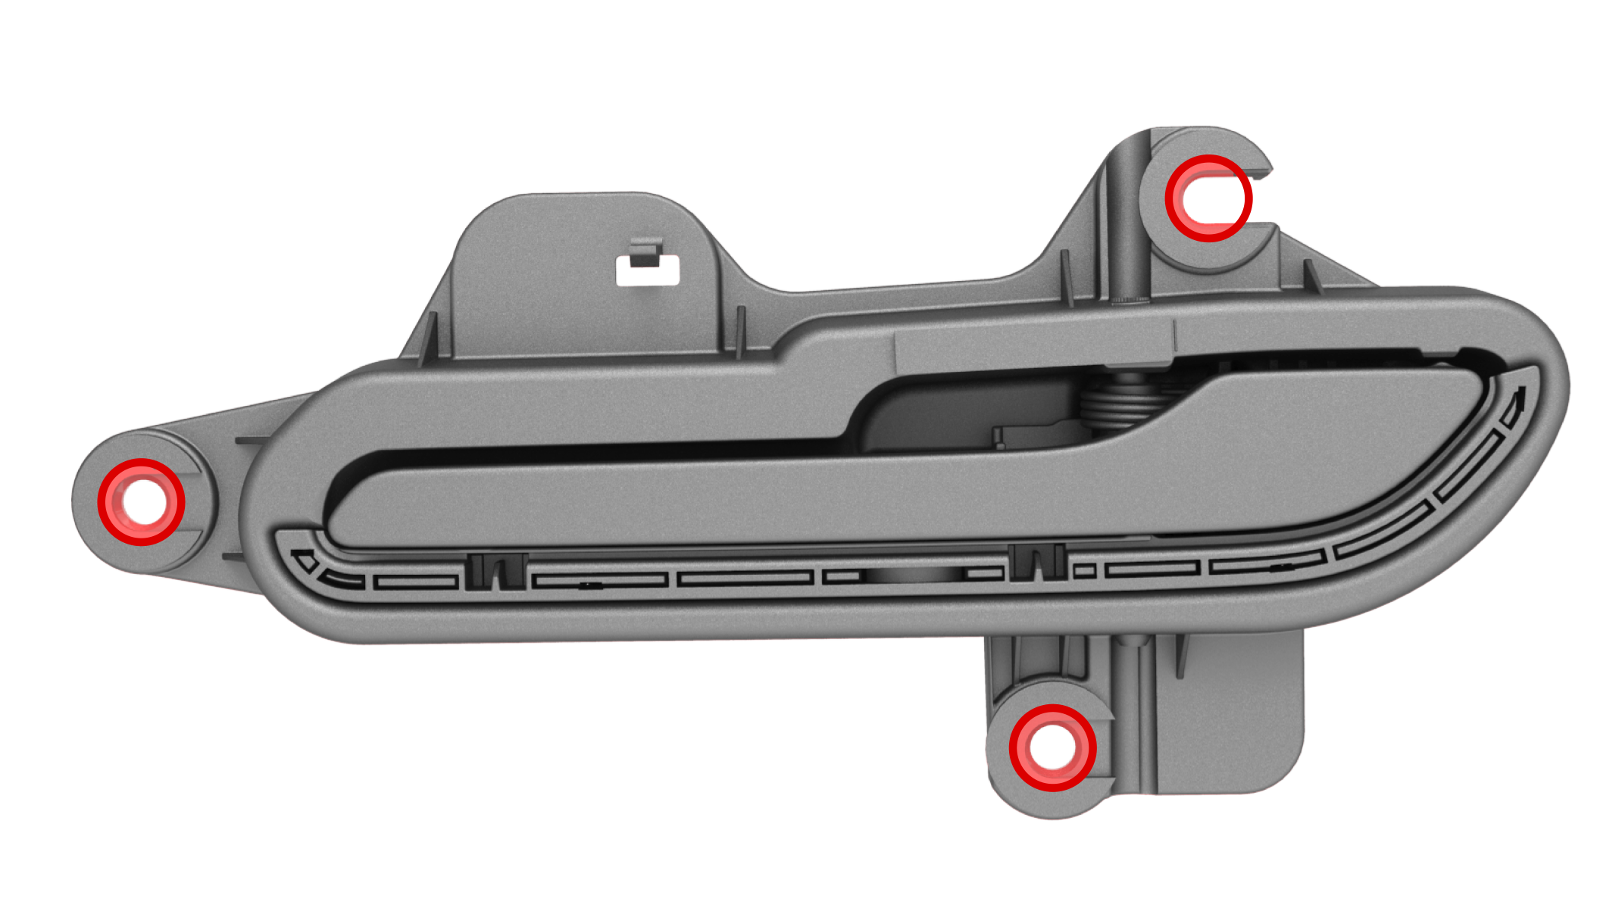
Enlarge the handle mounting holes (x3) to 10mm in diameter.
Note: You might need to enlarge the shims as well.
-
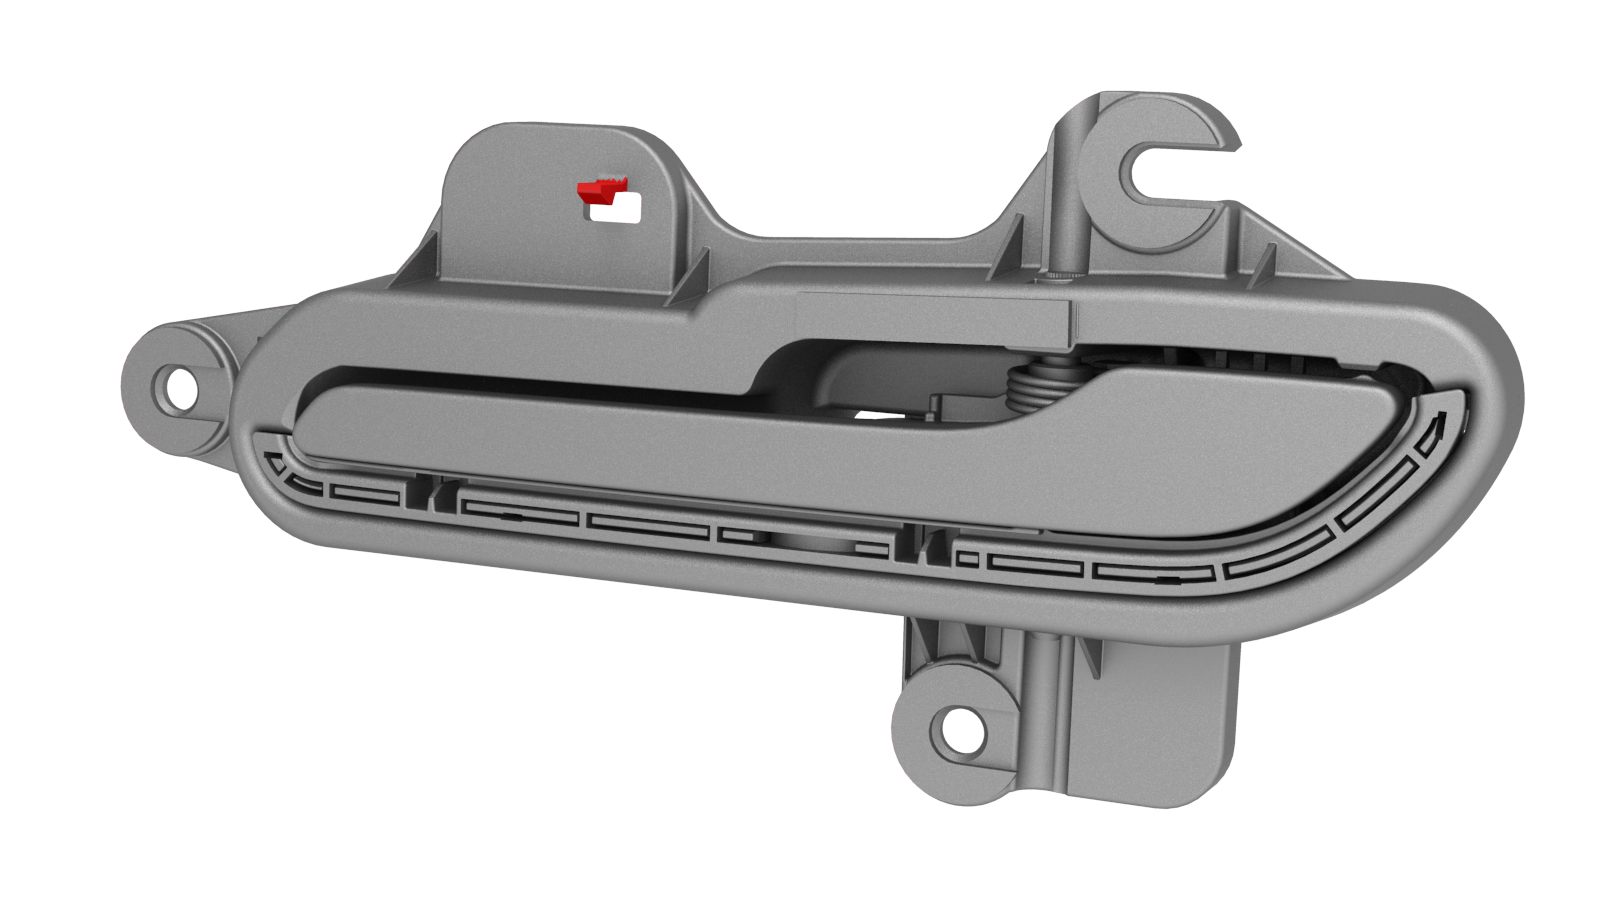
Remove the tempset feature tab from the handle.
-
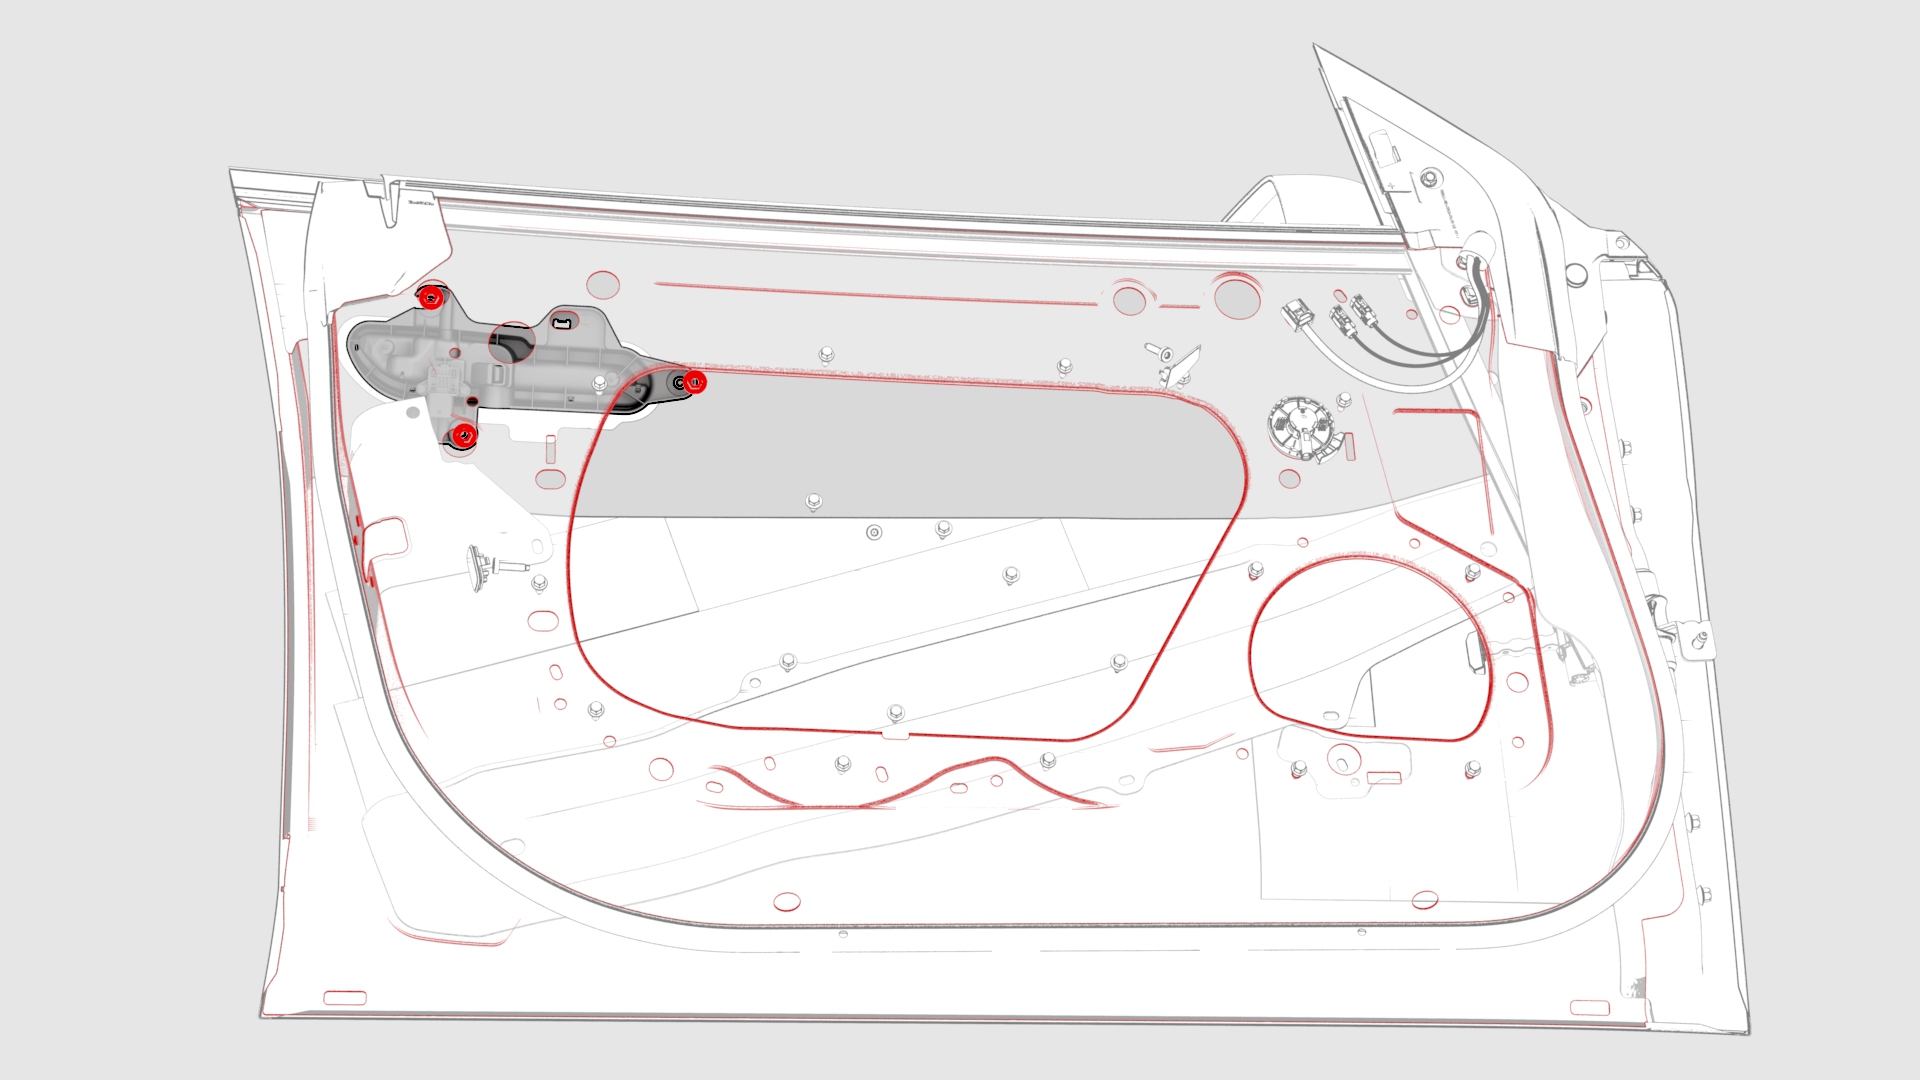
Install the handle onto the door, and then install and hand-tighten the nuts that attach the handle to the door.
-
When the gap and flush are within specification, tighten the nuts that attach the handle to the door.
 Torque 7 Nm
 -
Install the plugs (x2) that cover access to the LH front door exterior release handle nuts.
-
Connect the wiring harness to the LH front door exterior release handle connector.
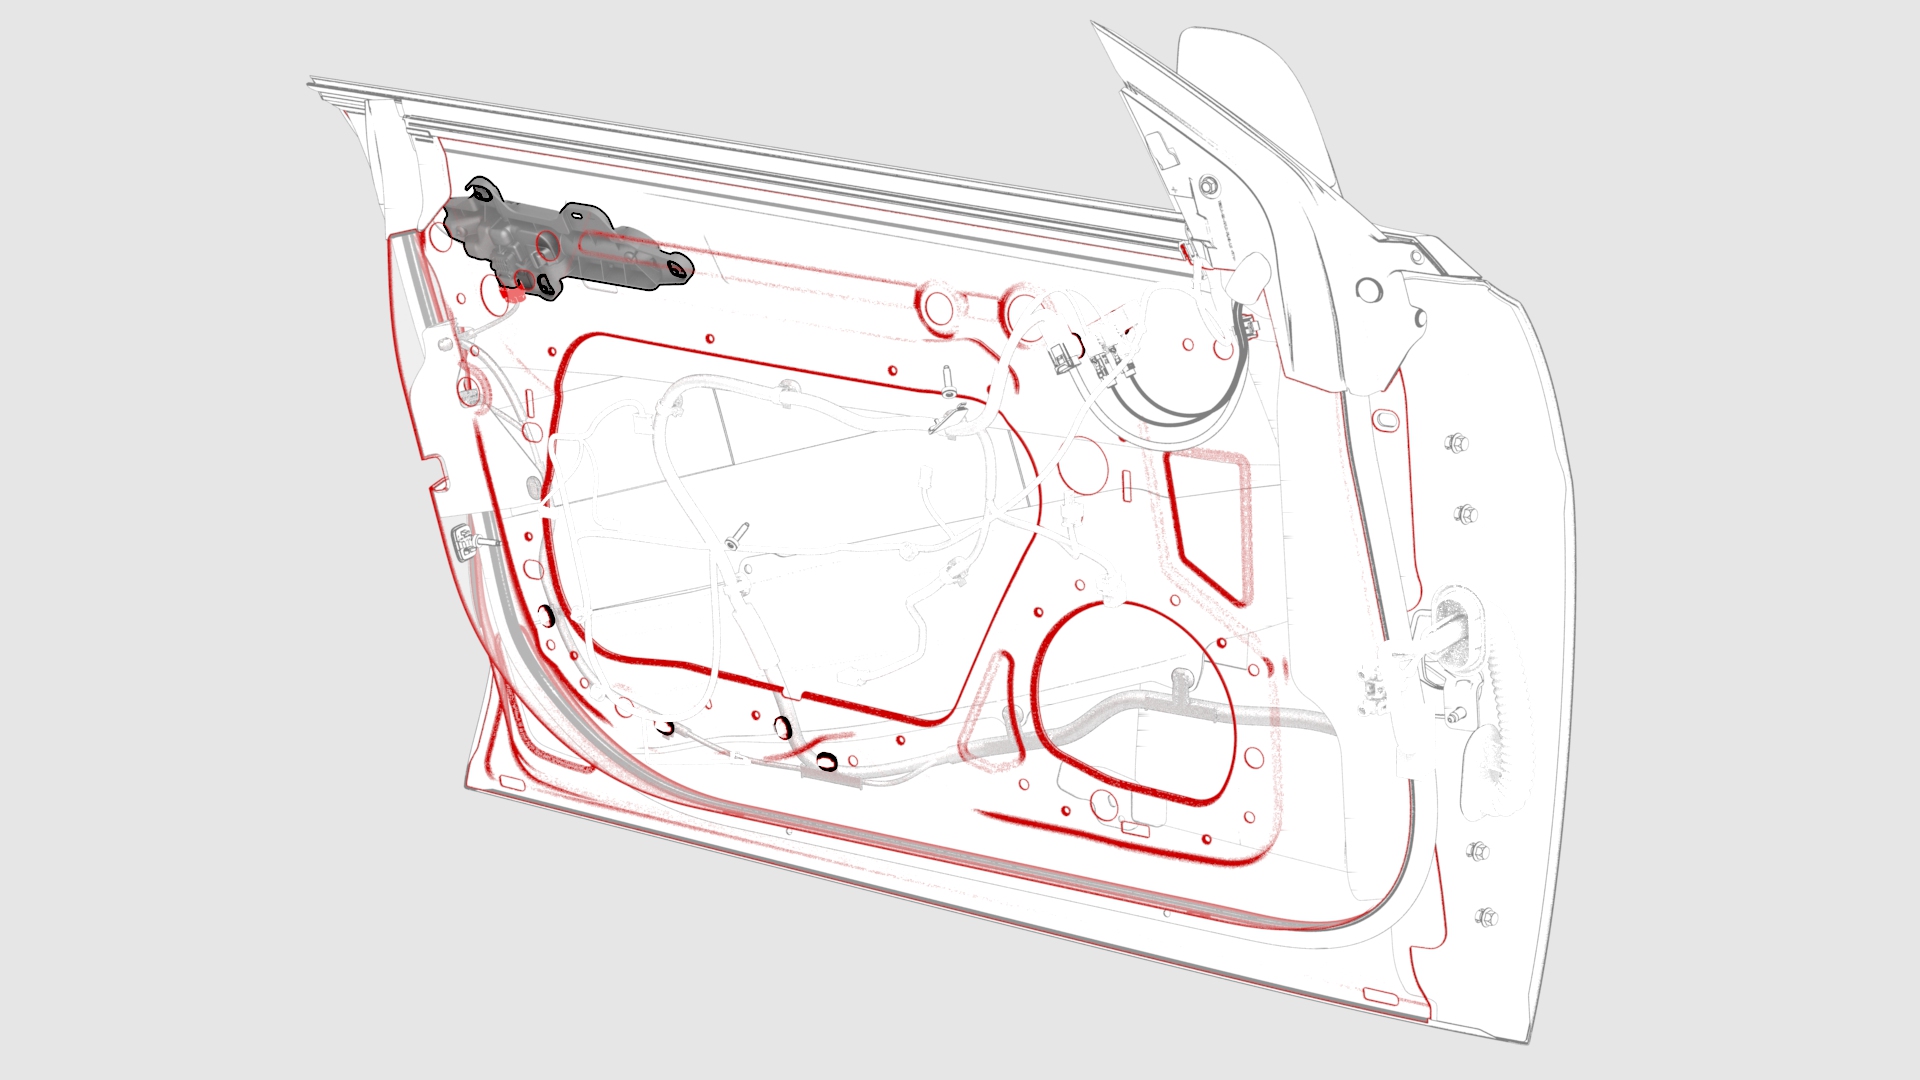
| 1 | Remove the LH front door exterior release handle. See Handle - Exterior Release - Door - Front - LH (Remove and Replace). | ||
| 2 | Exercise the handle mechanism, pulling the handle to the maximum position and releasing it, 5 times. | ||
| 3 | If the handle binds or slows down during the exercise, replace the handle. | ||
| 4 | Remove the shims from the handle, noting which shims are for which mounting hole. | ||
| 5 | Enlarge the handle mounting holes (x3) to 10mm in diameter. Note: You might need to enlarge the shims as well.
| |
| 6 | Remove the tempset feature tab from the handle. | |
| 7 | Return the shims to the handle. Note: Use grease to temporarily hold the shims in place on the handle.
| ||
| 8 | Install the handle onto the door, and then install and hand-tighten the nuts that attach the handle to the door. | |
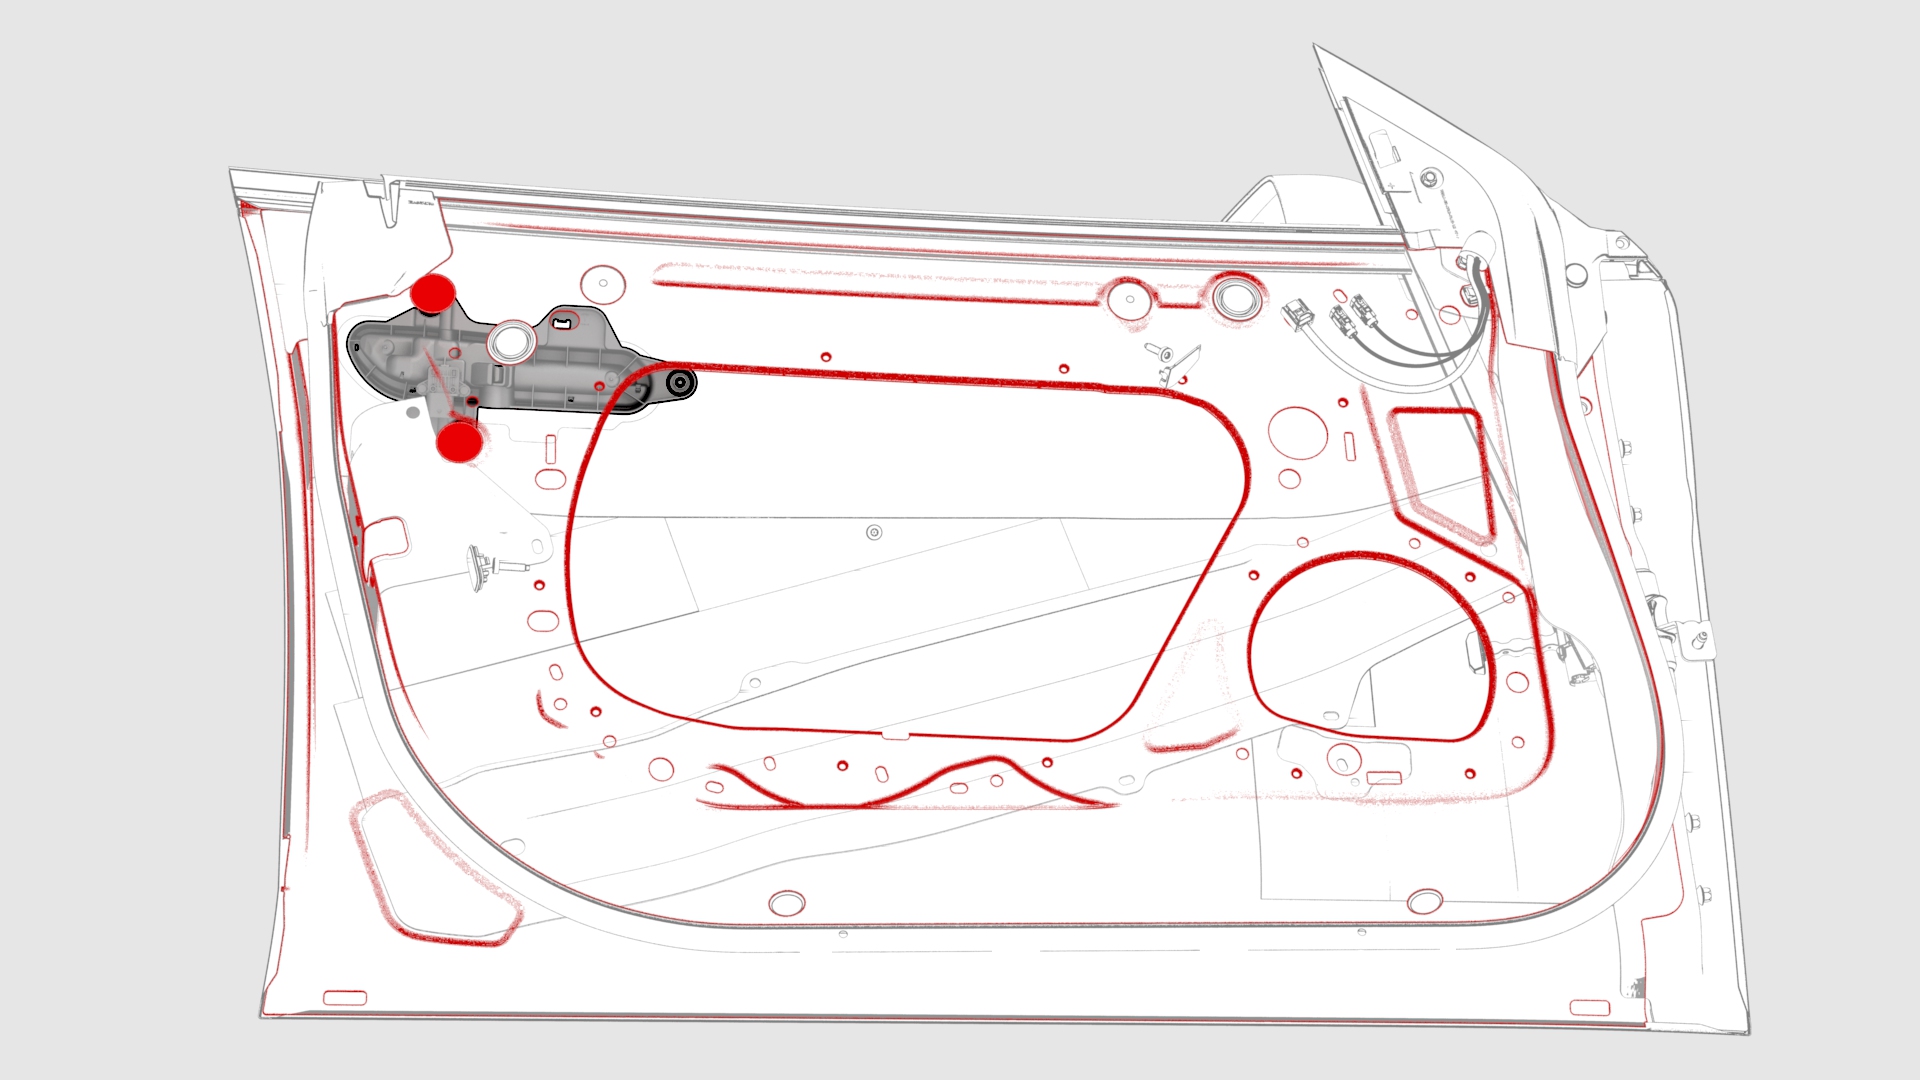
| 9 | Use the taper step gauge to check the gap and flush of the handle to the door surface.
| ||
| 10 | Insert shims between the handle and door inside surface at the handle mounting studs to adjust the gap and flush of the handle, if necessary. Note: Do not stack any more than two shims per mounting stud.
| ||
| 11 | When the gap and flush are within specification, tighten the nuts that attach the handle to the door. Torque 7 Nm | ||
| 12 | Install the plugs (x2) that cover access to the LH front door exterior release handle nuts. | |
| 13 | Connect the wiring harness to the LH front door exterior release handle connector. | |
| 14 | Install the LH front door closeout panel. See Closeout Panel - Door - Front - LH (Remove and Install). | ||
| 15 | Install the front LH door glass. See Glass - Door - LH - Front (Remove and Replace). | ||
| 16 | Install the LH front door trim panel. See Panel - Door Trim - Front - LH (Remove and Install). |