Flood Ports - 2nd Generation (Remove and Replace)
Correction code 1610270216102702
Remove
-
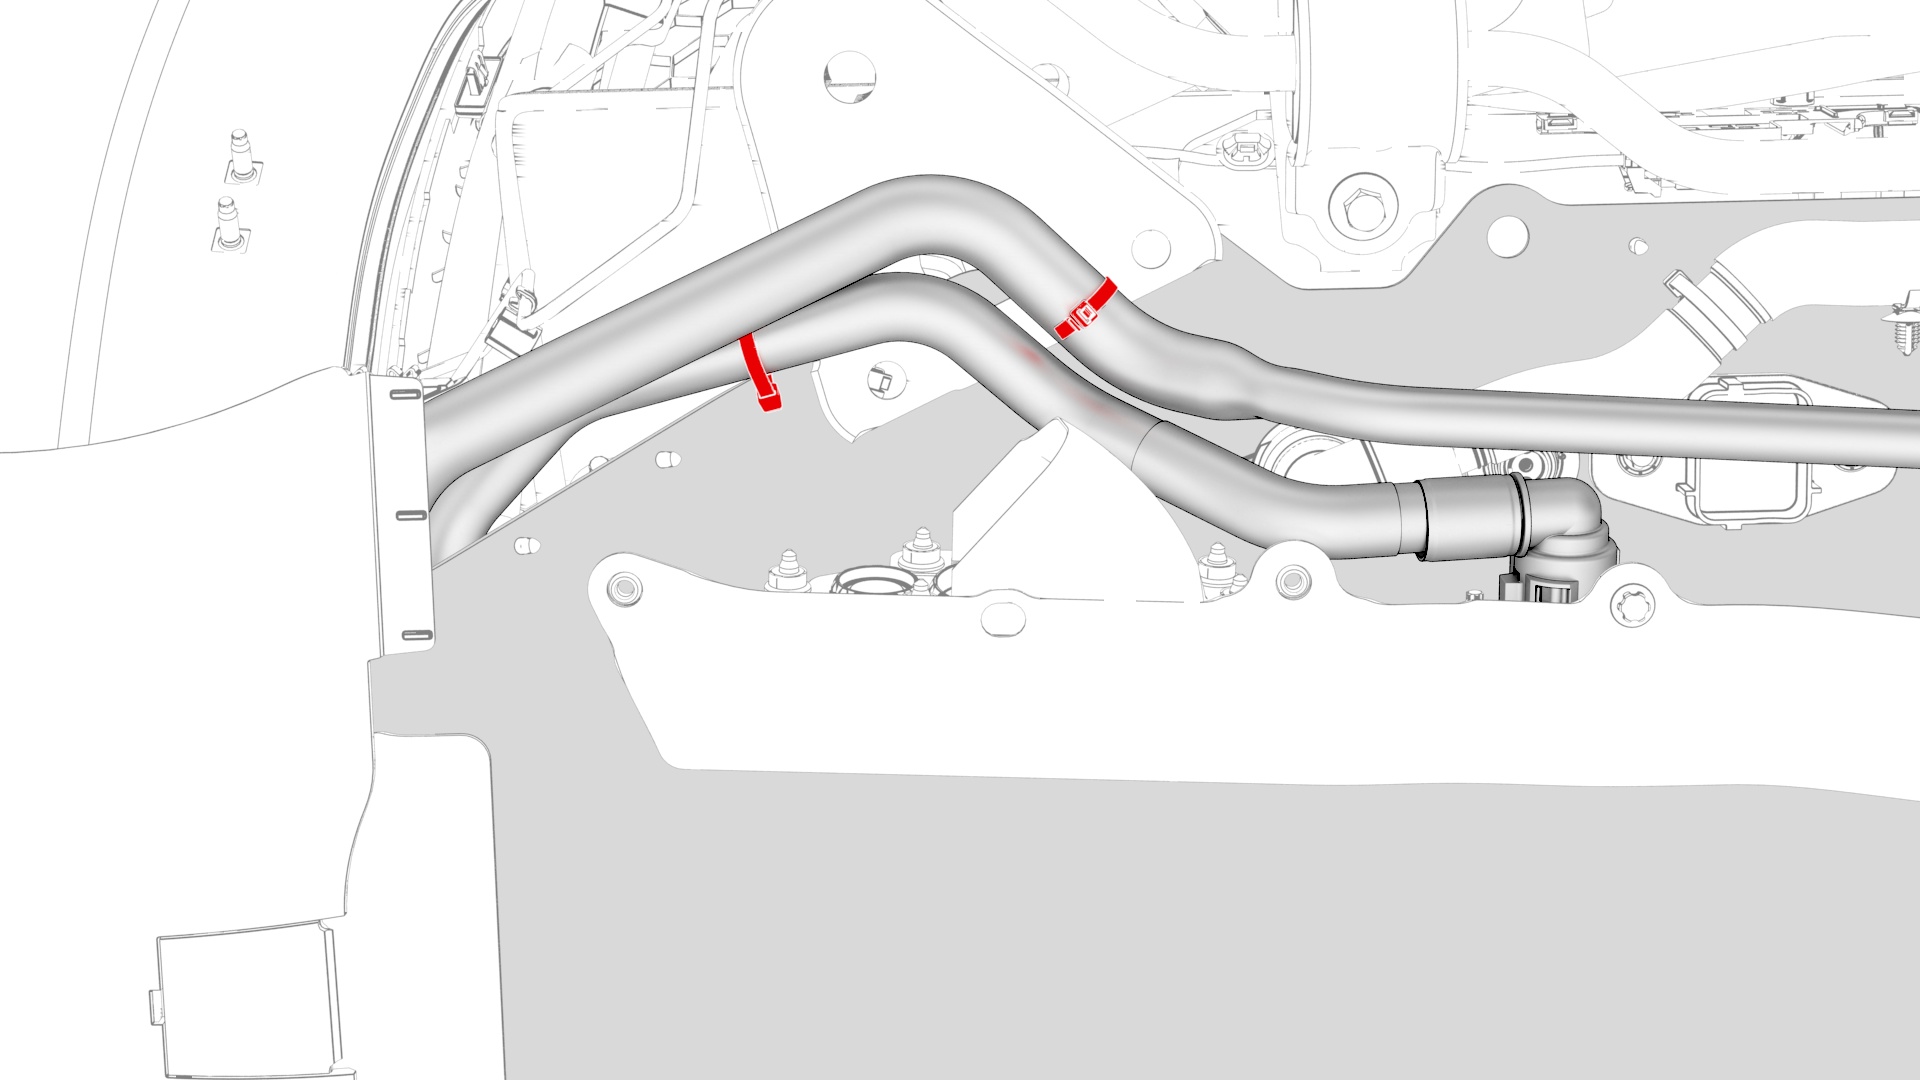
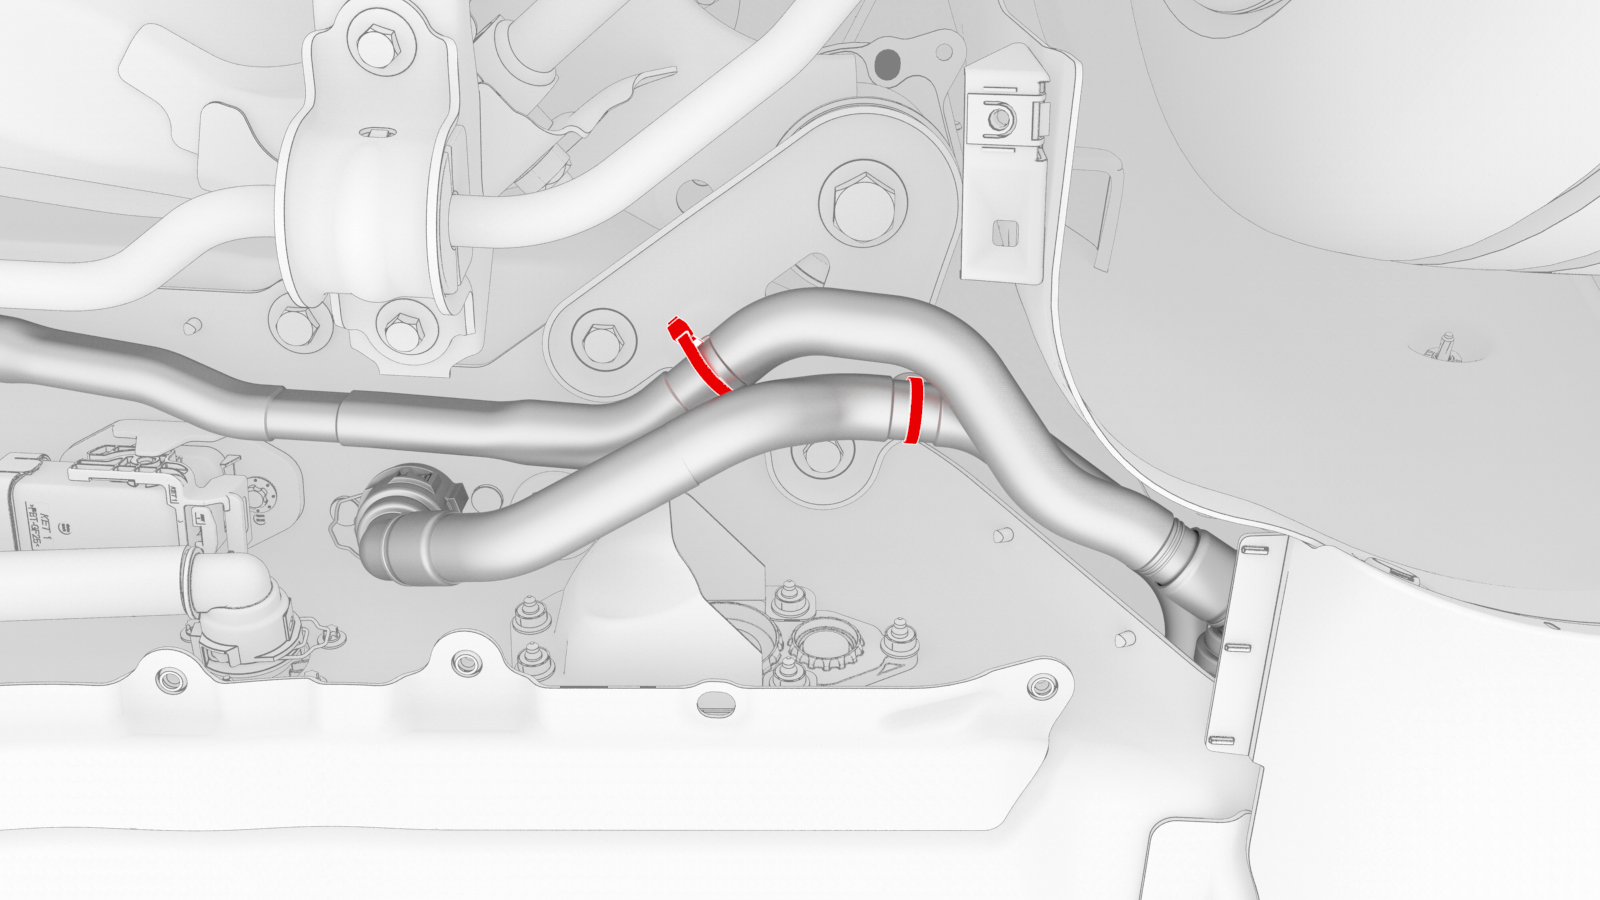
Release the clips that attach the HV battery coolant hoses to the LH shear plate.
-
Release the clips that attach the HV battery coolant hoses to the RH shear plate.
-
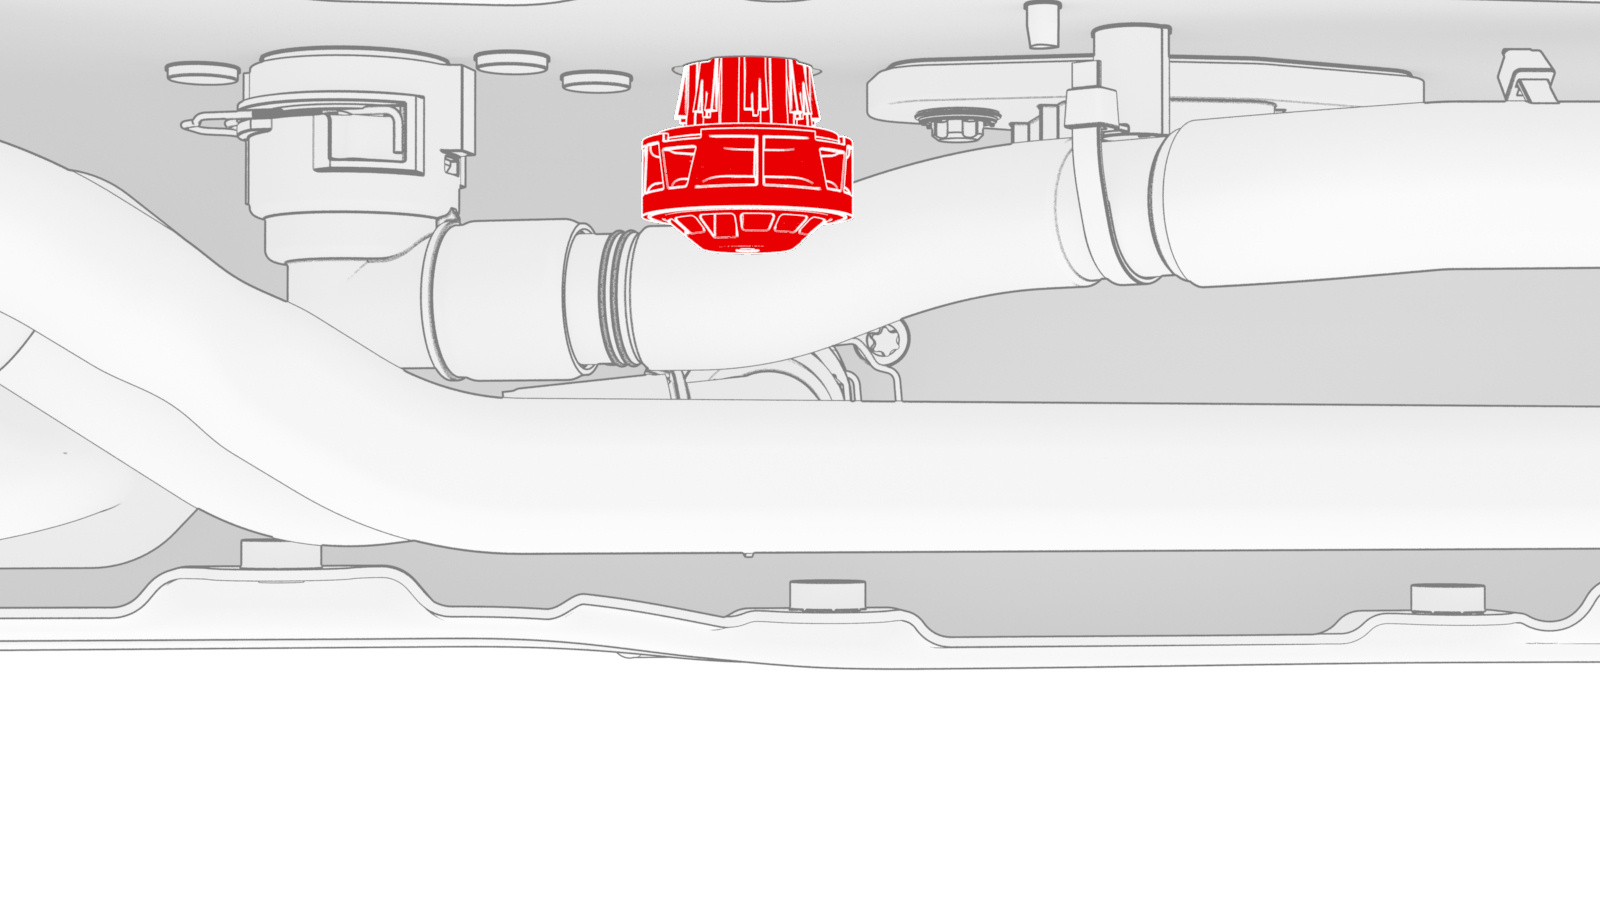
Remove the LH 2nd generation flood port from the LH underside of the HV battery penthouse.
Note: Twist the flood port while pulling down.
| 1 | Connect a laptop with Toolbox 3 to the vehicle. | ||
| 2 | In Toolbox, click in the Search field, and then click Tools. | ||
| 3 | From the Tools menu, click Active Alerts. | ||
| 4 | Click Read Alerts and check for a BMS_a123, BMS_a151, or a BMS_a035 alert. | ||
| 5 | If:
| ||
| 6 | Disconnect the laptop from the vehicle. | ||
| 7 | Perform the vehicle electrical isolation procedure. See Vehicle Electrical Isolation Procedure. | ||
| 8 | Remove the rear HV battery skid plate. See Skid Plate - HV Battery - Rear (Remove and Replace). | ||
| 9 | Release the clips that attach the HV battery coolant hoses to the LH shear plate. | |
| 10 | Release the clips that attach the HV battery coolant hoses to the RH shear plate. | |
| 11 | Remove the LH 2nd generation flood port from the LH underside of the HV battery penthouse. Note: Twist the flood port while pulling down.
| |
| 12 | Repeat step 11 to remove the RH 2nd generation flood port from the RH underside of the HV battery penthouse. |
Install
-
Install a 2nd generation flood port into the opening at the LH underside of the HV battery penthouse.
Note: Press up firmly to fully seat the flood port and fasten the clips (x8) internally.
-
Fasten the clips that attach the HV battery coolant hoses to the RH shear plate.
-
Fasten the clips that attach the HV battery coolant hoses to the LH shear plate.
| 1 | Use an IPA wipe to clean the area around the openings where the flood ports were removed. | ||
| 2 | Install a 2nd generation flood port into the opening at the LH underside of the HV battery penthouse. Note: Press up firmly to fully seat the flood port and fasten the clips (x8) internally.
| |
| 3 | Repeat step 2 to install a 2nd generation flood port into the RH underside of the HV battery penthouse. | ||
| 4 | Fasten the clips that attach the HV battery coolant hoses to the RH shear plate. | |
| 5 | Fasten the clips that attach the HV battery coolant hoses to the LH shear plate. | |
| 6 | Check that the HV connections at the rear of the HV battery are tight and secure. | ||
| 7 | Install the rear HV battery skid plate. See Skid Plate - HV Battery - Rear (Remove and Replace). | ||
| 8 | Perform a penthouse air leak test. See Penthouse Air Leak Test. |