Striker - Trunk (Remove and Replace)
Correction code 1135340211353402
Remove
-
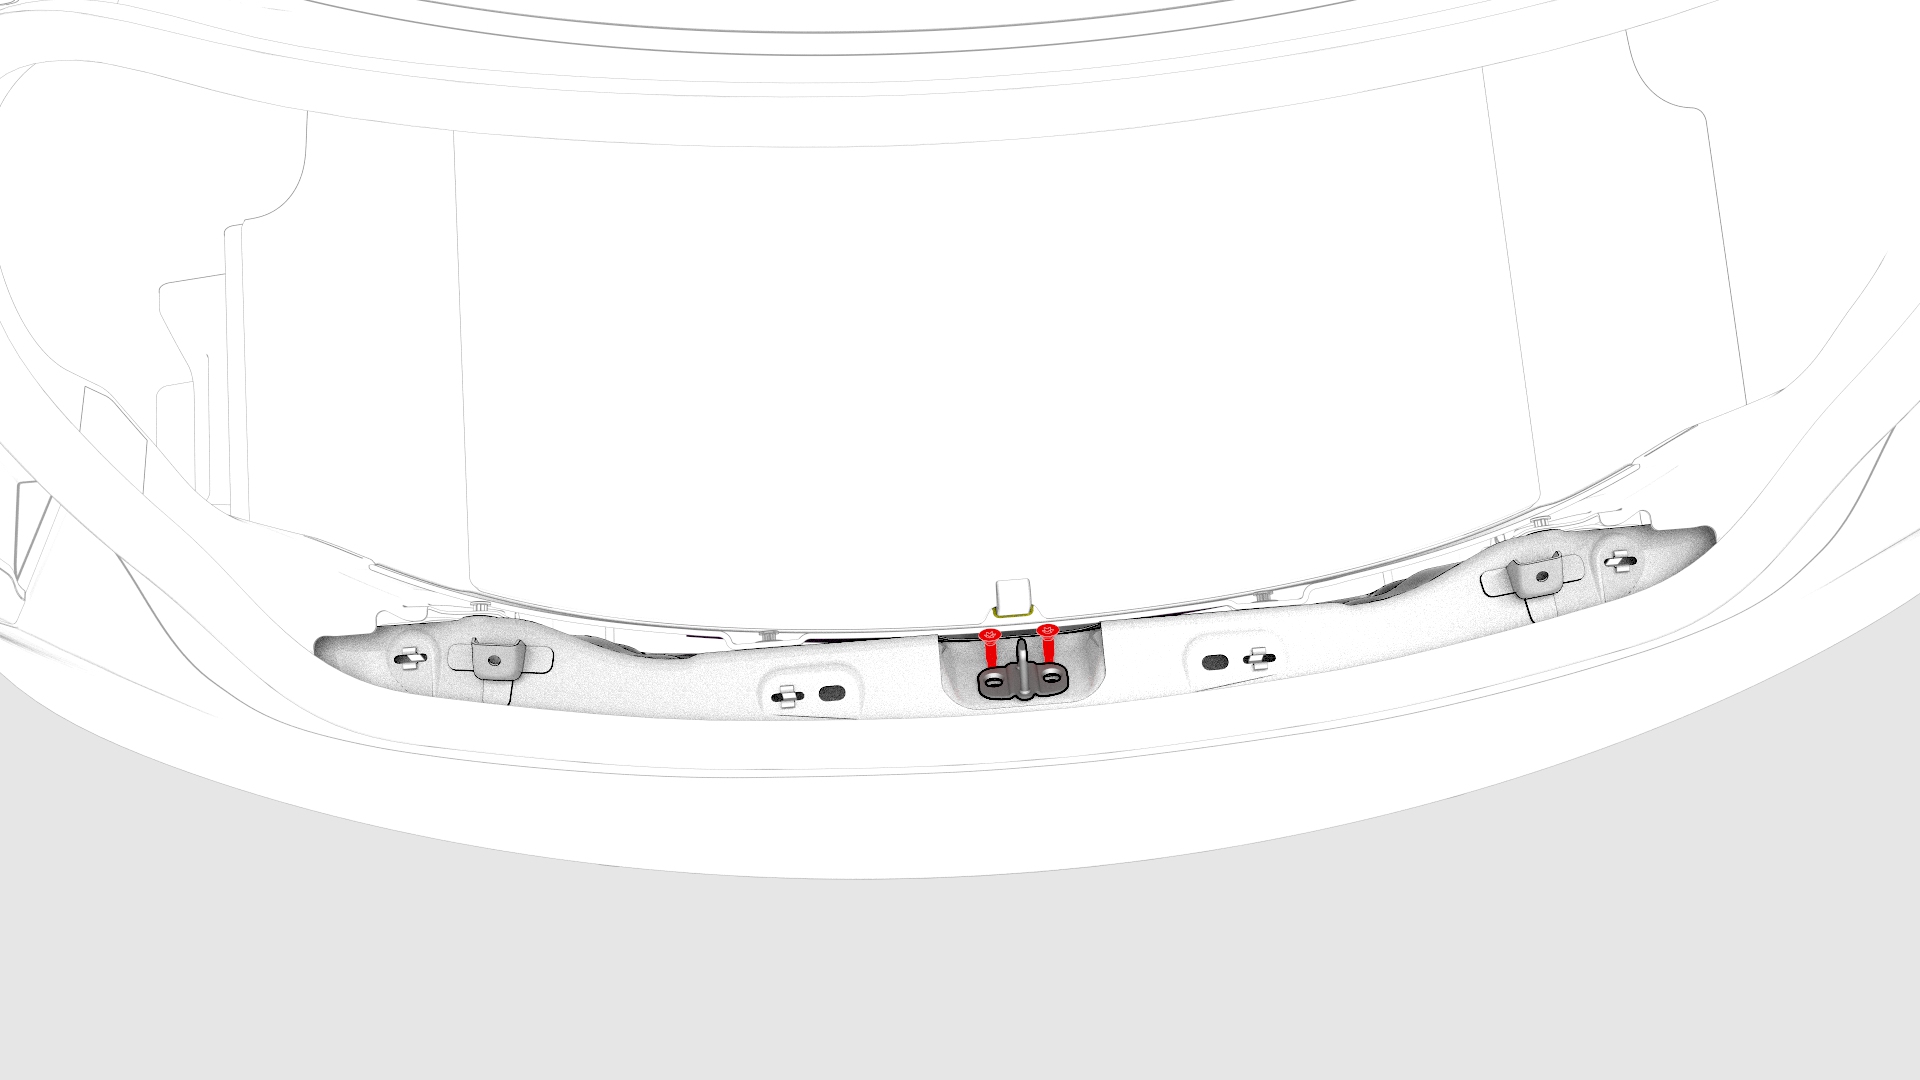
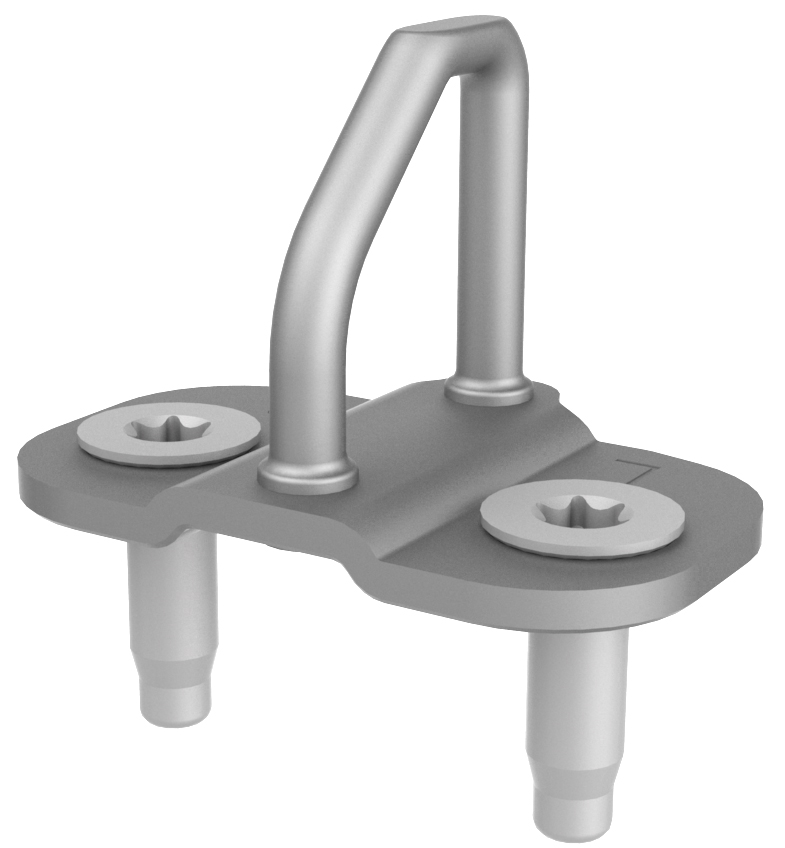
Remove the bolts that attach the trunk striker to the body, and then remove the striker from the vehicle.
| 1 | Remove the rear trunk sill trim. See Trim - Sill - Trunk (Remove and Replace). | ||
| 2 | Use masking tape to mark the location of the trunk striker. | ||
| 3 | Remove the bolts that attach the trunk striker to the body, and then remove the striker from the vehicle. |
Install
- Align the trunk striker with the masking tape on the body, and then hand-tighten the bolts that attach the trunk striker to the body.
- Close the trunk and check gap/flush.
- Open the trunk and adjust the striker position as necessary.
- Repeat step 2 and step 3 until alignment is satisfactory.
-
Fully tighten the bolts that attach the trunk striker to the vehicle.
 Torque 24 Nm
 - Remove the masking tape and install the rear trunk sill trim. See Trim - Sill - Trunk (Remove and Replace).
| 1 | Align the trunk striker with the masking tape on the body, and then hand-tighten the bolts that attach the trunk striker to the body. |
| 2 | Close the trunk and check gap/flush. |
| 3 | Open the trunk and adjust the striker position as necessary. |
| 4 | Repeat step 2 and step 3 until alignment is satisfactory. |
| 5 | Fully tighten the bolts that attach the trunk striker to the vehicle. Torque 24 Nm |
| 6 | Remove the masking tape and install the rear trunk sill trim. See Trim - Sill - Trunk (Remove and Replace). |