Vent - Front - RH (Remove and Replace)
Correction code 1405320214053202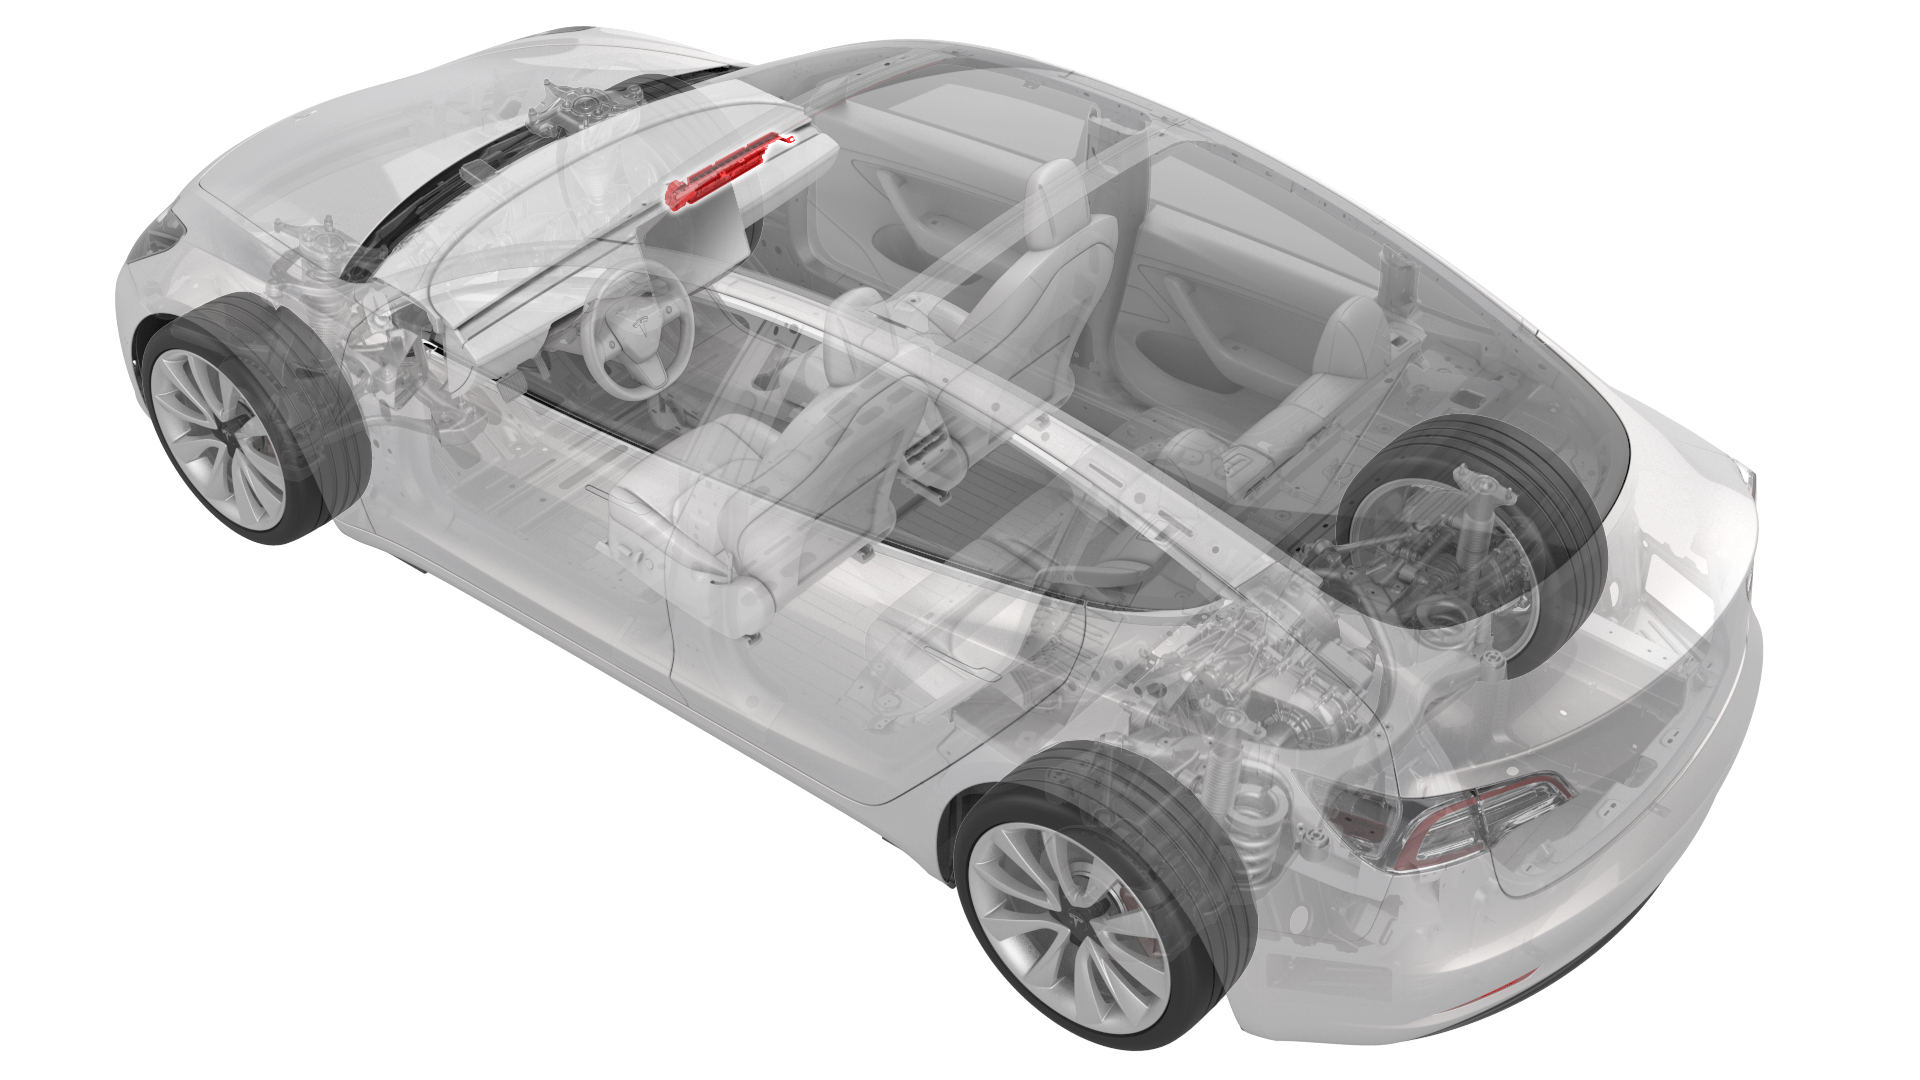
Remove
-
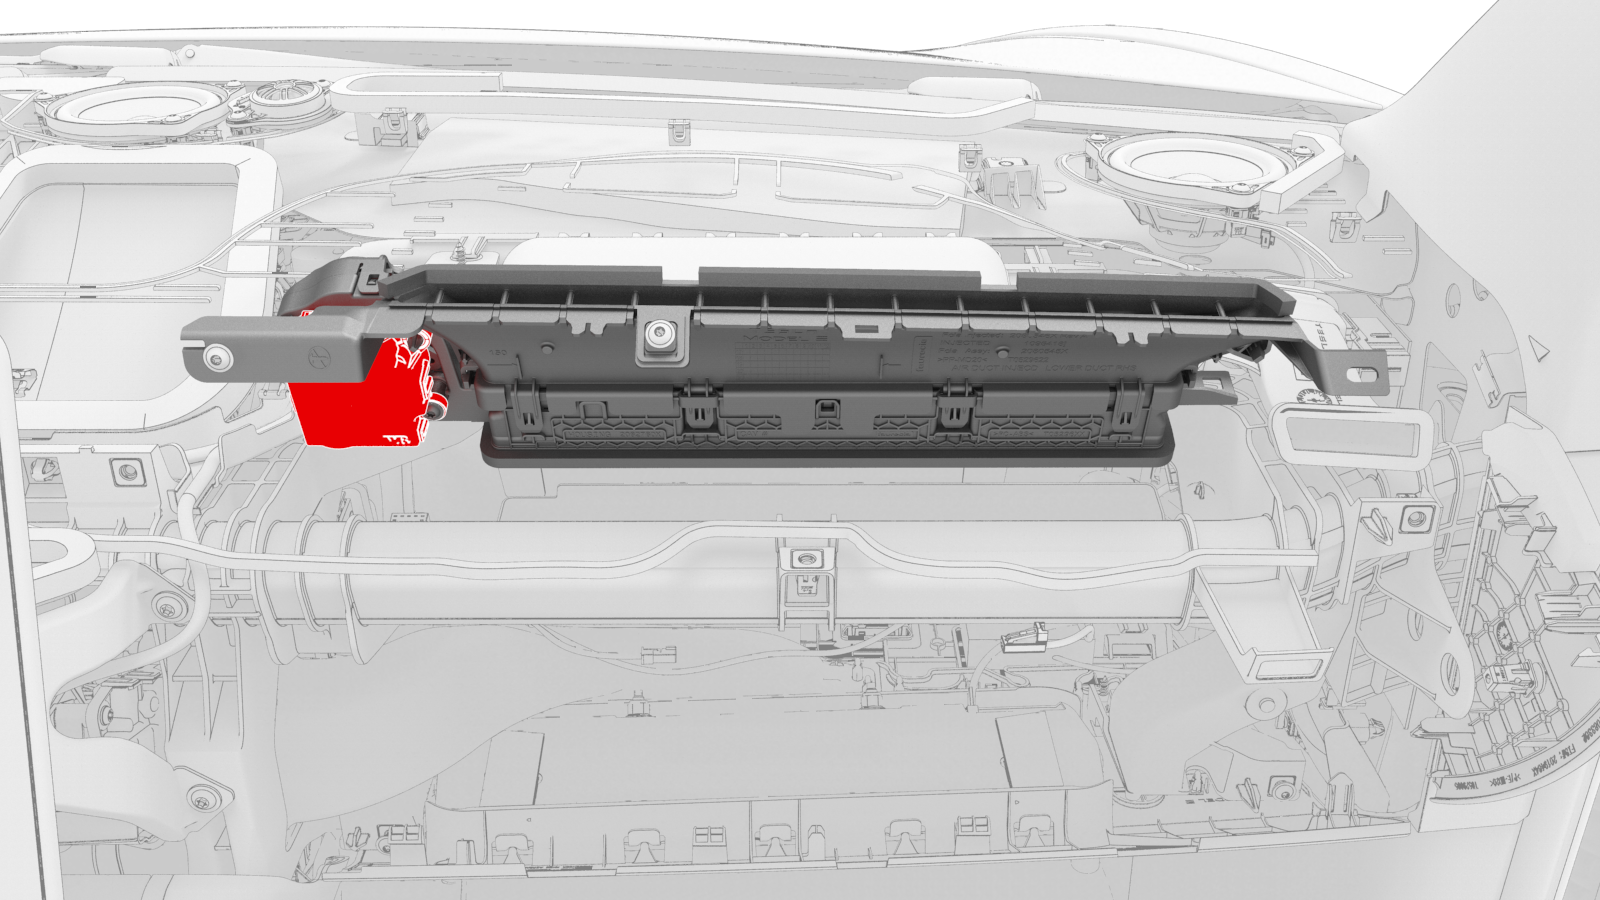
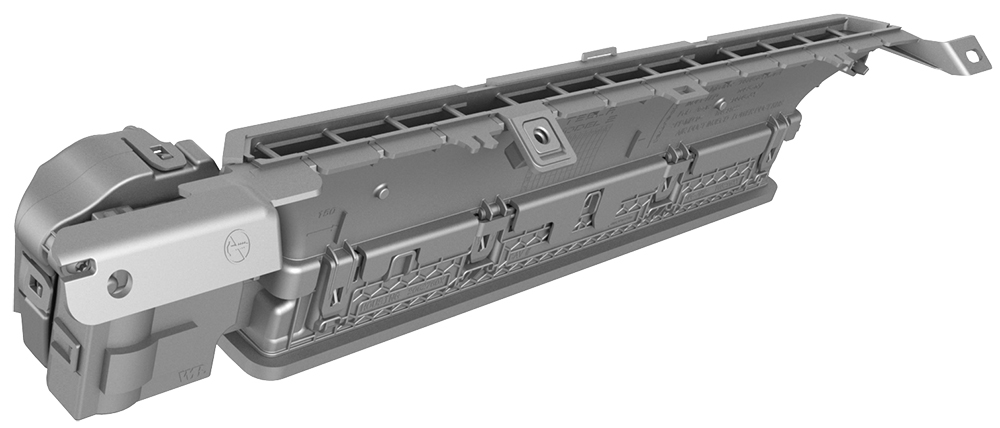
Remove the screw that attaches the RH front vent to the instrument panel, and then pull the RH side of the RH front vent to release it from the instrument panel.
 Torque 2.3 Nm
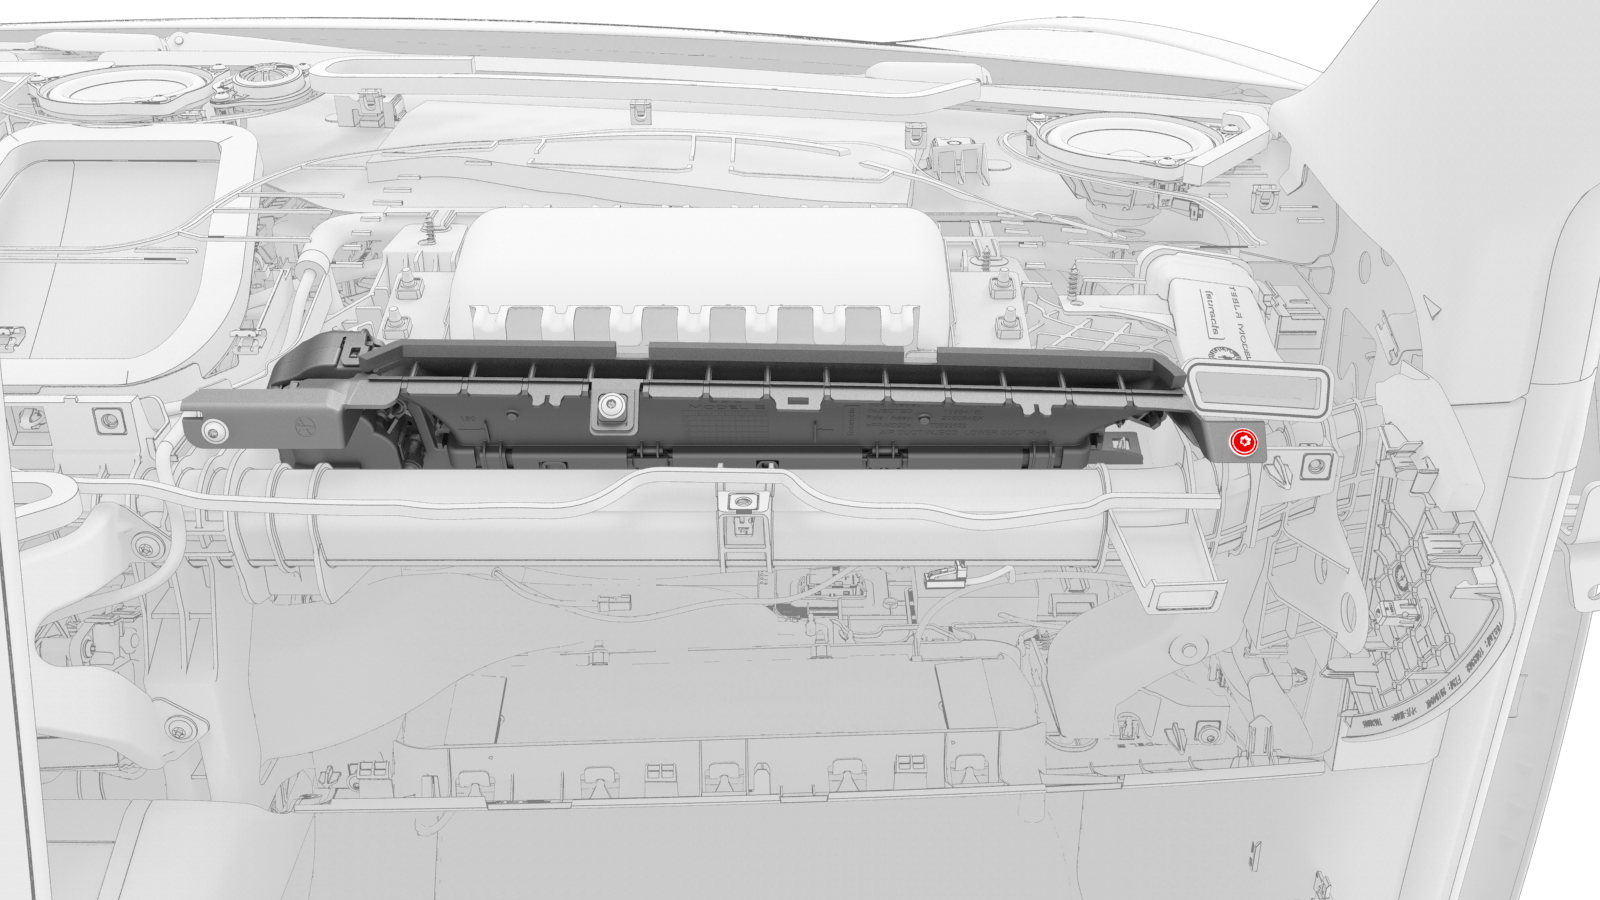
-
Disconnect the electrical connector from the RH front vent, and then remove the RH front vent from the vehicle.
| 1 | Remove the LH instrument panel end cap. See End Cap - Instrument Panel - LH (Remove and Replace). | ||
| 2 | Remove the LH and RH air wave end caps. See End Cap - Air Wave - LH (Remove and Replace). | ||
| 3 | Remove the main instrument panel decor trim. See Decor Trim - Instrument Panel - Main (Remove and Replace). | ||
| 4 | Remove the vent finisher. See Finisher - Vent (Remove and Replace). | ||
| 5 | Remove the screw that attaches the RH front vent to the instrument panel, and then pull the RH side of the RH front vent to release it from the instrument panel. Torque 2.3 Nm | |
| 6 | Disconnect the electrical connector from the RH front vent, and then remove the RH front vent from the vehicle. |
Install
Installation procedure is the reverse of removal, except for the following:
If the vehicle is RHD, make sure not to dislodge the foam block in the cavity where the front RH vent installs.