Receiver Dryer and Desiccant (Remove and Replace)
Correction code 1820200218202002
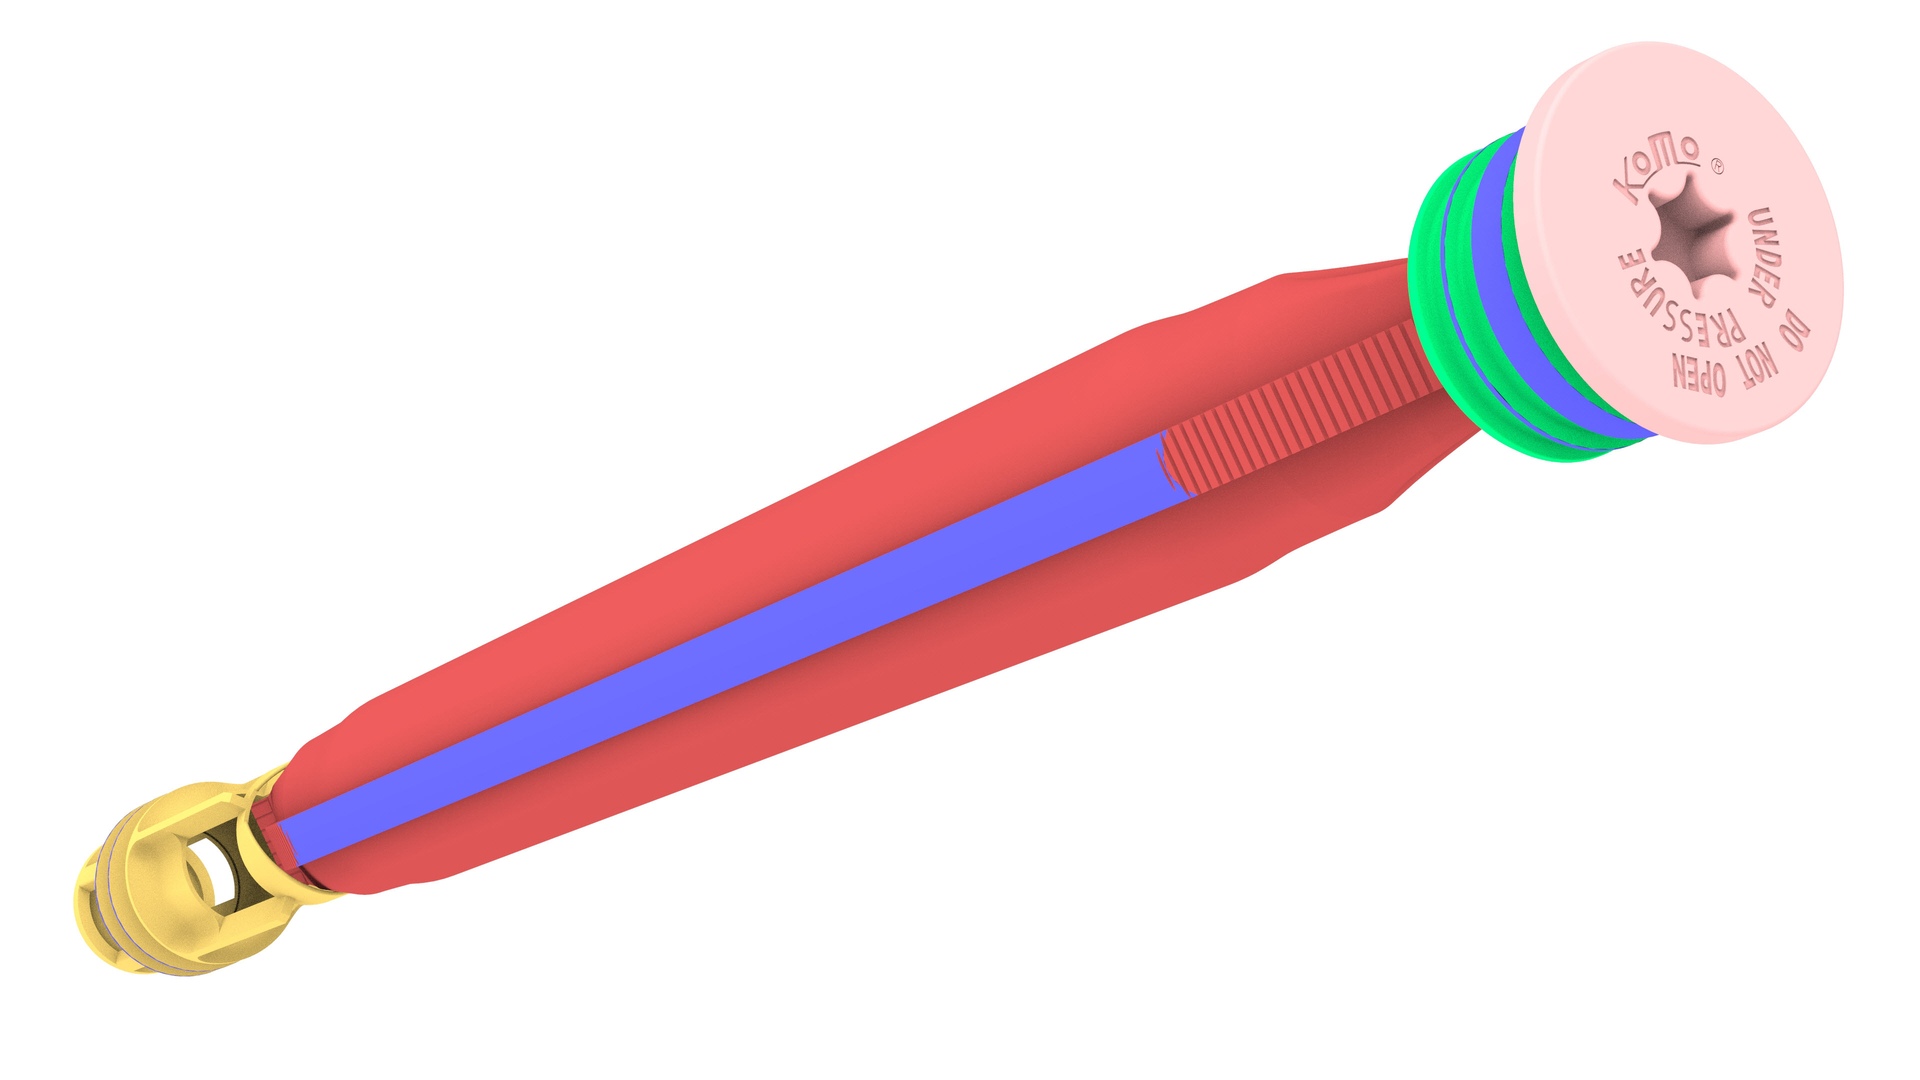
- 1145232-00-A Desiccant Filter Removal Tool
SPECIAL TOOLS
Desiccant Filter Removal Tool (1145232-00-A) |
Remove
-
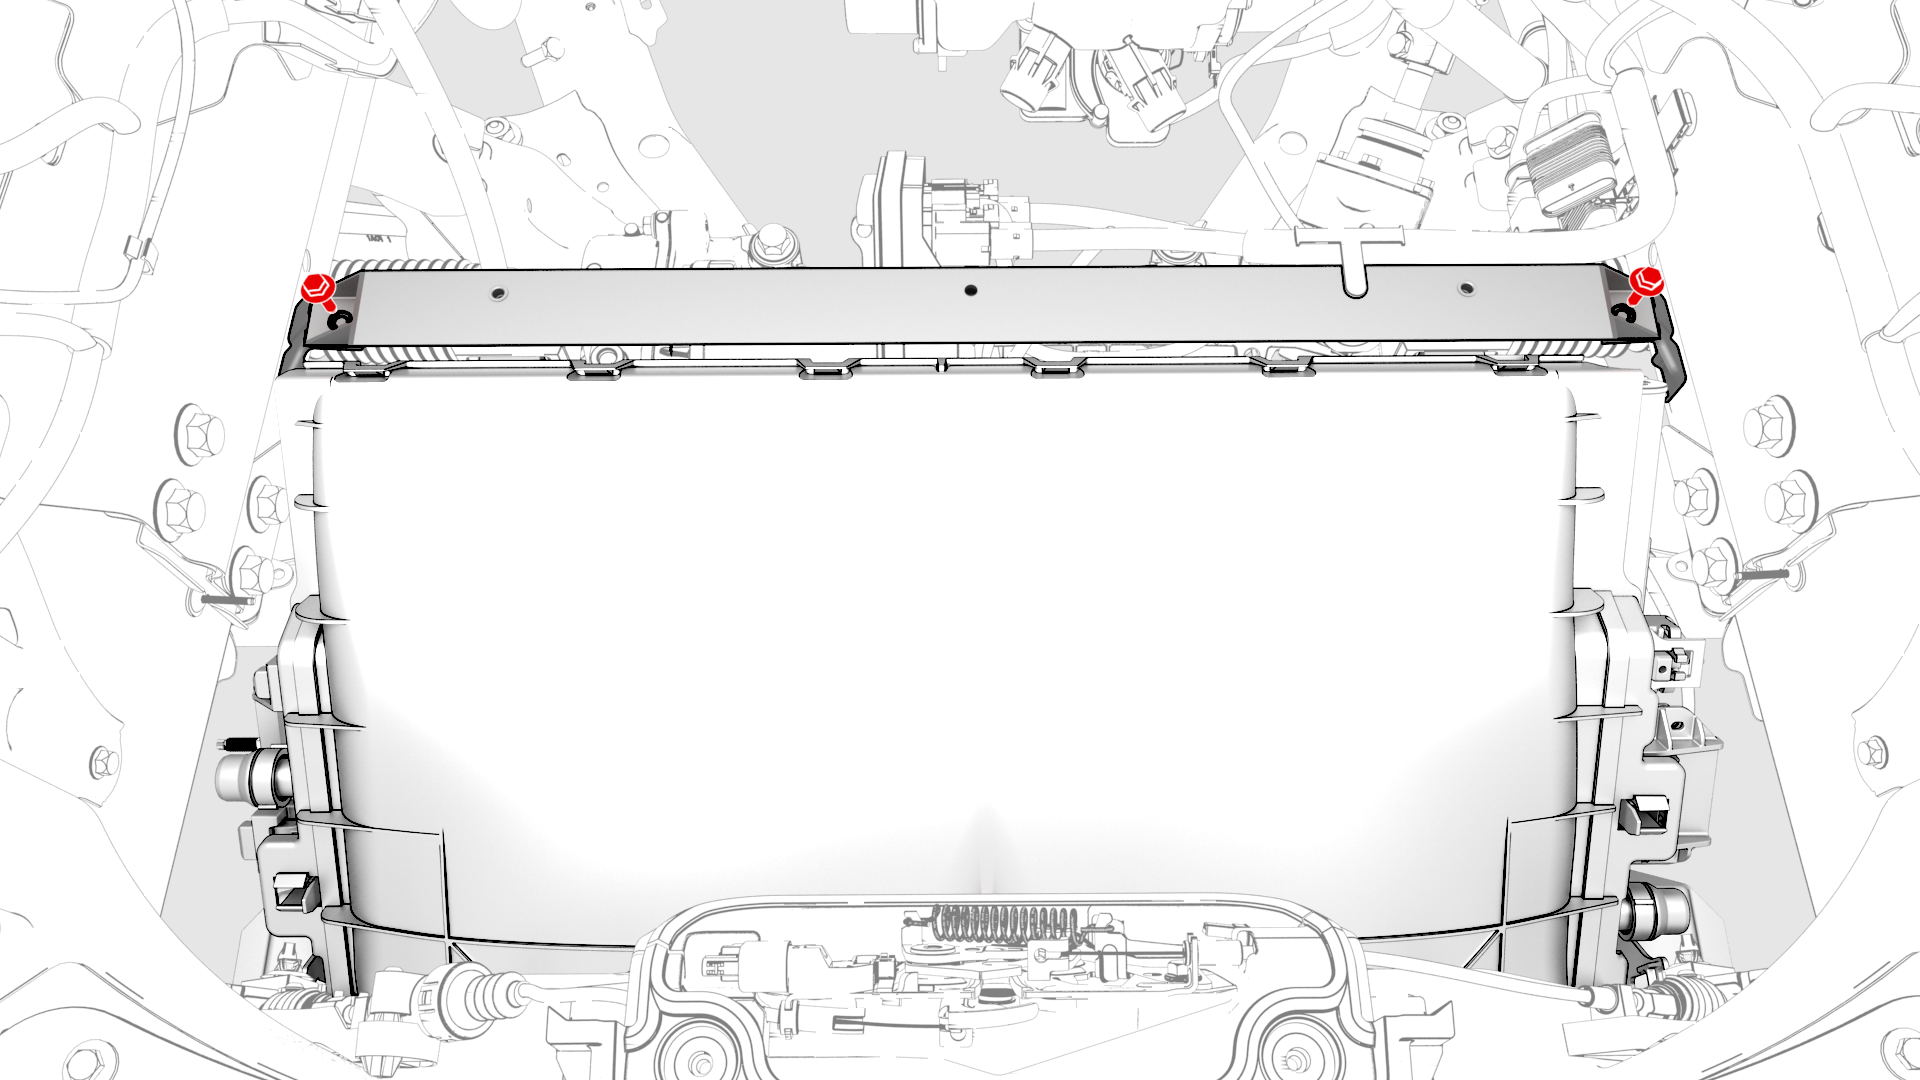
Remove the bolts (x2) that attach the underhood reinforcement bracket to the body, and then remove the bracket from the cooling fan module.
-
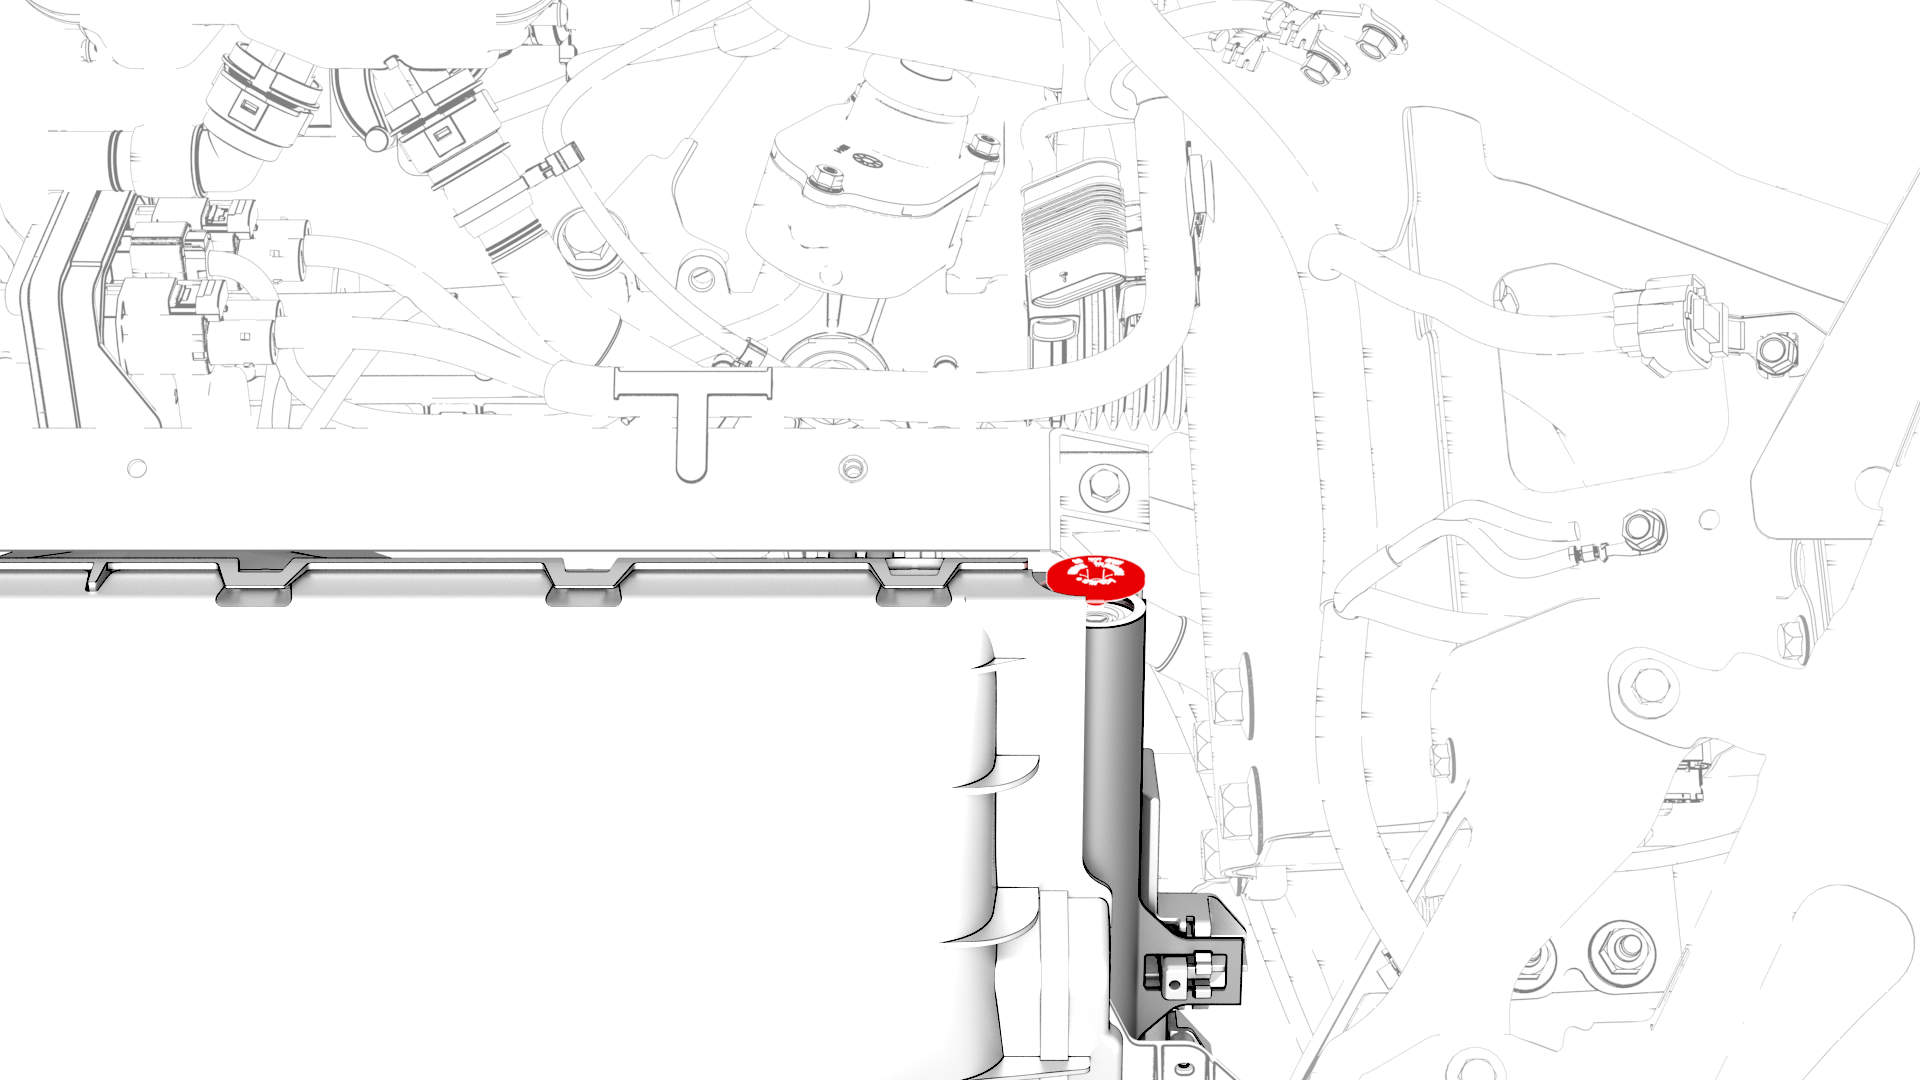
Remove the cap from the LH side of the condenser.
-
Remove the desiccant bag from the condenser.
| 1 | Perform the A/C refrigerant recovery. See A/C Refrigerant (Recovery and Recharge). | ||
| 2 | Remove the bolts (x2) that attach the underhood reinforcement bracket to the body, and then remove the bracket from the cooling fan module. | |
| 3 | Remove the cap from the LH side of the condenser. | |
| 4 | Use an 11 mm socket to slightly depress the inner cap in the condenser for snap ring removal. | ||
| 5 | Remove the snap ring from the condenser. | ||
| 6 | Thread an M8 x 1.25mm bolt into the inner cap, and use the bolt to pull out the inner cap. | ||
| 7 | Remove the desiccant bag from the condenser. | ||
| 8 | Use the desiccant filter removal tool with a slide hammer to remove the desiccant filter screen. |
Install
-
Install the cap.
 Torque 4 Nm
 -
Install the underhood reinforcement bracket onto the cooling fan module.
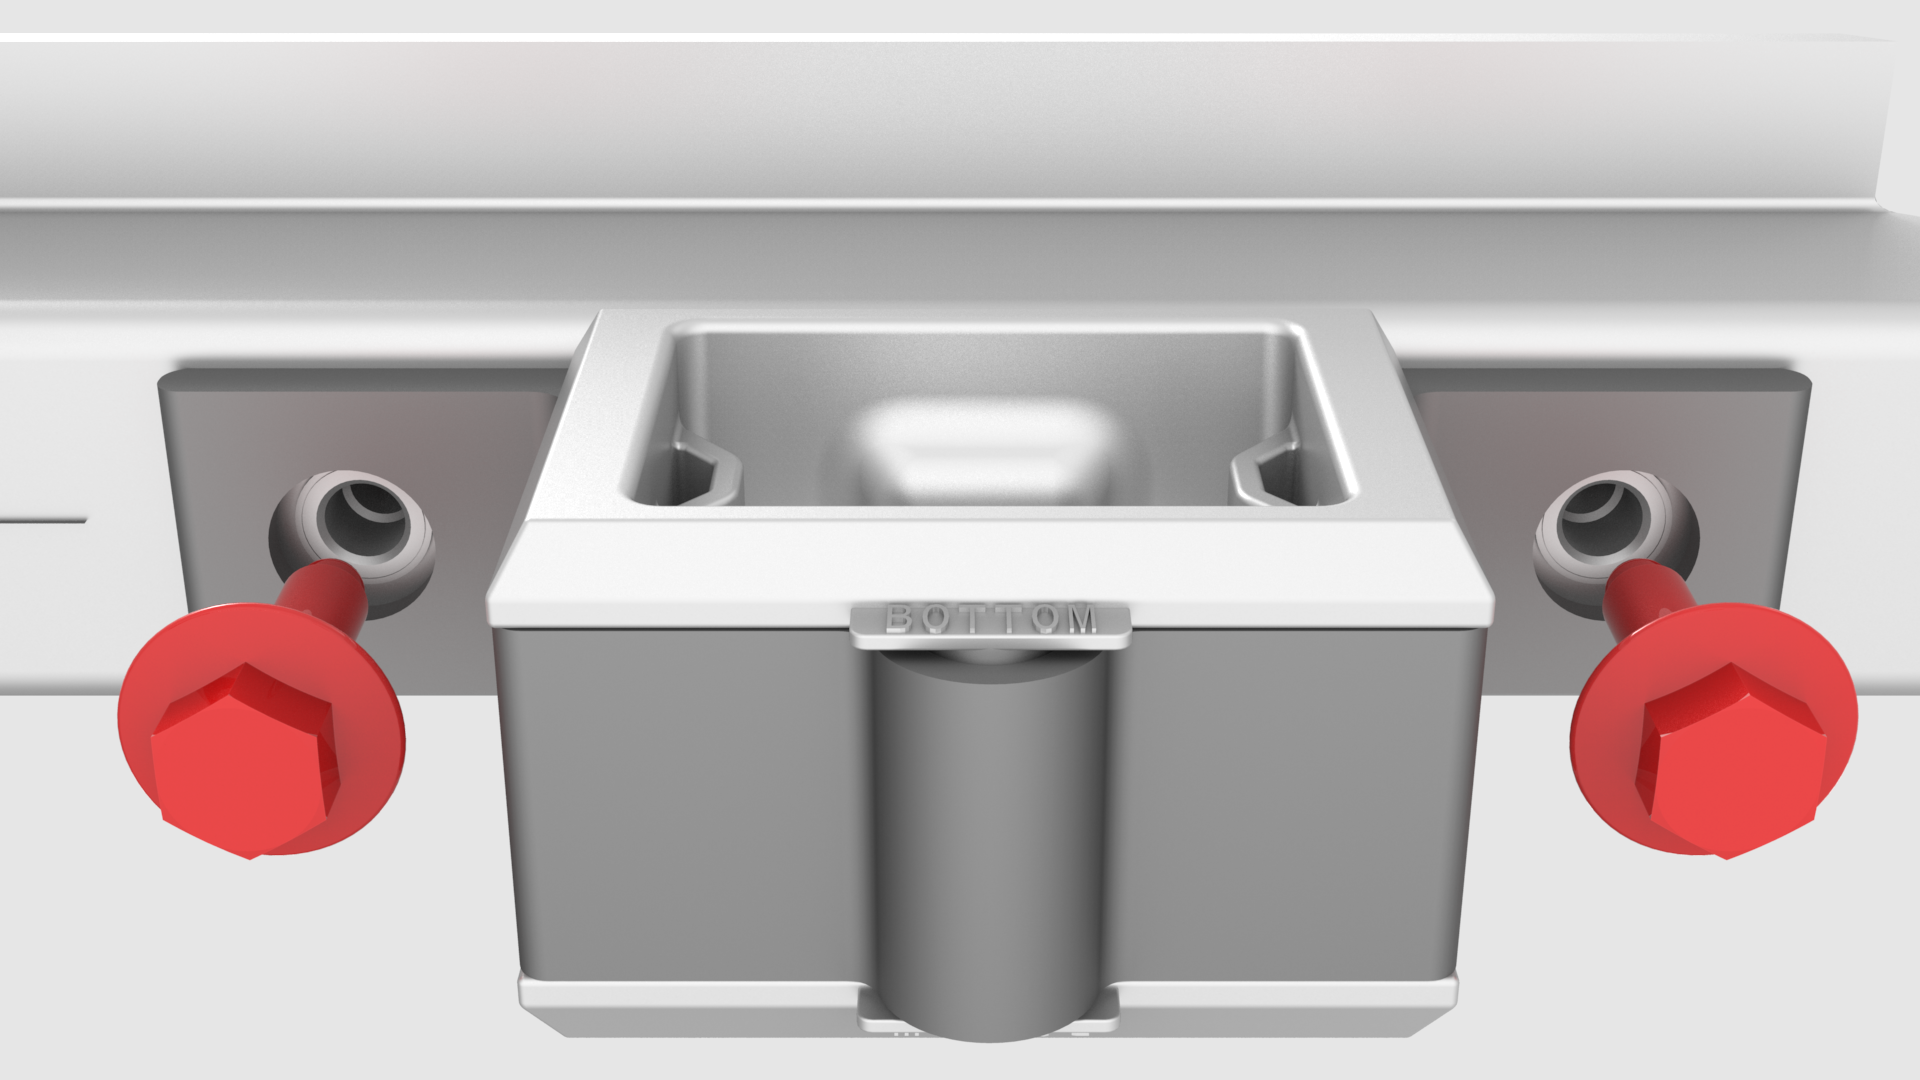
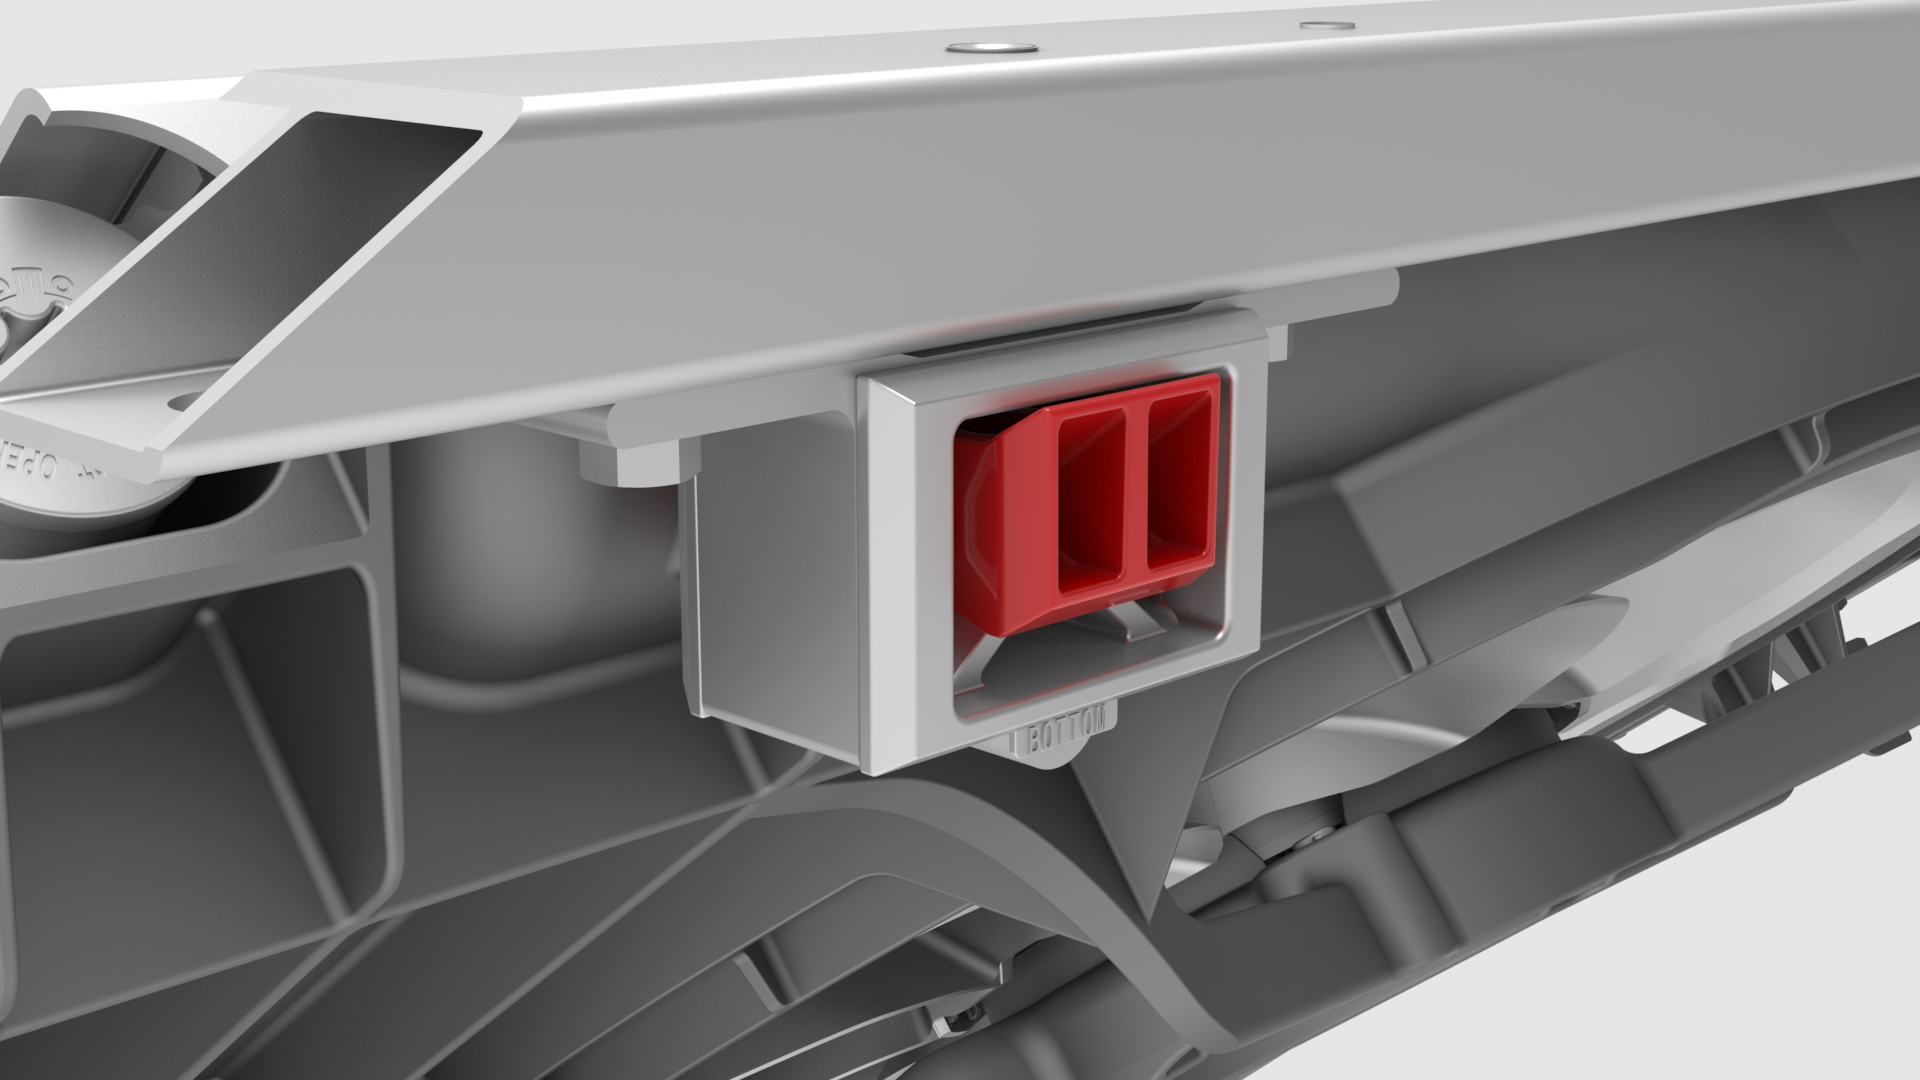
Note: The cooling fan module tab must be inserted into the isolator so that the trailing tab touches the isolator rubber and the chamfered edge is clearly visible when looking from above.
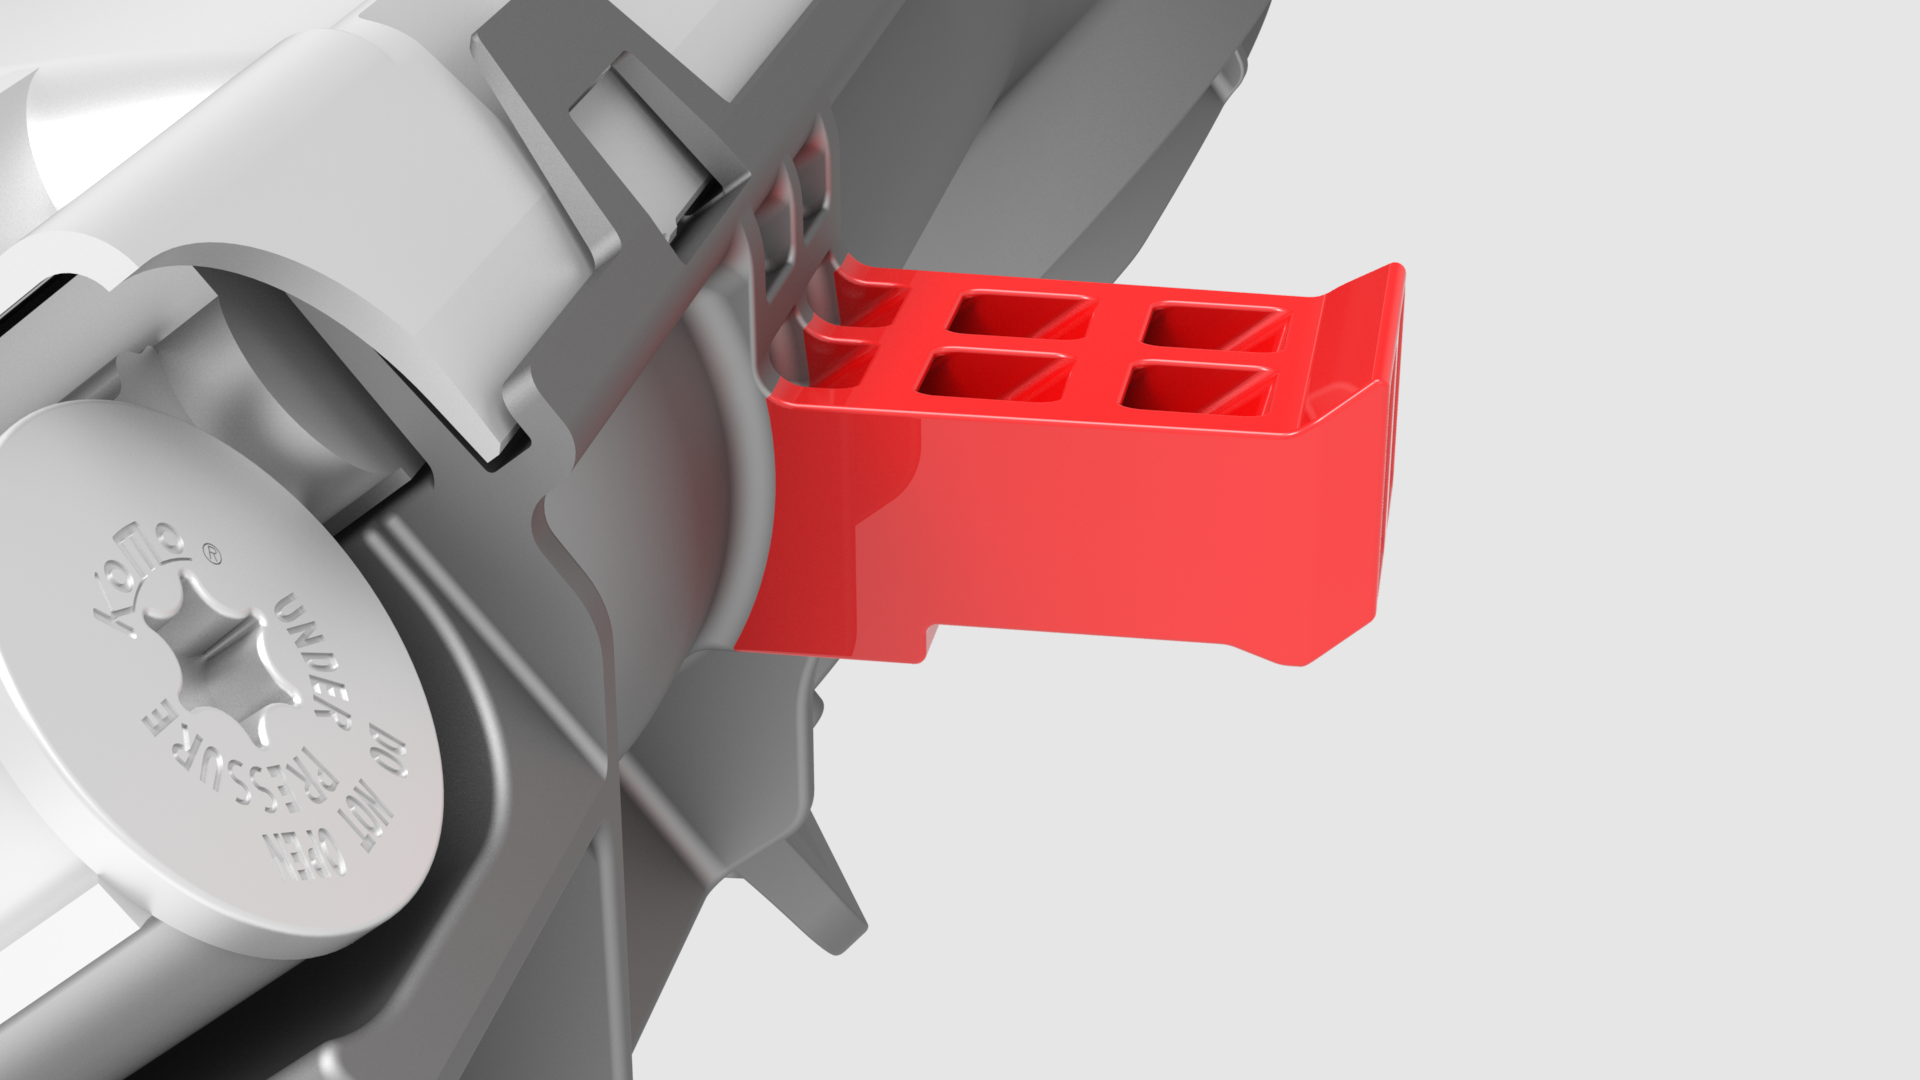 Note: The trailing edge of the cooling fan module mount must contact the lower tunnel of the isolator.
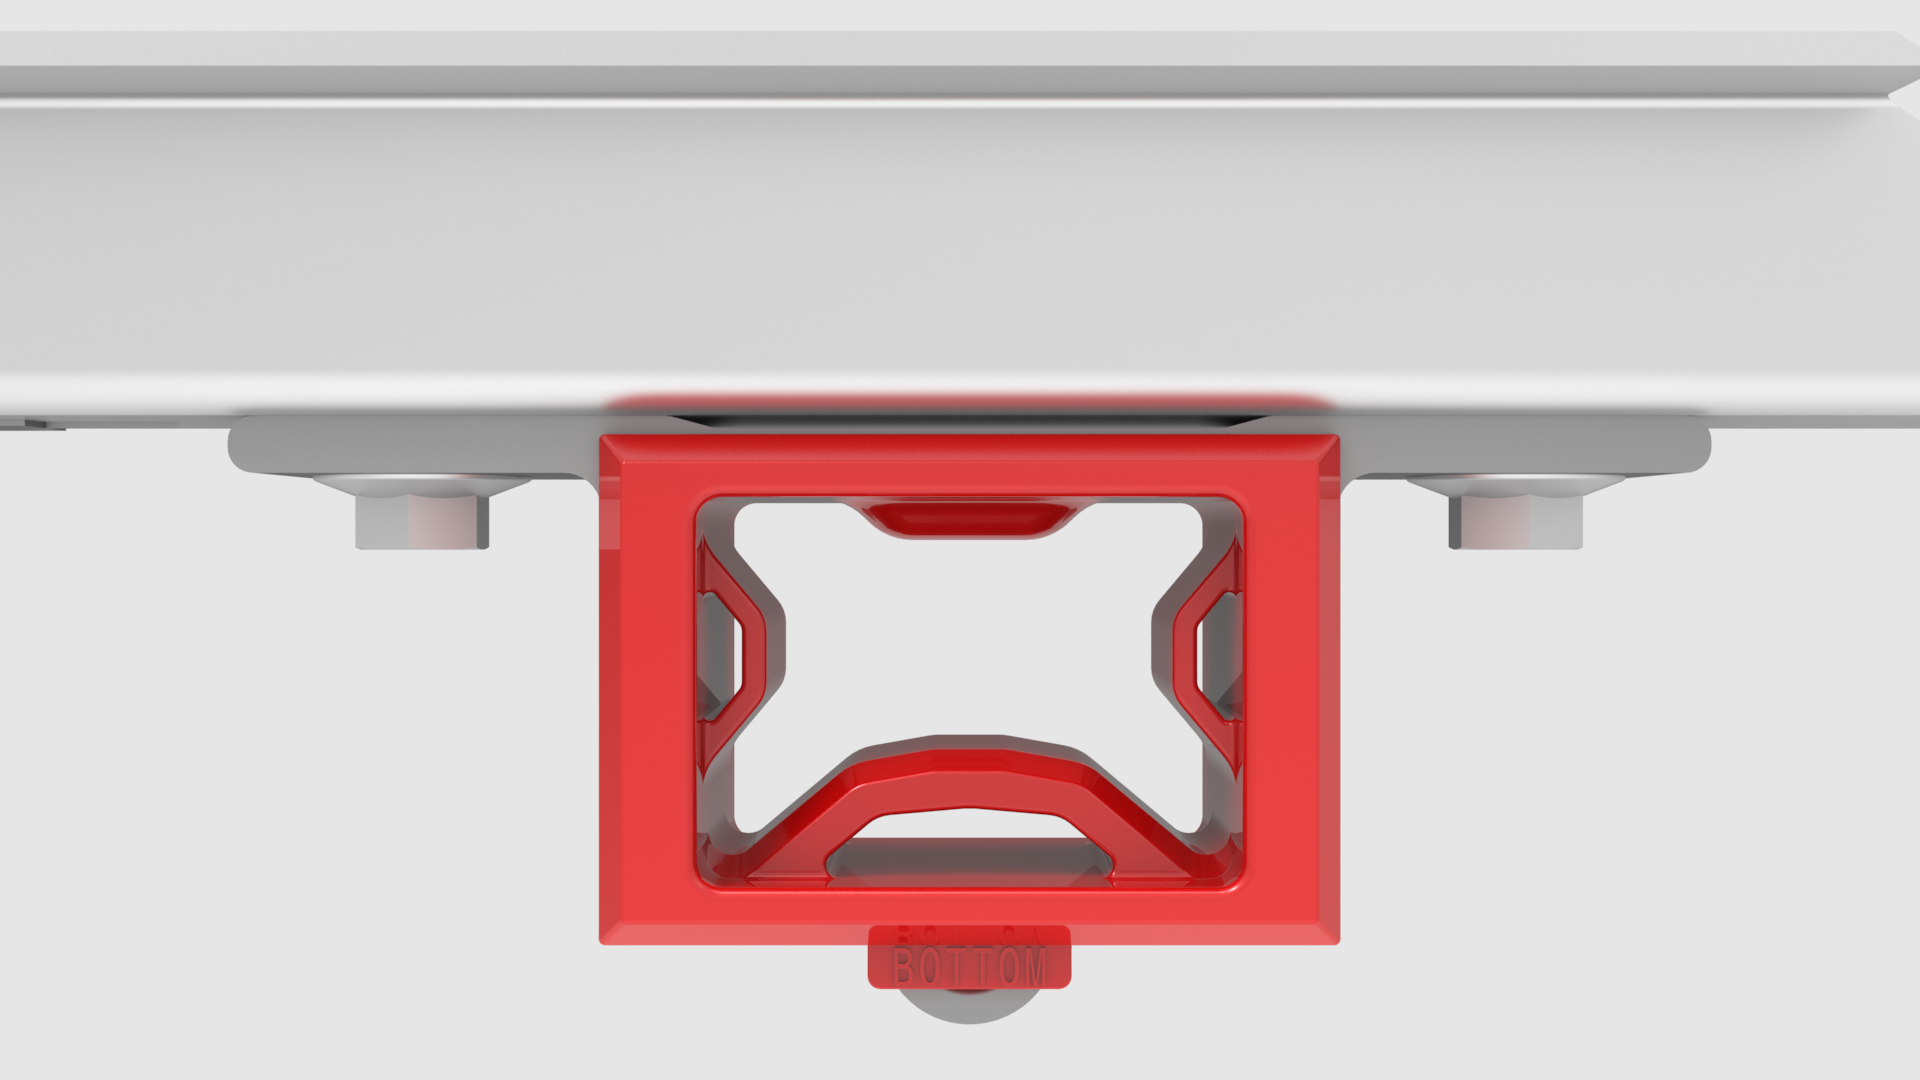
-
Install the bolts (x2) that attach the underhood reinforcement bracket to the body.Torque 16 Nm
-
Loosen the bolts (x2) for the LH cooling fan module isolator.
-
Push the isolator forward, and while doing so, tighten the bolts (x2).Torque 6 Nm
| 1 | Use 3/8 inch extensions to press the new desiccant filter into the condenser. Lightly tap with a hammer to fully seat the filter. | ||
| 2 | Insert a new desiccant bag into the condenser. | ||
| 3 | Install the inner cap into the condenser, and press it in just below the groove for the snap ring. | ||
| 4 | Remove the bolt from the inner cap. | ||
| 5 | Install the snap ring into the condenser, and make sure the snap ring is fully seated into the groove. | ||
| 6 | Install the cap. Torque 4 Nm | ||
| 7 | Install the underhood reinforcement bracket onto the cooling fan module. Note: The cooling fan module tab must be inserted into the isolator so that the trailing tab touches the isolator rubber and the chamfered edge is clearly visible when looking from above.
Note: The trailing edge of the cooling fan module mount must contact the lower tunnel of the isolator.
| |
| 8 | Install the bolts (x2) that attach the underhood reinforcement bracket to the body. Torque 16 Nm | |
| 9 | Loosen the bolts (x2) for the LH cooling fan module isolator. | |
| 10 | Push the isolator forward, and while doing so, tighten the bolts (x2). Torque 6 Nm | |
| 11 | Repeat step 9 and step 10 for the RH cooling fan module isolator. | ||
| 12 | Perform the A/C refrigerant recharge. See A/C Refrigerant (Recovery and Recharge). |