Pretensioner - Outboard Lap - 1st Row - LH (Remove and Replace)
Correction code 2010100220101002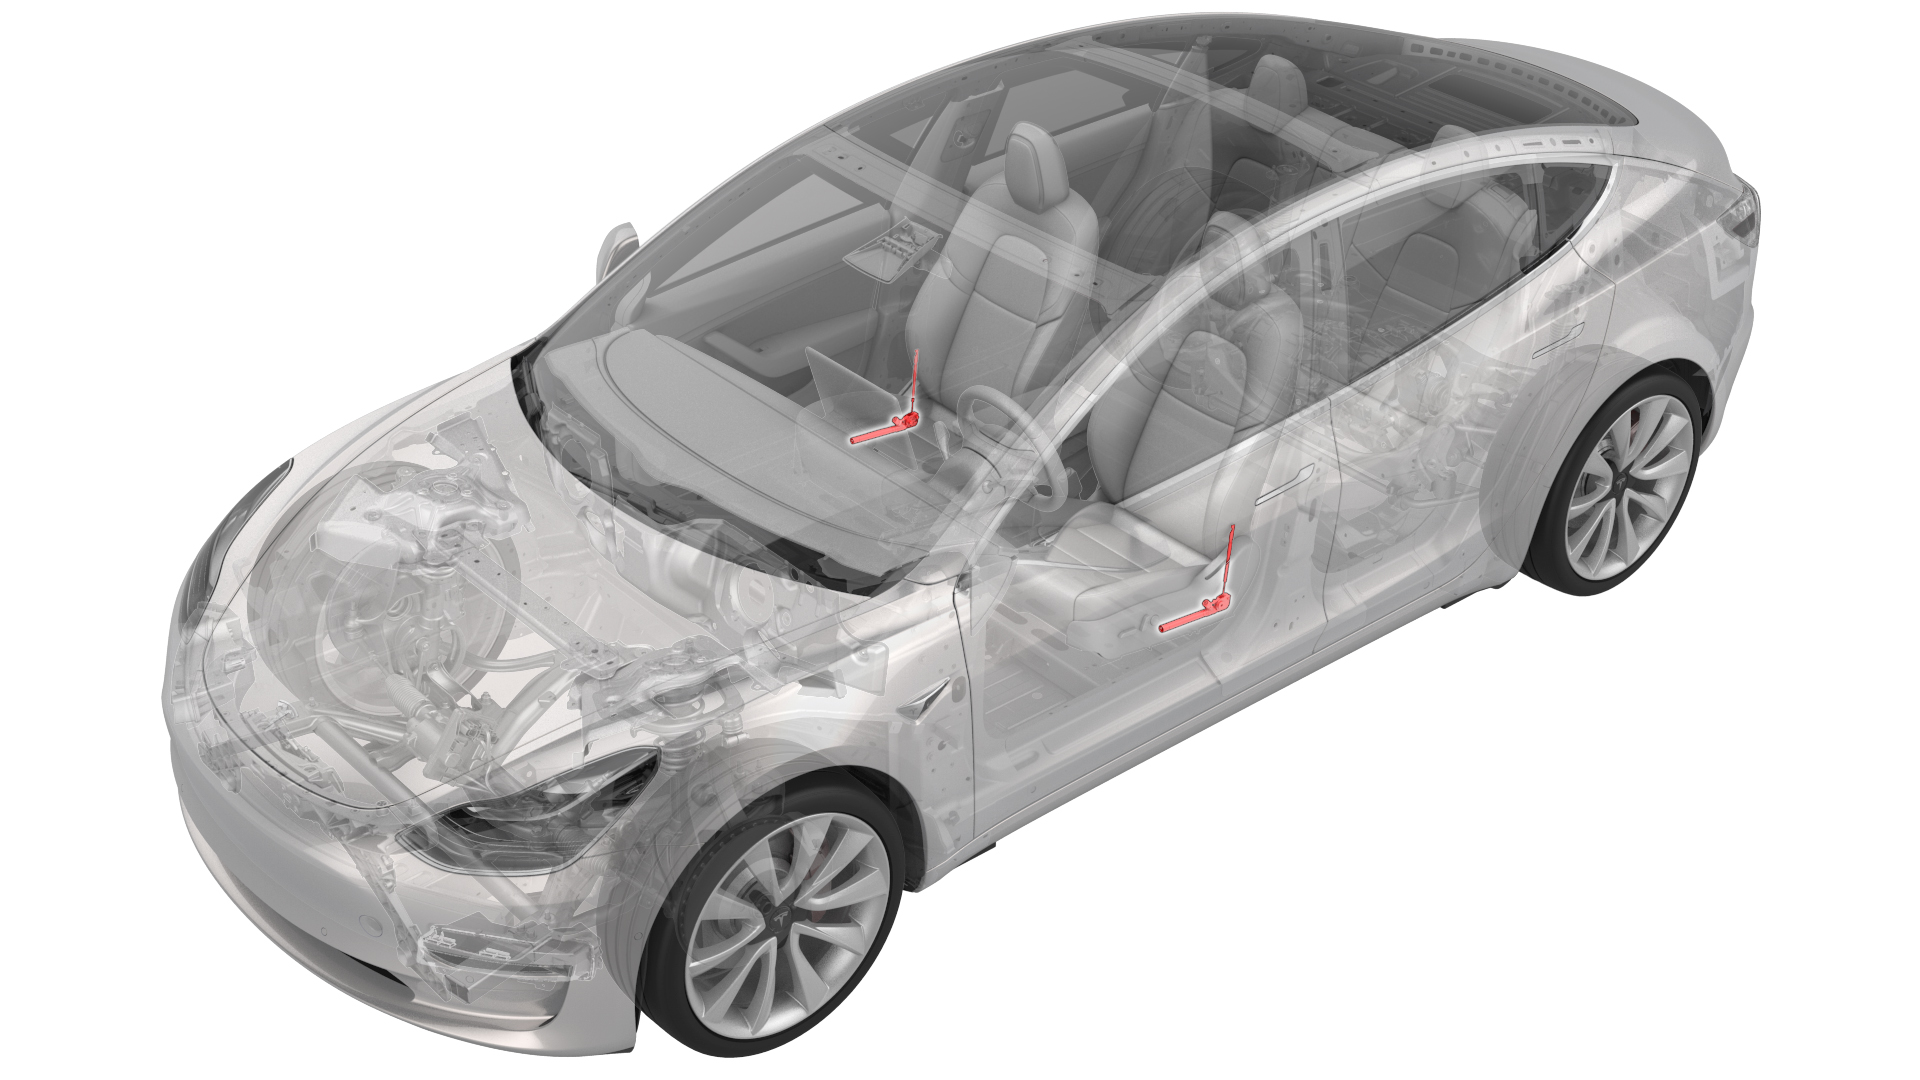
from-rc
Note:
This procedure was formulated using a release candidate or production model. Follow safety requirements and use extreme caution when working on or near high-voltage systems and components.
Provide corrections and feedback to servicemanualfeedback@tesla.com.
Remove
-
Disconnect the electrical connector from the pretensioner.
-
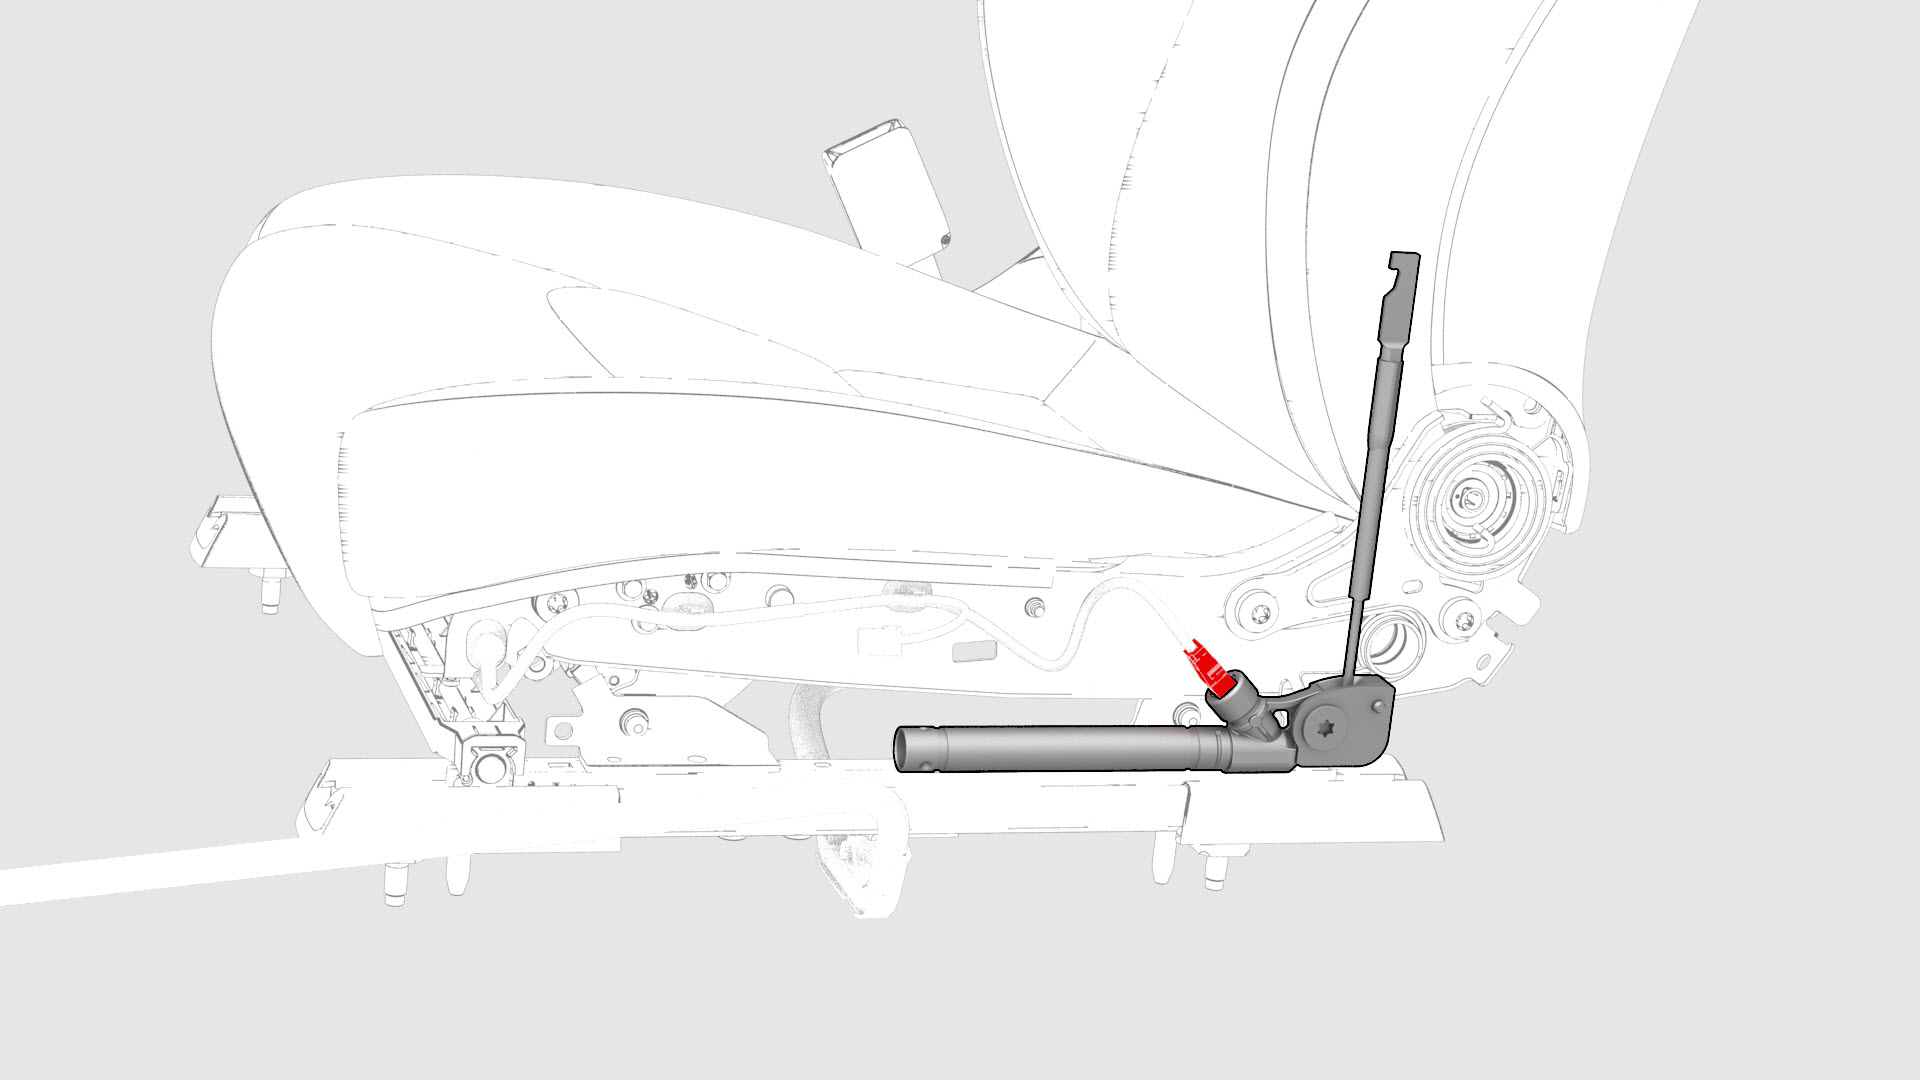
Remove the bolt that attaches the pretensioner to the seat track.
 Torque 40 Nm
 Note: The bolt is attached to the pretensioner with a metal clip. The pretensioner and bolt must be replaced as an assembly.
 -
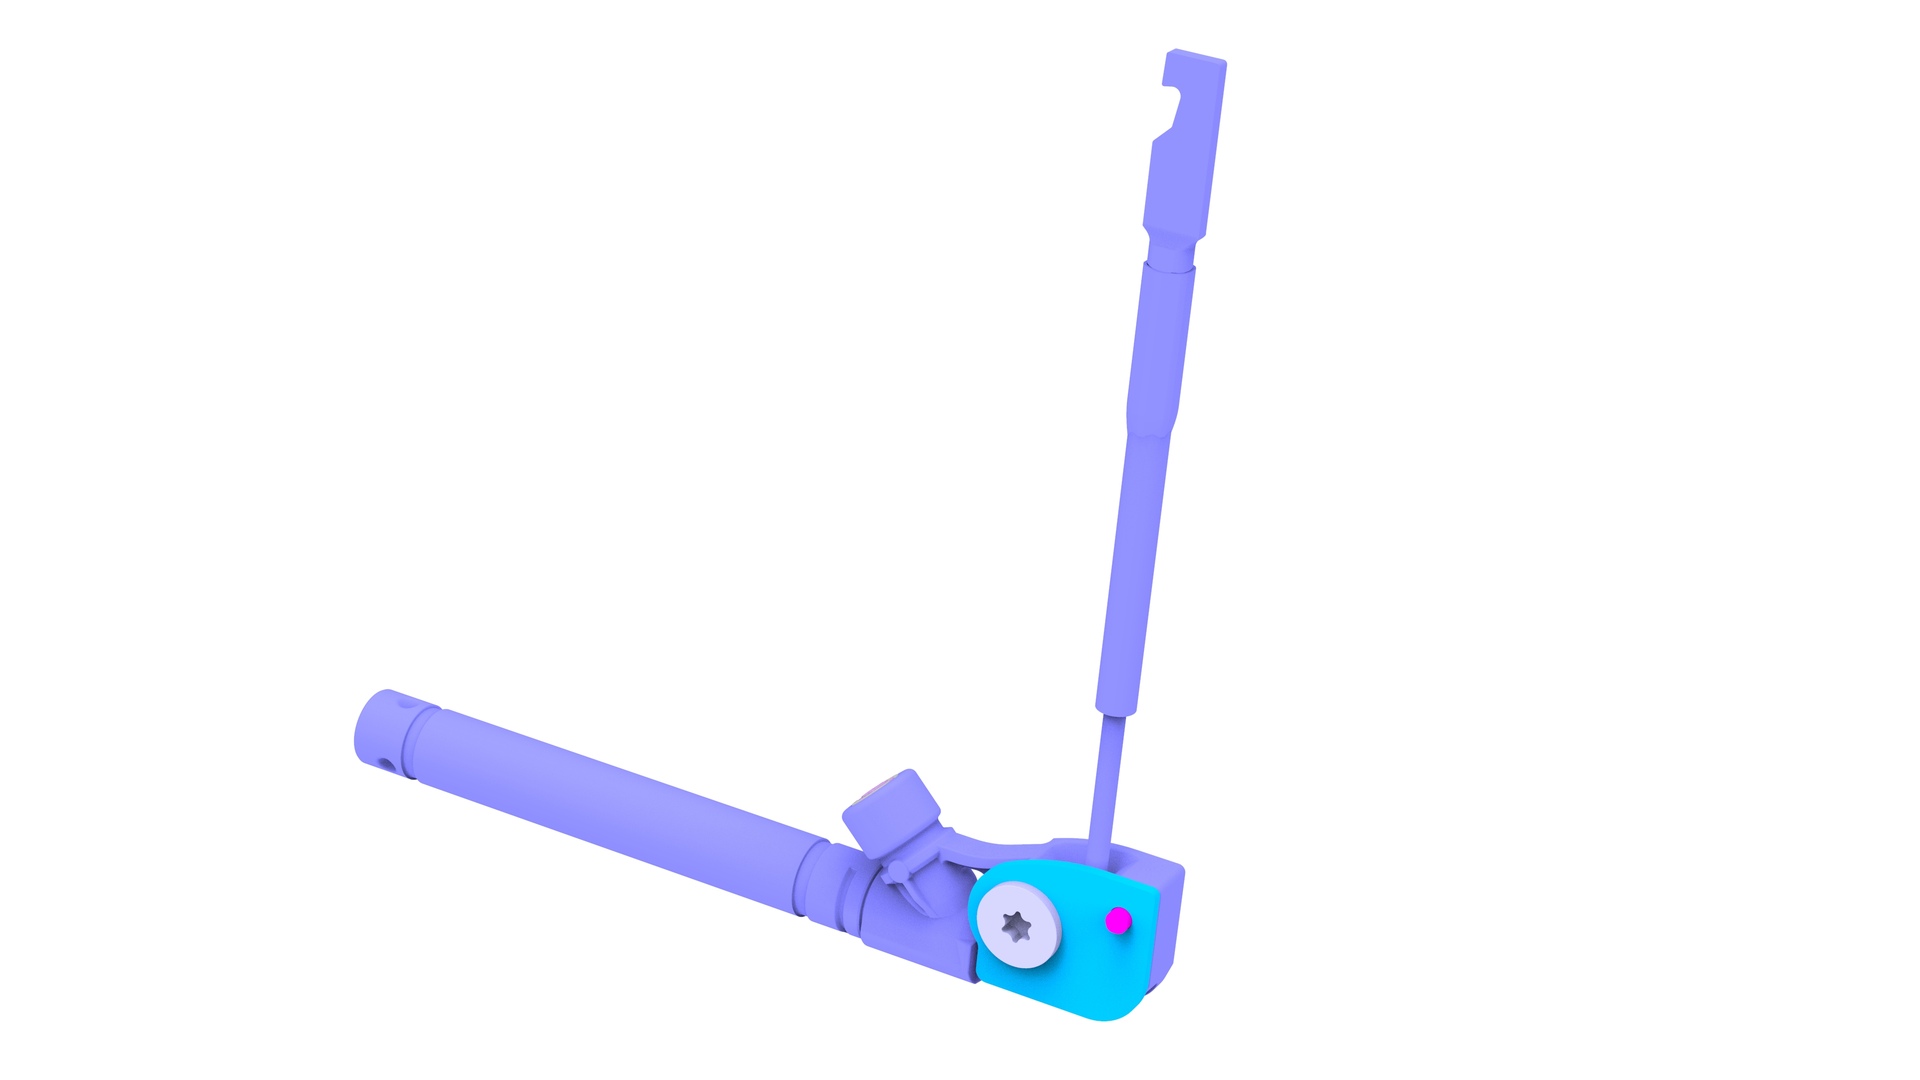
Remove the 1st row outboard lap pretensioner from the seat track.
| 1 | Remove the 2nd row lower seat cushion. See Seat Cushion - Lower - 2nd Row (Remove and Replace). | ||
| 2 | Remove the rear underhood apron. See Underhood Apron - Rear (Remove and Replace). | ||
| 3 | Disconnect 12V power. See 12V Power (Disconnect and Connect). | ||
| 4 | Remove the driver seat outer side cover. See Cover - Outer Side - Driver Seat (Remove and Install). | ||
| 5 | Disconnect the electrical connector from the pretensioner. | |
| 6 | Remove the bolt that attaches the pretensioner to the seat track. Torque 40 Nm Note: The bolt is attached to the pretensioner with a metal clip. The pretensioner and bolt must be replaced as an assembly.
| |
| 7 | Remove the 1st row outboard lap pretensioner from the seat track. |
Install
-
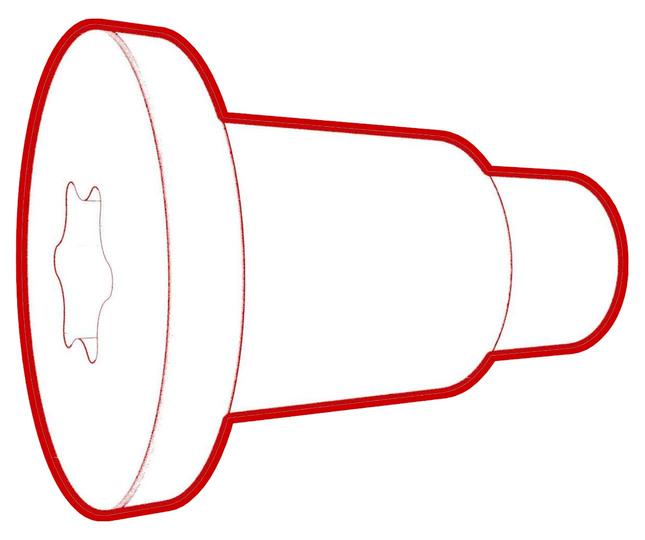
Install the new pretensioner and bolt assembly to the seat track, and then tighten the bolt that attaches the pretensioner to the seat track.Torque 40 NmNote: Align the pretensioner guide pin to the seat track.
-
Connect the pretensioner electrical connector.
| 1 | Install the new pretensioner and bolt assembly to the seat track, and then tighten the bolt that attaches the pretensioner to the seat track. Torque 40 Nm Note: Align the pretensioner guide pin to the seat track.
| |
| 2 | Connect the pretensioner electrical connector. | |
| 3 | Install the driver seat outer side cover. See Cover - Outer Side - Driver Seat (Remove and Install). | ||
| 4 | Reconnect 12V power. See 12V Power (Disconnect and Connect). | ||
| 5 | Install the rear underhood apron. See Underhood Apron - Rear (Remove and Replace). | ||
| 6 | Install the 2nd row lower seat cushion. See Seat Cushion - Lower - 2nd Row (Remove and Replace). |