Front Upper Control Arm (FUCA) Mount - LH (Remove and Replace)
Correction code 3101500231015002
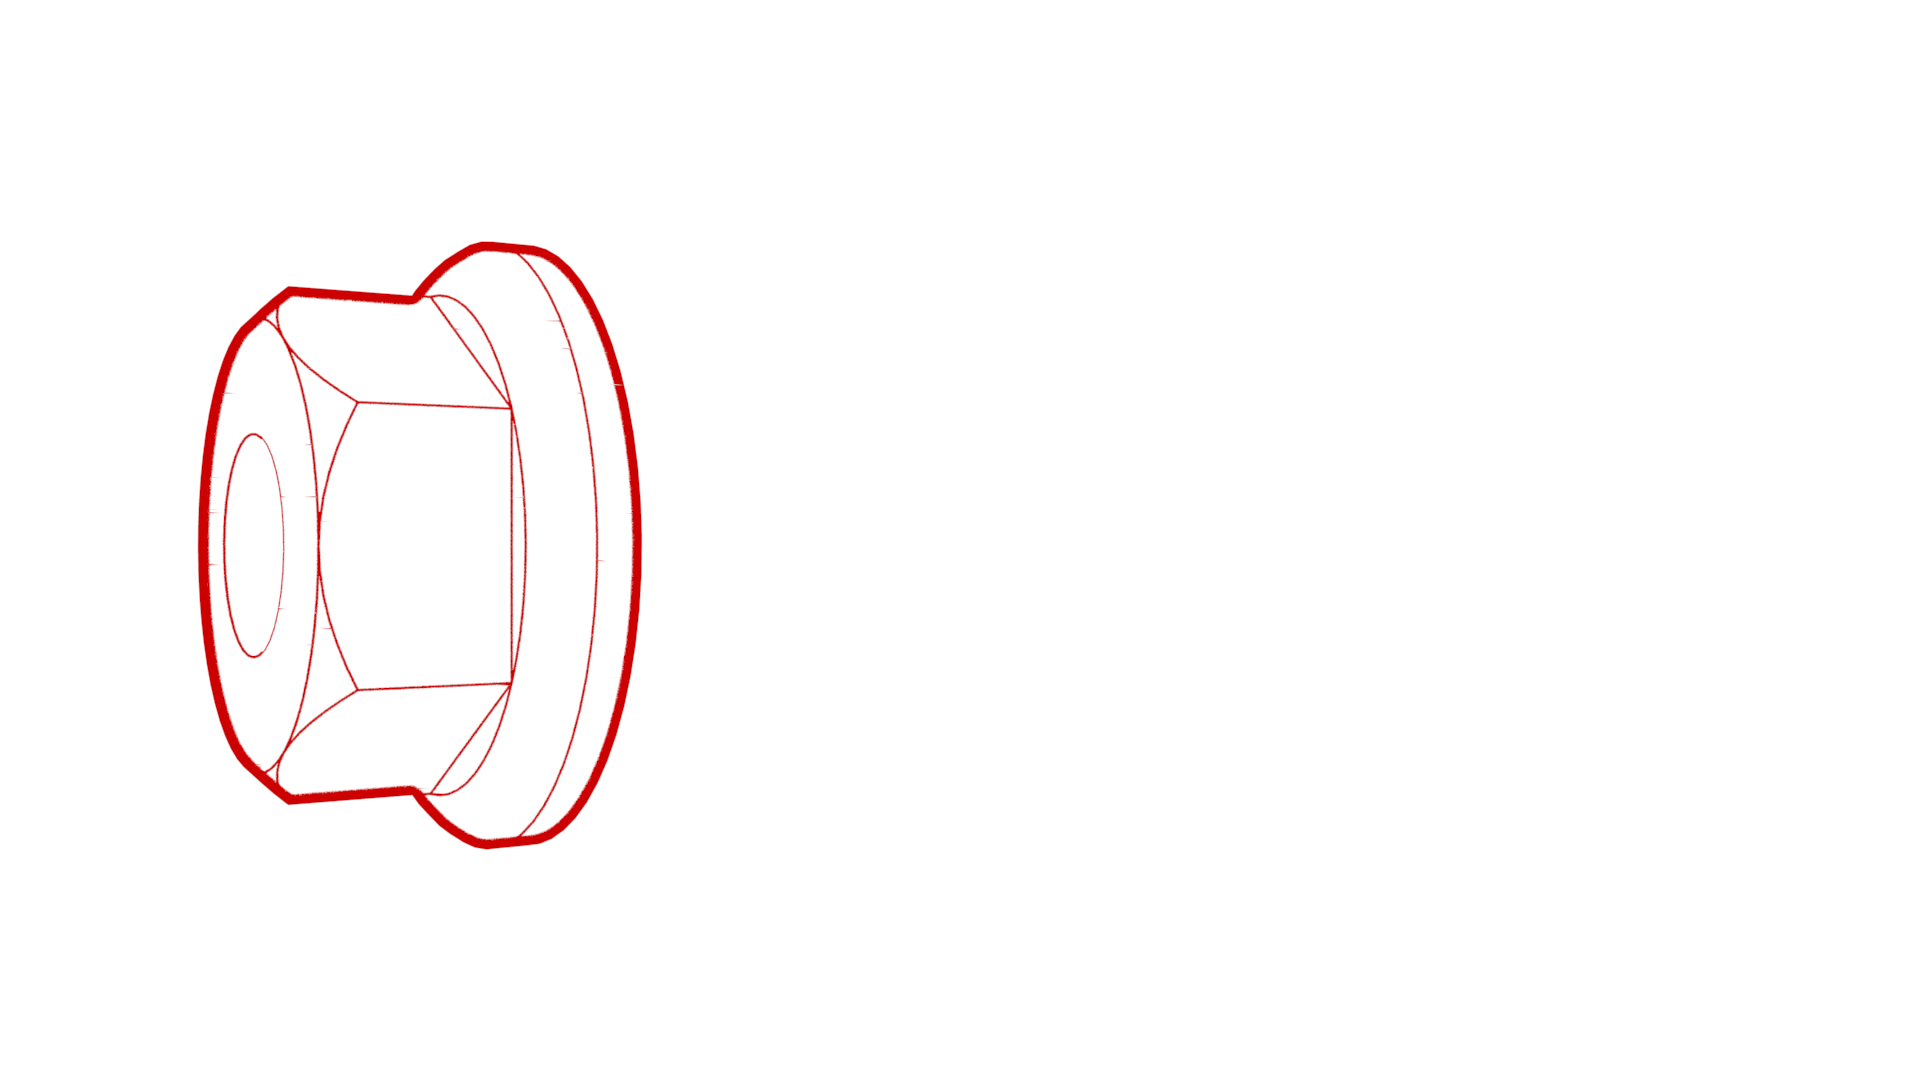
- 1450399-00-A Tool, FUCA Ride Height, Model 3
SPECIAL TOOLS
Tool, FUCA Ride Height, Model 3 (1450399-00-A) |
Remove
-
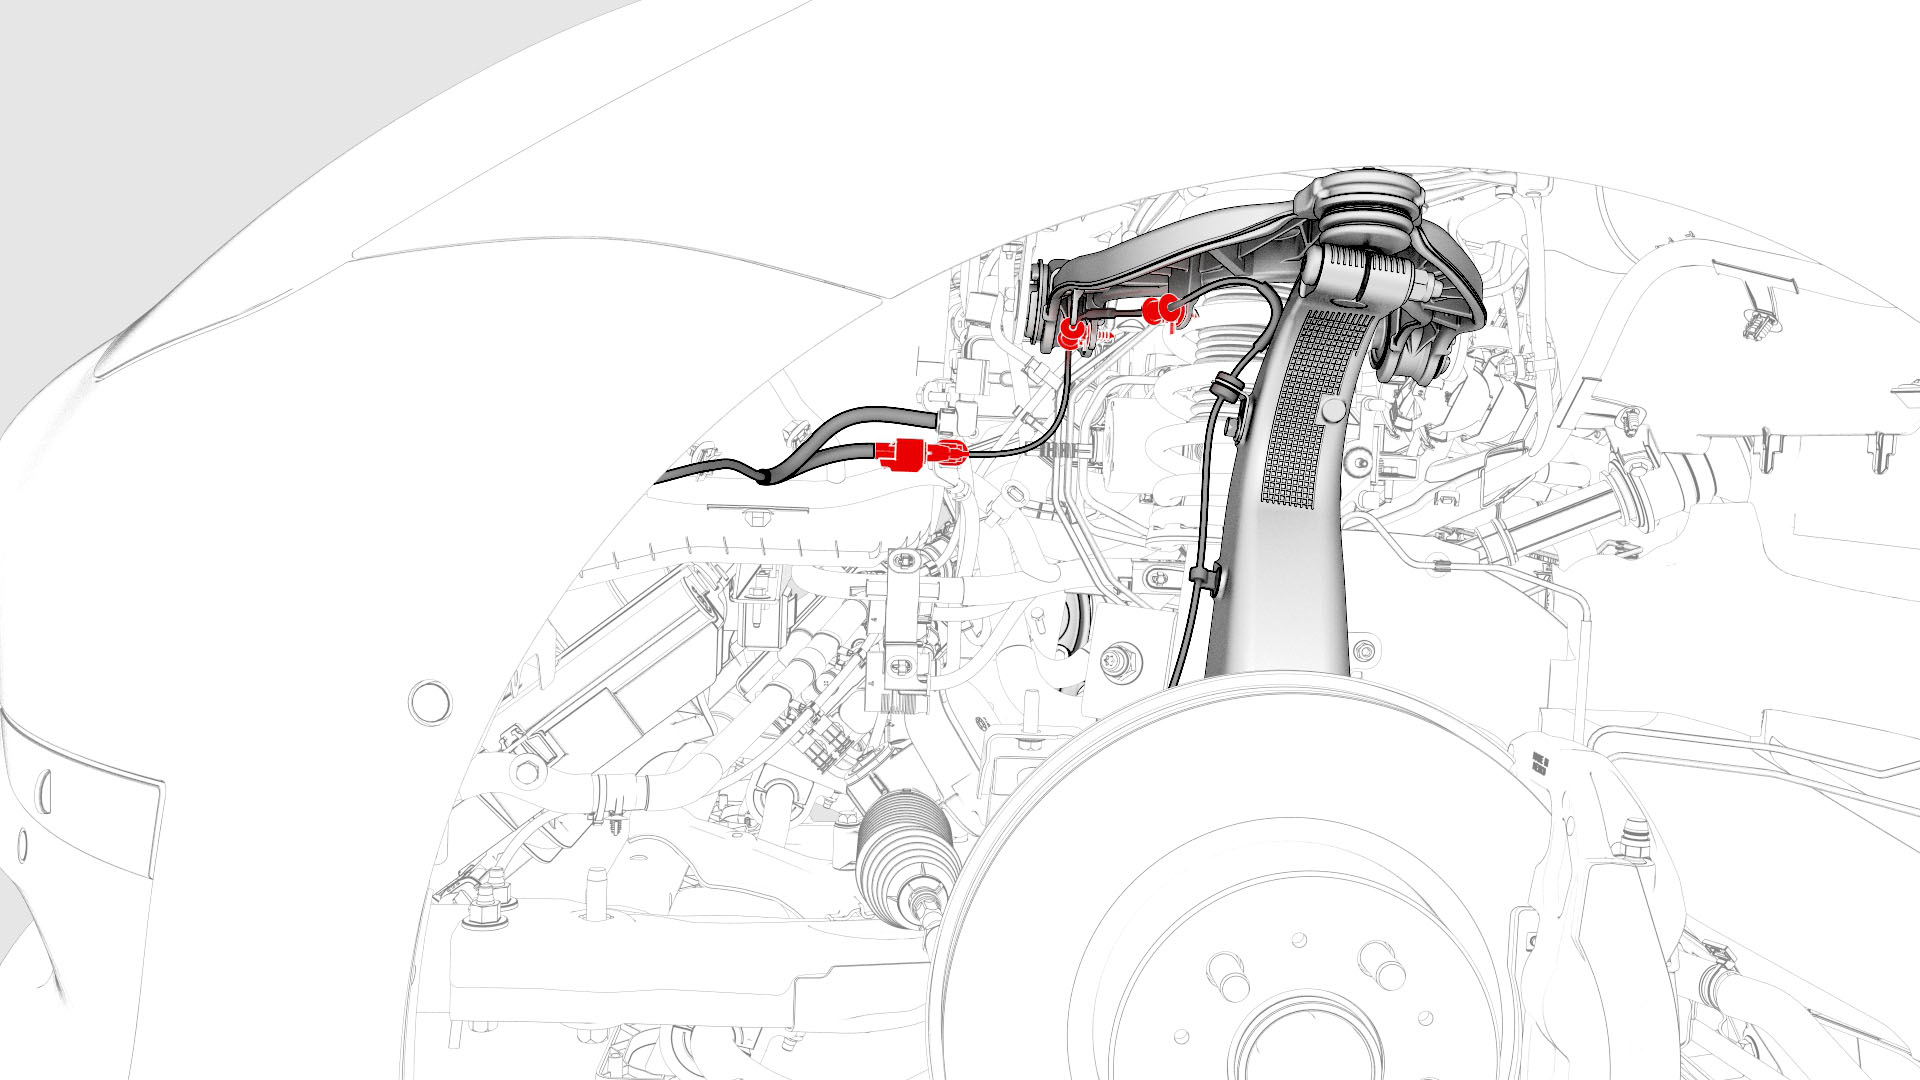
Disconnect the wheel speed sensor connector, and then release the harness from the clips on the body and upper control arm.
-
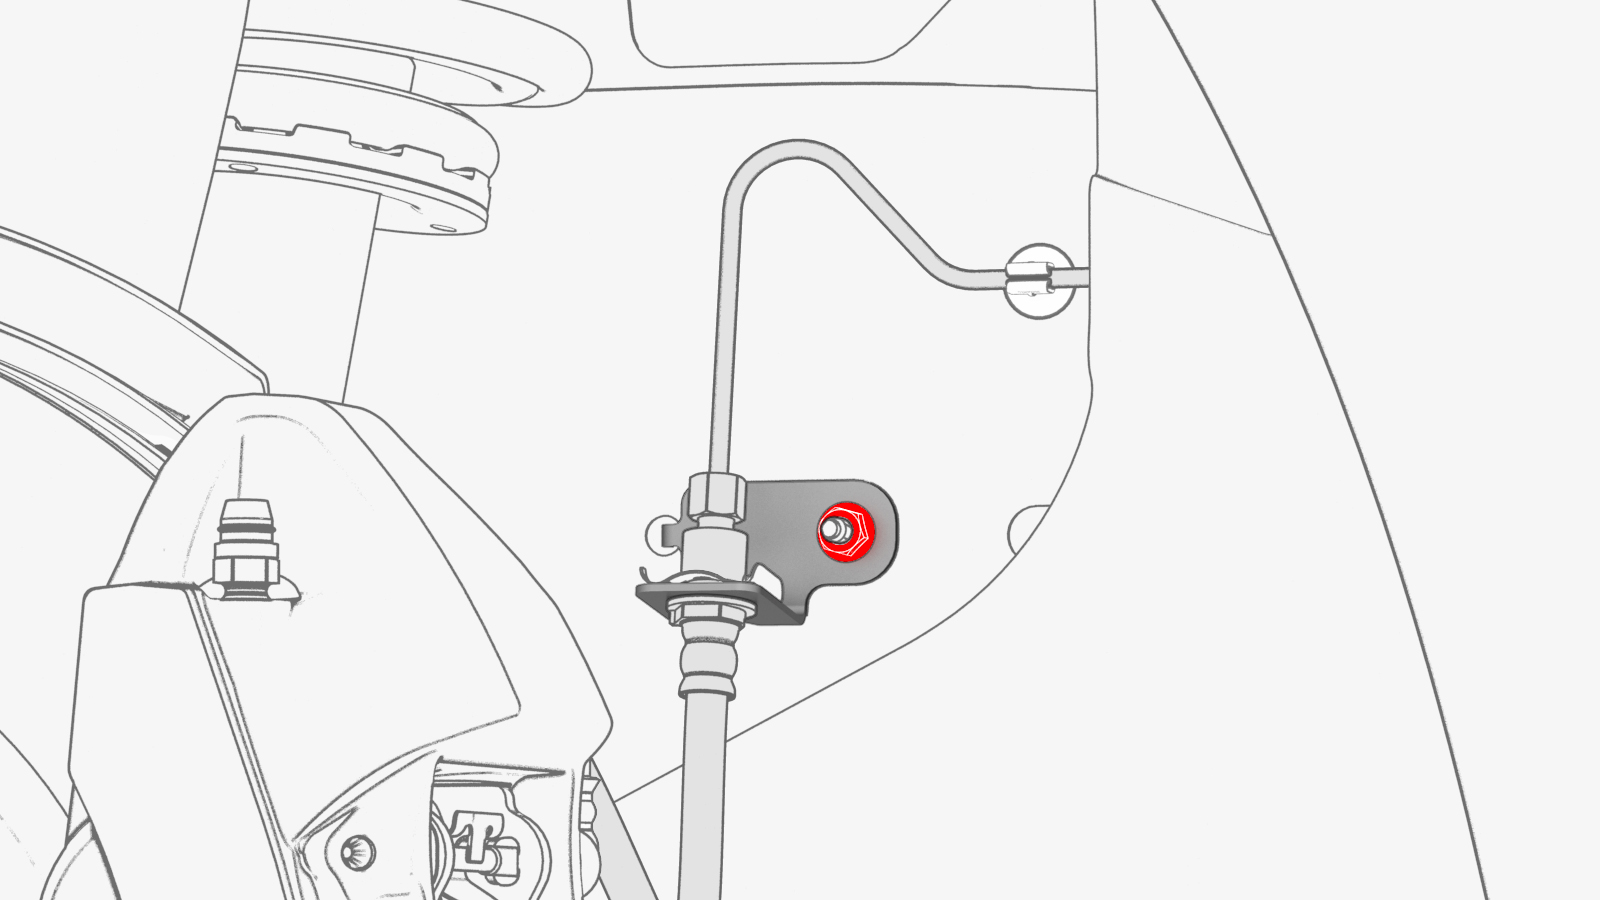
Dual Motor only: Remove the nut that attaches the LH front jounce hose bracket to the vehicle.
-
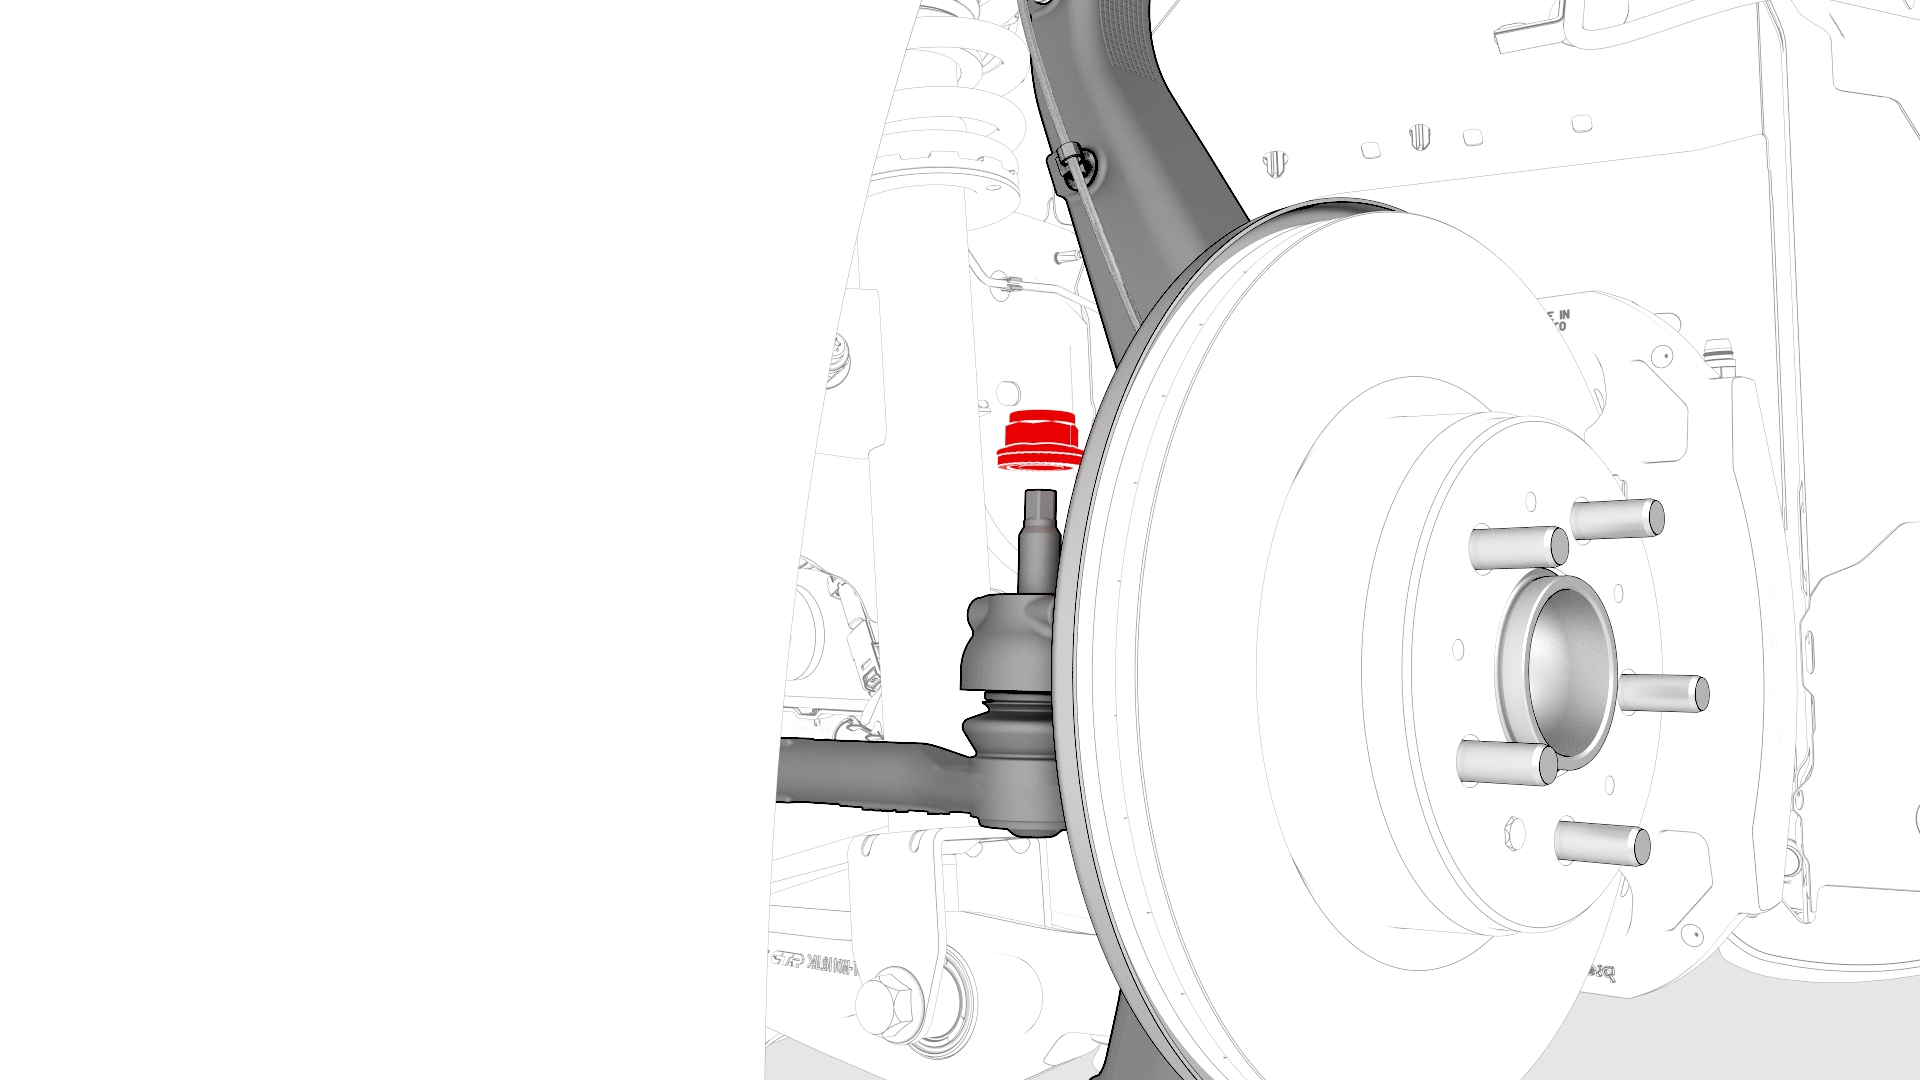
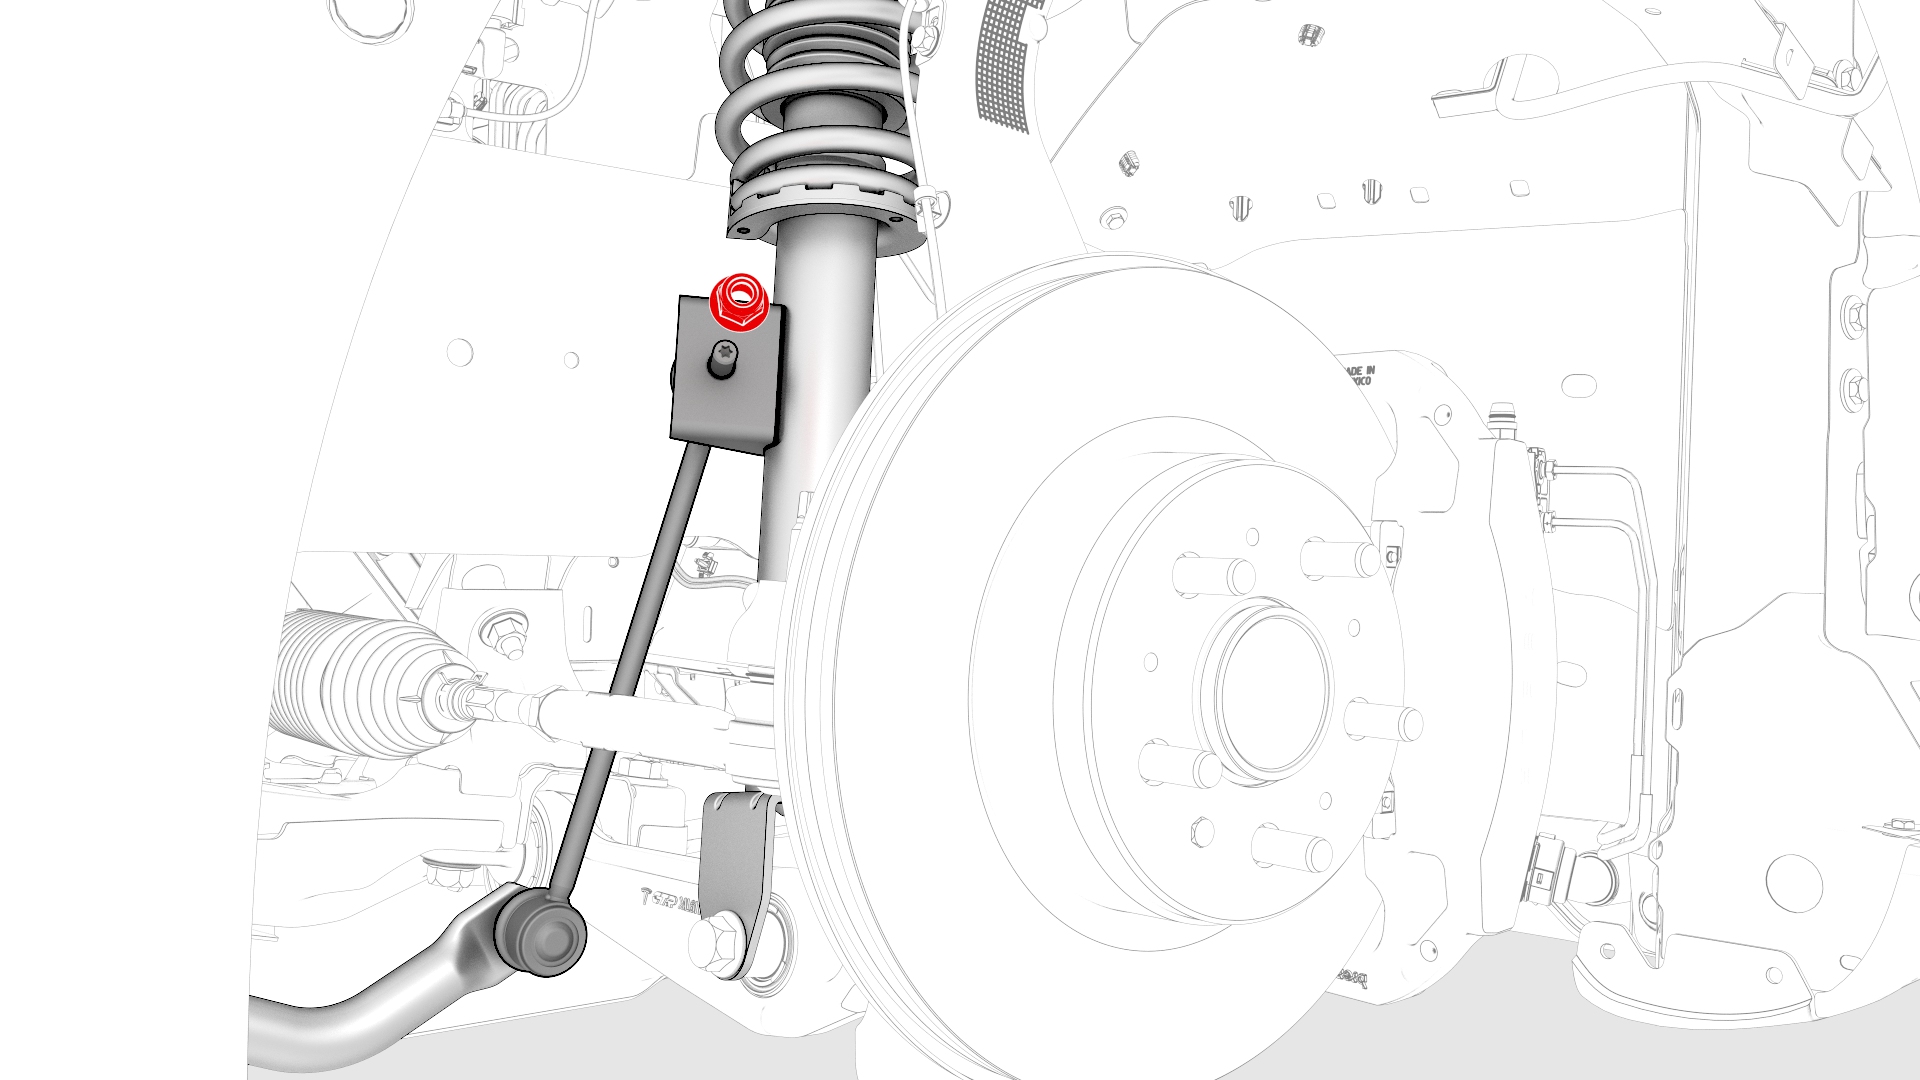
Remove and discard the nut that attaches the LH tie rod end to the knuckle, and then remove the tie rod end from the knuckle.
-
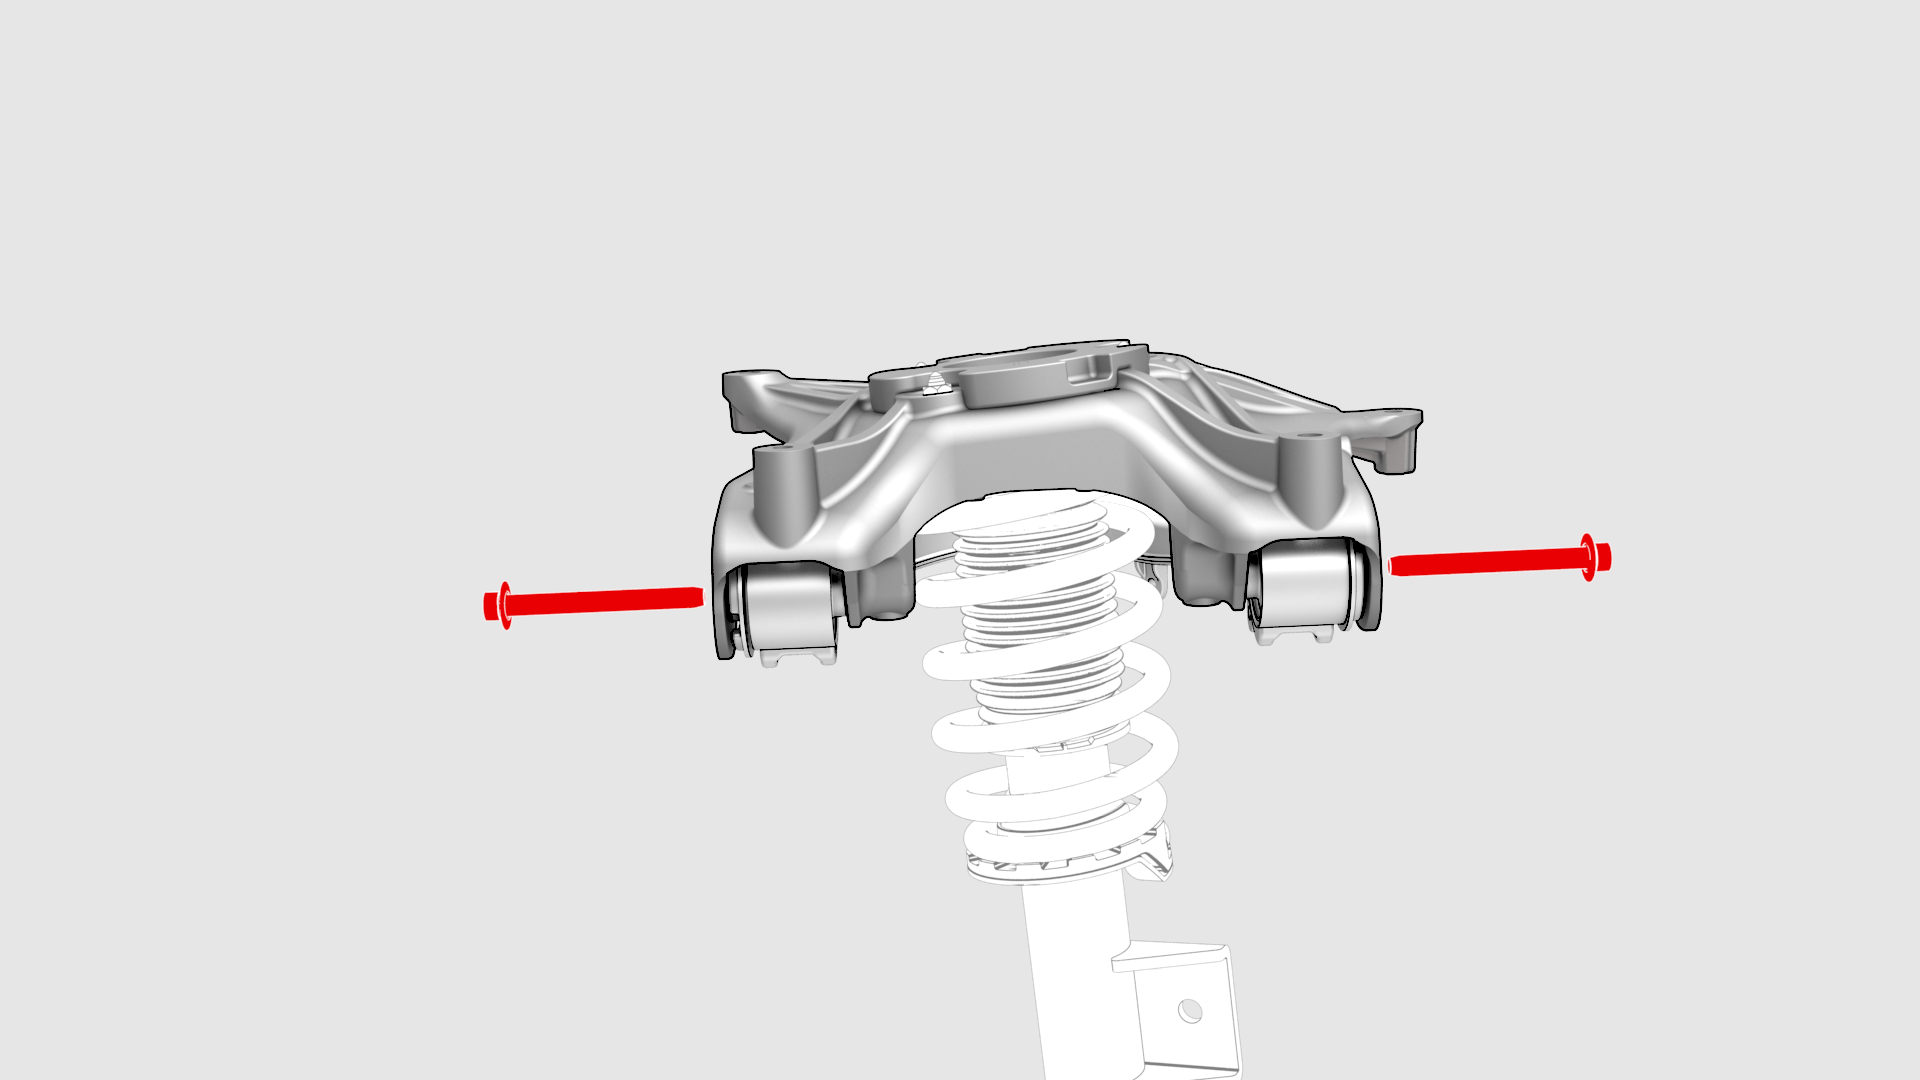
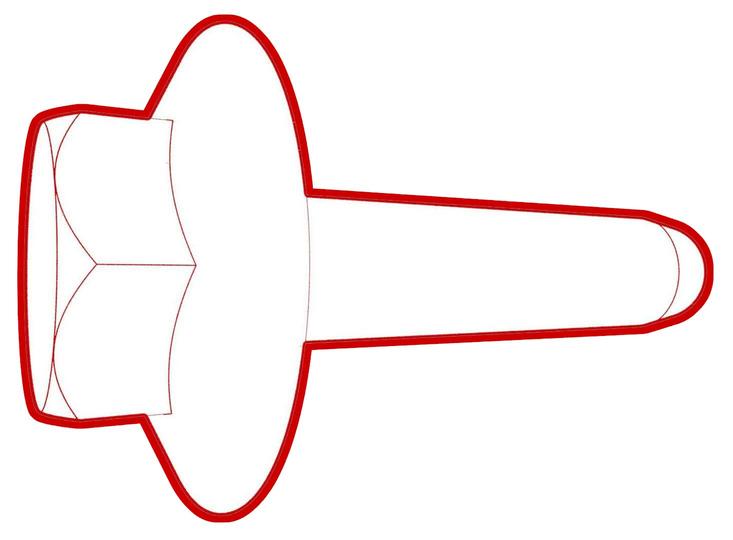
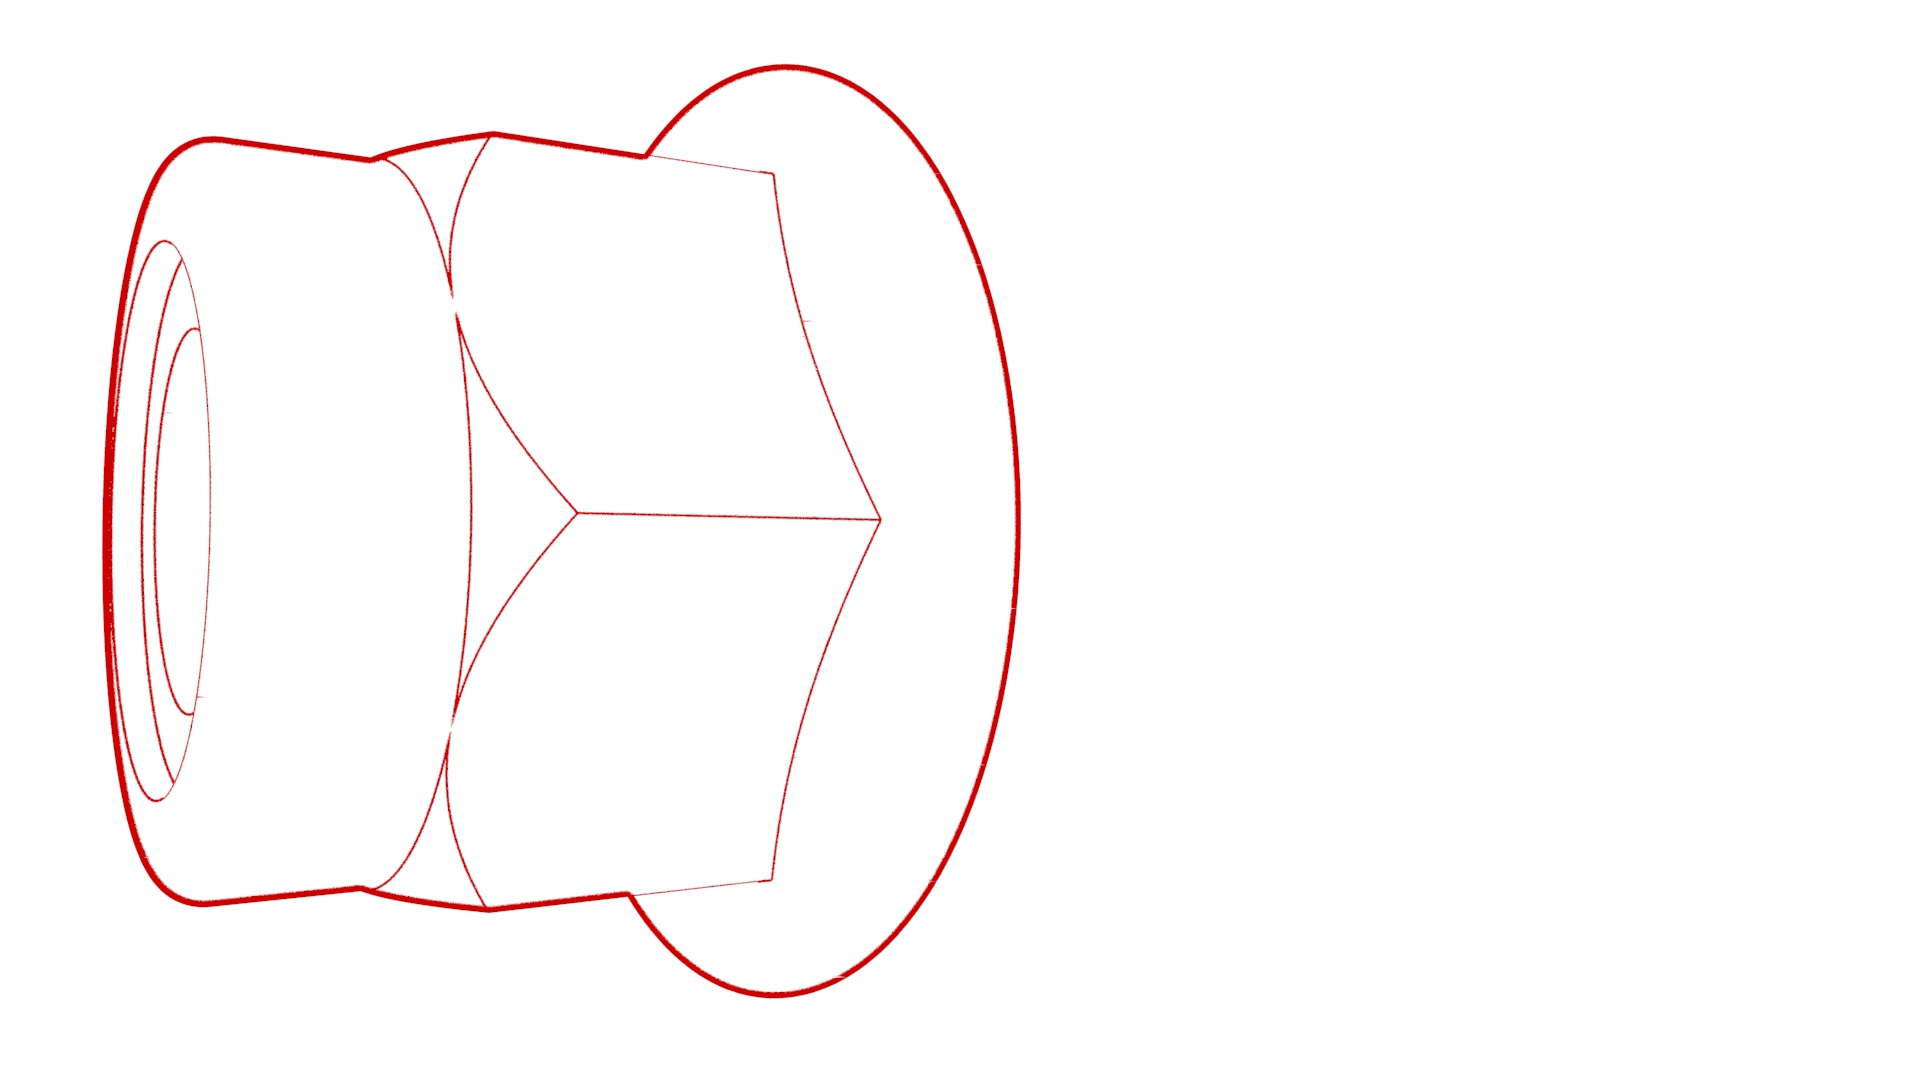
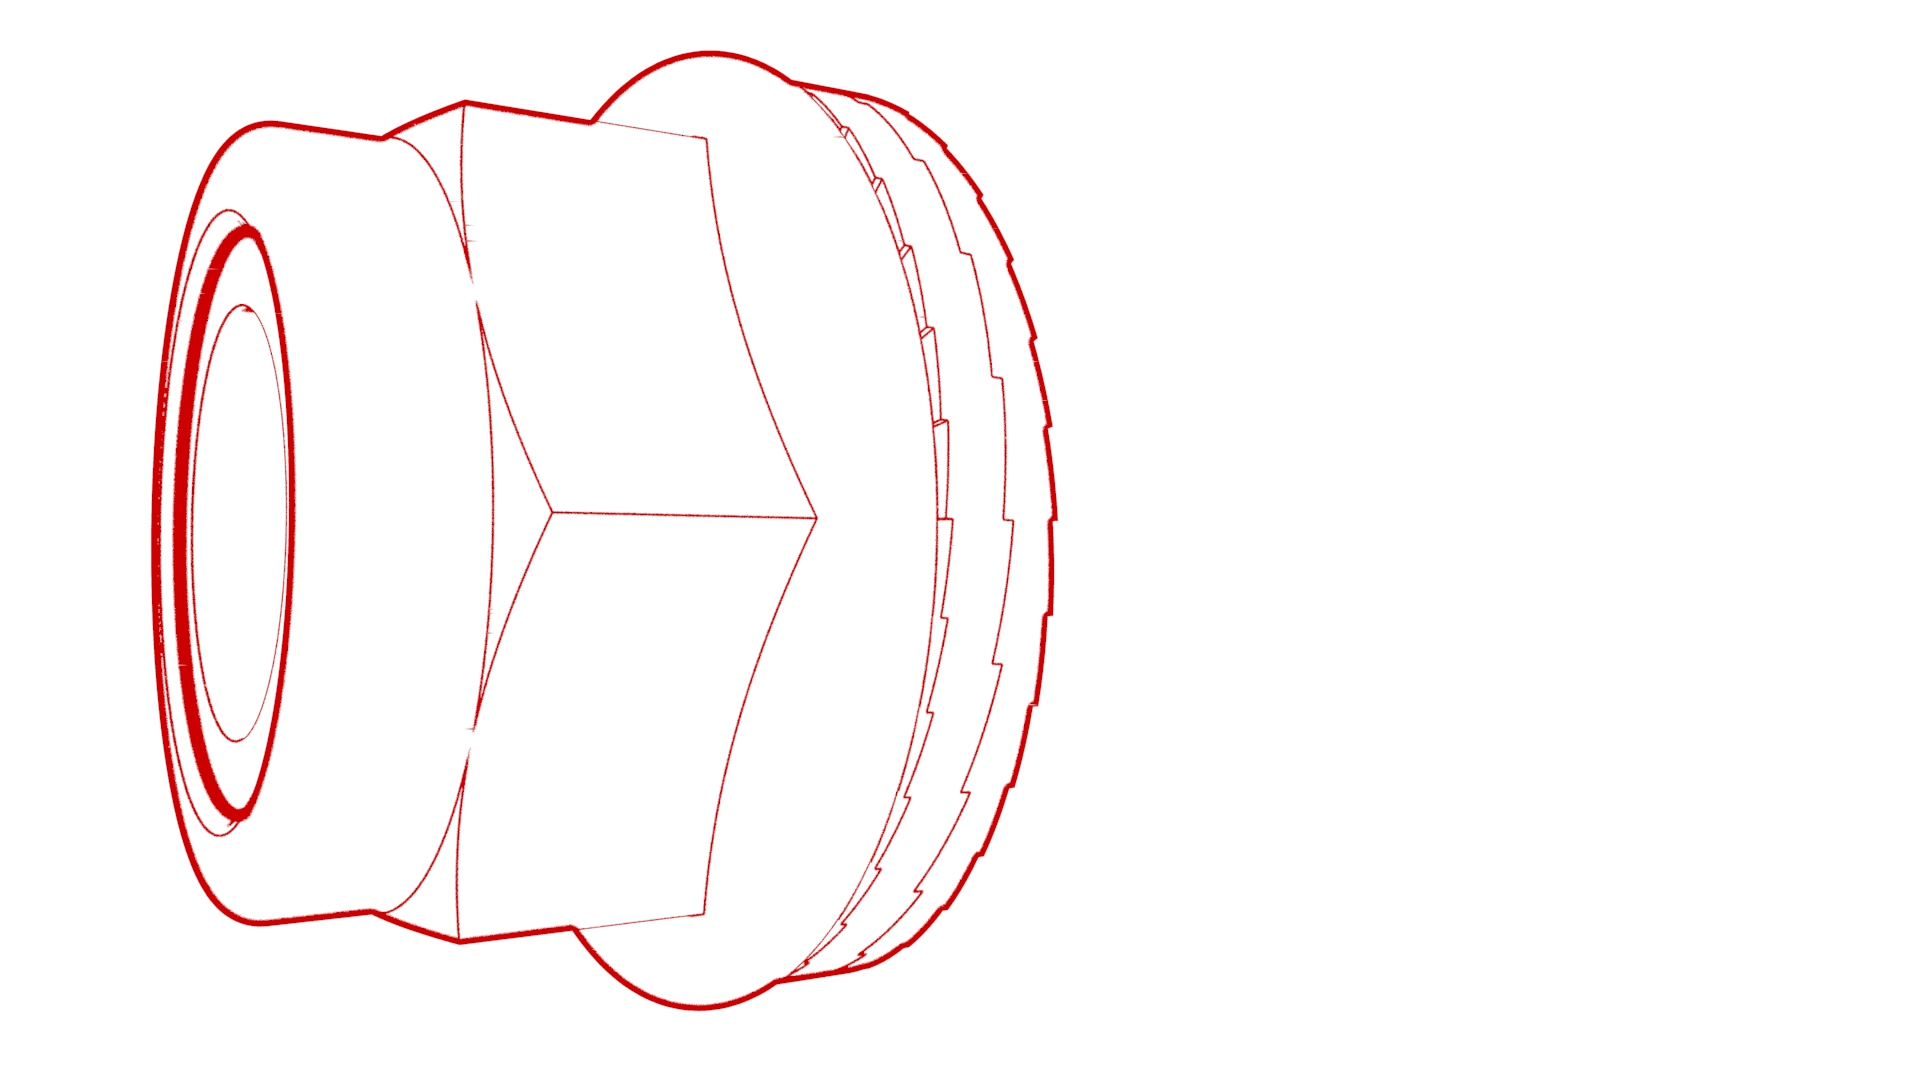
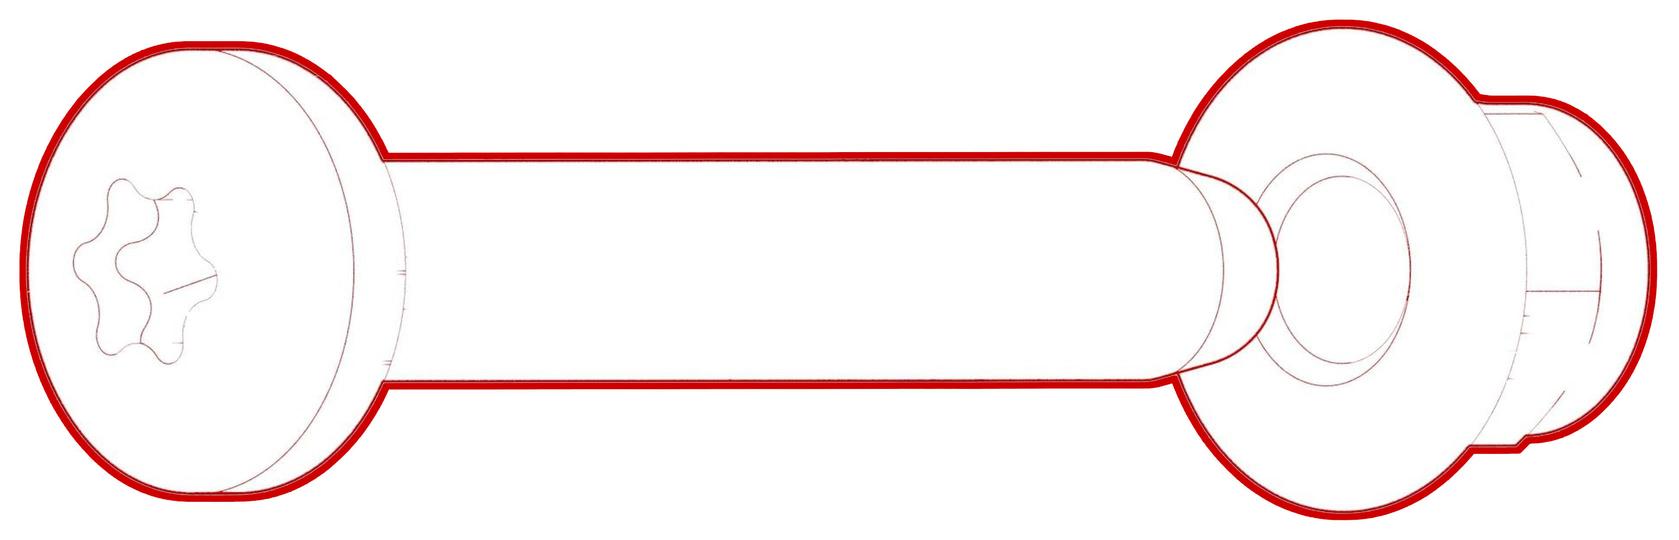
Remove the bolt and nut that attach the upper control arm to the knuckle, and then discard the nut.
-
Remove and discard the nut that attaches the stabilizer bar link to the LH front spring and damper assembly, and then move the link aside.
-
Remove the bolt and nut that attach the LH front spring and damper assembly to the lower control arm.
-
Release the clips that attach the LH shock tower cover to the body, and then remove the LH shock tower cover from the vehicle.
-
Remove the smaller bolts that attach the spring and damper assembly to the shock tower.
-
Remove the larger bolts that attach the spring and damper assembly to the shock tower.

-
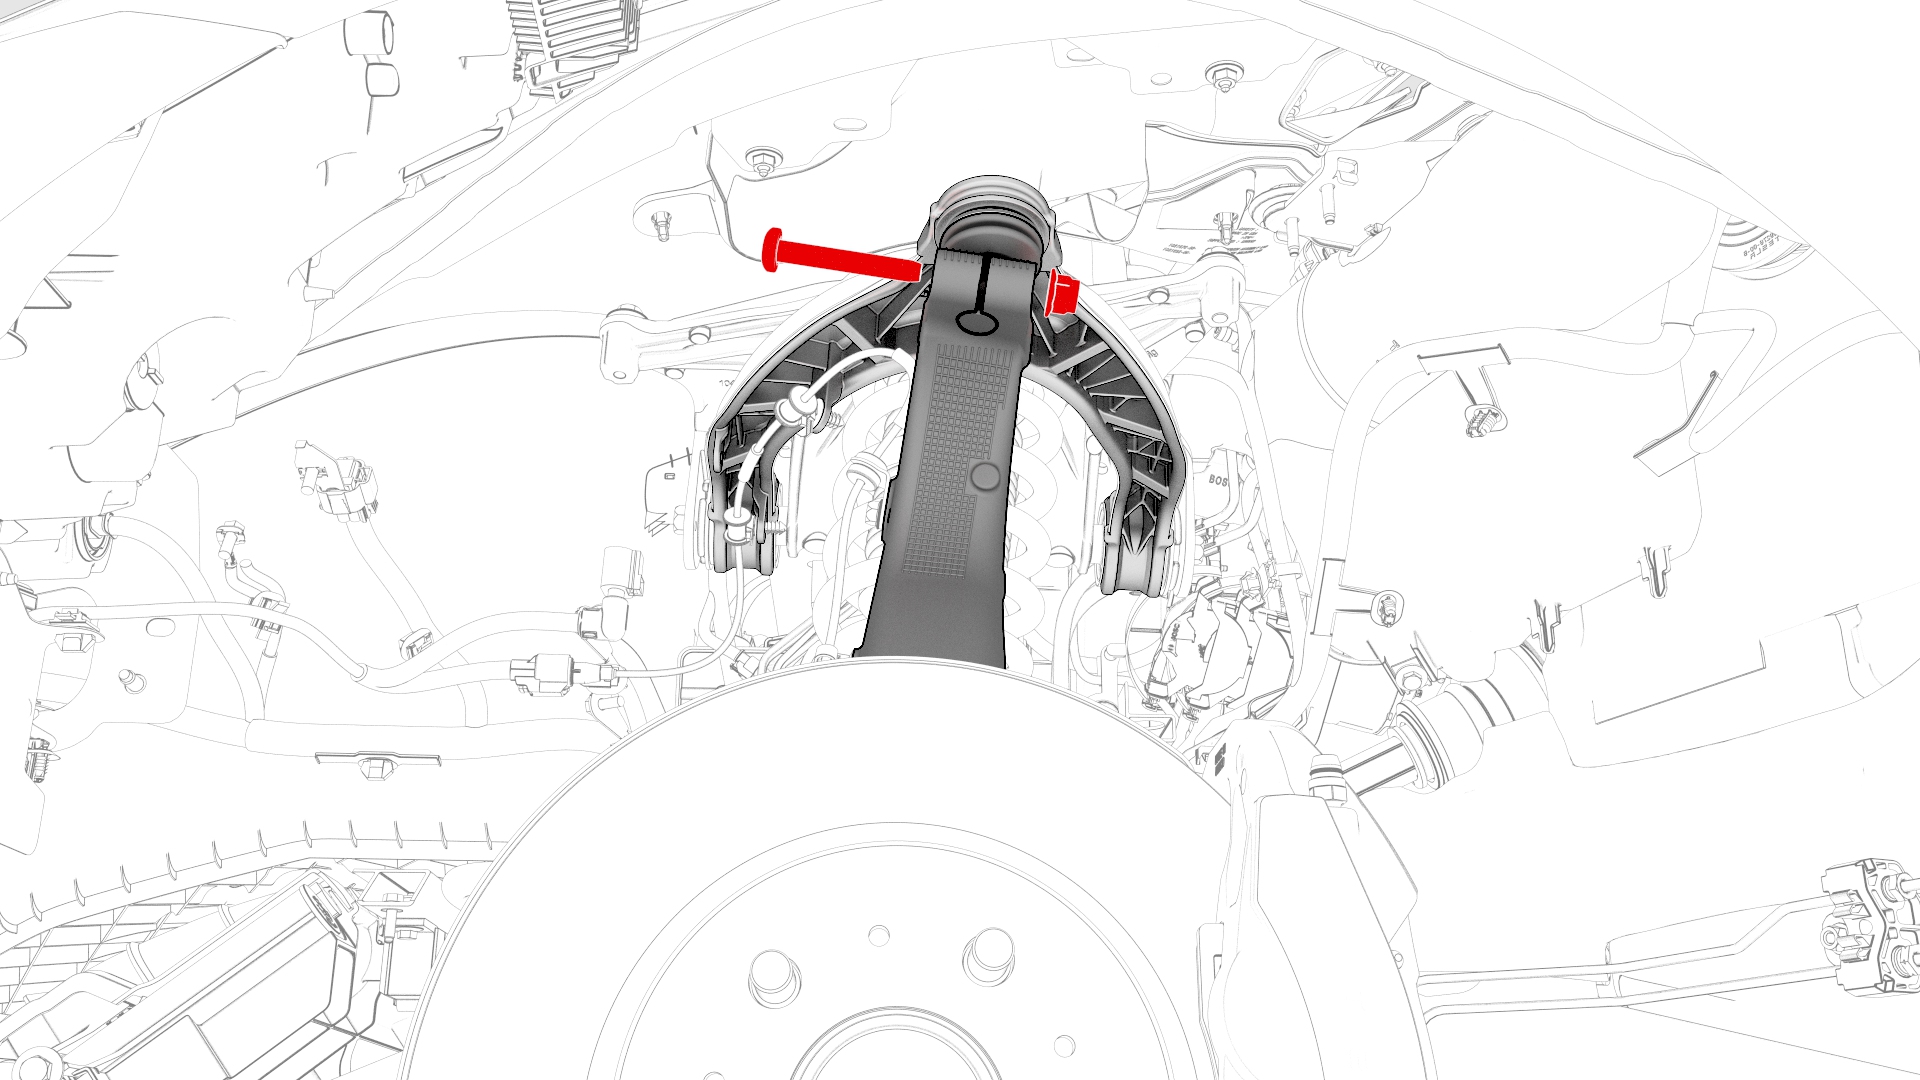
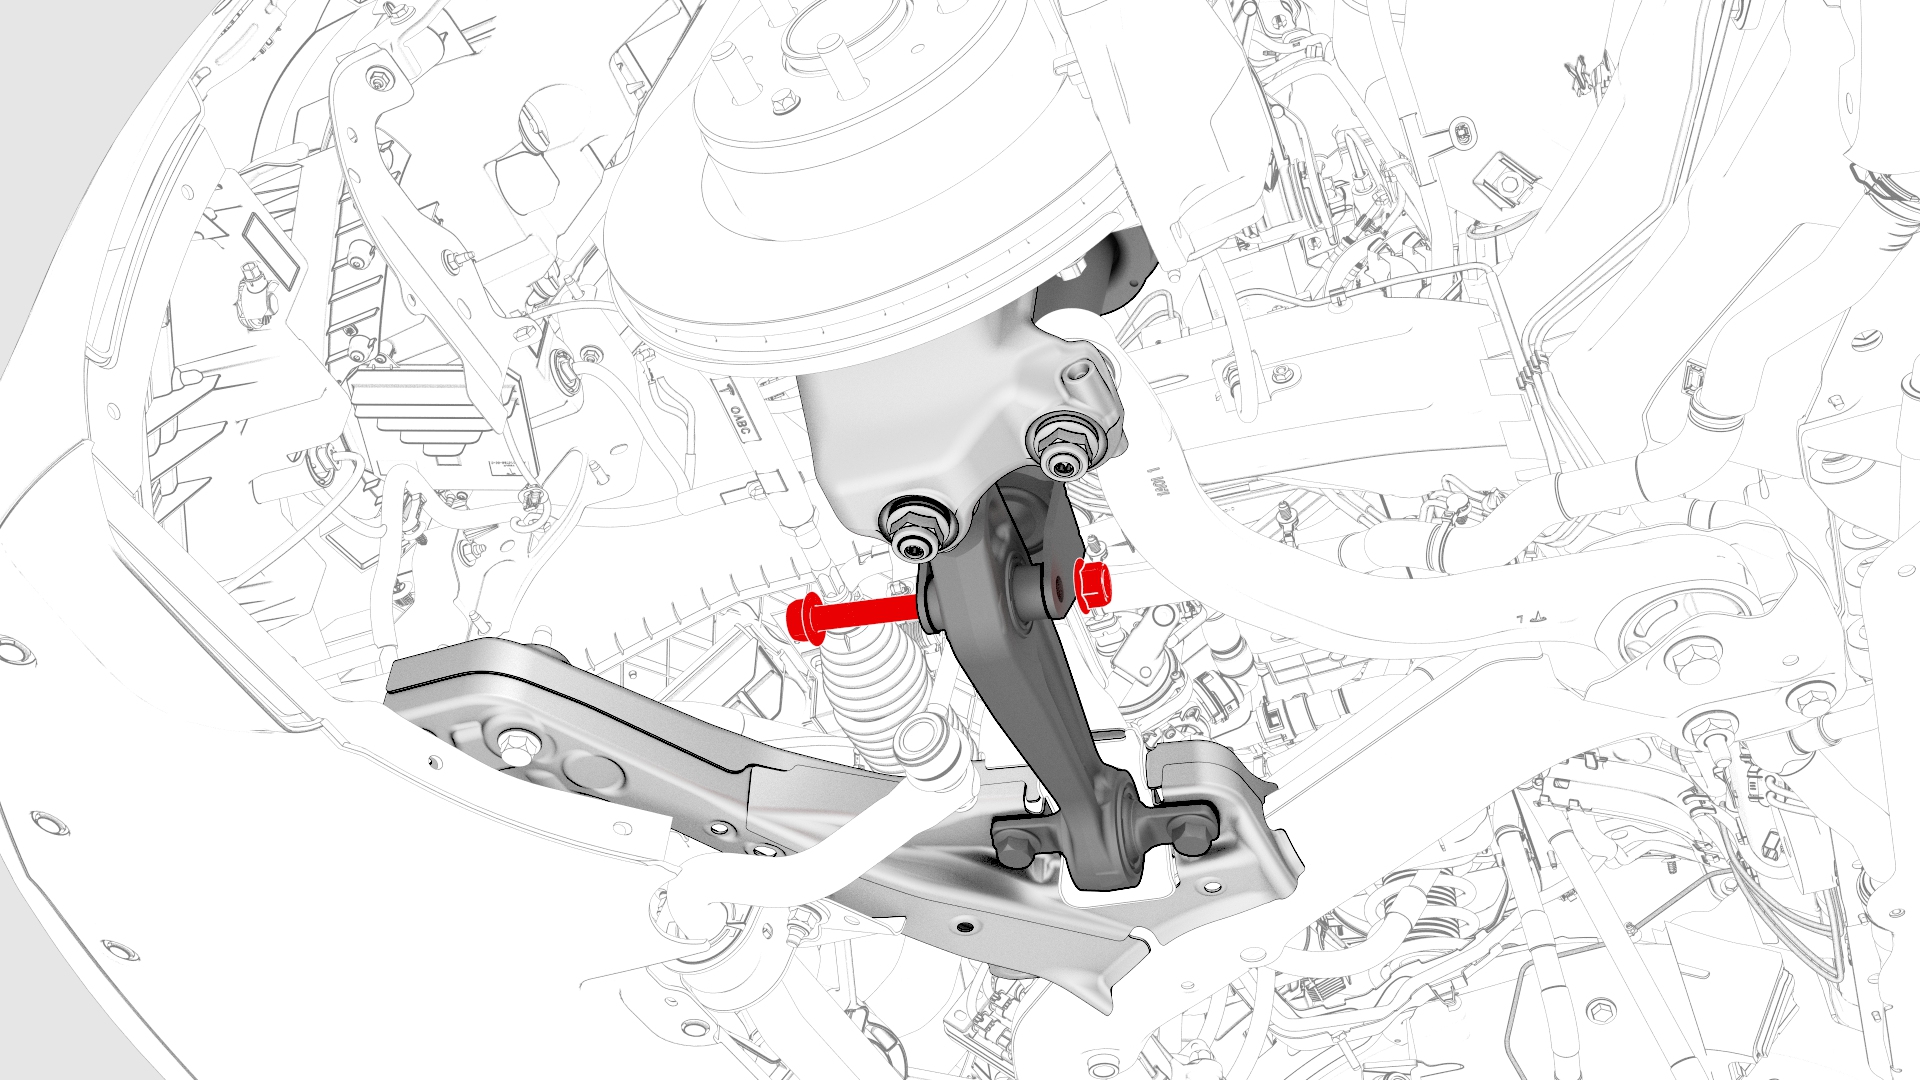
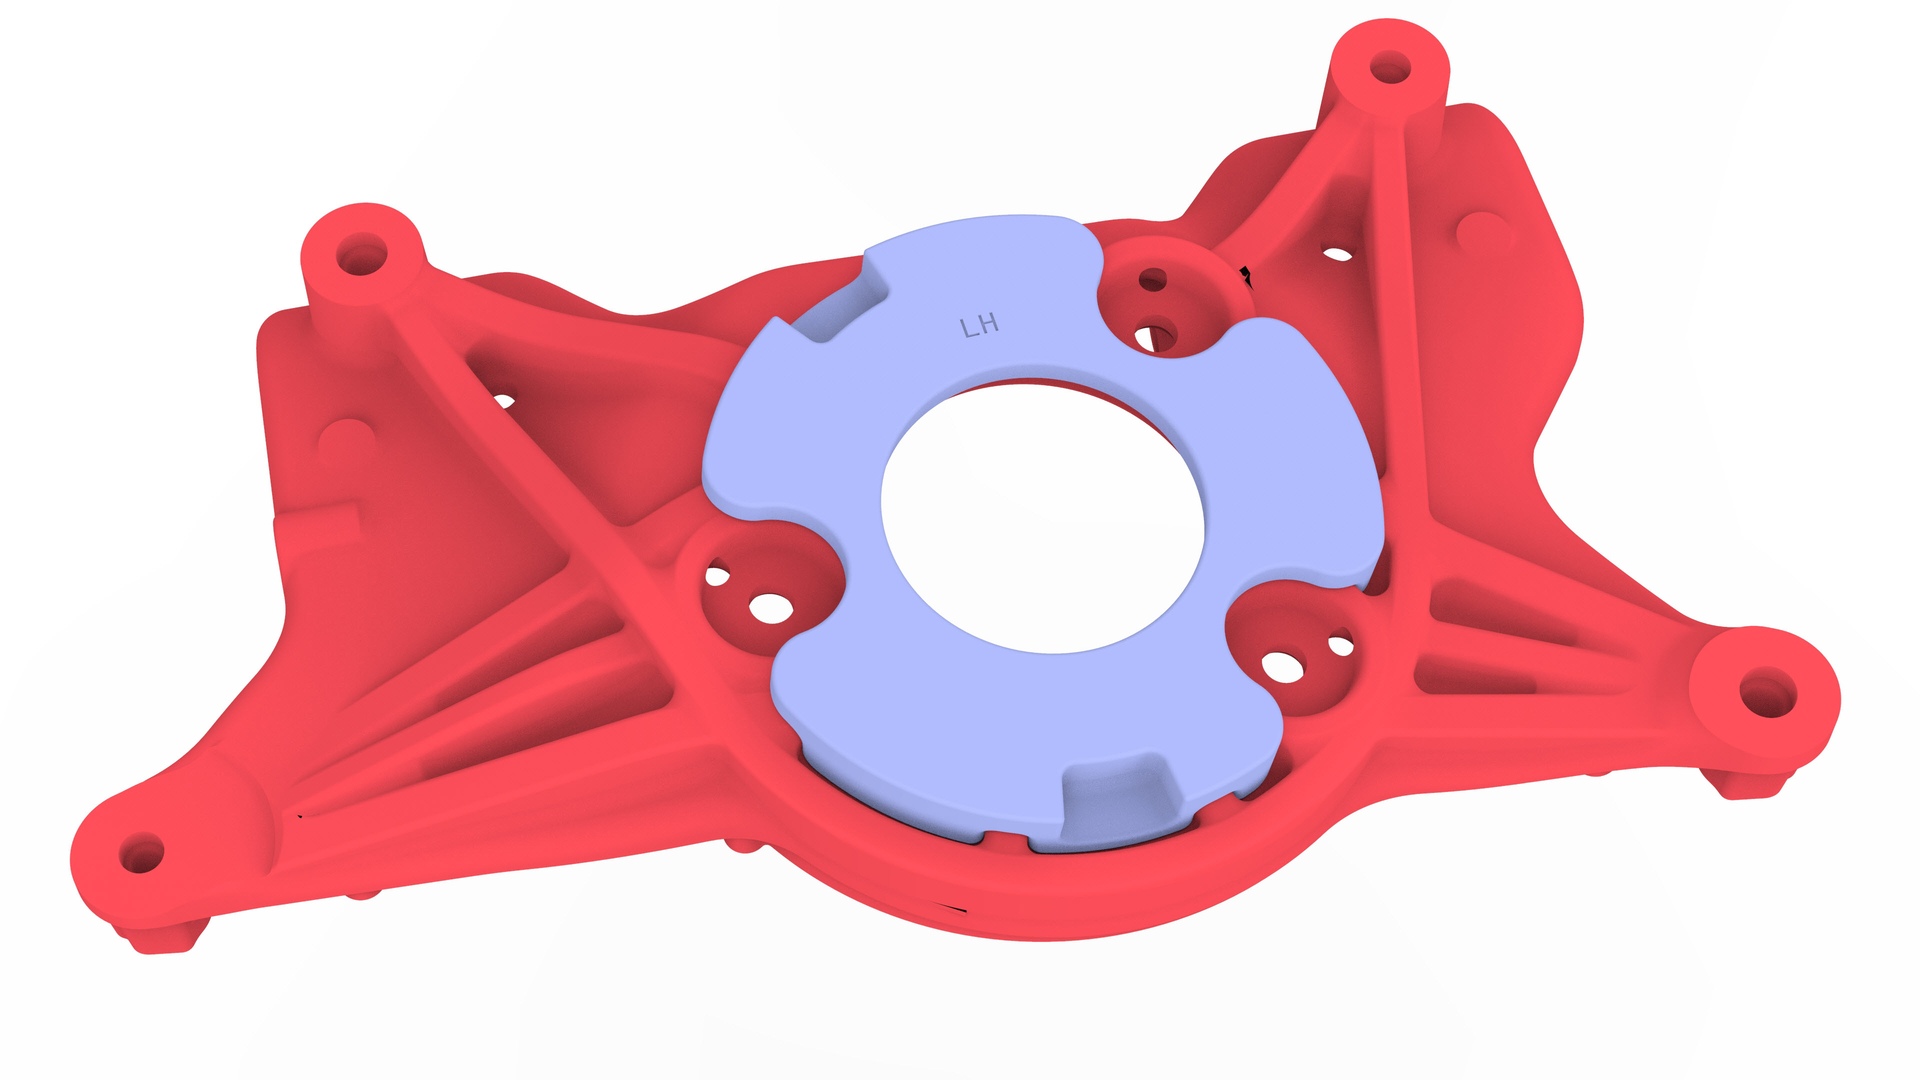
Remove the bolts that attach the LH front upper control arm to the front upper control arm mount, and then remove the control arm from the mount.
-
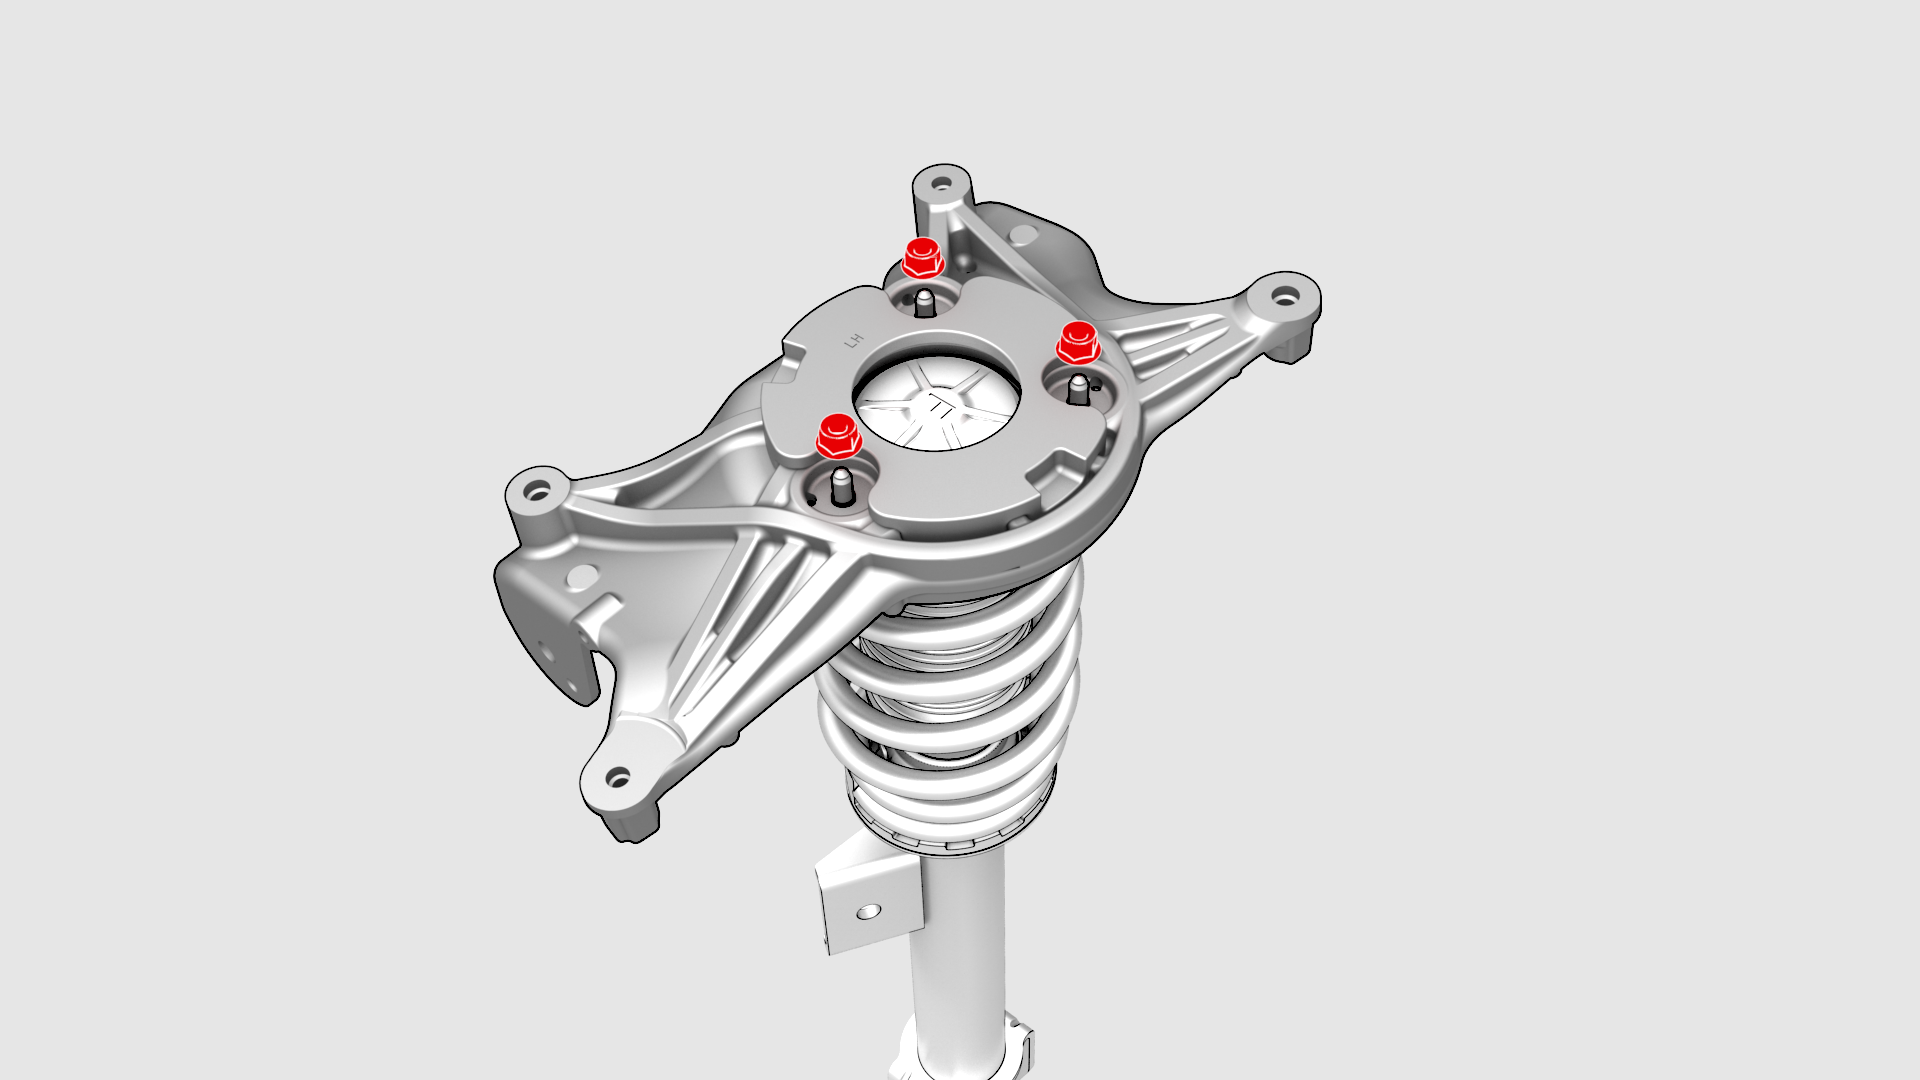
Remove the nuts that attach the front upper control arm mount to the LH front spring and damper assembly.
-
Remove the front upper control arm mount from the LH front spring and damper assembly.
| 1 | Raise and support the vehicle. See Raise Vehicle - 2 Post Lift. | ||
| 2 | Remove the LH front wheel. See Wheel (Remove and Install). | ||
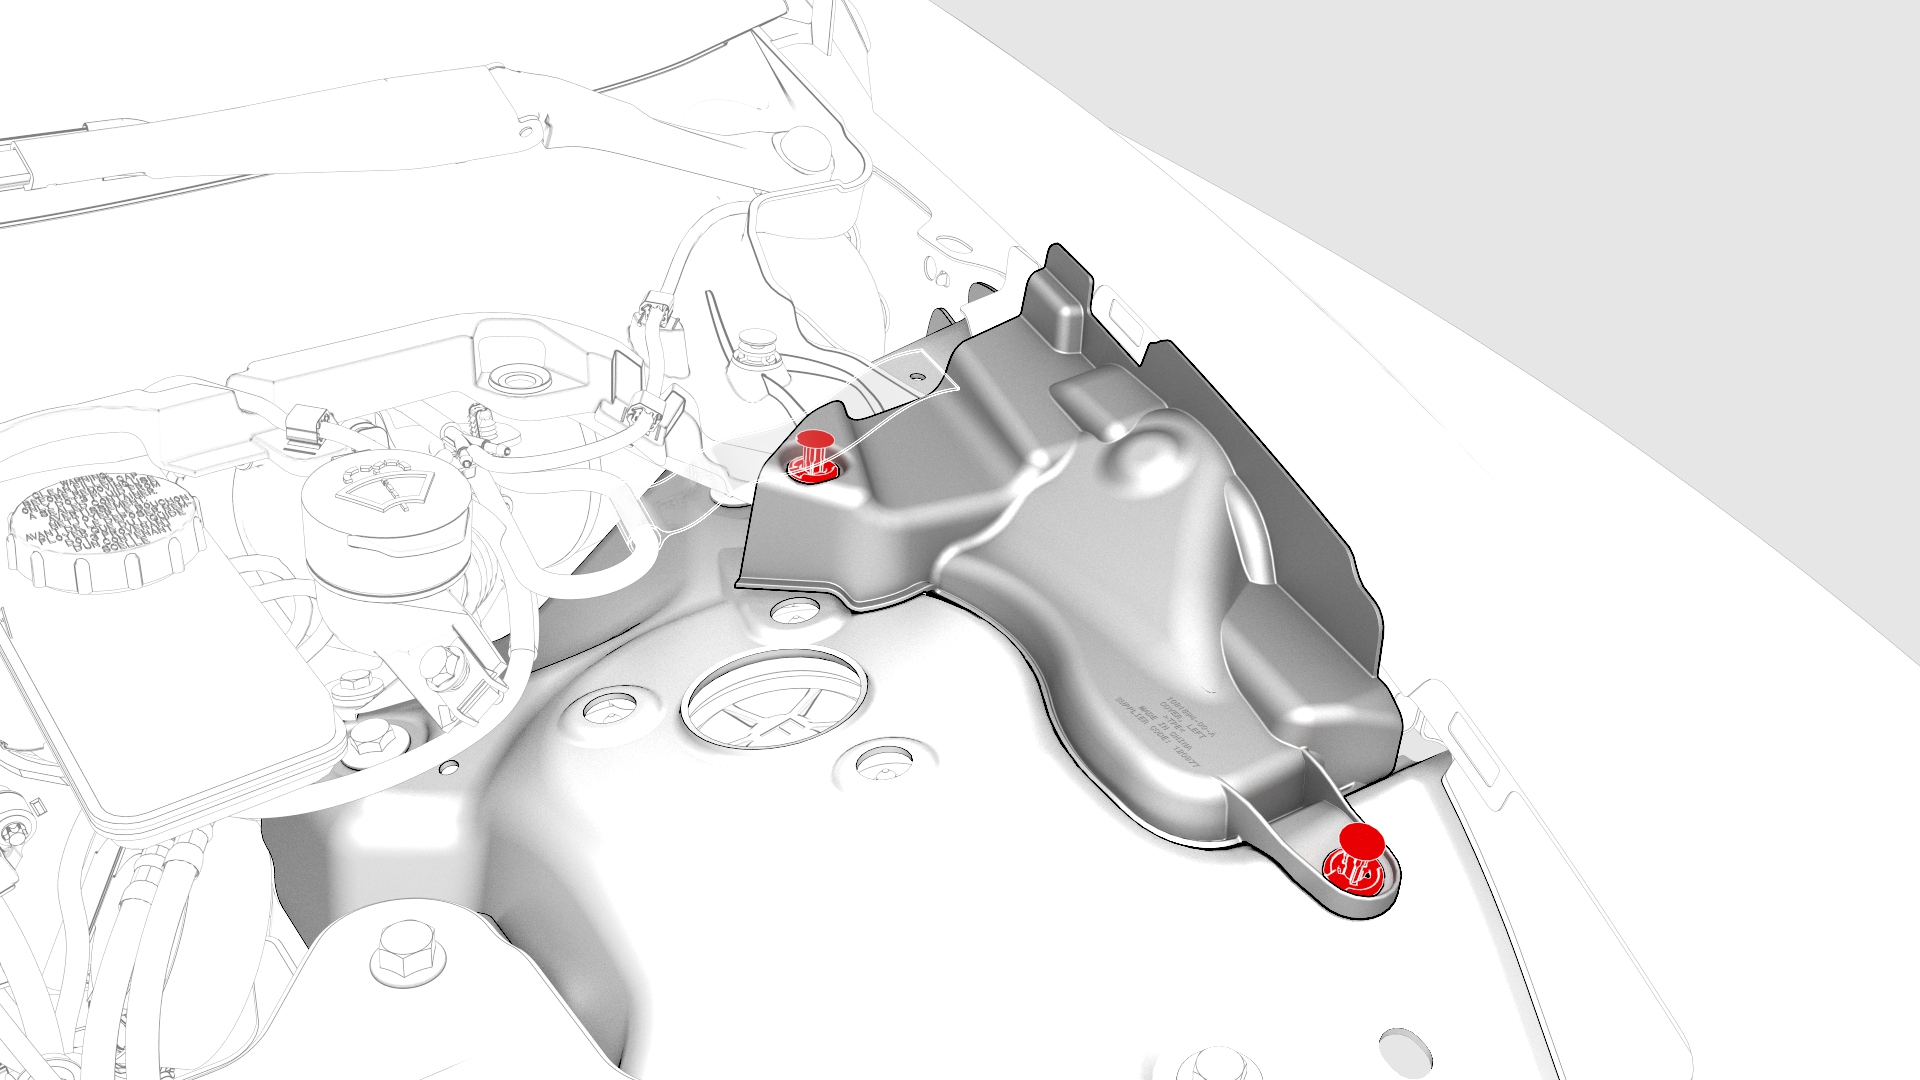
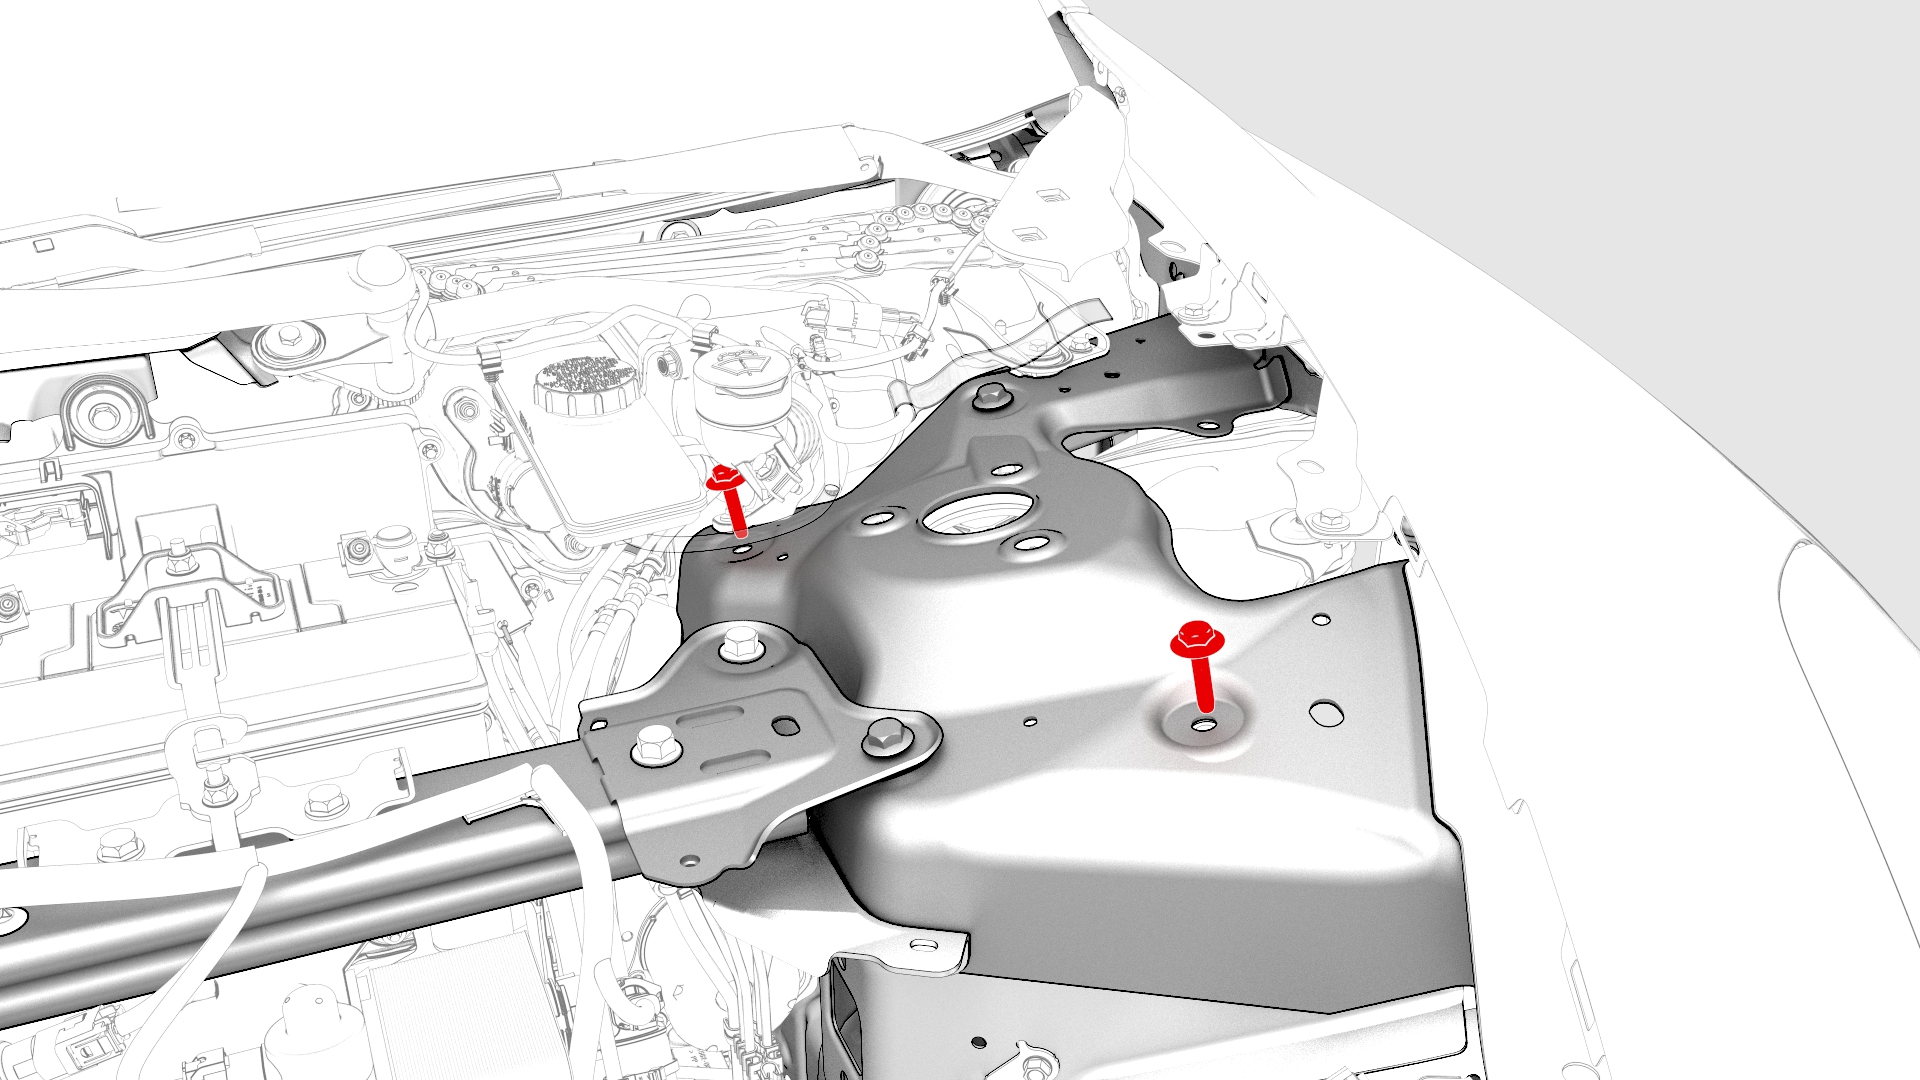
| 3 | Remove the rear underhood apron. See Underhood Apron - Rear (Remove and Replace). | ||
| 4 | Remove the cabin intake duct. See Duct - Cabin Intake (Remove and Replace). | ||
| 5 | Remove the hood latch cover. See Cover - Hood Latch (Remove and Replace). | ||
| 6 | Remove the underhood storage unit. See Underhood Storage Unit (Remove and Replace). | ||
| 7 | Remove the LH and RH wiper arms. See Wiper Arms (Remove and Replace). | ||
| 8 | Remove the cowl screen panel. See Panel - Cowl Screen (Remove and Replace). | ||
| 9 | Remove the front LH wheel arch liner. See Wheel Arch Liner - Front - LH (Remove and Replace). | ||
| 10 | Disconnect the wheel speed sensor connector, and then release the harness from the clips on the body and upper control arm. | |
| 11 | Dual Motor only: Remove the nut that attaches the LH front jounce hose bracket to the vehicle. | |
| 12 | Raise the vehicle partially. | ||
| 13 | Remove and discard the nut that attaches the LH tie rod end to the knuckle, and then remove the tie rod end from the knuckle. | |
| 14 | Remove the bolt and nut that attach the upper control arm to the knuckle, and then discard the nut. | |
| 15 | Remove and discard the nut that attaches the stabilizer bar link to the LH front spring and damper assembly, and then move the link aside. | |
| 16 | Remove the bolt and nut that attach the LH front spring and damper assembly to the lower control arm. | |
| 17 | Remove the stand and lower the vehicle to a working height. | ||
| 18 | Release the clips that attach the LH shock tower cover to the body, and then remove the LH shock tower cover from the vehicle. | |
| 19 | Remove the smaller bolts that attach the spring and damper assembly to the shock tower. | |
| 20 | Remove the larger bolts that attach the spring and damper assembly to the shock tower. | |
| 21 | Carefully remove the LH front spring and damper assembly from the vehicle. | ||
| 22 | Remove the bolts that attach the LH front upper control arm to the front upper control arm mount, and then remove the control arm from the mount. | |
| 23 | Remove the nuts that attach the front upper control arm mount to the LH front spring and damper assembly. | |
| 24 | Remove the front upper control arm mount from the LH front spring and damper assembly. |
Install
-
Install the front upper control arm mount onto the LH front spring and damper assembly, and then install the nuts that attach the mount to the damper assembly.
 Torque 23 Nm
 -
Install the LH front upper control arm into the front upper control arm mount, and then install and hand-tighten the bolts (x2) that attach the control arm to the mount.
-
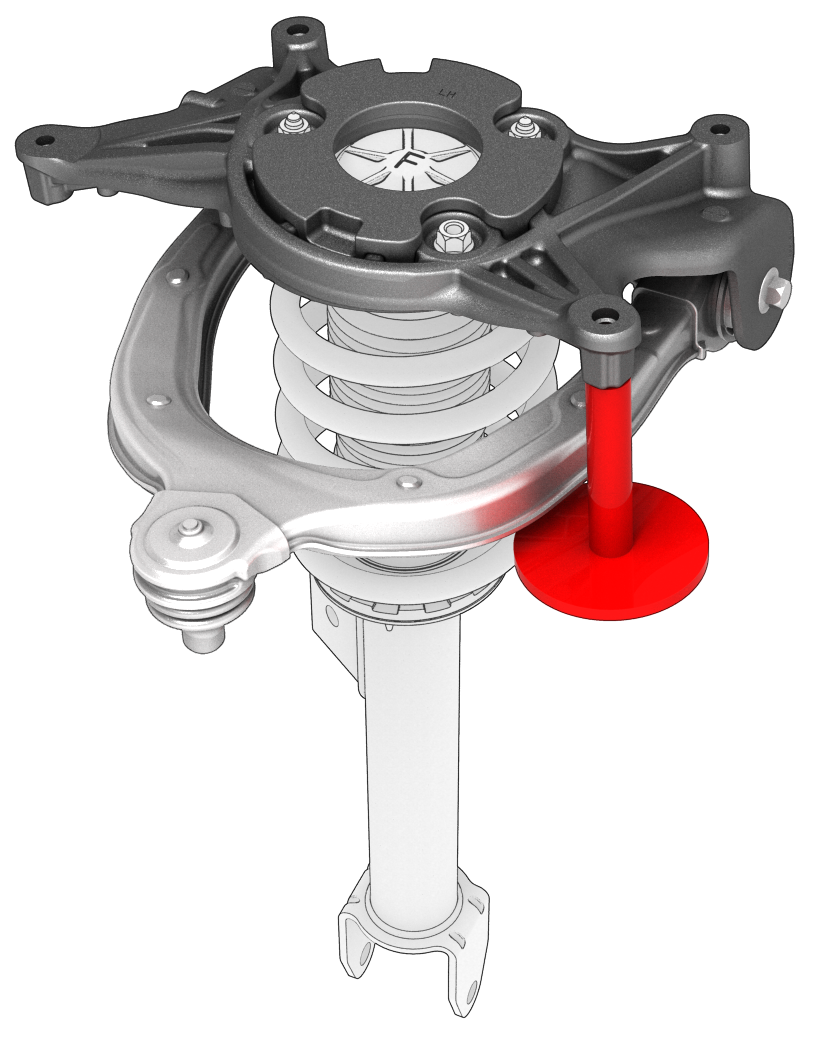
Install the FUCA ride height tool onto the front upper control arm mount at the rear outer mounting hole.
-
With an assistant, hold the front upper control arm against the plate of the FUCA ride height tool and tighten the bolts (x2) that attach the LH front upper control arm to the front upper control arm mount.
 Torque 50 Nm
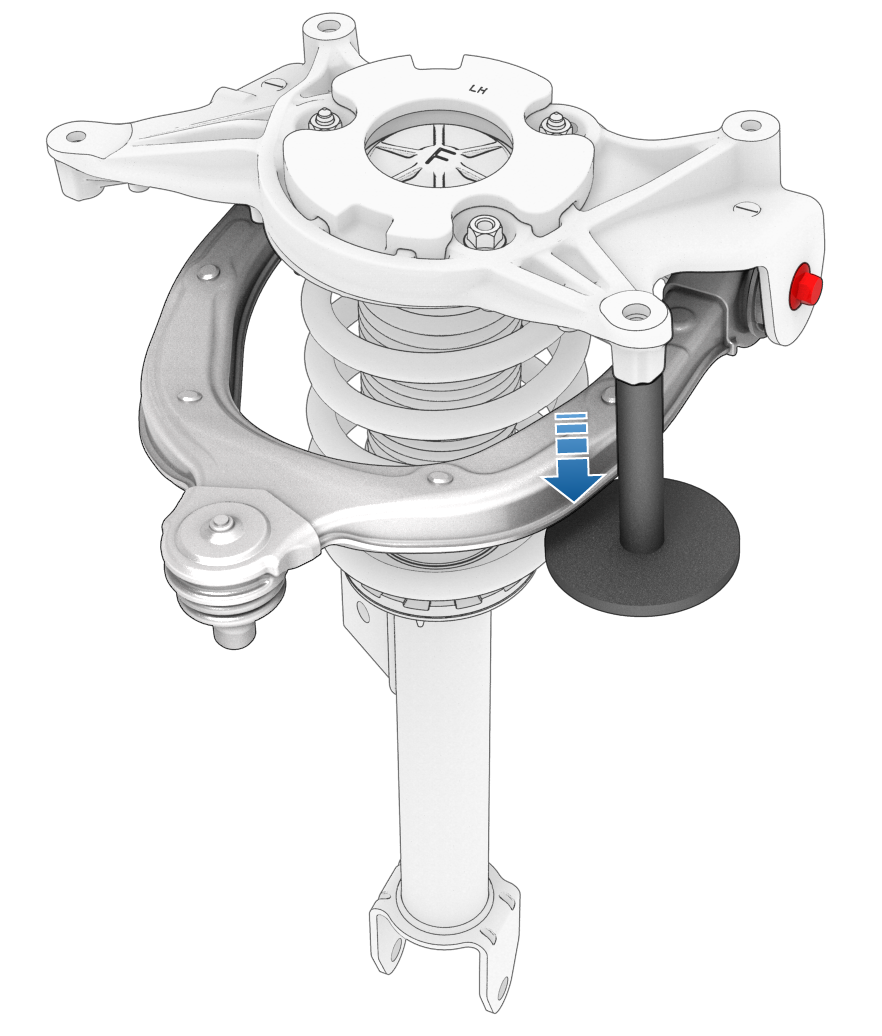
-
Install the larger bolts that attach the spring and damper assembly to the shock tower.
 Torque 62 Nm
 -
Install the smaller bolts that attach the spring and damper assembly to the shock tower.
 Torque 35 Nm
 -
Install the clips that attach the LH shock tower cover to the body.
-
Hand-tighten the bolt and nut that attach the LH front spring and damper assembly to the lower control arm.
-
Install new nut that attaches the stabilizer bar link to the LH front spring and damper assembly.
 Torque 98 Nm
 -
Install new nut that attaches the LH tie rod end to the knuckle.
 Torque 180 Nm
 -
Install the bolt and new nut that attach the upper control arm to the knuckle.
 Torque 56 Nm
 -
Dual Motor only: Install the nut that attaches the LH front jounce hose bracket to the vehicle.
 Torque 6 Nm
 -
Connect the wheel speed sensor connector, and then connect the harness with the clips on the body and upper control arm.
| 1 | Install the front upper control arm mount onto the LH front spring and damper assembly, and then install the nuts that attach the mount to the damper assembly. Torque 23 Nm | |
| 2 | Install the LH front upper control arm into the front upper control arm mount, and then install and hand-tighten the bolts (x2) that attach the control arm to the mount. | |
| 3 | Install the FUCA ride height tool onto the front upper control arm mount at the rear outer mounting hole. | |
| 4 | With an assistant, hold the front upper control arm against the plate of the FUCA ride height tool and tighten the bolts (x2) that attach the LH front upper control arm to the front upper control arm mount. Torque 50 Nm | |
| 5 | Remove the FUCA ride height tool from the front upper control arm mount. | ||
| 6 | Install the LH front spring and damper assembly into position in the vehicle. | ||
| 7 | Install the larger bolts that attach the spring and damper assembly to the shock tower. Torque 62 Nm | |
| 8 | Install the smaller bolts that attach the spring and damper assembly to the shock tower. Torque 35 Nm | |
| 9 | Install the clips that attach the LH shock tower cover to the body. | |
| 10 | Hand-tighten the bolt and nut that attach the LH front spring and damper assembly to the lower control arm. | |
| 11 | Install new nut that attaches the stabilizer bar link to the LH front spring and damper assembly. Torque 98 Nm | |
| 12 | Install new nut that attaches the LH tie rod end to the knuckle. Torque 180 Nm | |
| 13 | Install the bolt and new nut that attach the upper control arm to the knuckle. Torque 56 Nm | |
| 14 | Dual Motor only: Install the nut that attaches the LH front jounce hose bracket to the vehicle. Torque 6 Nm | |
| 15 | Connect the wheel speed sensor connector, and then connect the harness with the clips on the body and upper control arm. | |
| 16 | Install the front LH wheel arch liner. See Wheel Arch Liner - Front - LH (Remove and Replace). | ||
| 17 | Install the LH front wheel. See Wheel (Remove and Install). | ||
| 18 | Install the cowl screen panel. See Panel - Cowl Screen (Remove and Replace). | ||
| 19 | Install the LH and RH wiper arms. See Wiper Arms (Remove and Replace). | ||
| 20 | Install the underhood storage unit. See Underhood Storage Unit (Remove and Replace). | ||
| 21 | Install the hood latch cover. See Cover - Hood Latch (Remove and Replace). | ||
| 22 | Install the cabin intake duct. See Duct - Cabin Intake (Remove and Replace). | ||
| 23 | Install the rear underhood apron. See Underhood Apron - Rear (Remove and Replace). | ||
| 24 | Perform a four wheel alignment. See Four Wheel Alignment (Check and Adjust). |