Camera - Forward Facing (Remove and Replace)
Correction code 1723100217231002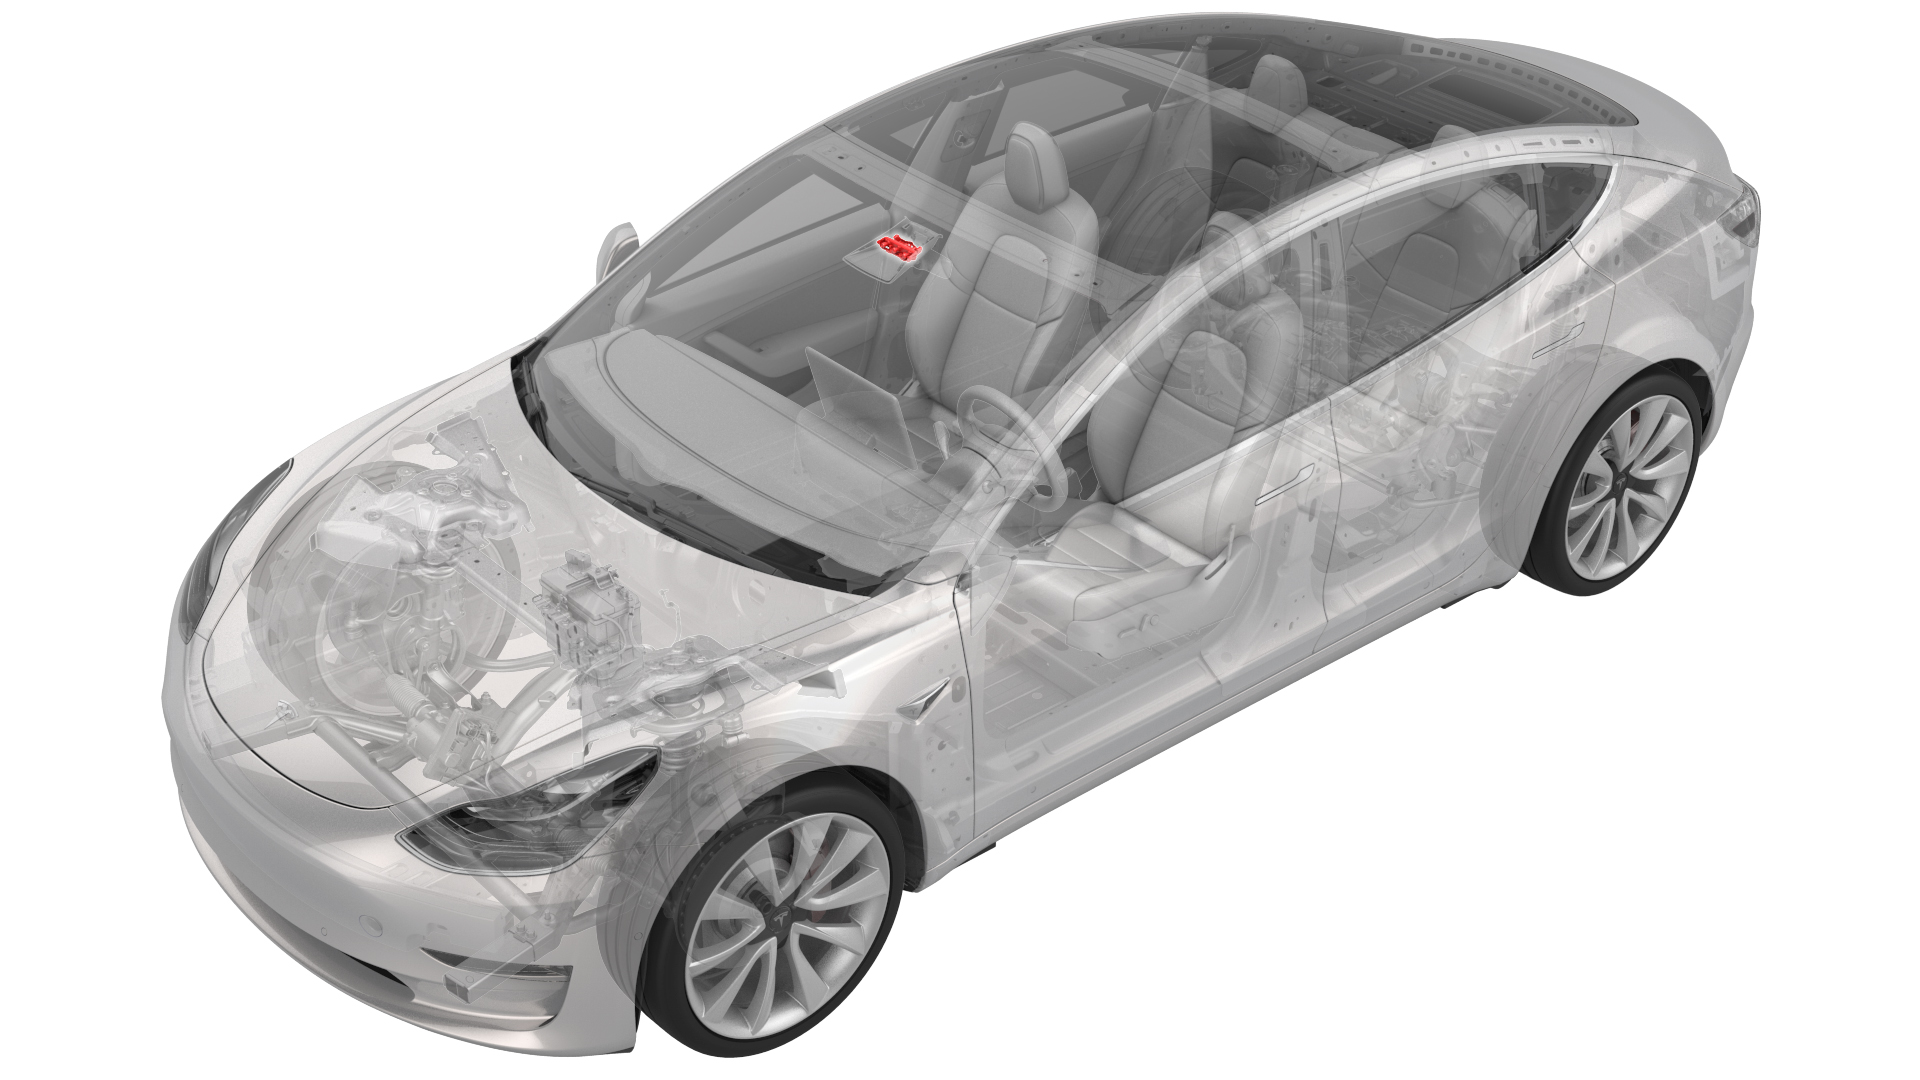
Remove
-
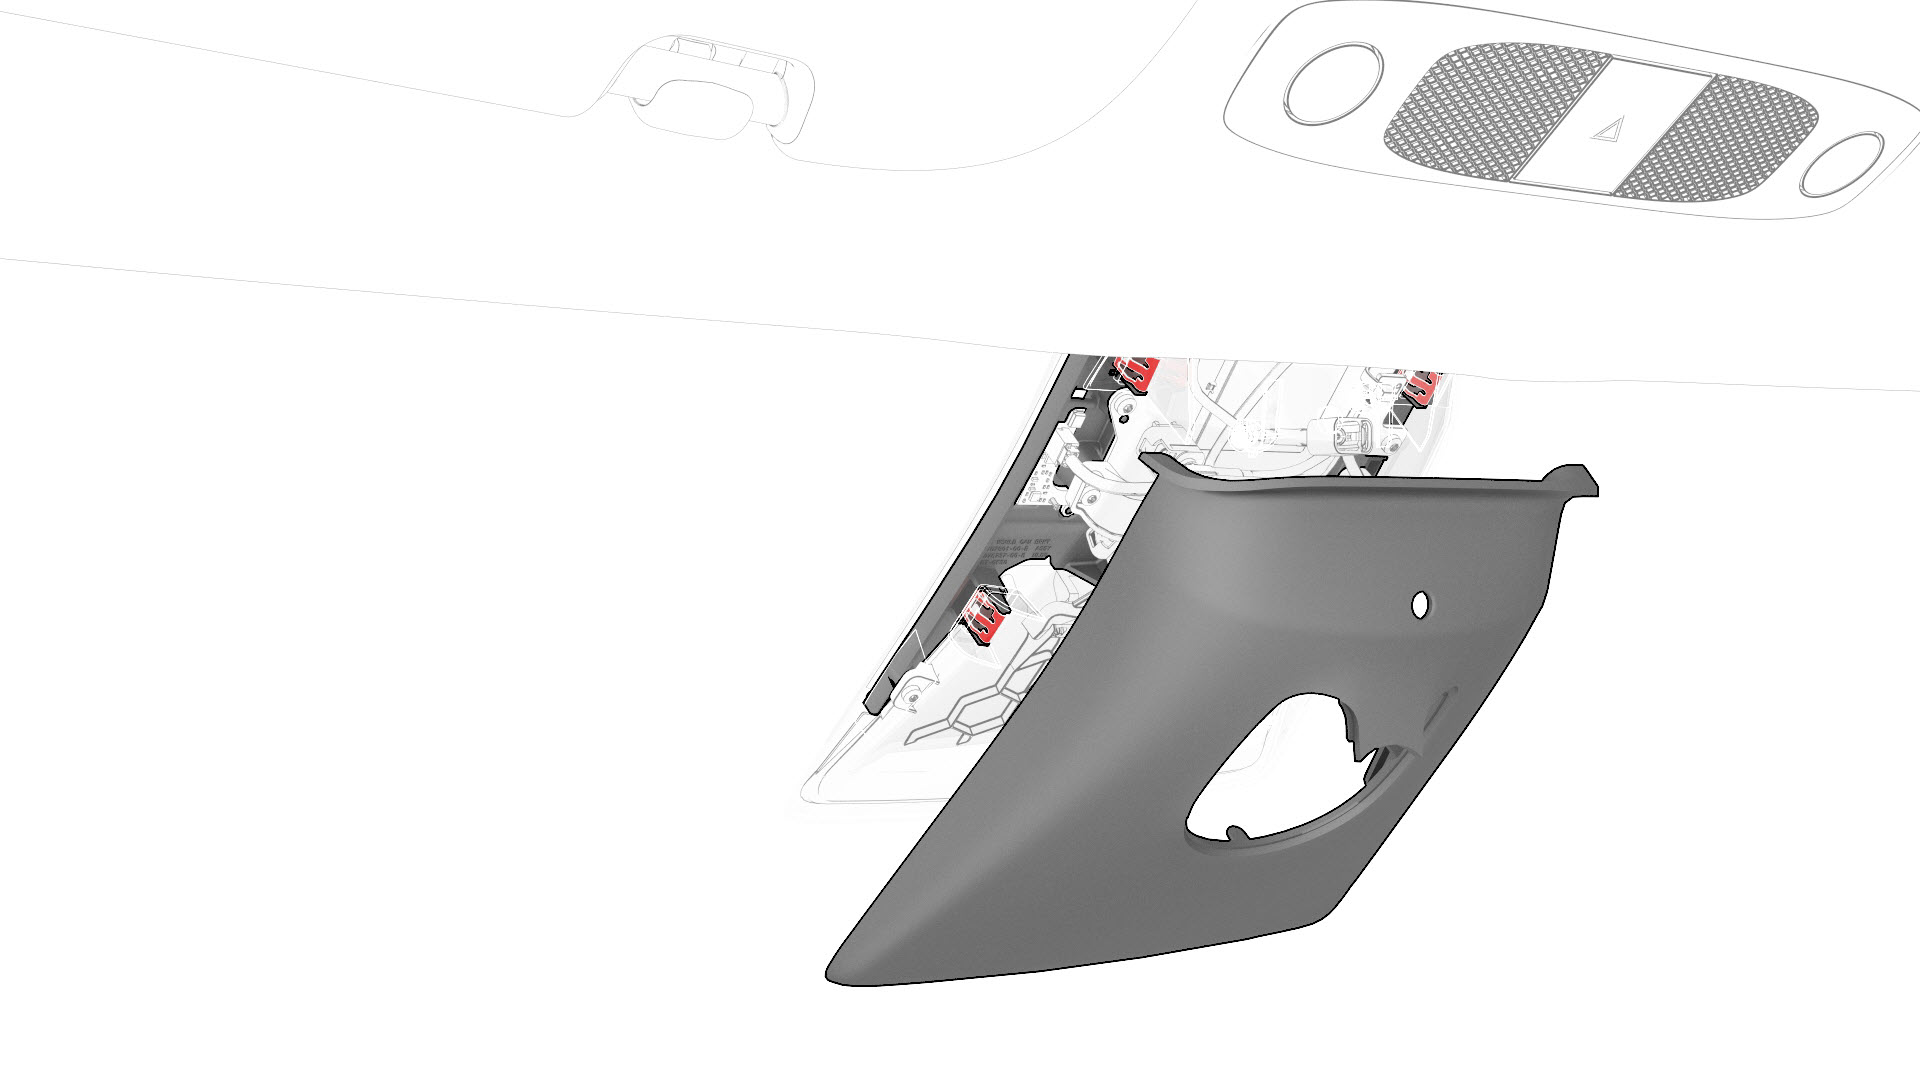
Release the clips that attach the mirror front cover to the windshield bracket, and then separate the cover from the bracket.
-
Remove the screws that attach the glare shield, and then remove the glare shield from the vehicle.
 Torque 1 Nm
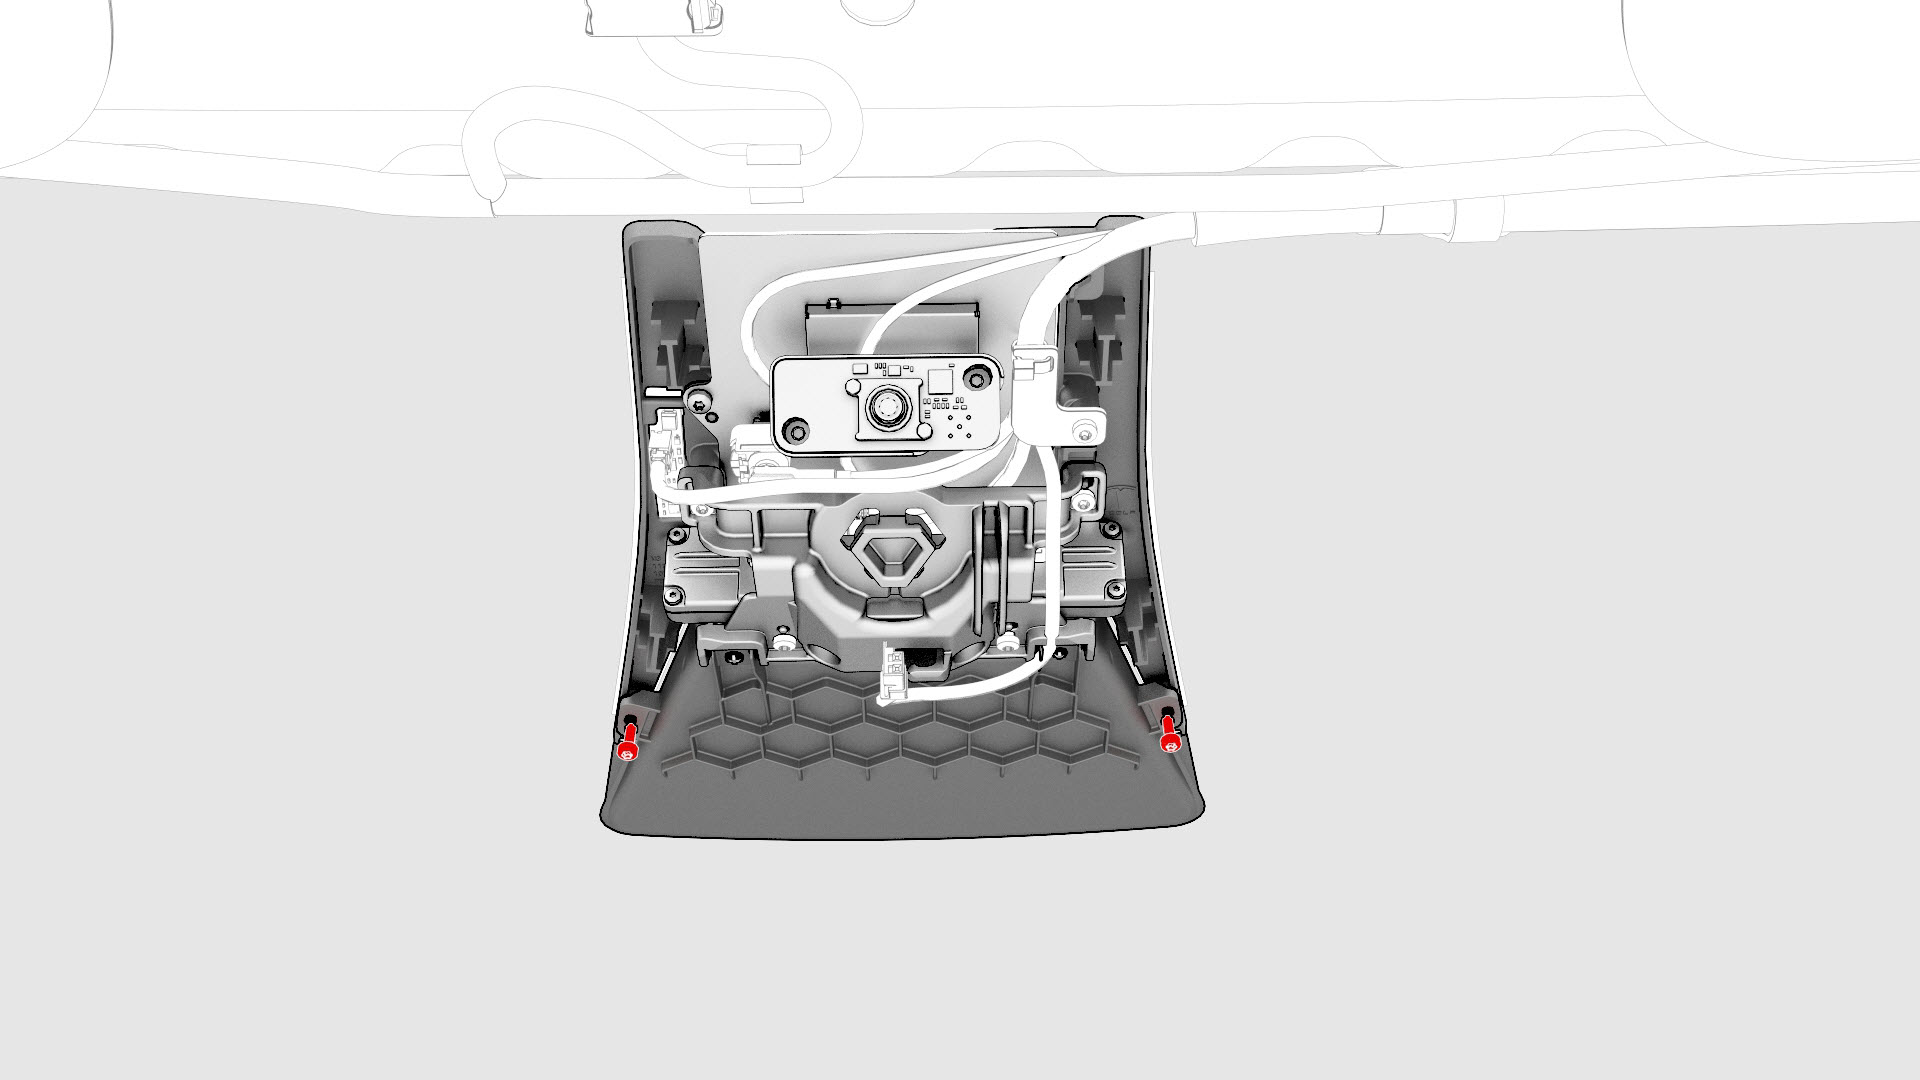
-
Remove the screws that attach the mount plate, and then remove the mount plate from the vehicle.
 Torque 1 Nm
-
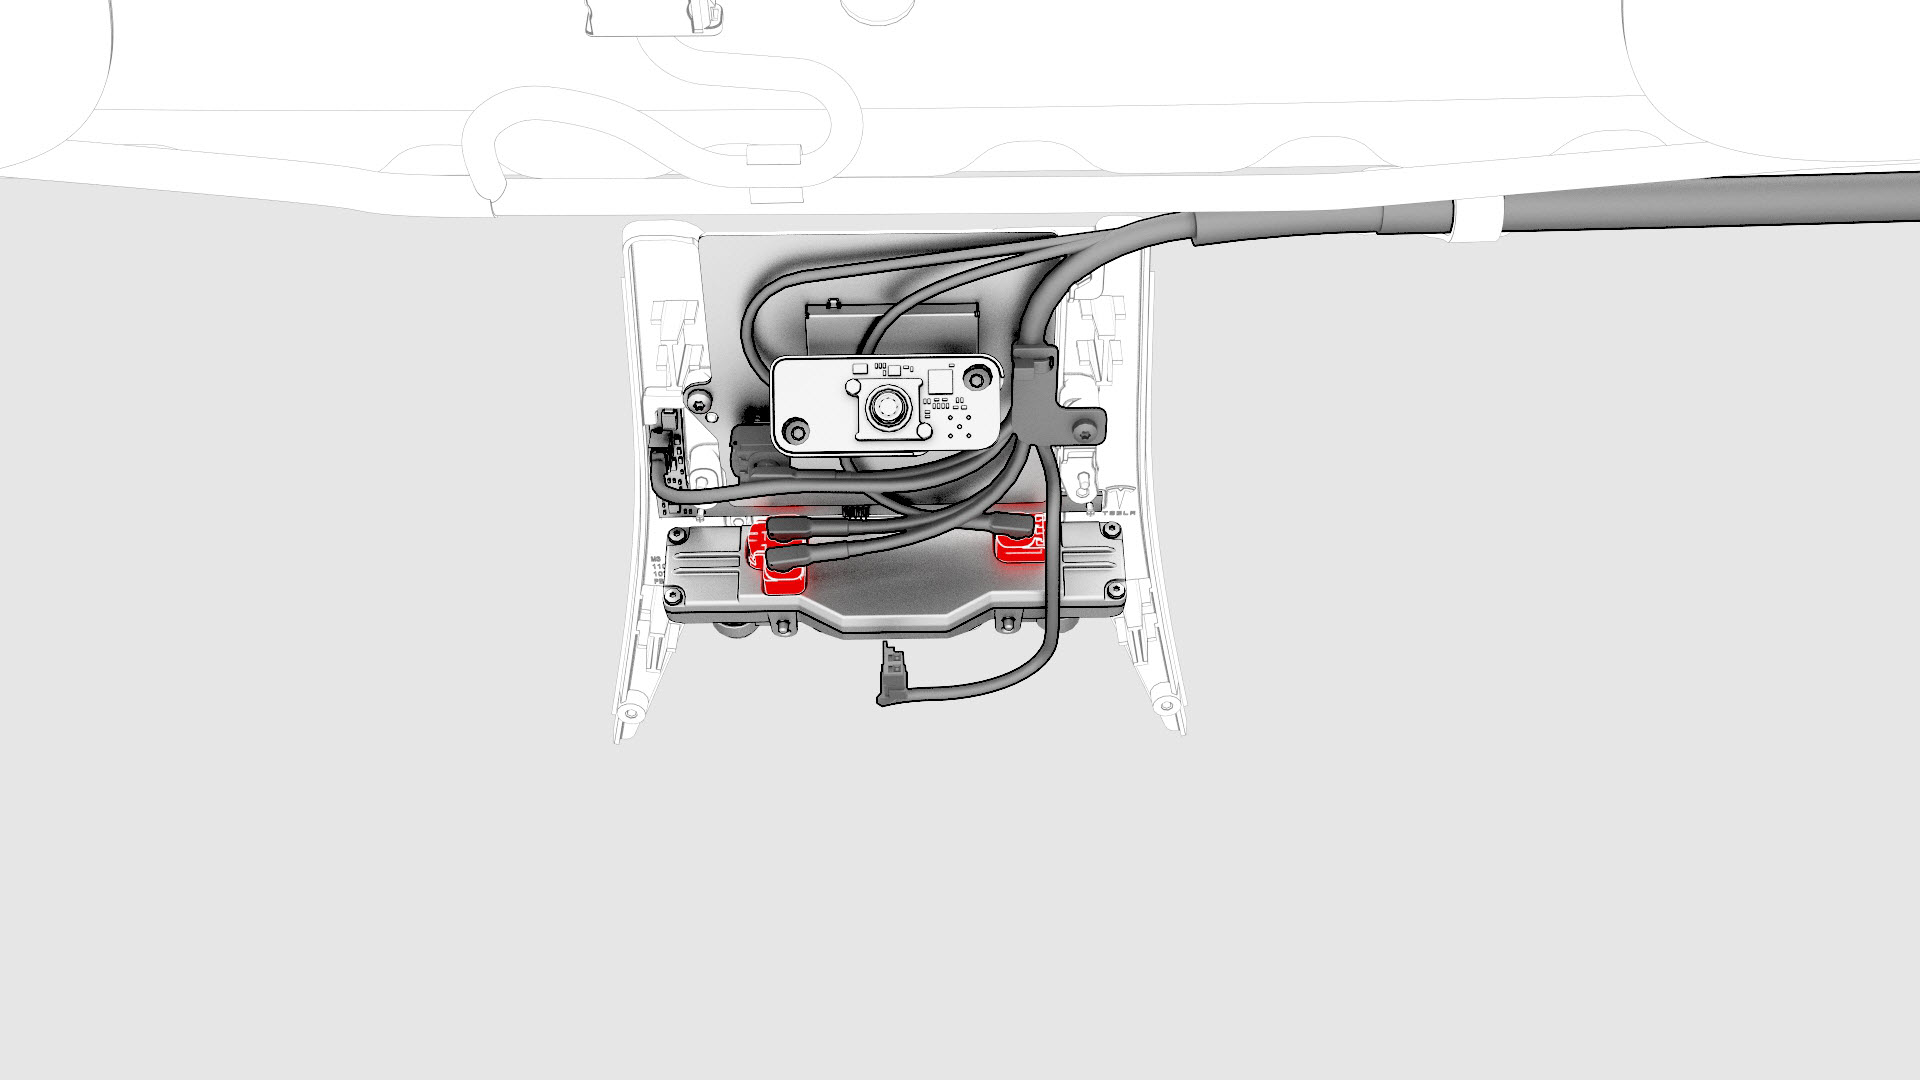
Disconnect the electrical harness from the forward facing camera connectors.
-
Remove the forward facing camera from the vehicle.
 Tip: Rotate the electrical connectors to the side to allow better grip of the forward facing camera.
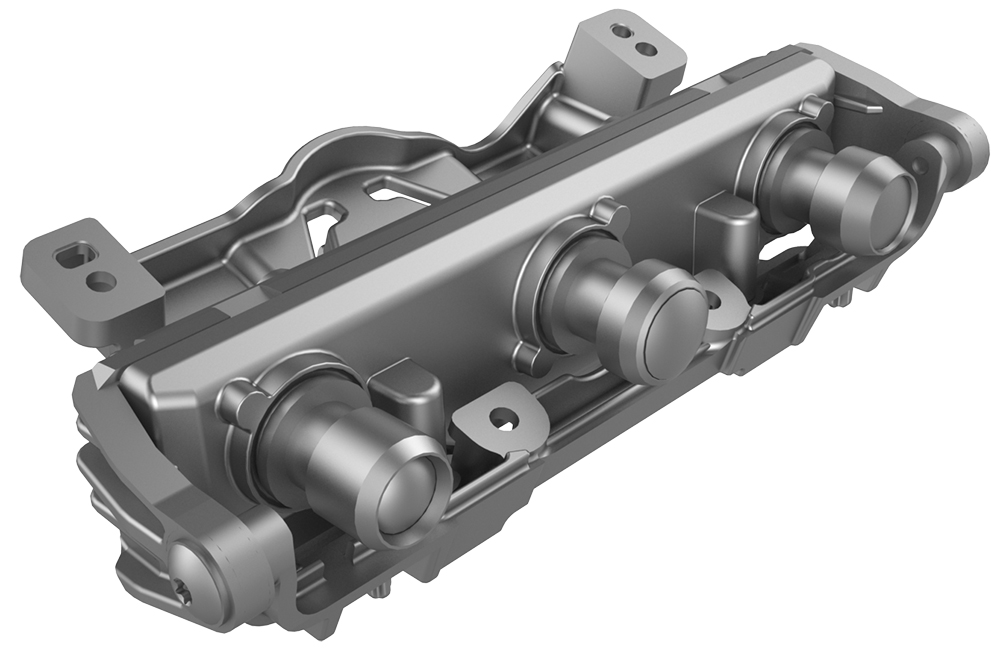
| 1 | Remove the rear view mirror. See Mirror - Rear View (Remove and Replace). | ||
| 2 | Release the clips that attach the mirror front cover to the windshield bracket, and then separate the cover from the bracket. | |
| 3 | Disconnect the electrical harness from the occupant camera, and then remove the front camera cover from the vehicle. | ||
| 4 | Remove the screws that attach the glare shield, and then remove the glare shield from the vehicle. Torque 1 Nm | |
| 5 | Remove the screws that attach the mount plate, and then remove the mount plate from the vehicle. Torque 1 Nm | |
| 6 | Disconnect the electrical harness from the forward facing camera connectors. | |
| 7 | Remove the forward facing camera from the vehicle.Tip: Rotate the electrical connectors to the side to allow better grip of the forward facing camera. |
Install
Installation procedure is the reverse of removal, except for the following:
Calibrate the forward facing camera. See Camera - Forward Facing (Target Calibration).