Cooling System (Check and Fill)
Correction code 1830020018300200
Remove
- Remove the rear underhood apron. See Underhood Apron - Rear (Remove and Replace).
- Remove the cabin intake duct. See Duct - Cabin Intake (Remove and Replace).
- Remove the outer HVAC plenum duct. See Duct - HVAC Plenum - Outer (Remove and Replace).
| 1 | Remove the rear underhood apron. See Underhood Apron - Rear (Remove and Replace). |
| 2 | Remove the cabin intake duct. See Duct - Cabin Intake (Remove and Replace). |
| 3 | Remove the outer HVAC plenum duct. See Duct - HVAC Plenum - Outer (Remove and Replace). |
Procedure
-
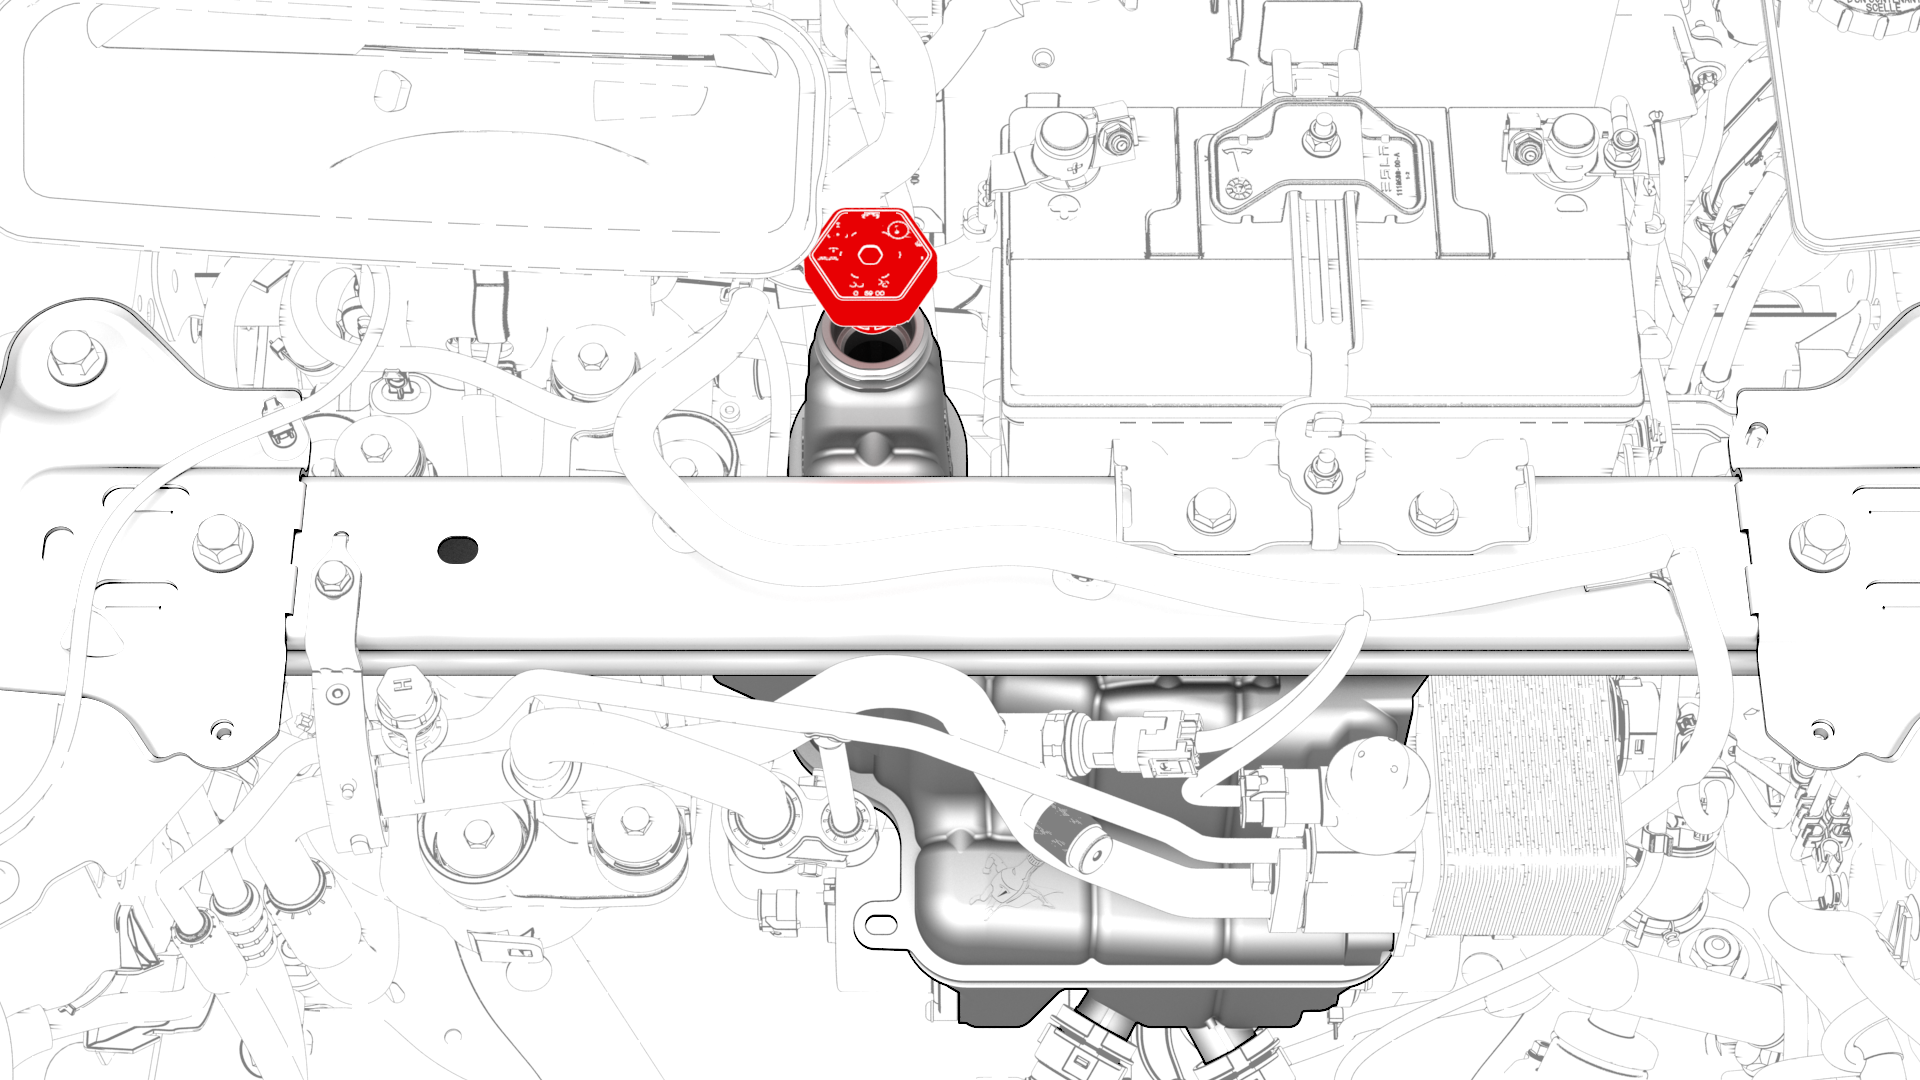
Remove the cap from the superbottle reservoir.
| 1 | Connect a laptop with Toolbox to the vehicle. | ||
| 2 | Type "thermal" into the search field. Note: Make sure "Actions" is selected if not already.
| ||
| 3 | Click the play button next to "PROC_VCFRONT_X_THERMAL-FILL-DRAIN", and then select Run. | ||
| 4 | Remove the cap from the superbottle reservoir. | |
| 5 | Add coolant to the superbottle, so that the liquid level is approximately 6mm (0.25 in) above the MAX line. | ||
| 6 | Type"vcfront" into the search field. | ||
| 7 | Click the play button next to "TEST-RESET_VCFRONT", and then select Run. | ||
| 8 | Click the play button next to "TEST_VCFRONT_X_THERMAL-COOLANT-AIR-PURGE", and then select Run. Note: Make sure that the drive rails are off. Turning on the drive rail will stop the routine.
Note: The test lasts approximately 10 minutes.
Note: Test will vary speeds from 3,500 to 6,500 RPM, viewable under the PT Thermal tab.
Note: If speeds hover at around 7,000 RPM, perform this procedure again.
| ||
| 9 | Inspect the coolant level in the superbottle, and add coolant so that the liquid level is approximately 6mm (0.25 in) above the MAX line. | ||
| 10 | Install the cap on the superbottle reservoir. |
Install
Installation procedure is the reverse of removal.