IP Carrier (Remove and Install)
Correction code 1405210114052101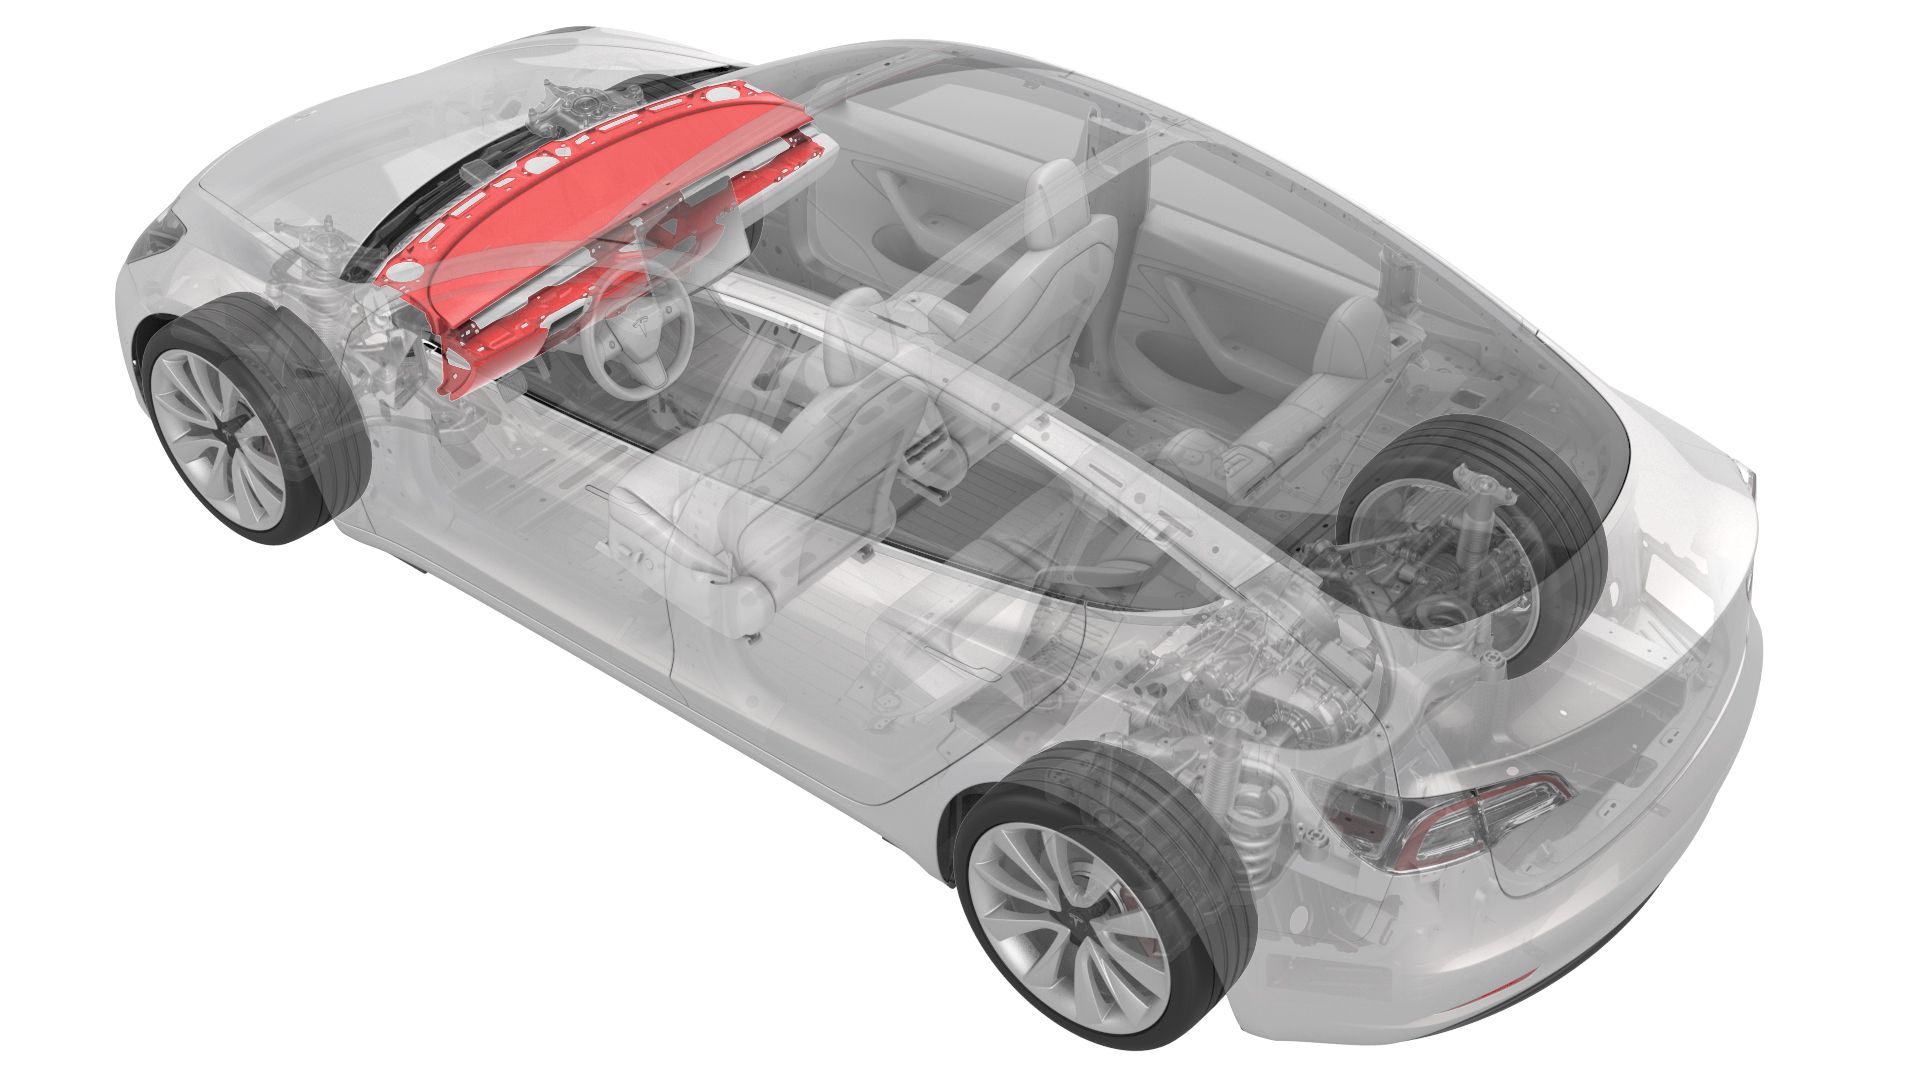
Remove
-
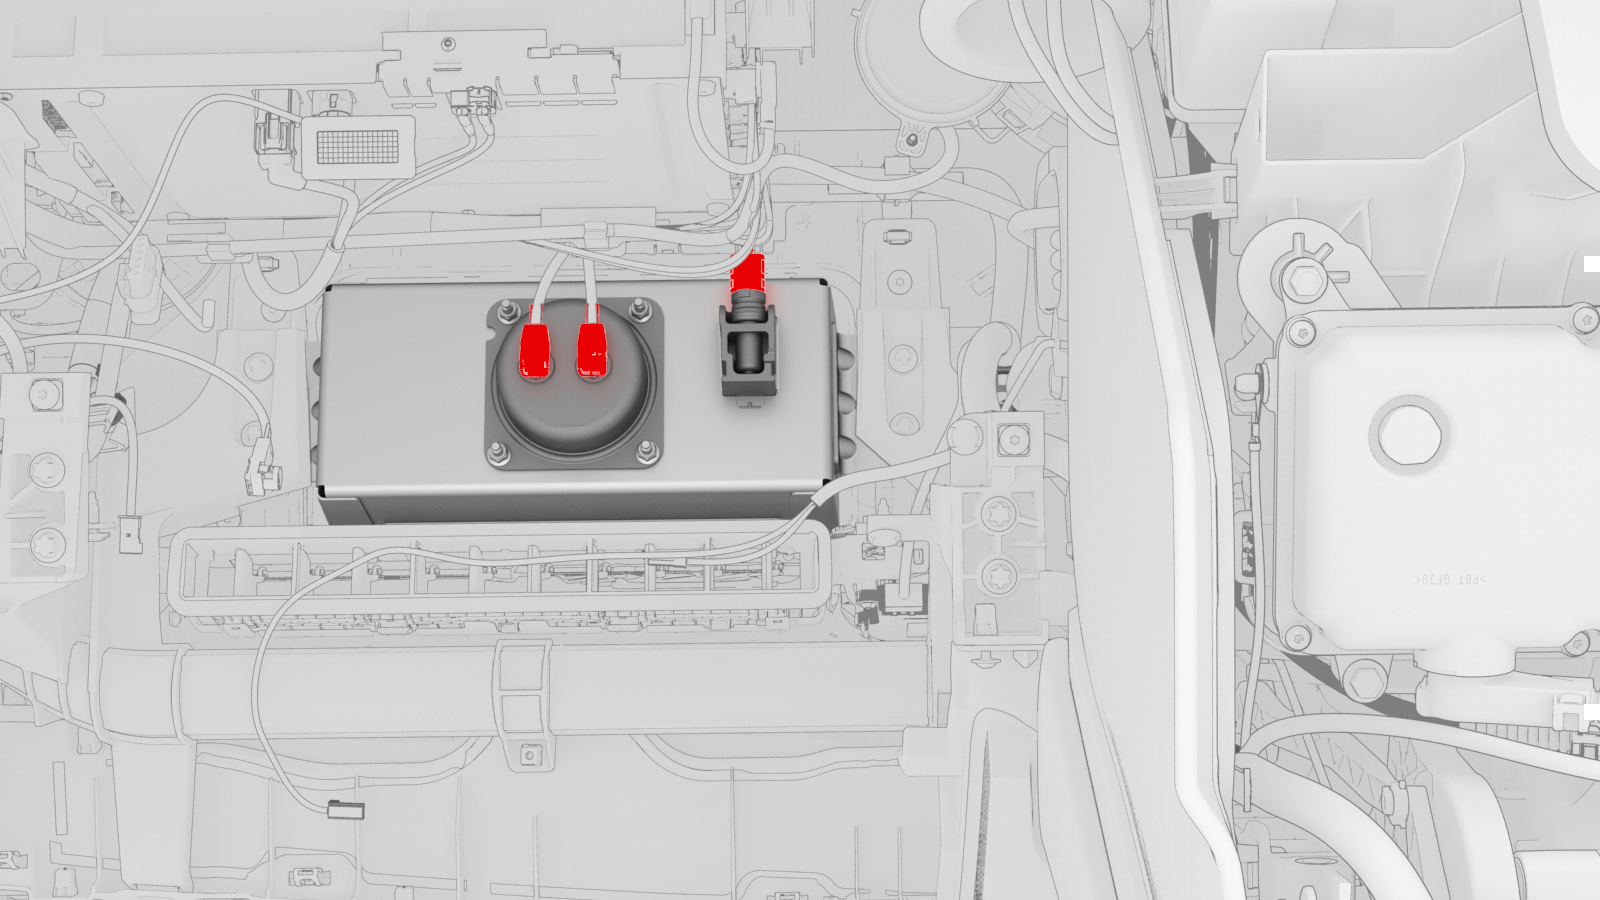
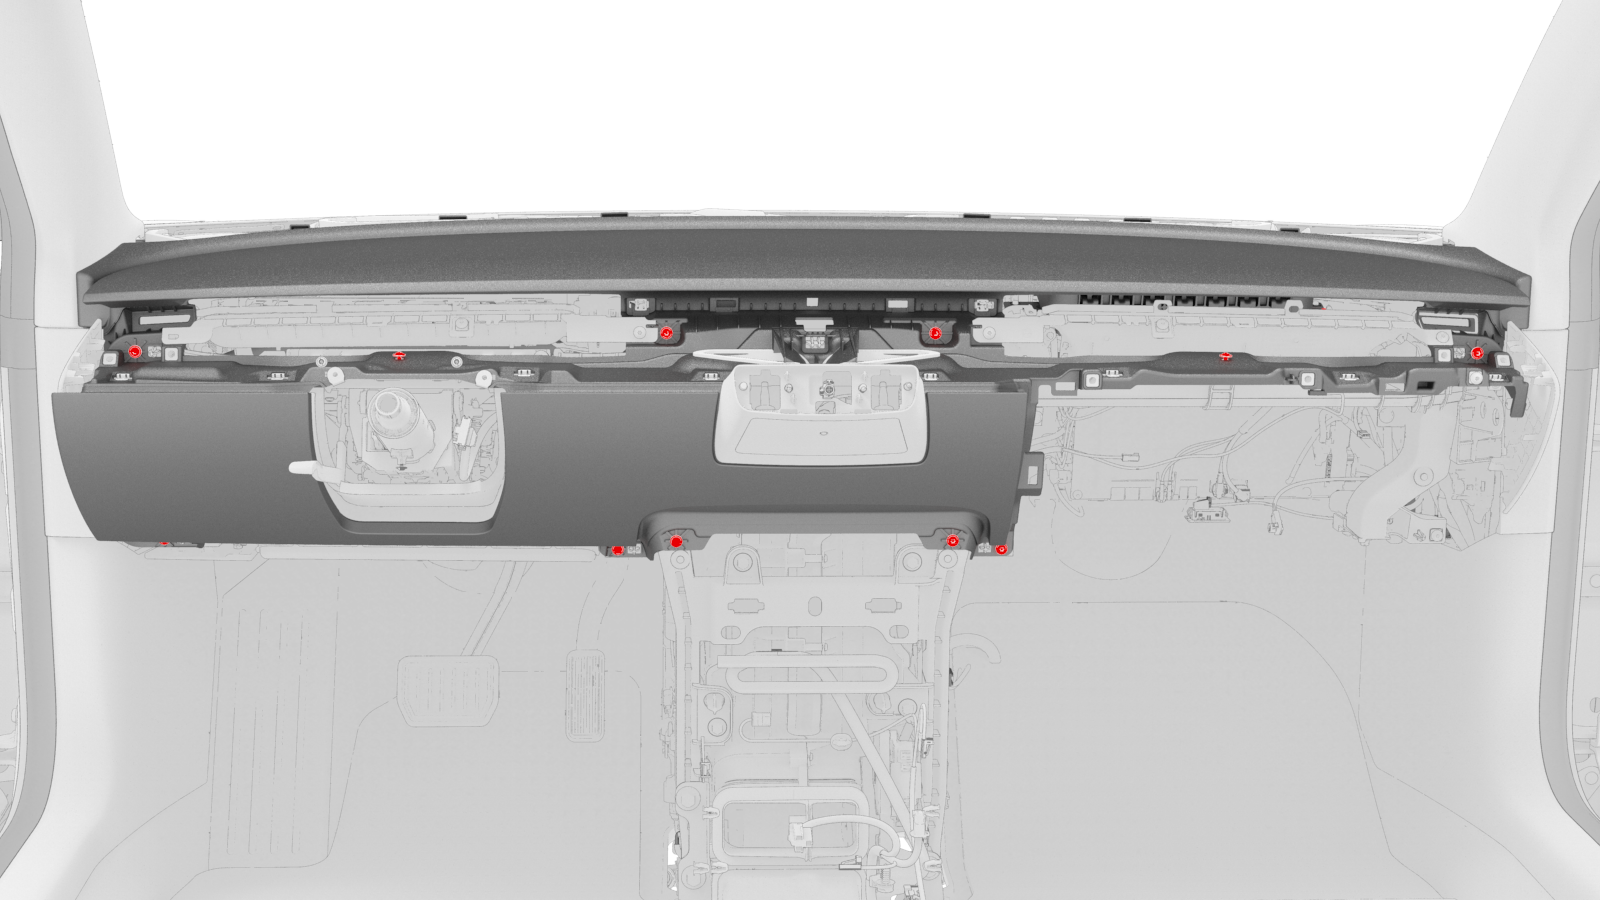
Disconnect the electrical wiring harness from the front passenger airbag connectors (x3).
-
Remove the bolts (x4) that attach the front passenger airbag to the cross car beam.
 Torque 8 Nm
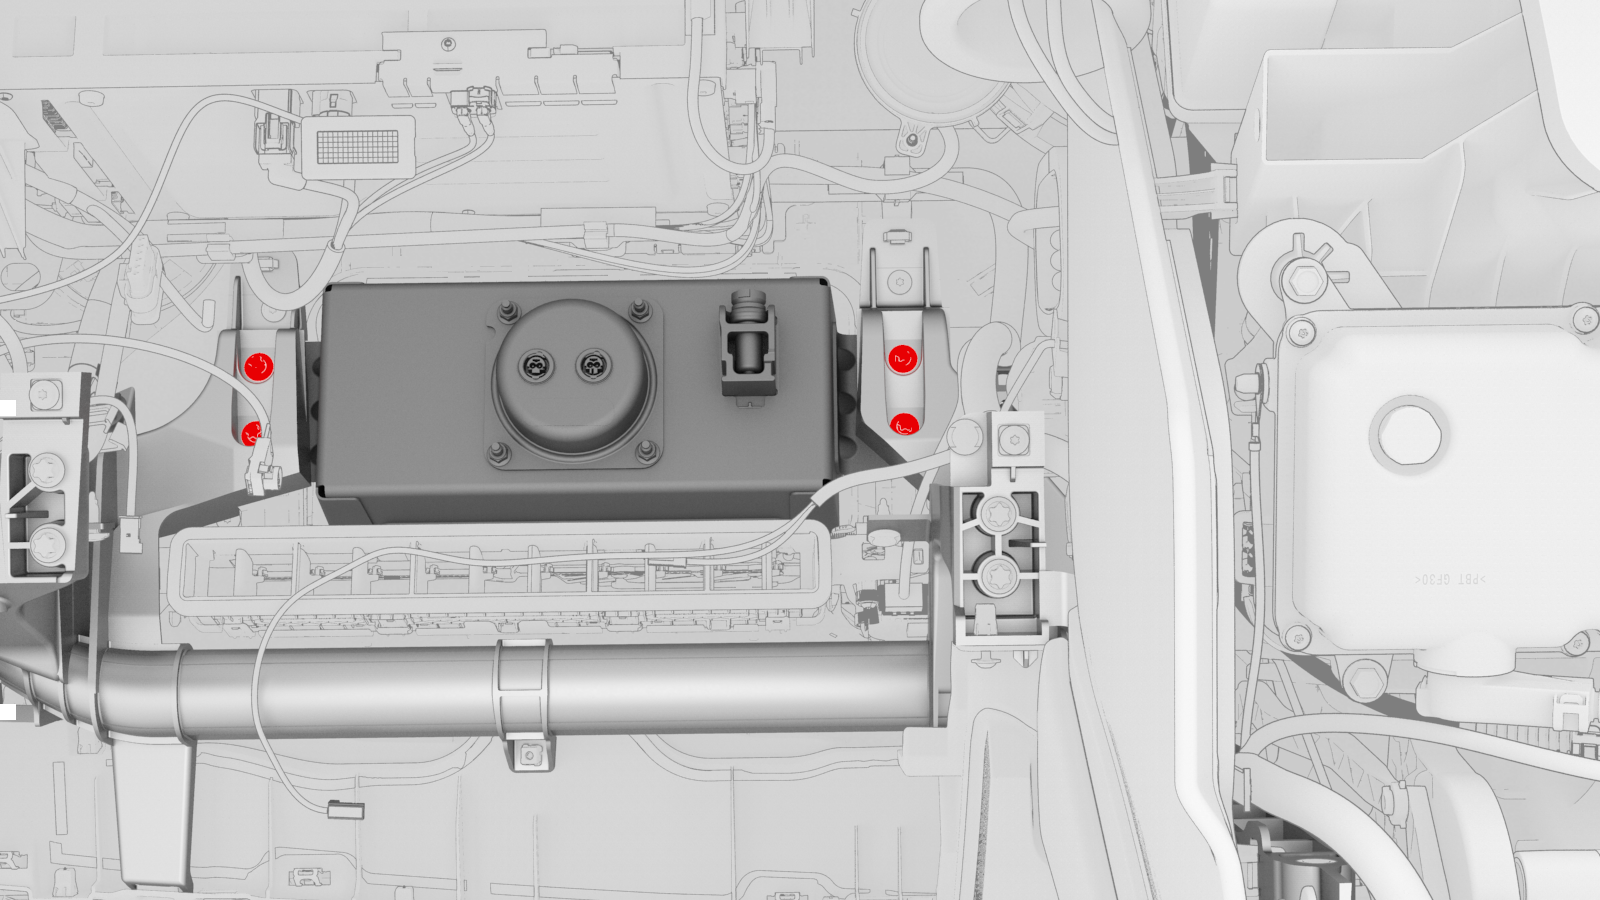
-
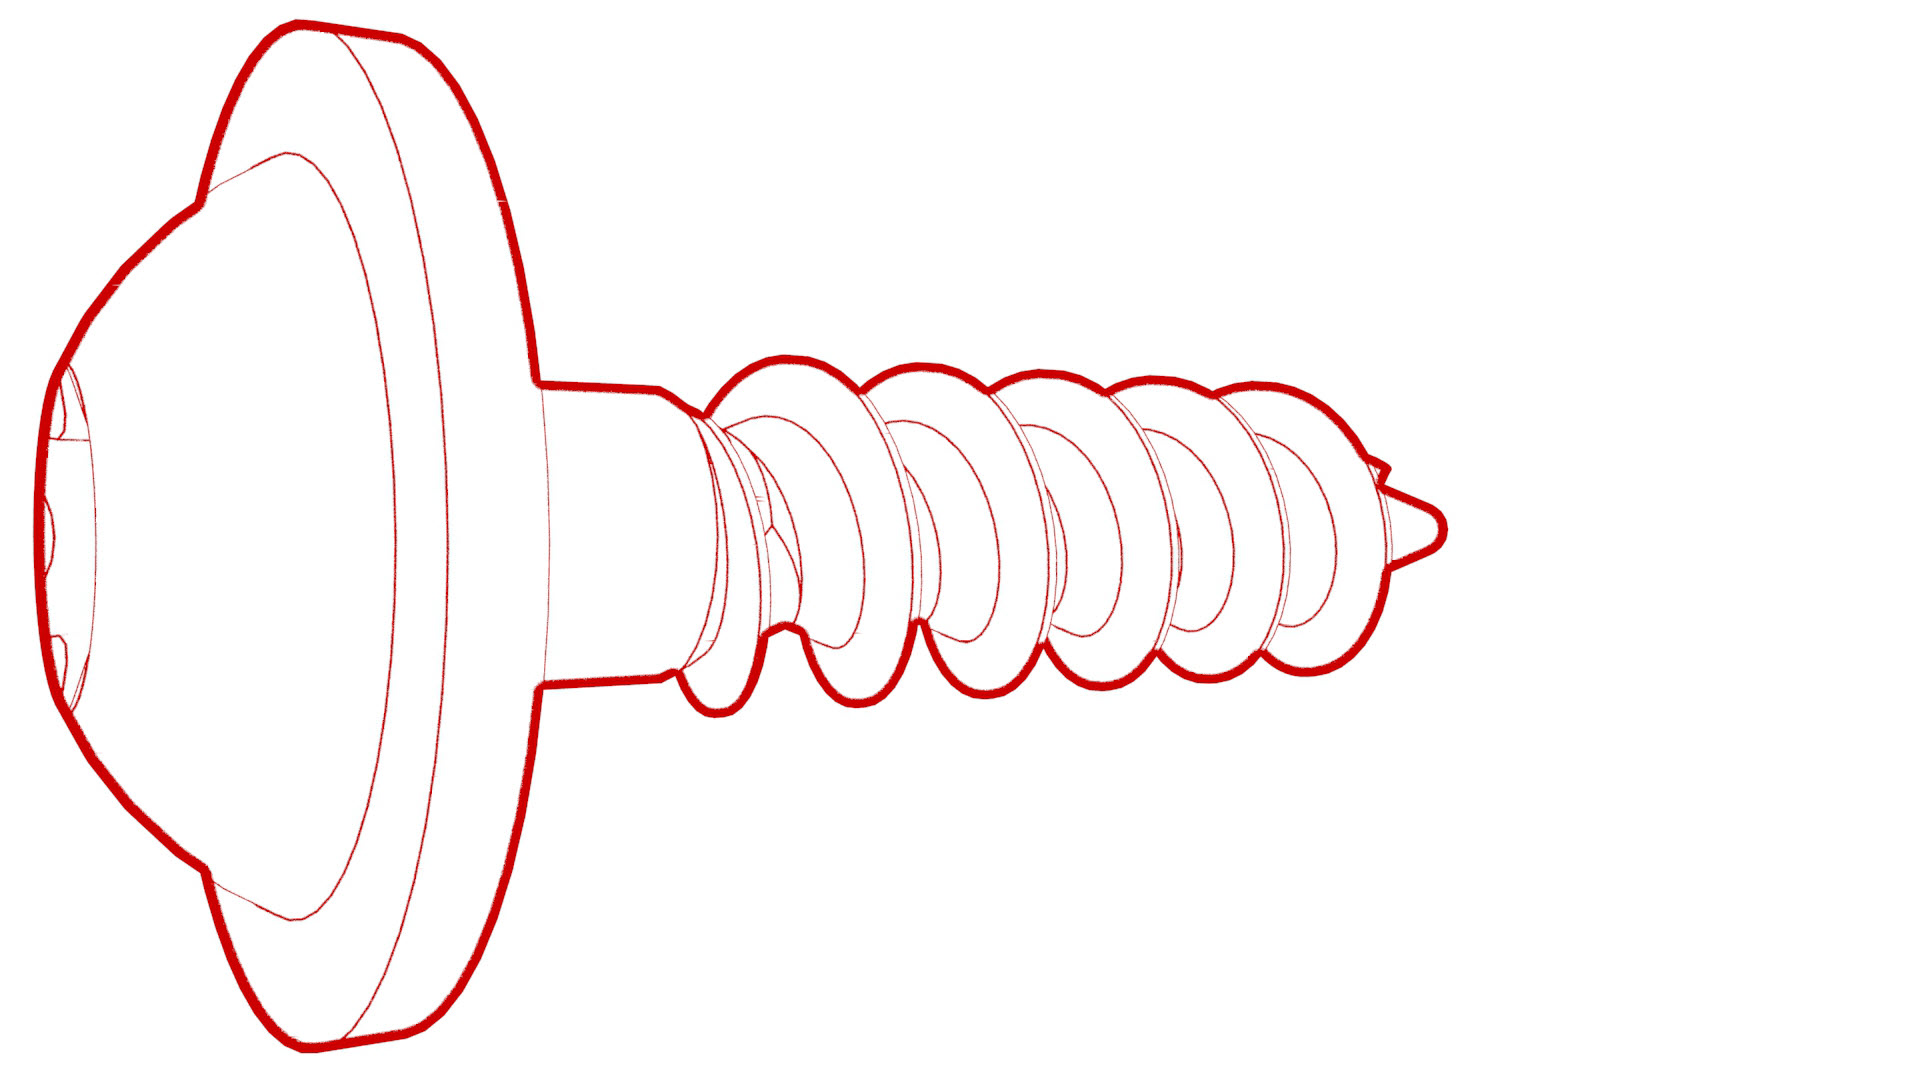
Remove the screws (x2) that attach the IP carrier to the cross car beam at the front passenger airbag.
 Torque 2.3 Nm
 -
Remove the screws (x11) that attach the IP carrier to the cross car beam.Torque 2.3 Nm
-
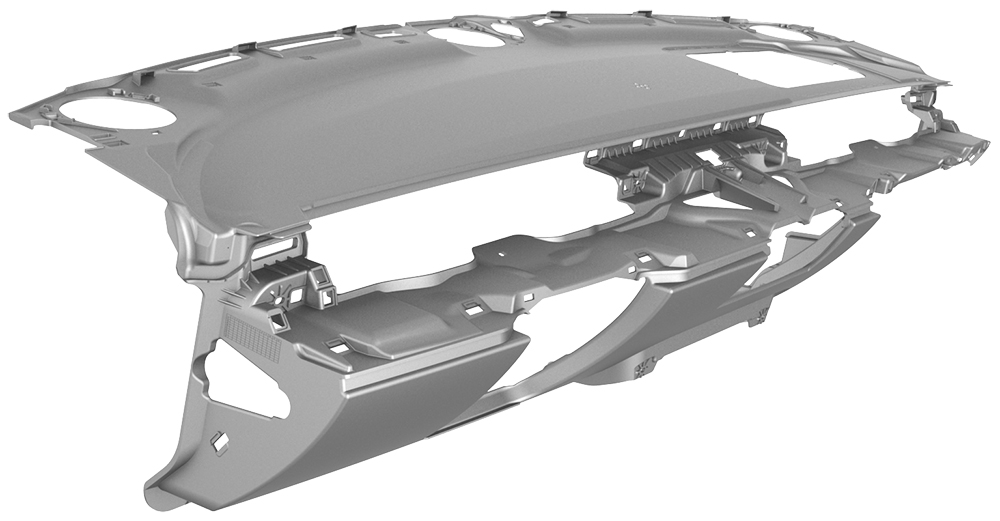
Remove the IP carrier from the cross car beam, and then remove the IP carrier from the vehicle.
| 1 | Remove the LH and RH lower A-pillar trim. See Trim - A-Pillar - Lower - LH (Remove and Replace). | ||
| 2 | Remove the LH and RH upper A-pillar trims. See Trim - A-Pillar - Upper - LH (Remove and Replace). | ||
| 3 | Remove the driver and front passenger seats. See Seat - Driver (Remove and Replace). | ||
| 4 | Remove the driver knee airbag. See Airbag - Knee - Driver (Remove and Install) | ||
| 5 | Remove the LH footwell duct. See Duct - Footwell - LH (Remove and Replace). | ||
| 6 | Remove the front passenger knee airbag. See Airbag - Knee - Front Passenger (Remove and Replace). | ||
| 7 | Remove the center console. See Center Console (Remove and Install) | ||
| 8 | Remove the glove box. See Glove Box (LHD) (Remove and Replace). | ||
| 9 | Remove the RH footwell duct. See Duct - Footwell - RH (Remove and Replace). | ||
| 10 | Remove the RH air wave duct. See Duct - Air Wave - RH (Remove and Replace). | ||
| 11 | Remove the steering column control module. See Module - Steering Column Control (Remove and Replace). | ||
| 12 | Remove the touchscreen. See Touchscreen (Remove and Replace). | ||
| 13 | Remove the RH front vent. See Vent - Front - RH (Remove and Replace). | ||
| 14 | Remove the LH front vent. See Vent - Front - LH (Remove and Replace). | ||
| 15 | Remove the LH and RH dash speakers. See Speaker - Dash - LH (Remove and Replace). | ||
| 16 | Remove the center dash speaker. See Speaker - Dash - Center (Remove and Replace). | ||
| 17 | Remove the dash tweeter. See Tweeter - Dash (Remove and Replace). | ||
| 18 | Disconnect the electrical wiring harness from the front passenger airbag connectors (x3). | |
| 19 | Remove the bolts (x4) that attach the front passenger airbag to the cross car beam. Torque 8 Nm | |
| 20 | Remove the screws (x2) that attach the IP carrier to the cross car beam at the front passenger airbag. Torque 2.3 Nm | ||
| 21 | Remove the screws (x11) that attach the IP carrier to the cross car beam. Torque 2.3 Nm | |
| 22 | Move the electrical wiring harness for the touchscreen through the IP carrier. | ||
| 23 | Remove the IP carrier from the cross car beam, and then remove the IP carrier from the vehicle. |
Install
Installation procedure is the reverse of removal, except for the following:
- Clean the lower inside of the windshield.
- Align the tabs of the IP carrier with the channels in the body below the windshield.
- Install the foam half-circle into the center of IP carrier at base of windshield.