Overhead Console - Front (Remove and Replace)
Correction code 1520200215202002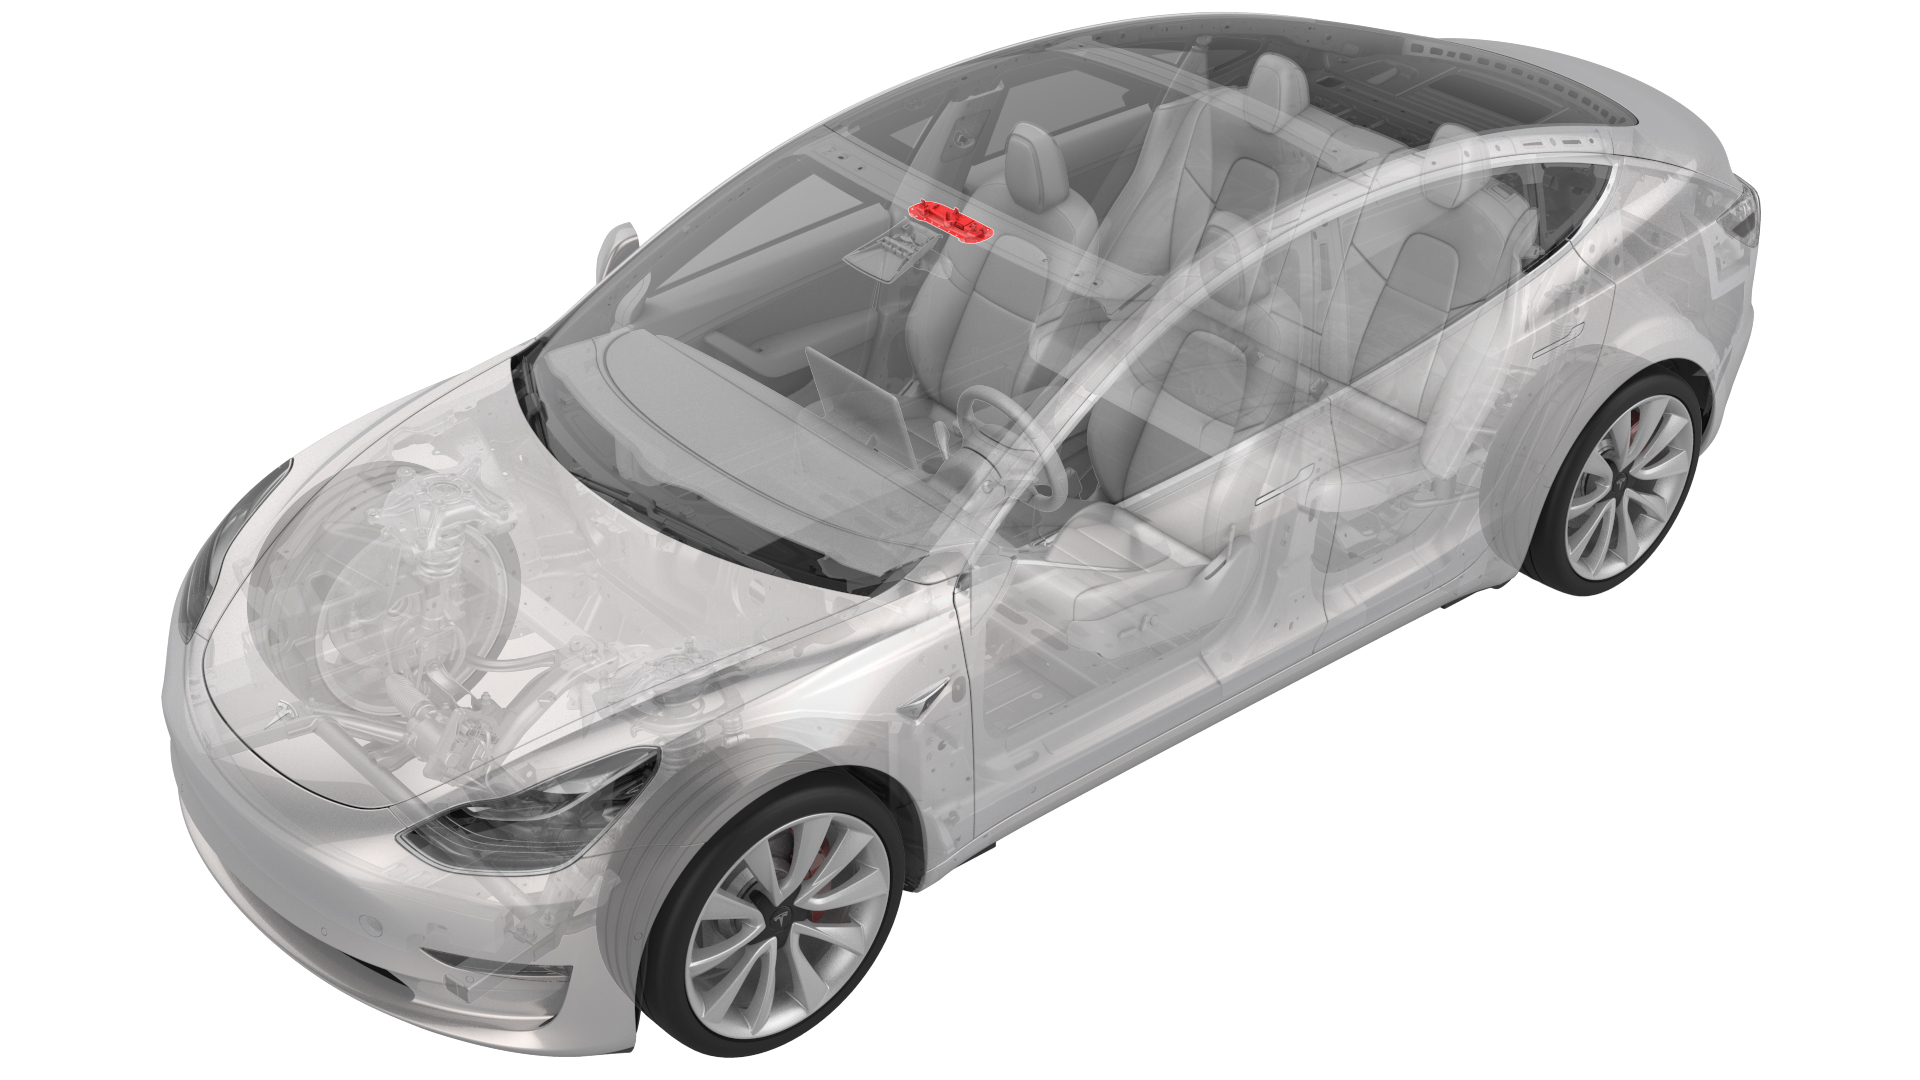
Remove
-
Release the clips (x2) that attach the front overhead console to the headliner, and then lower the console from the headliner.
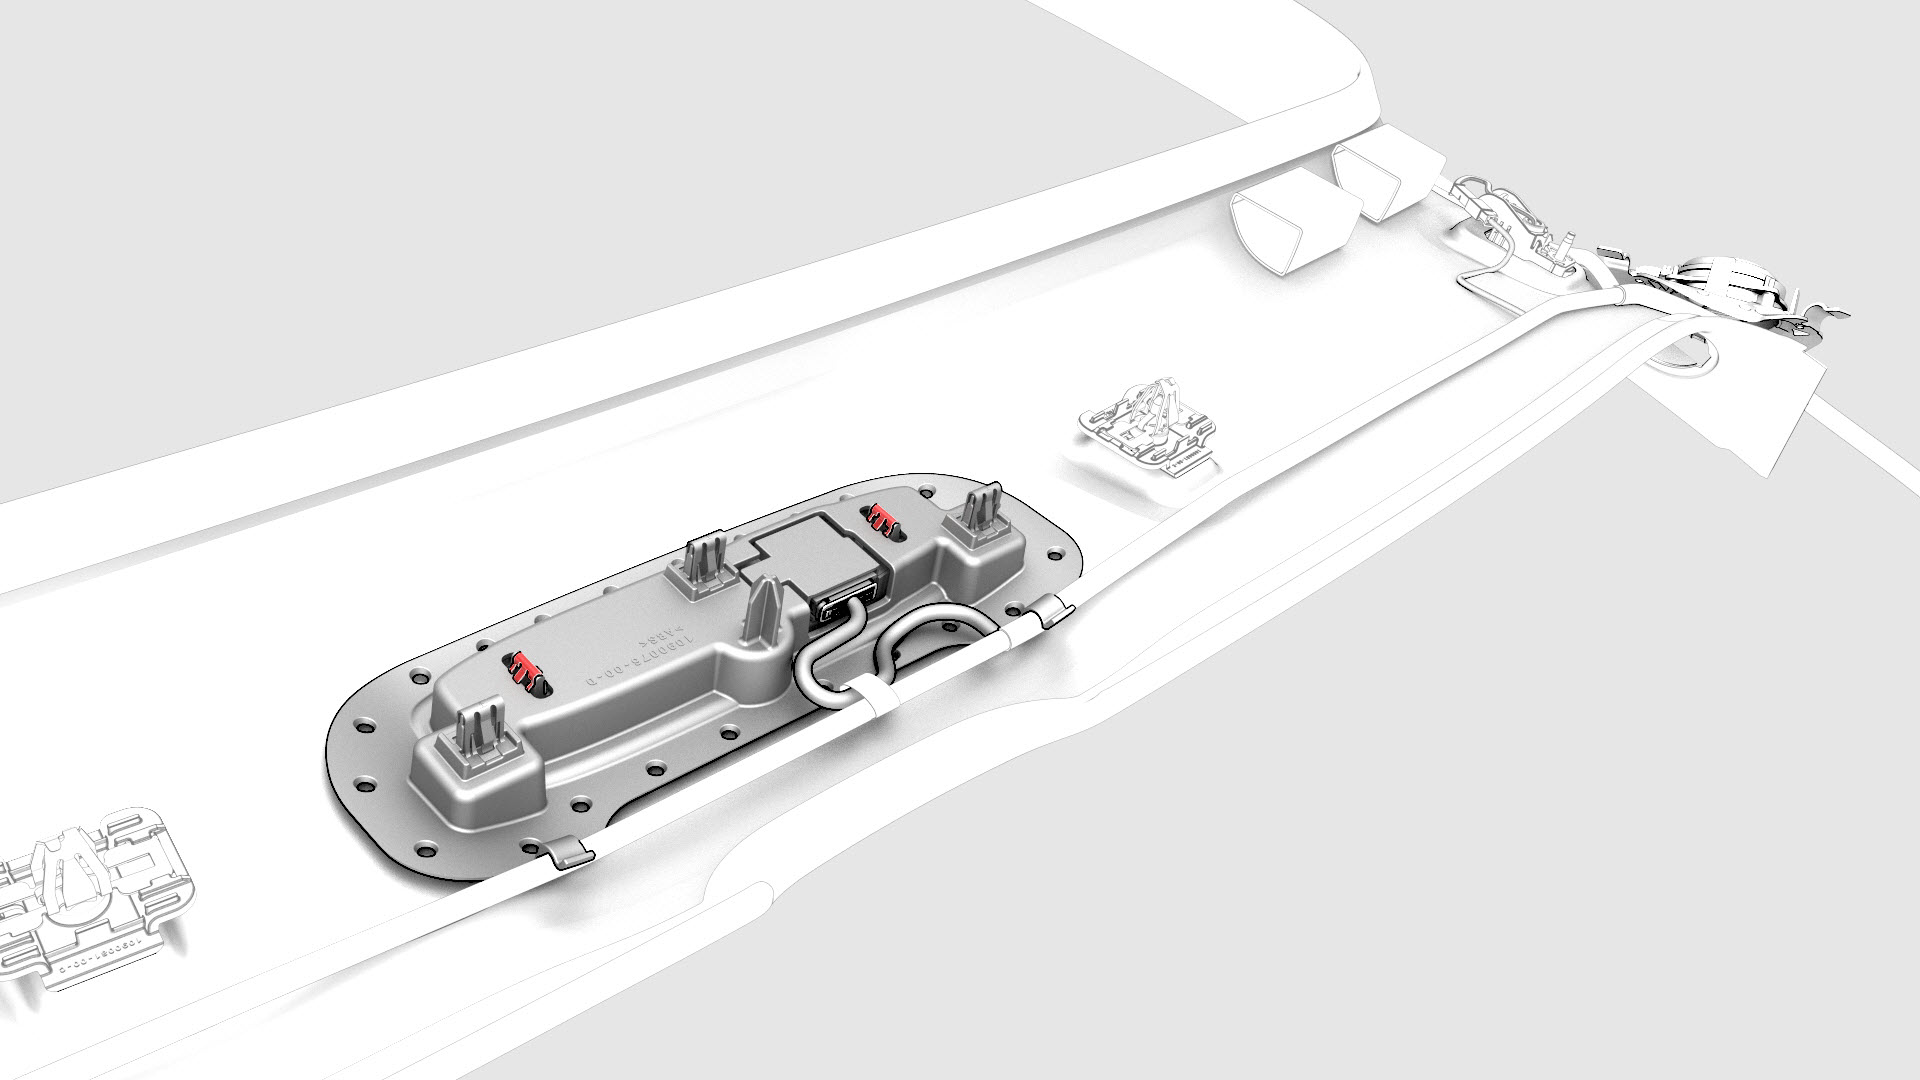
 Caution:To avoid damaging the headliner, do not pry against the headliner. Insert a 90 degree trim tool near the dome light and pull downwards to release the clip, and then move to the other side to release the remaining clip.
 -
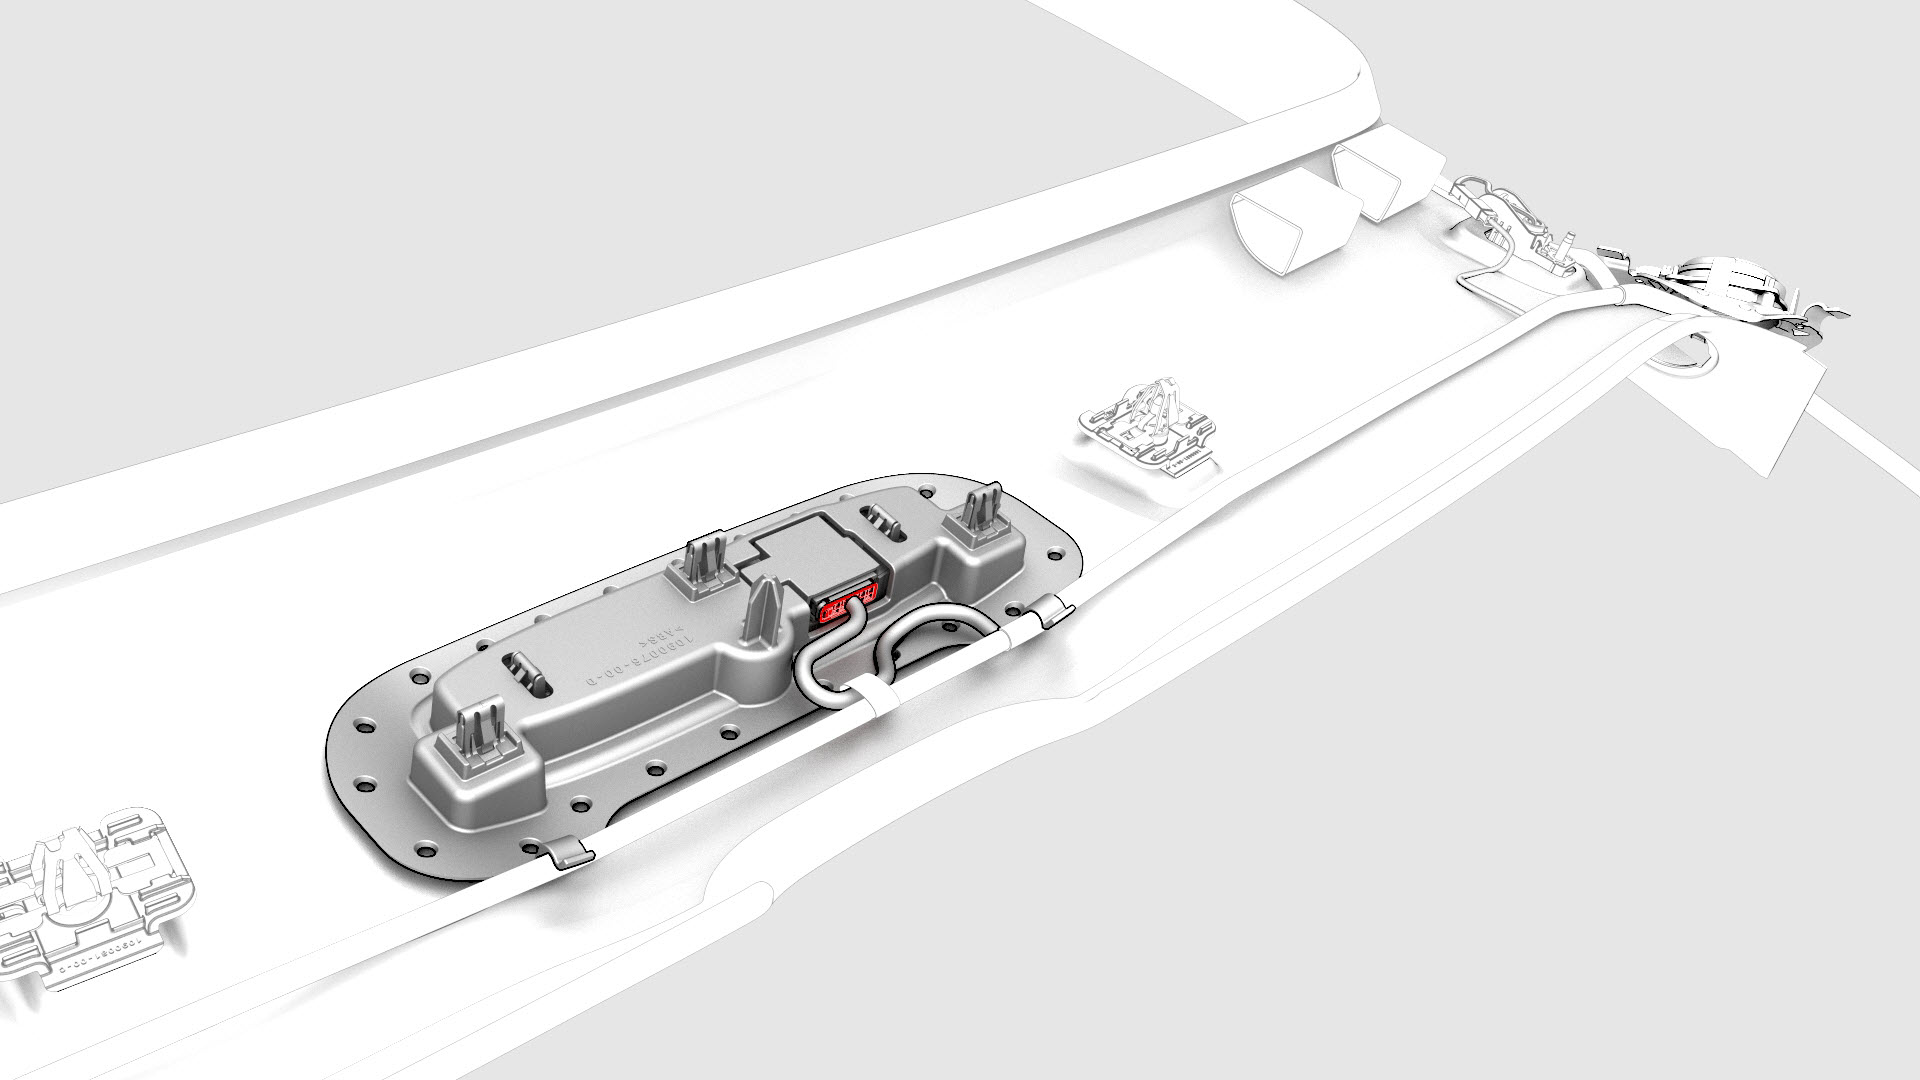
Disconnect the electrical connector from the front overhead console.
-
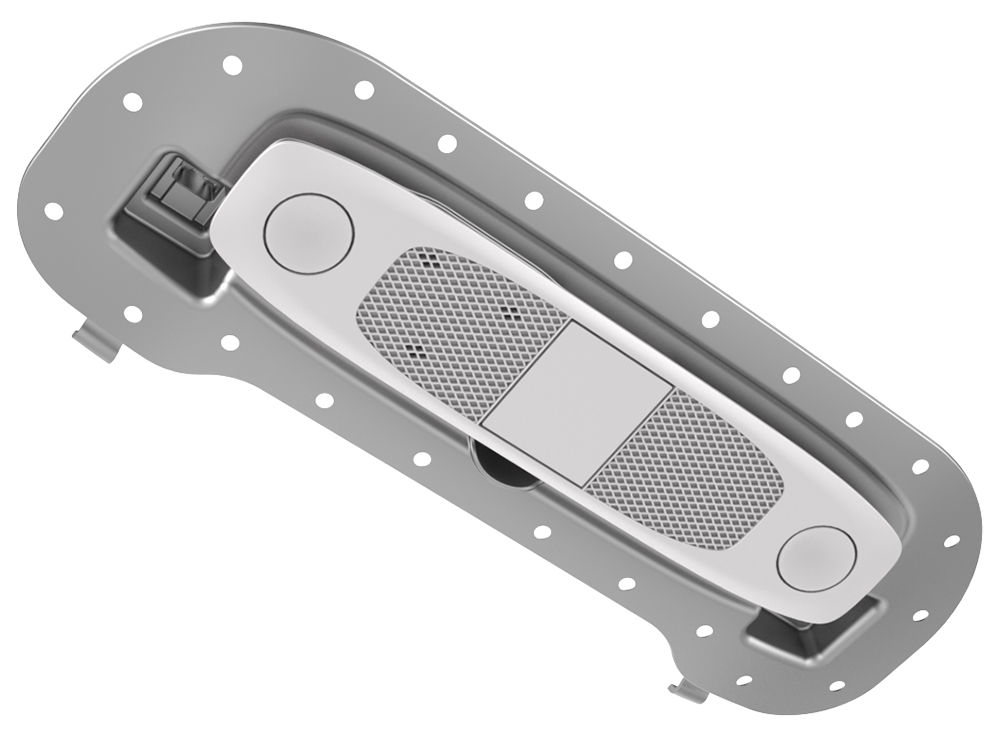
Remove the front overhead console from the overhead console.
Caution: To avoid damaging the headliner, do not pry against the headliner. Insert a 90 degree trim tool near the dome light and pull downwards to release the clip, and then move to the other side to release the remaining clip.
| 1 | Release the clips (x2) that attach the front overhead console to the headliner, and then lower the console from the headliner. | |
| 2 | Disconnect the electrical connector from the front overhead console. | |
| 3 | Remove the front overhead console from the overhead console. |
Install
| 1 | Connect the front overhead console electrical connector. |
| 2 | Push upwards the front overhead console into the headliner and attach it with clips (x2) |
| 3 | Connect a laptop with Toolbox to the vehicle. |
| 4 | In Toolbox, type "VFOHC" in the search tab. Note: Make sure "Actions" is selected in Toolbox, if not already.
|
| 5 | In Toolbox, navigate to "TESTSELF_ VCLEFT_X_VFOHC" and press play. |
| 6 | Use Toolbox to update the vehicle firmware. |