Light - Side Repeater - Front - LH (Remove and Replace)
Correction code 1740300217403002
Remove
-
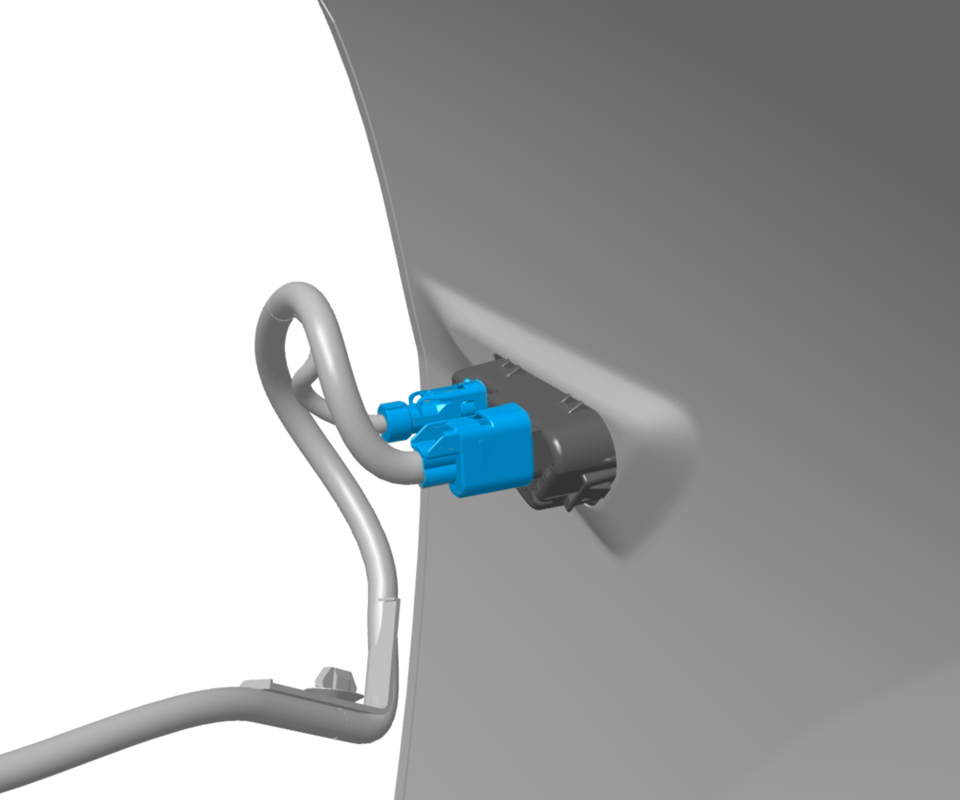
Disconnect the electrical connectors from the front side repeater light.
-
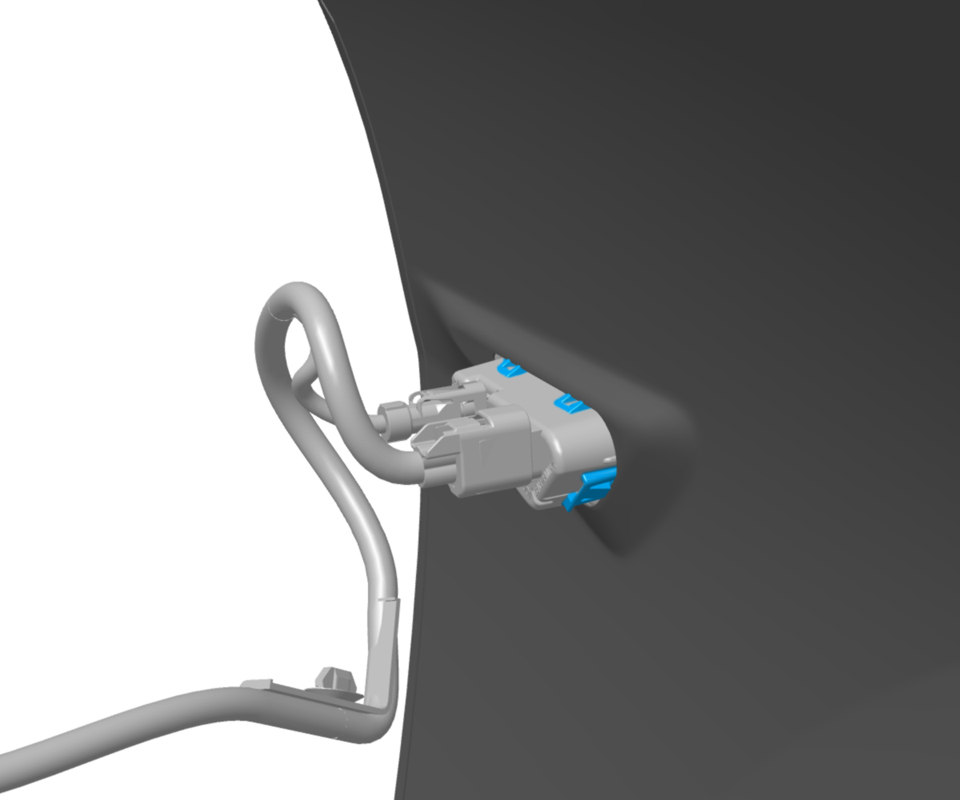
Release the fixed tabs at the top that attach the front side repeater light to the fender, and then remove the lamp from the vehicle.
Note: The tabs must be removed from the front side repeater light in order to remove the light from the fender.Note: The front side repeater light is one-time use only. Discard the front side repeater light after removal.
| 1 | Raise and support the vehicle. See Raise Vehicle - 2 Post Lift. | ||
| 2 | Apply protective tape to the LH fender around the front side repeater light. | ||
| 3 | Remove the LH front wheel. See Wheel (Remove and Install). | ||
| 4 | Remove the LH front wheel arch liner. See Wheel Arch Liner - Front - LH (Remove and Replace). | ||
| 5 | Disconnect the electrical connectors from the front side repeater light. | |
| 6 | Release the fixed tabs at the top that attach the front side repeater light to the fender, and then remove the lamp from the vehicle. Note: The tabs must be removed from the front side repeater light in order to remove the light from the fender.
Note: The front side repeater light is one-time use only. Discard the front side repeater light after removal.
|
Install
| 1 | Install the new front side repeater light into the fender by securing it with clips (x2). Note: Make sure that the tabs on the front side repeater light are fully secured.
|
| 2 | Connect the electrical connectors for the front side repeater light. |
| 3 | Remove the protective tape from the LH fender around the front side repeater light. |
| 4 | Install the LH front wheel arch liner. See Wheel Arch Liner - Front - LH (Remove and Replace). |
| 5 | Install the LH front wheel. See Wheel (Remove and Install). |
| 6 | Connect a laptop with Toolbox Web to the vehicle. |
| 7 | Click the Clear Calibration Repeaters button. |
| 8 | Select Service Tools from the list under the Dashboard tab. |
| 9 | Select DAS Image Capture. Note: The vehicle must be unoccupied for the ride height to maintain specifications.
|
| 10 | Verify that all cameras are displaying images properly in Toolbox Web. |
| 11 | Disconnect the laptop from the vehicle. |